Description
Introduction
The Shuttle XPC has one major limitation when it comes to accepting two PCI-Express devices when one of those is your typical double-slot graphics card. Although you can find single slot cards these have a tendency to either be economy cards or ones that require additional cooling with water. Shuttle were nice enough for this model to include a Mini-PCI Express slot like that found on a laptop, the issue here is that even these cards can be somewhat weak offering only a fraction of the performance from ones in the desktop form factor.
I already had a spare TP-Link AC1750 PCI-Express card that I had previously used in conjunction with my router achieving a 1.3Gbps link. On paper thats faster than gigabit ethernet though in practice ethernet is still superior, compared to 100mbit ethernet however, this card clearly edges out. Thankfully the full size PCI-Express cards are electrically compatible with Mini-PCI Express, you just need to add the missing 12v connection.
Adapter Cable
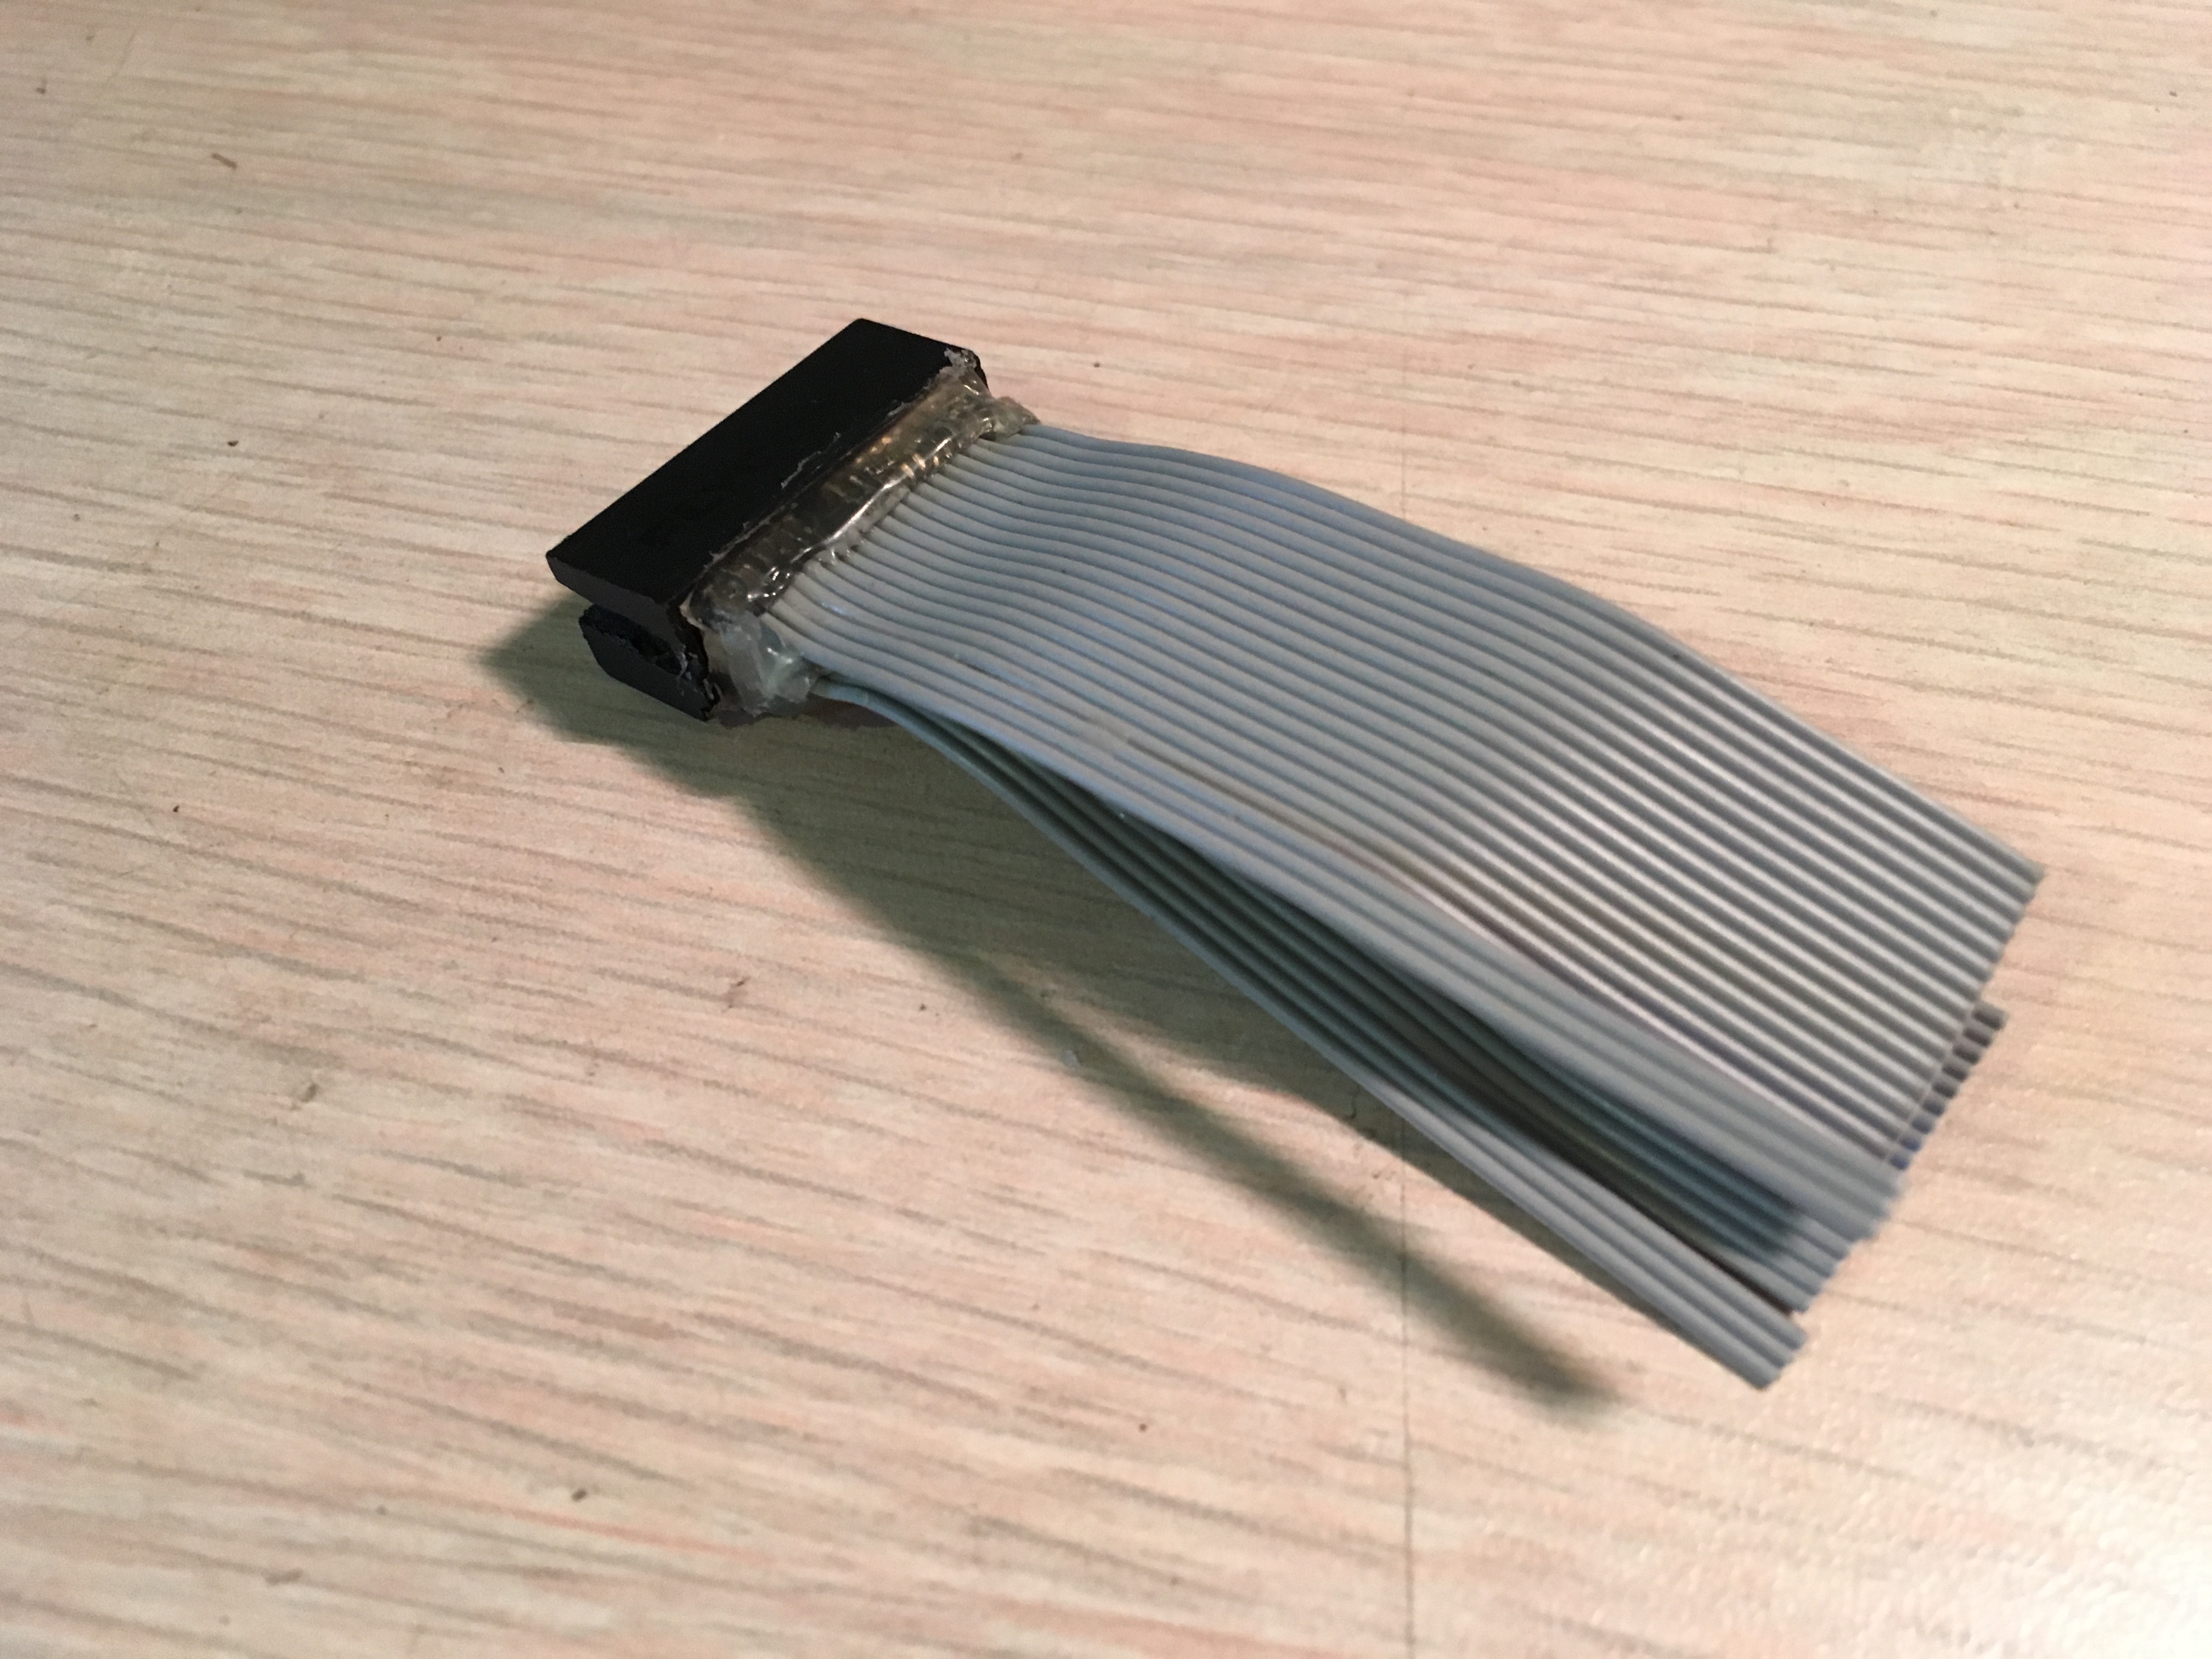
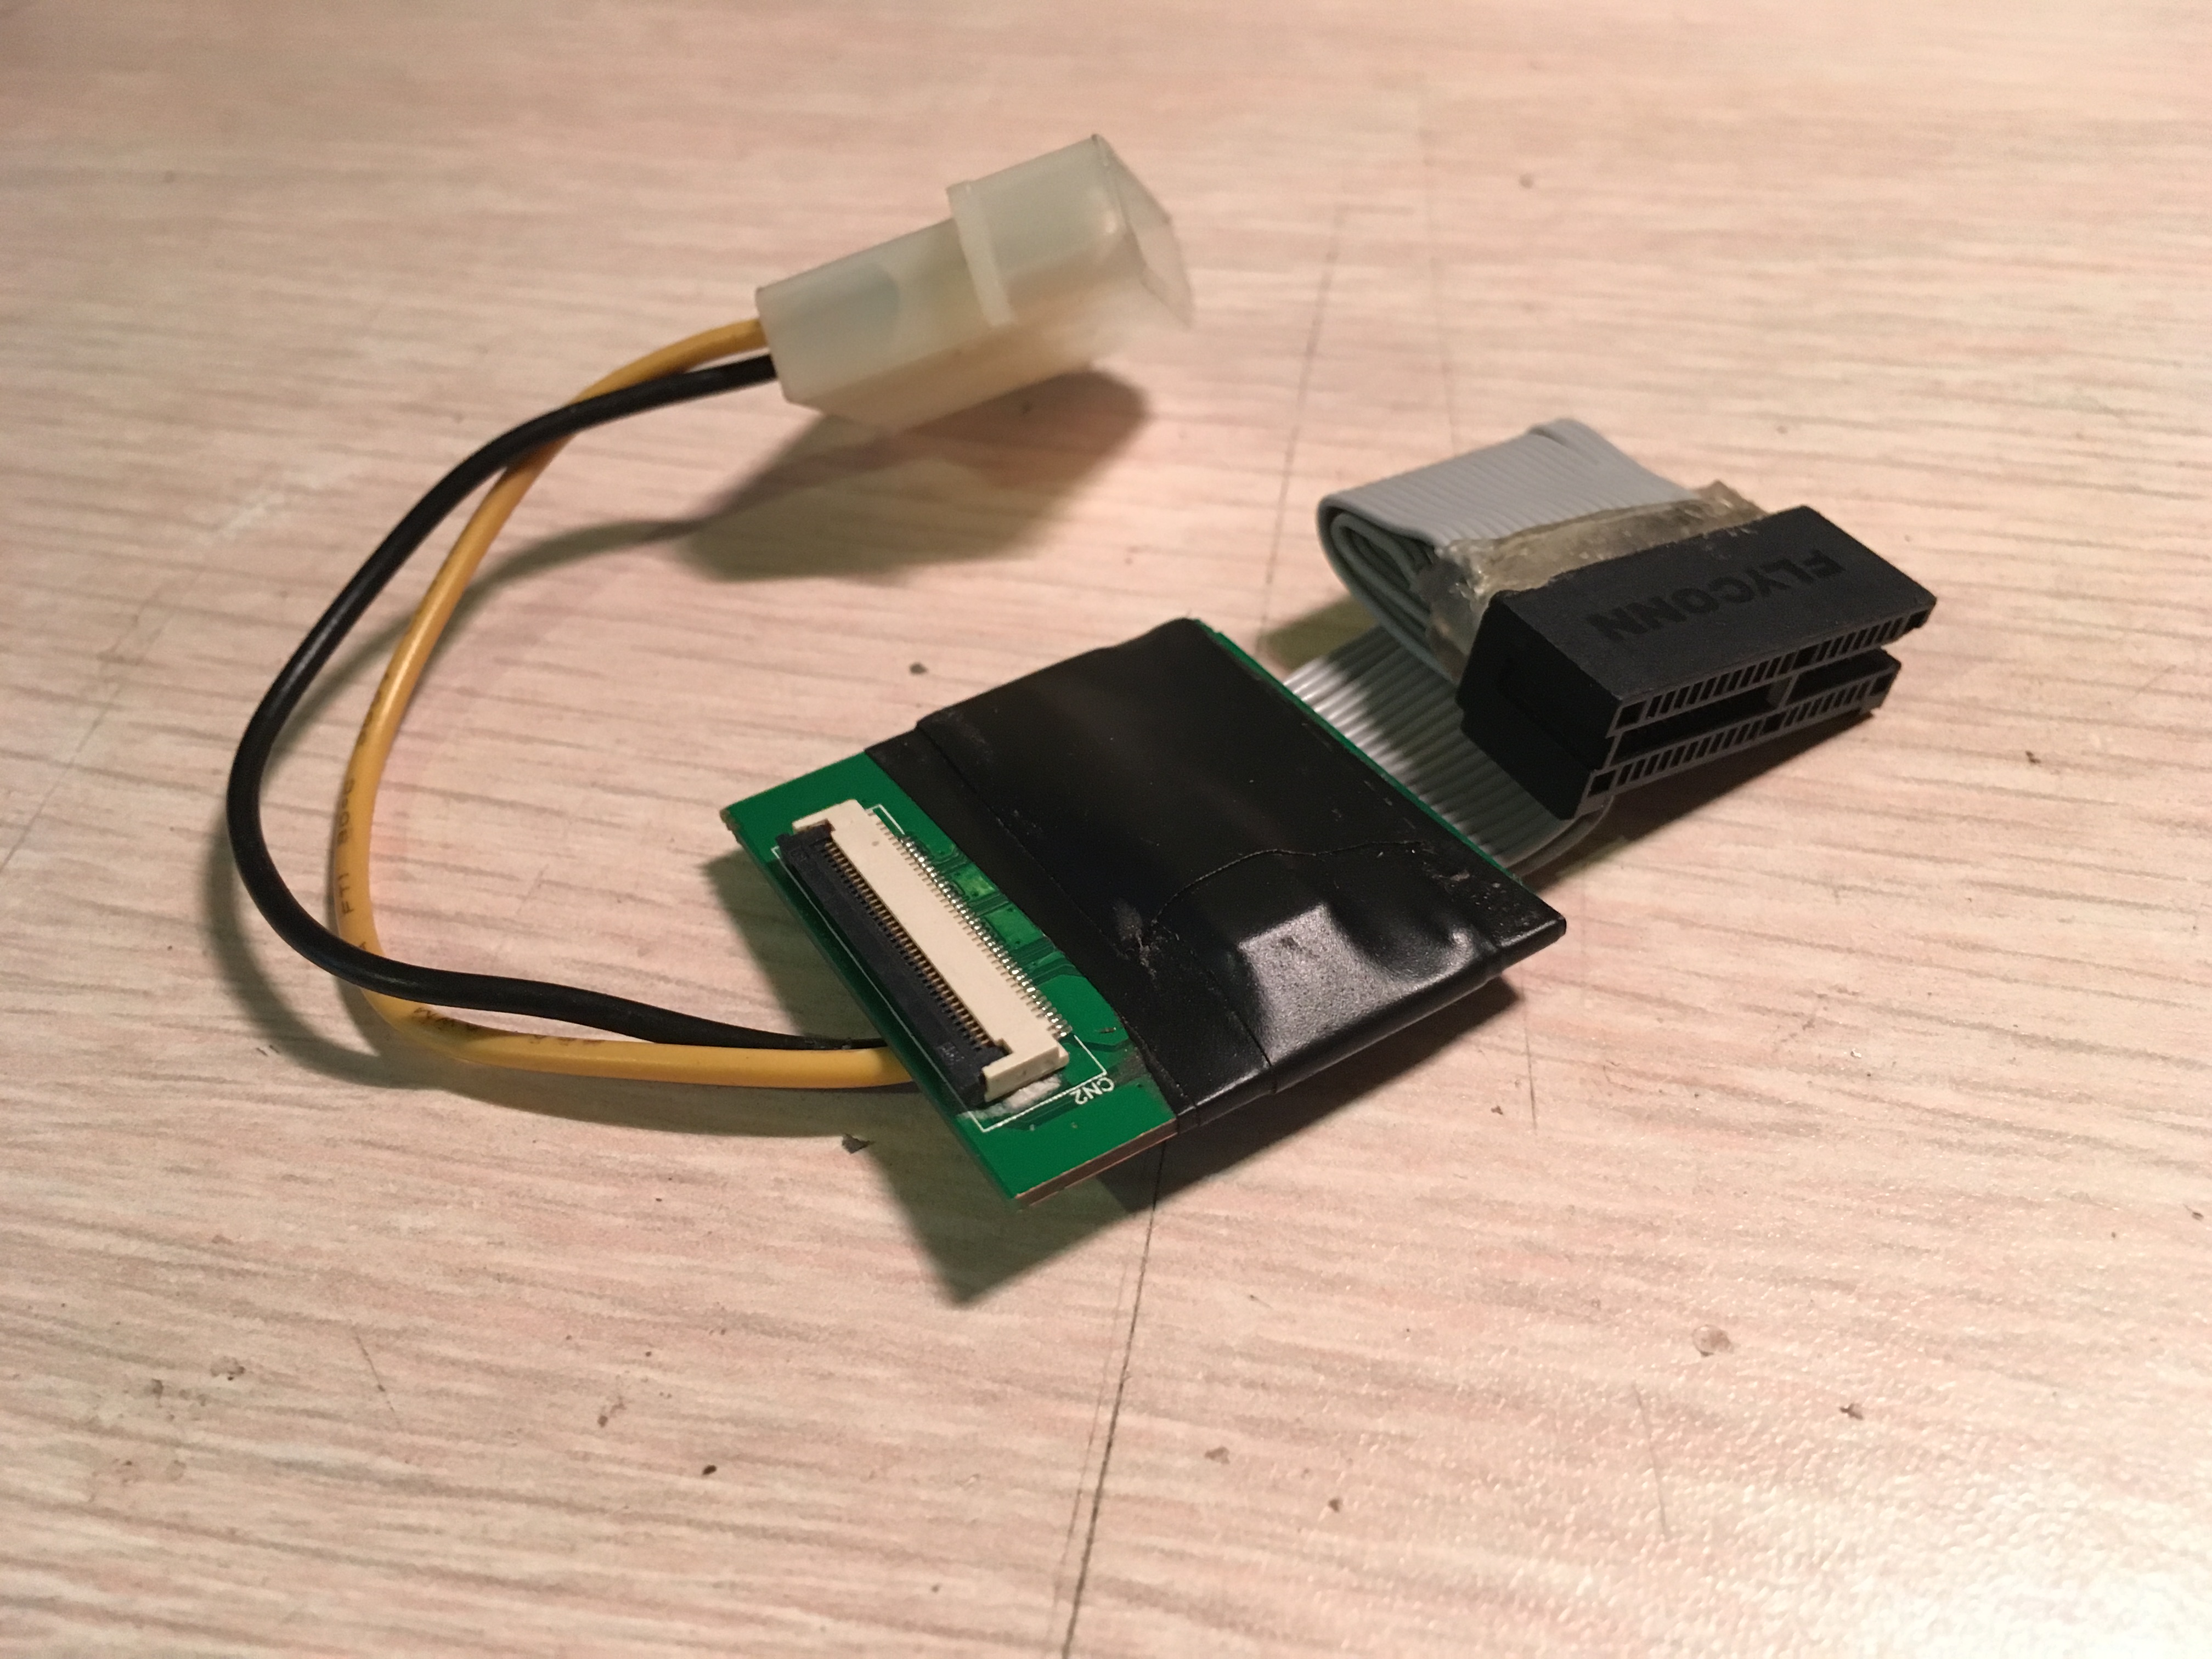
First we start with an old PCI-Express extension cable from an old bitcoin mining rig.
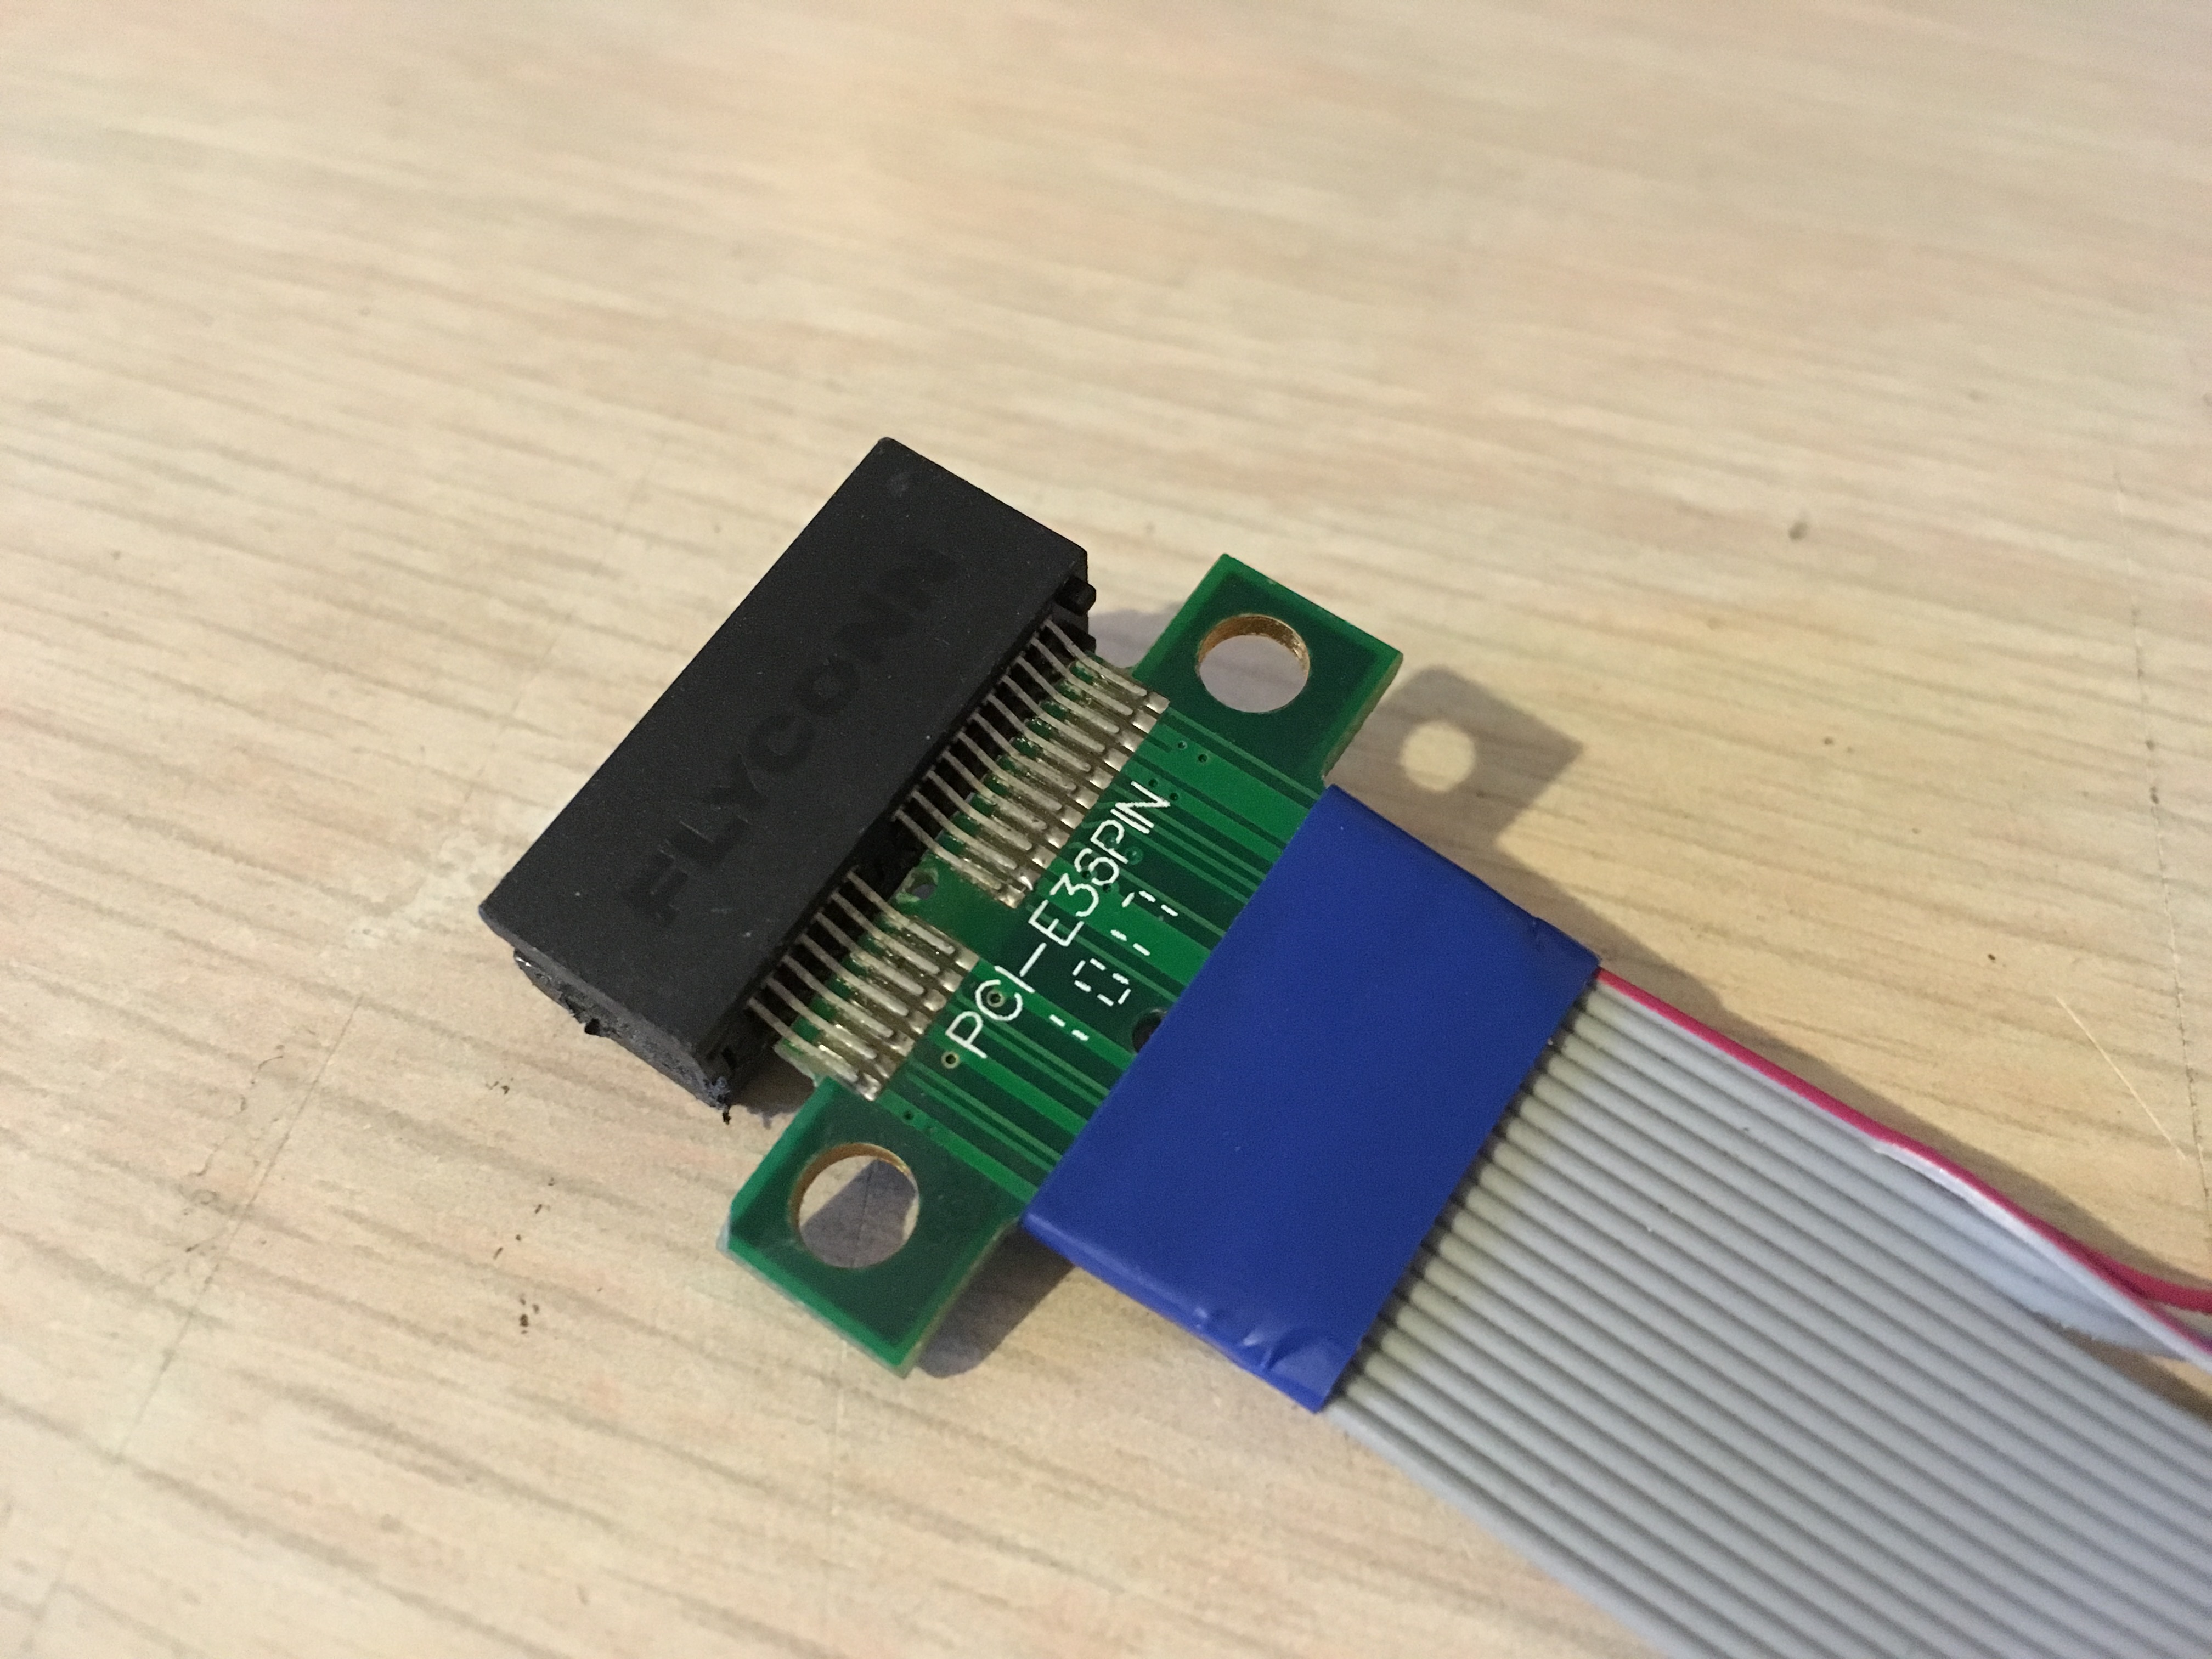
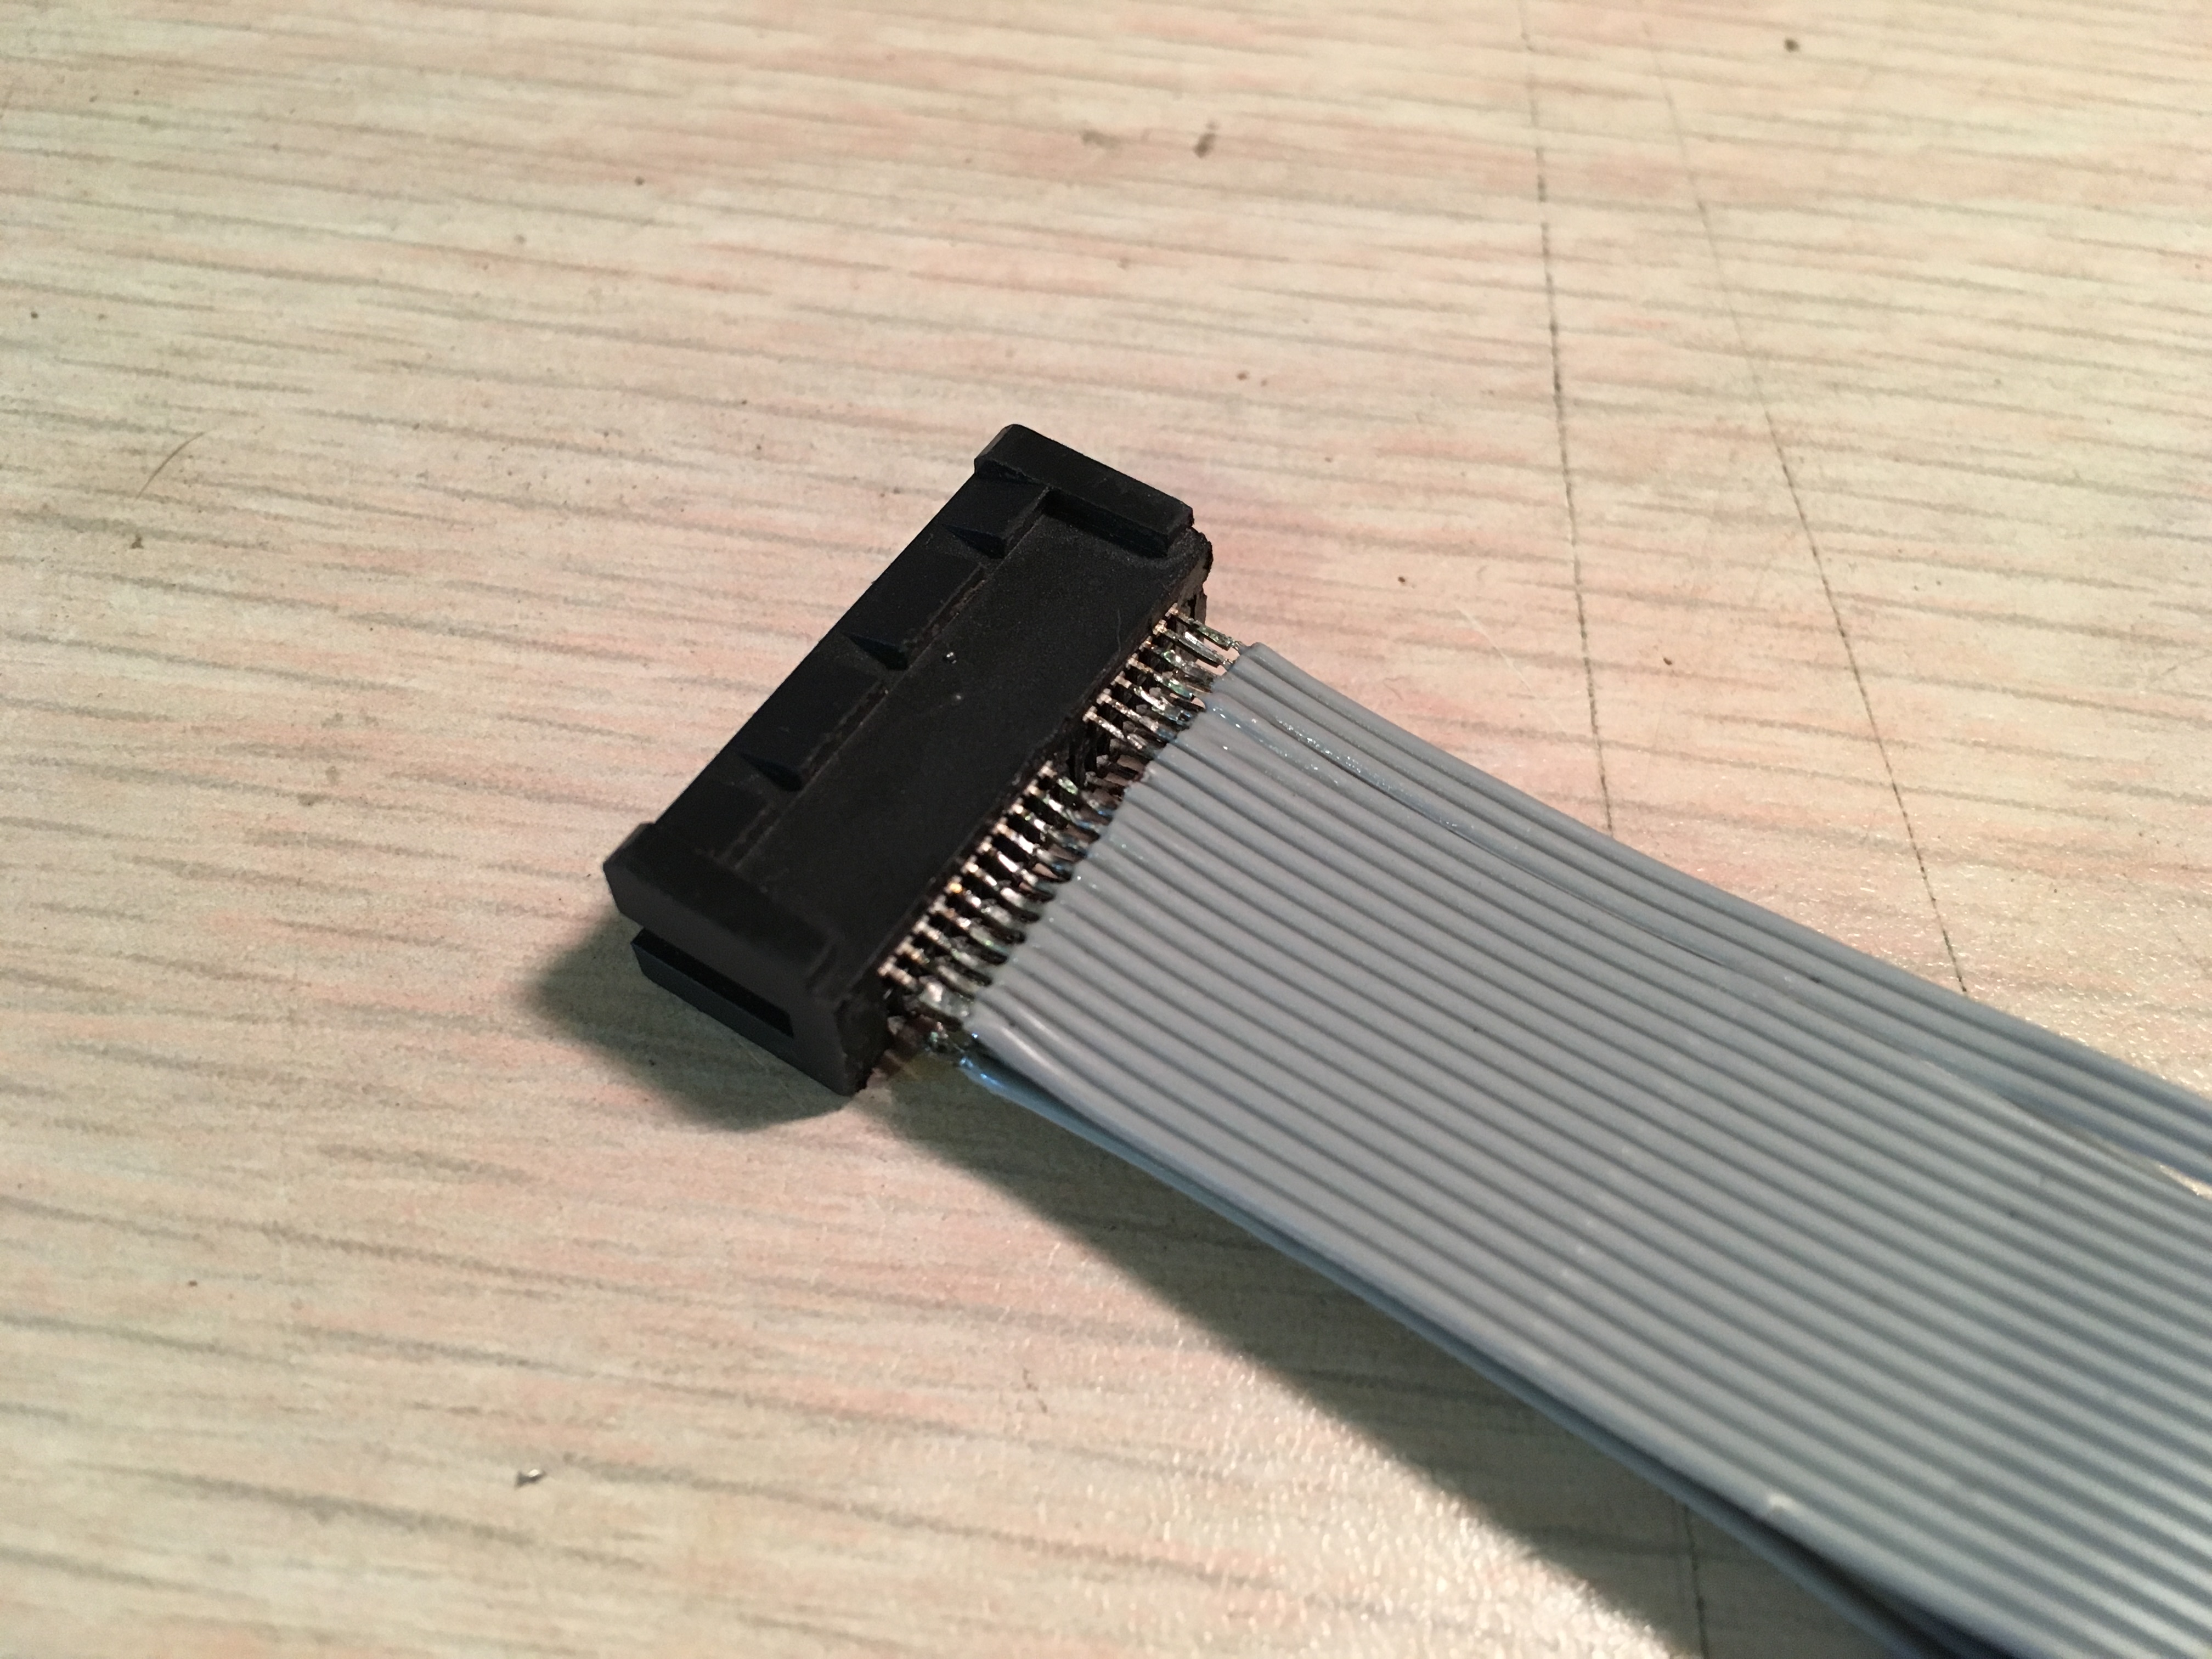
This connector was ideal since the pins were already straight and inline, unlike the connector typically found on a motherboard where they are staggered. Additionally this made desoldering the connector much easier and successful unlike trying to salvage these from the motherboard where there is always at least one pin left behind. The connector is shortened and the wires soldered directly to the pins of the connector itself saving about an inch of depth.
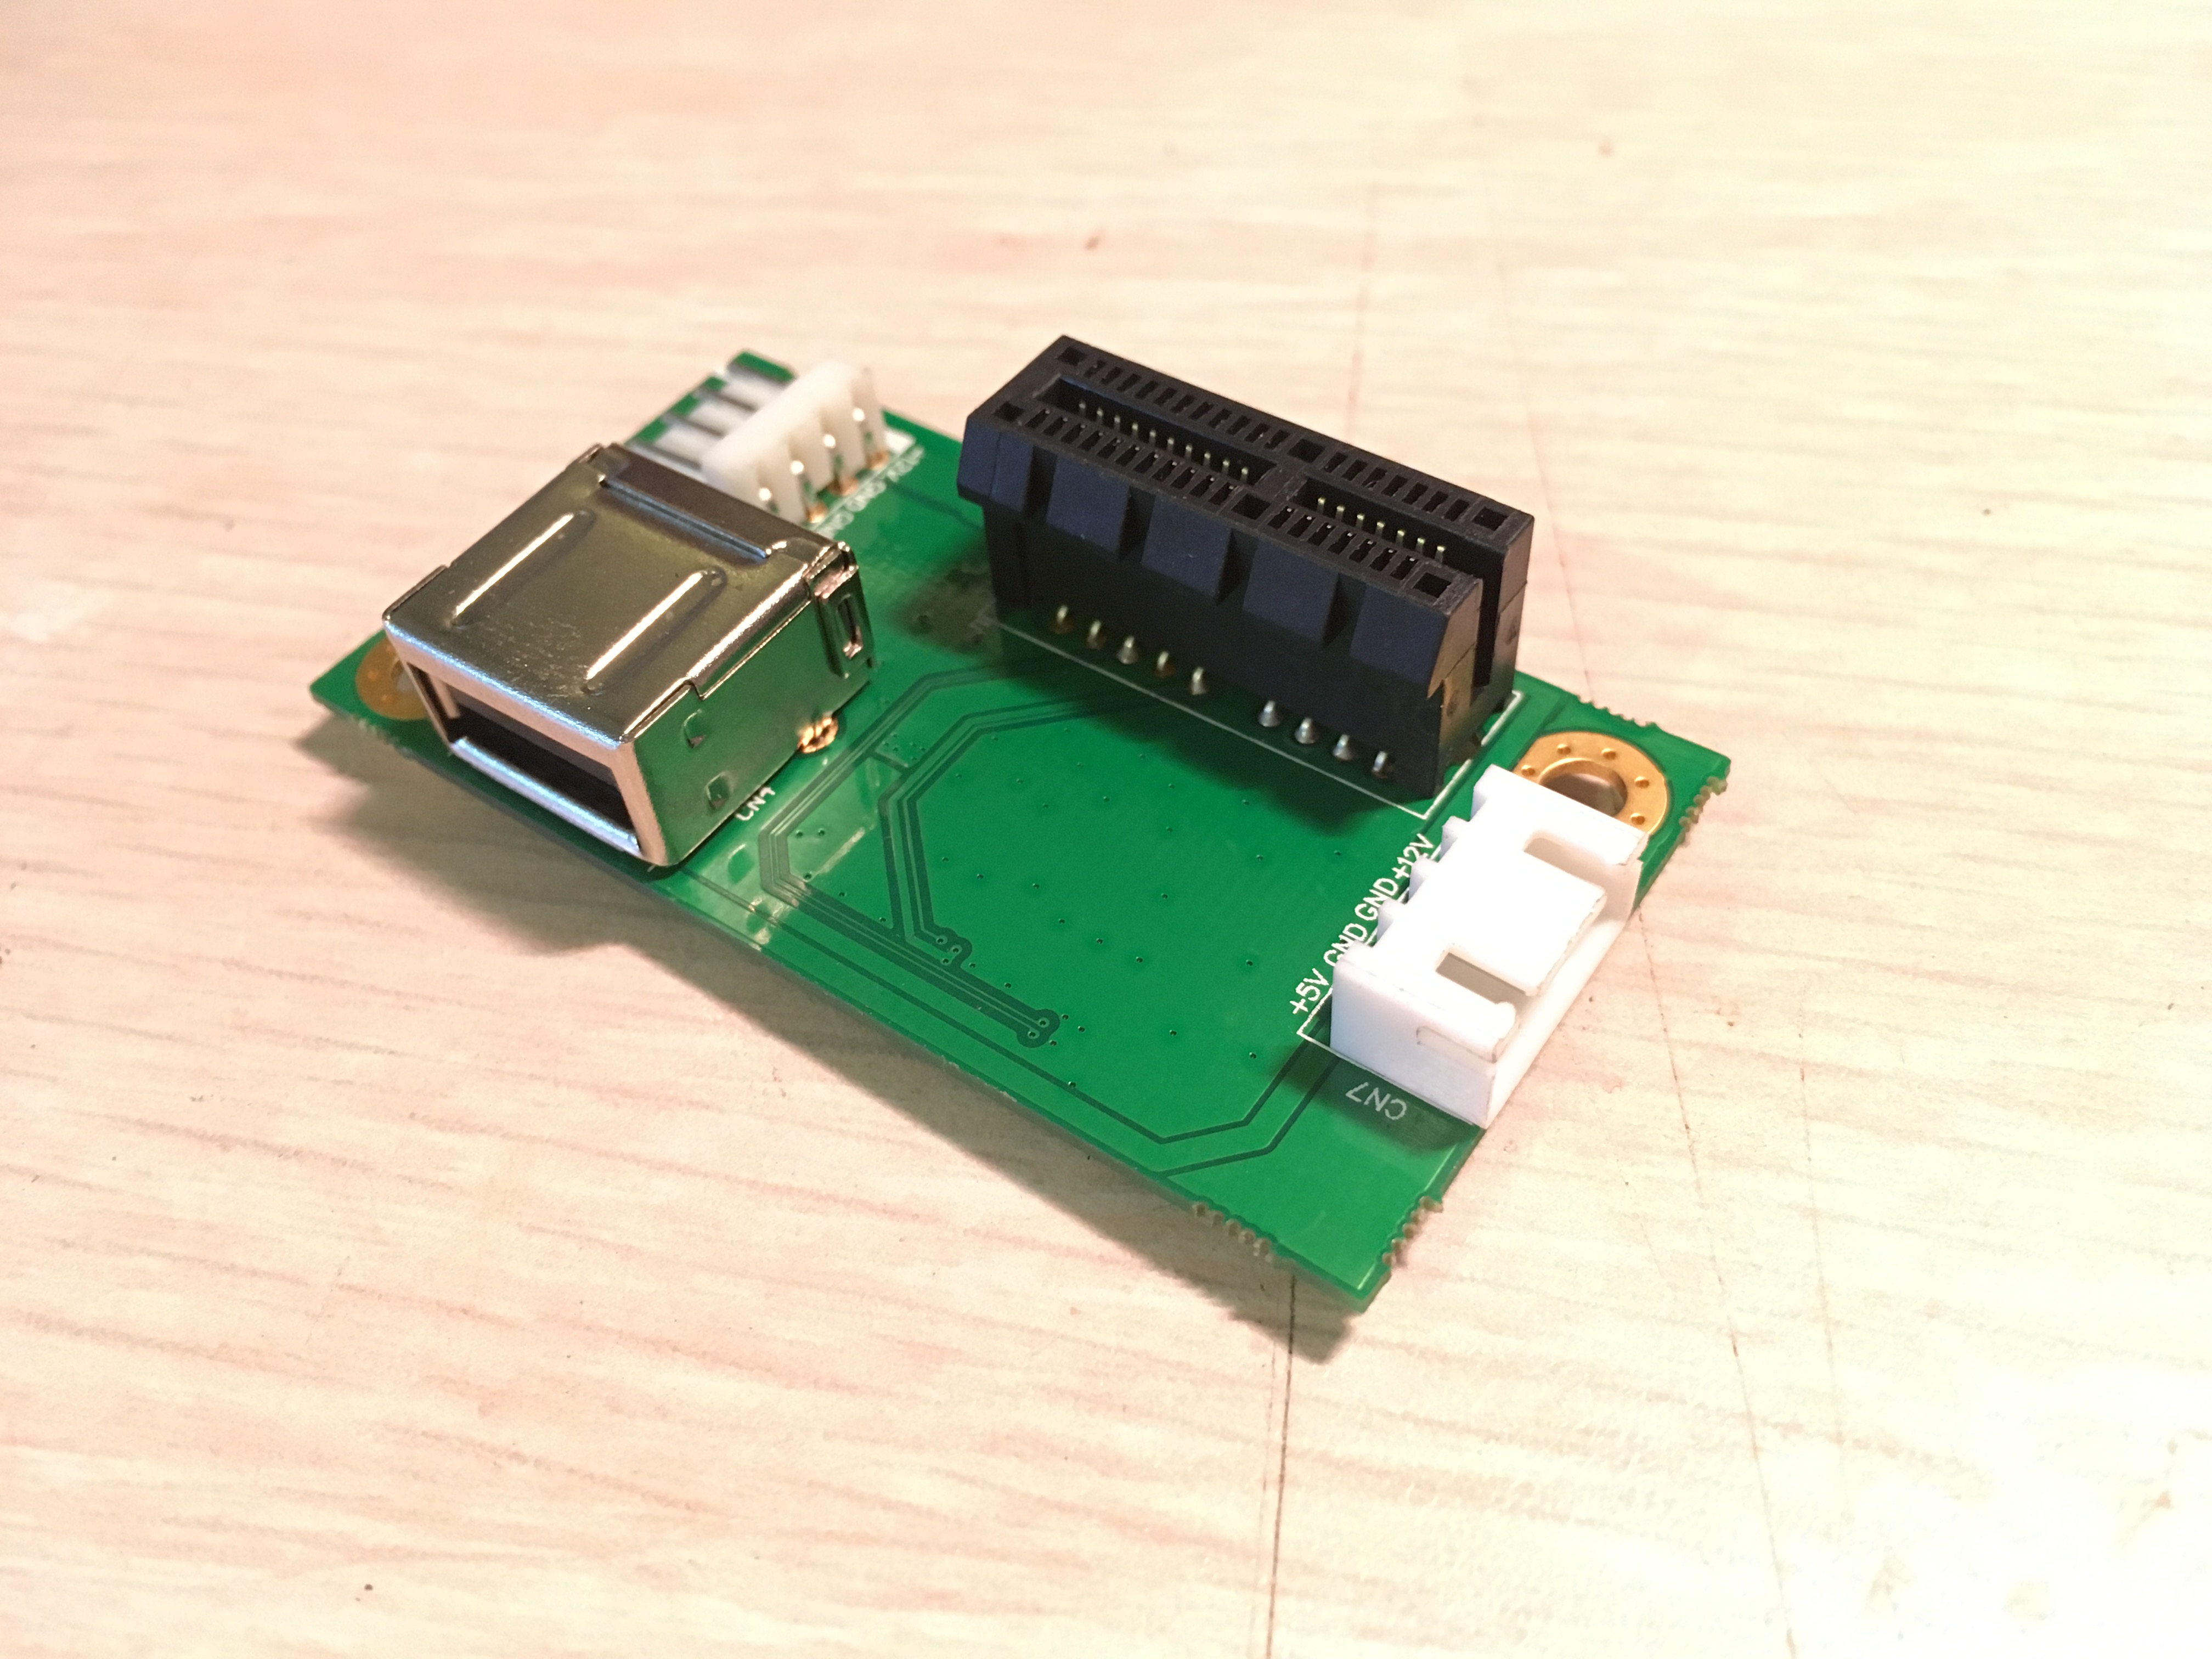
Now we come to the interface board from the Mini-PCI Express adapter kit, the issue first is that there is now way that the card would fit in the drive bay using this adapter. For those aware there is a horizontal version of this board, which I have, and is similarly way to wide to fit in the bay.
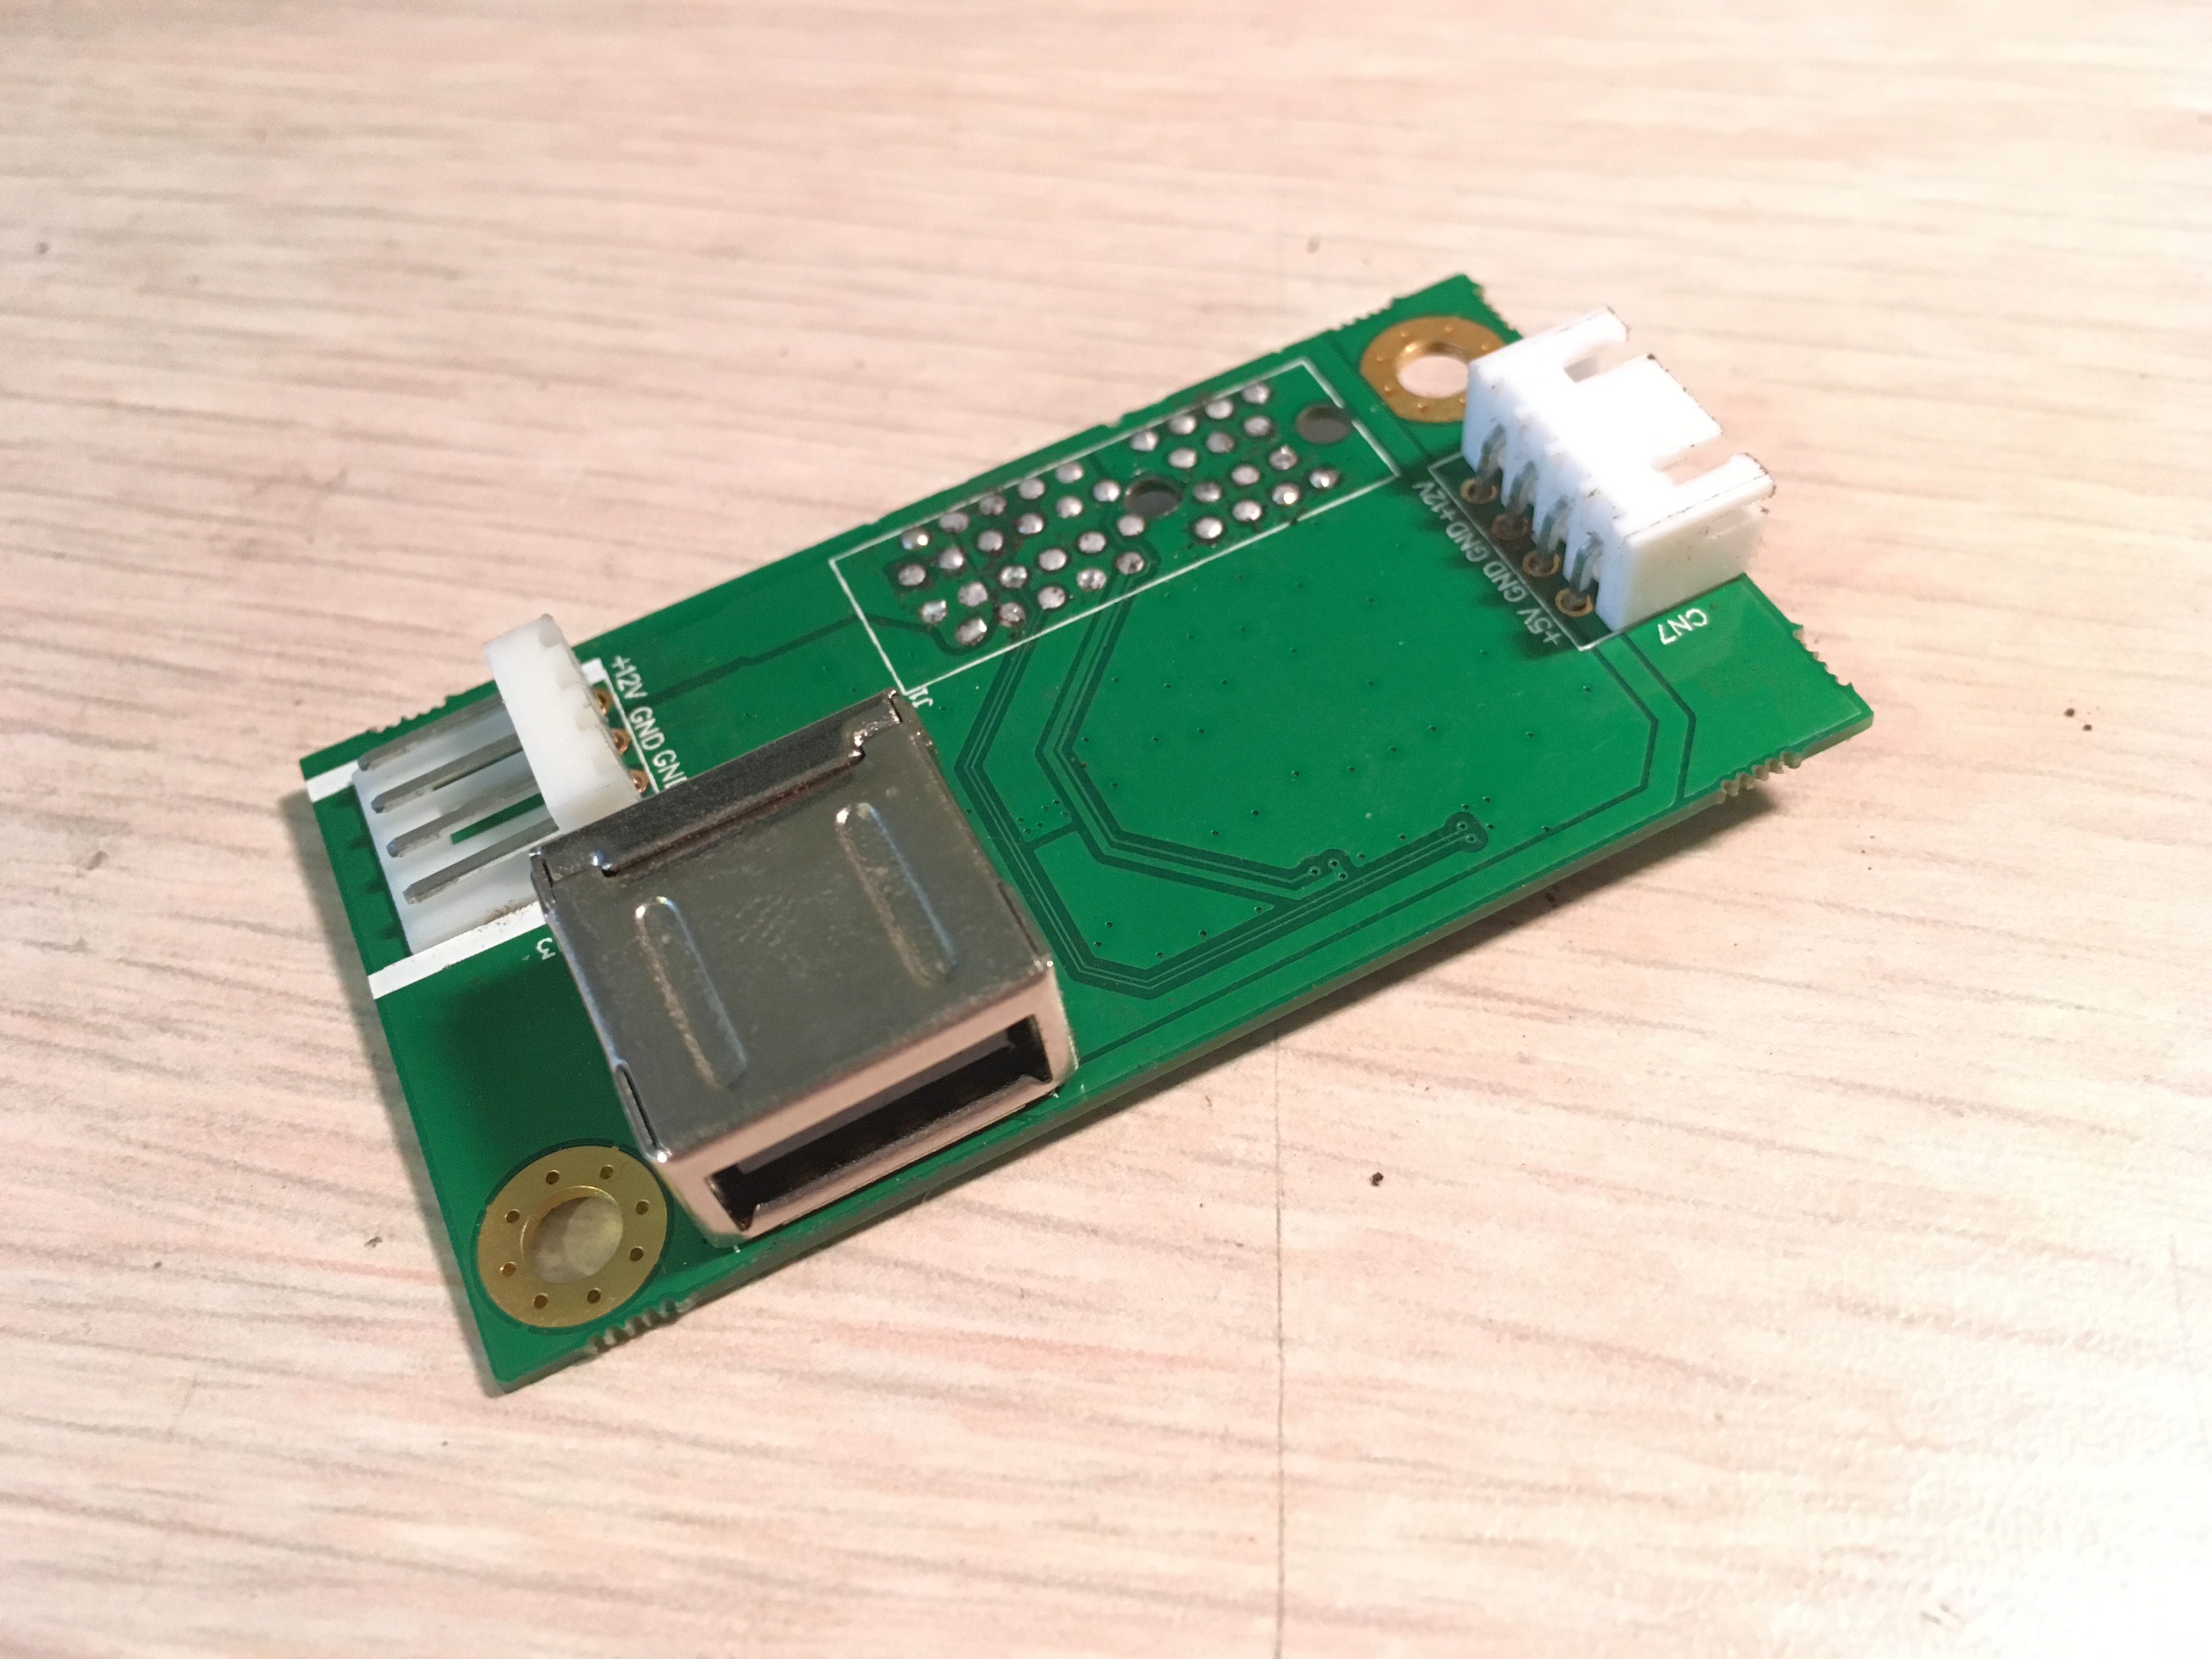

First the PCI-Express connector is removed from the interface board, next the other tall components like the USB port and power connectors also make their departure.
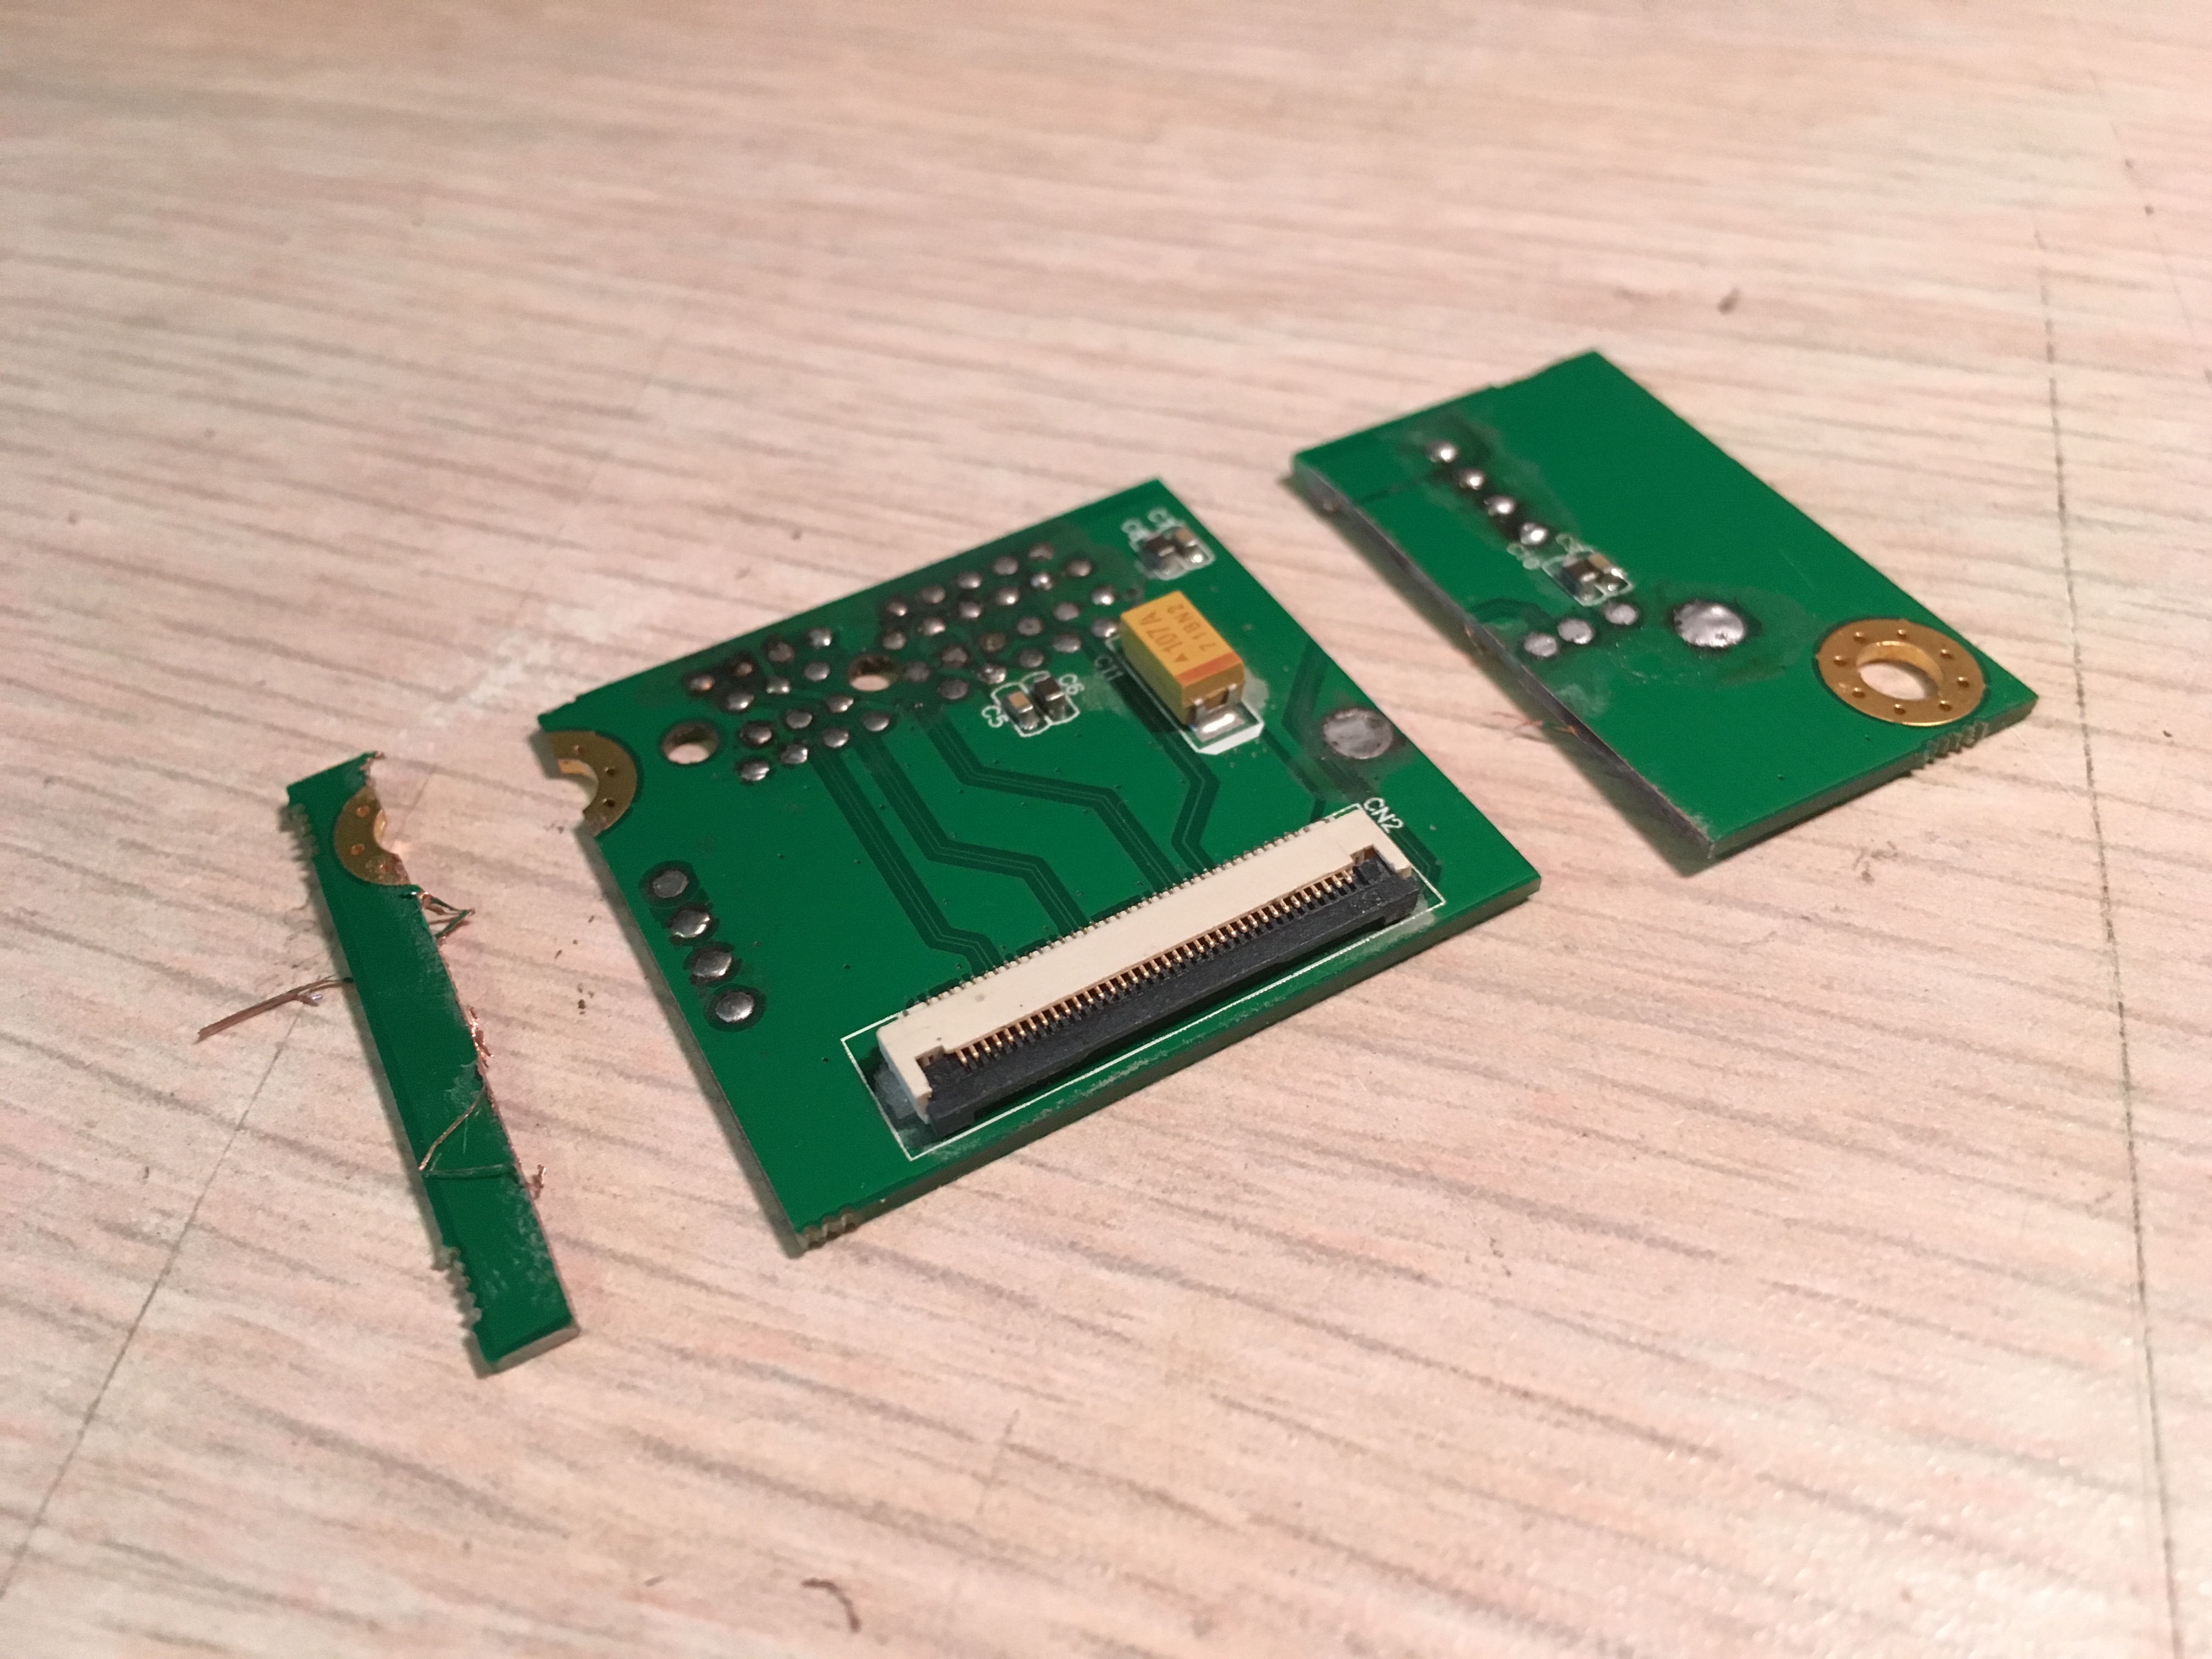
Further saving space some of the unnecessary bits of the interface board were cut away and the adapter cable trimmed with some hot glue added to provide strain relief.
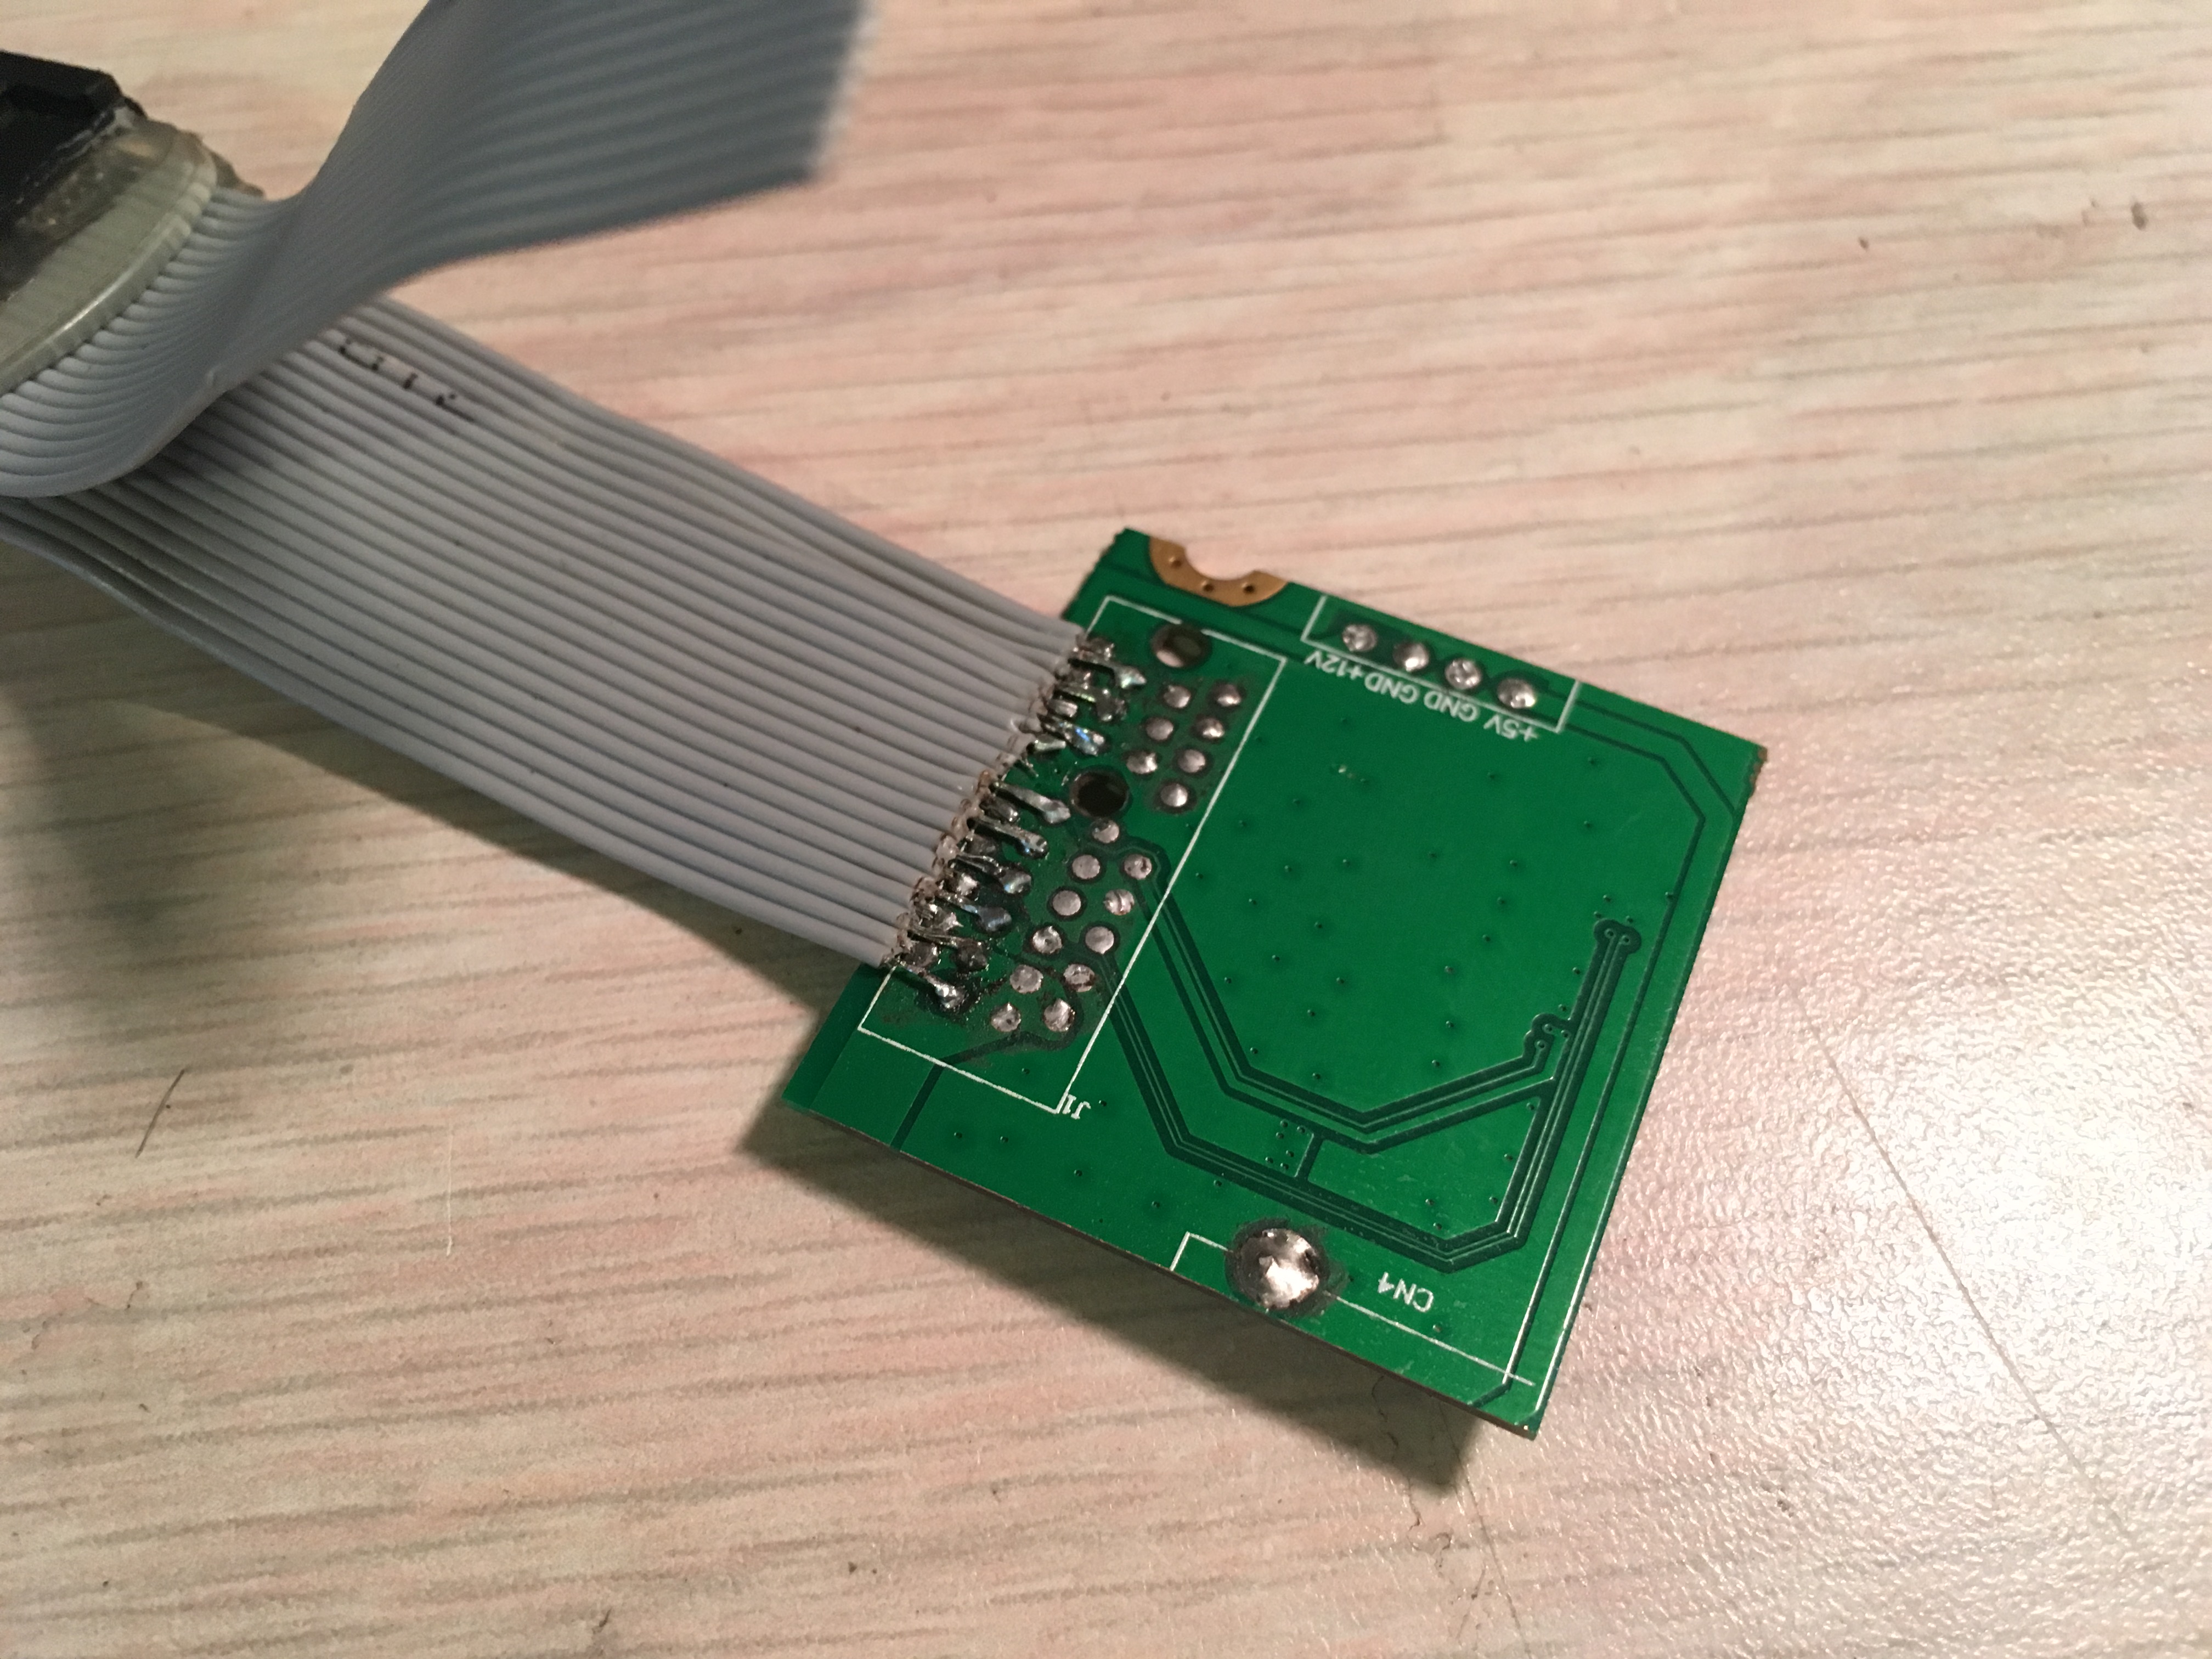

Finally the adapter cable is soldered to the interface board. The wires were all stripped evenly then trimmed in a staggered arrangement so that they would fit perfectly to the pin pattern on the board.
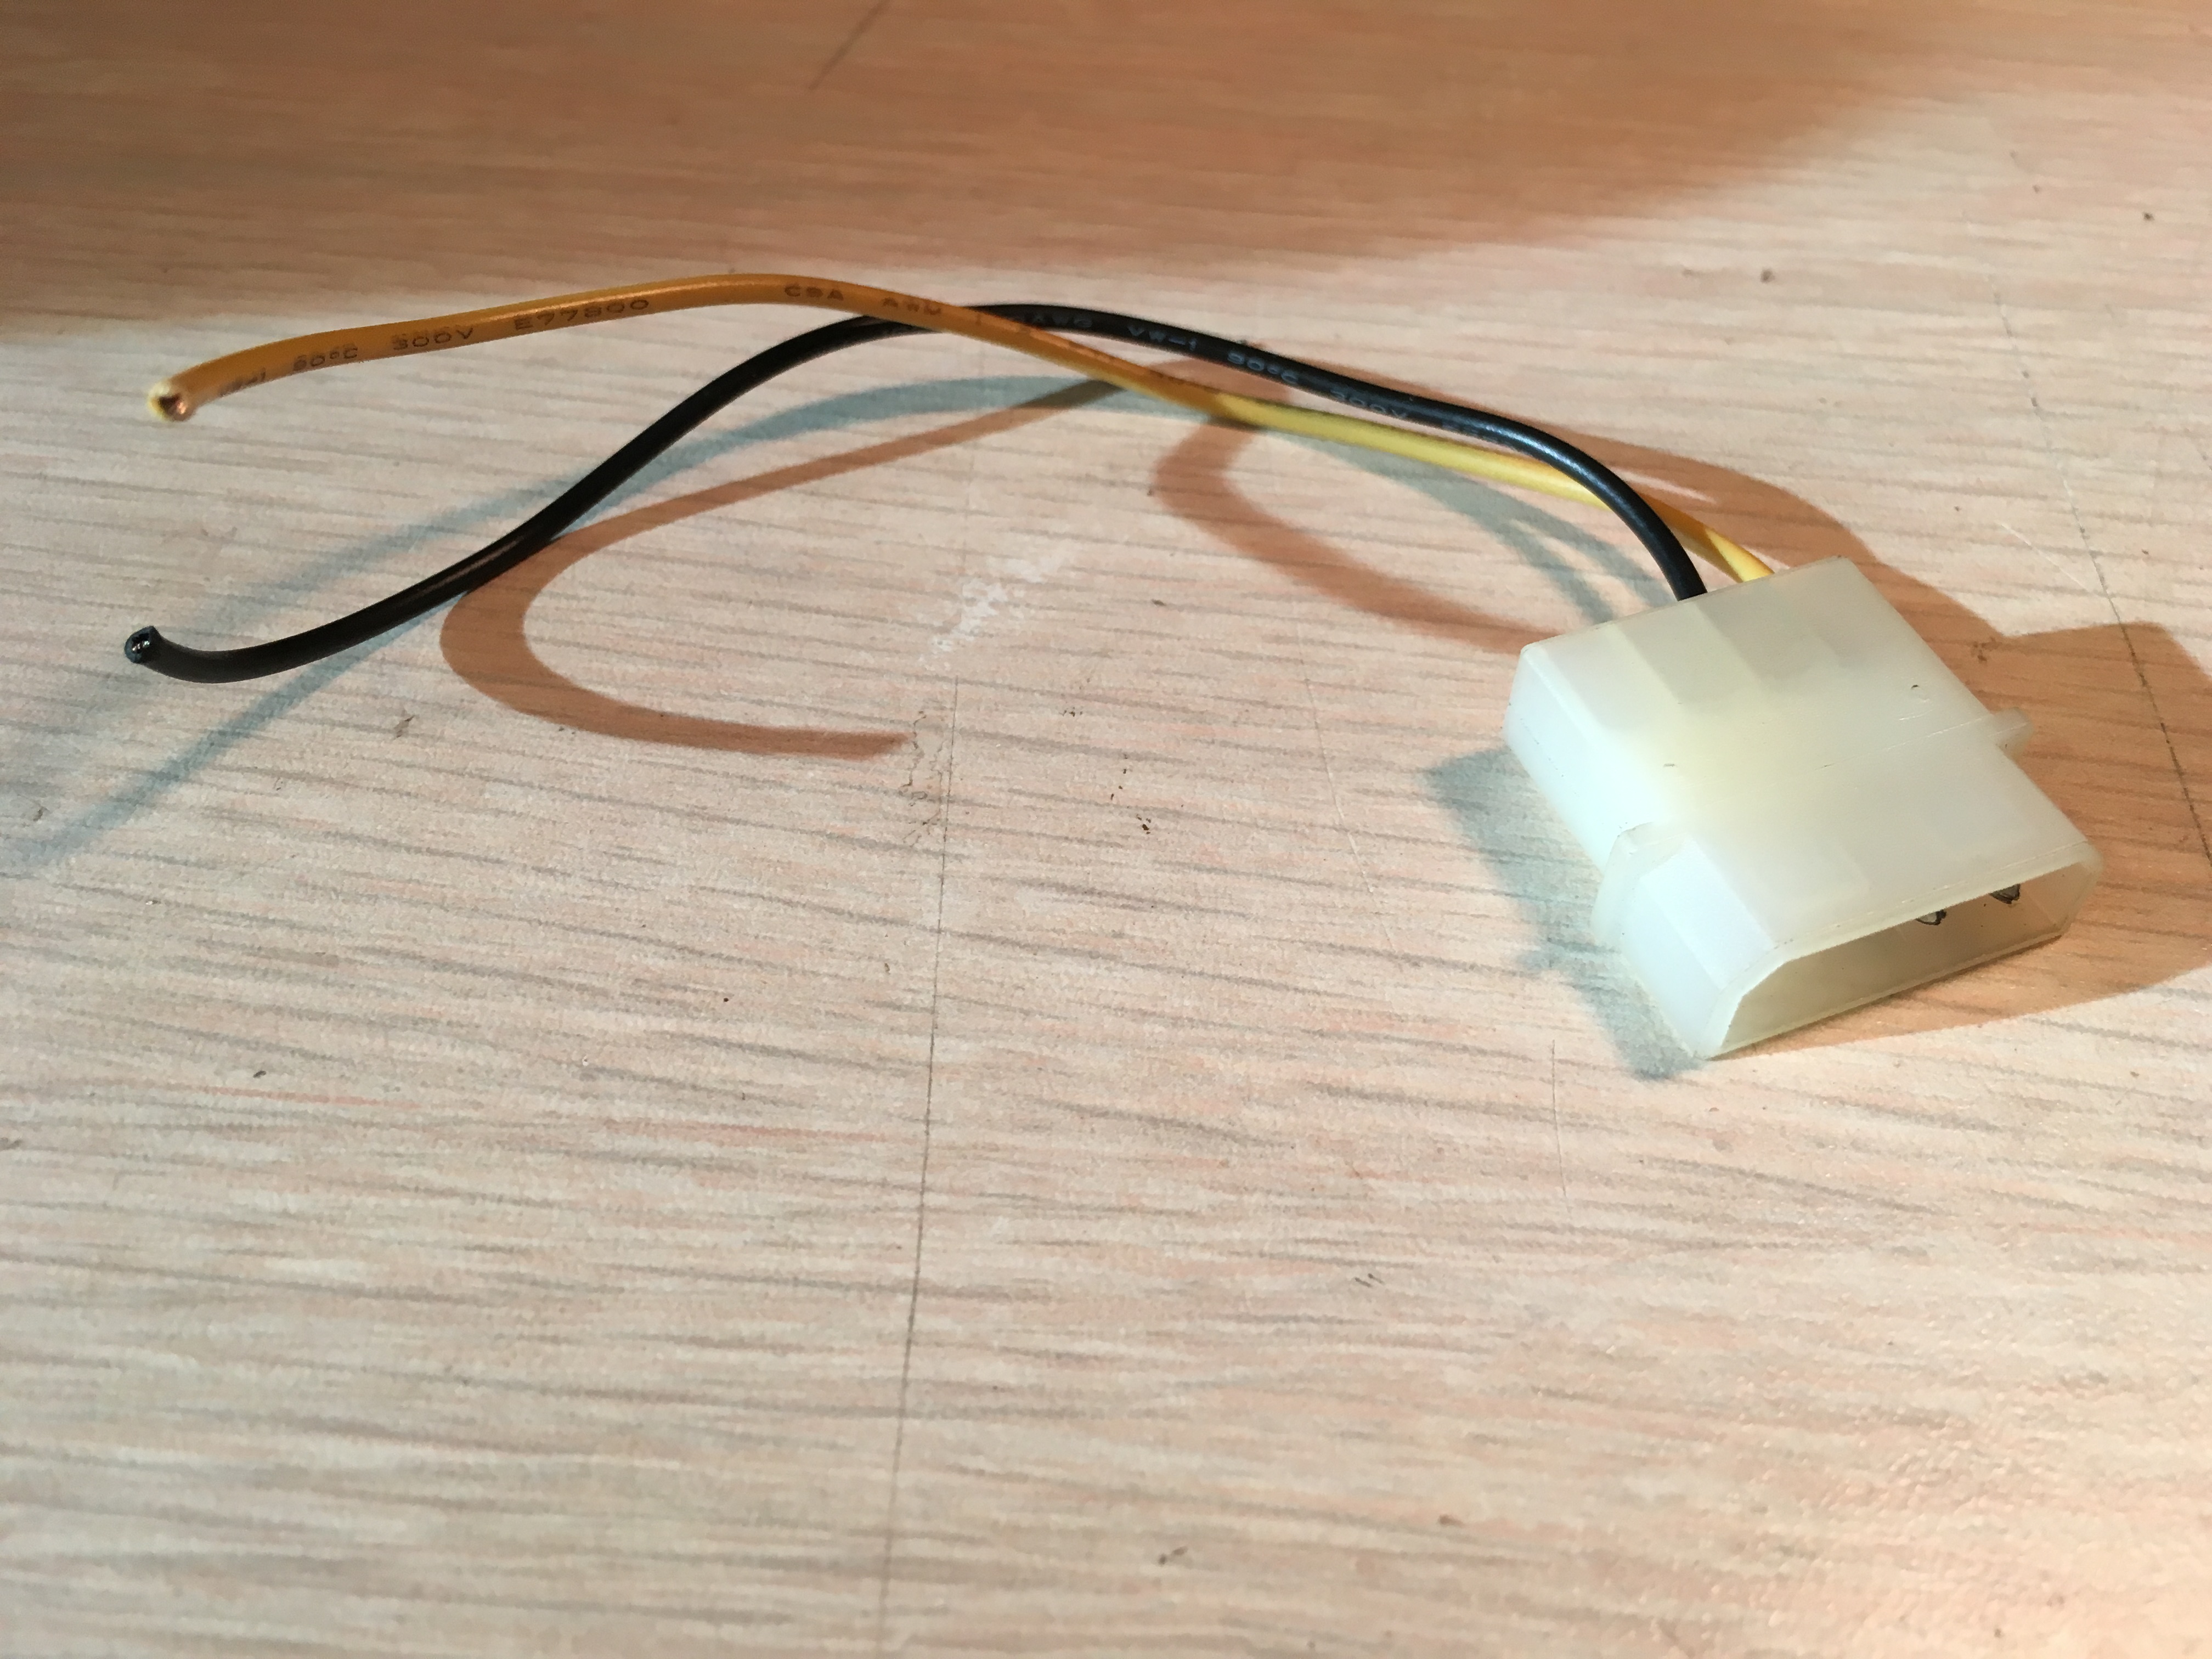
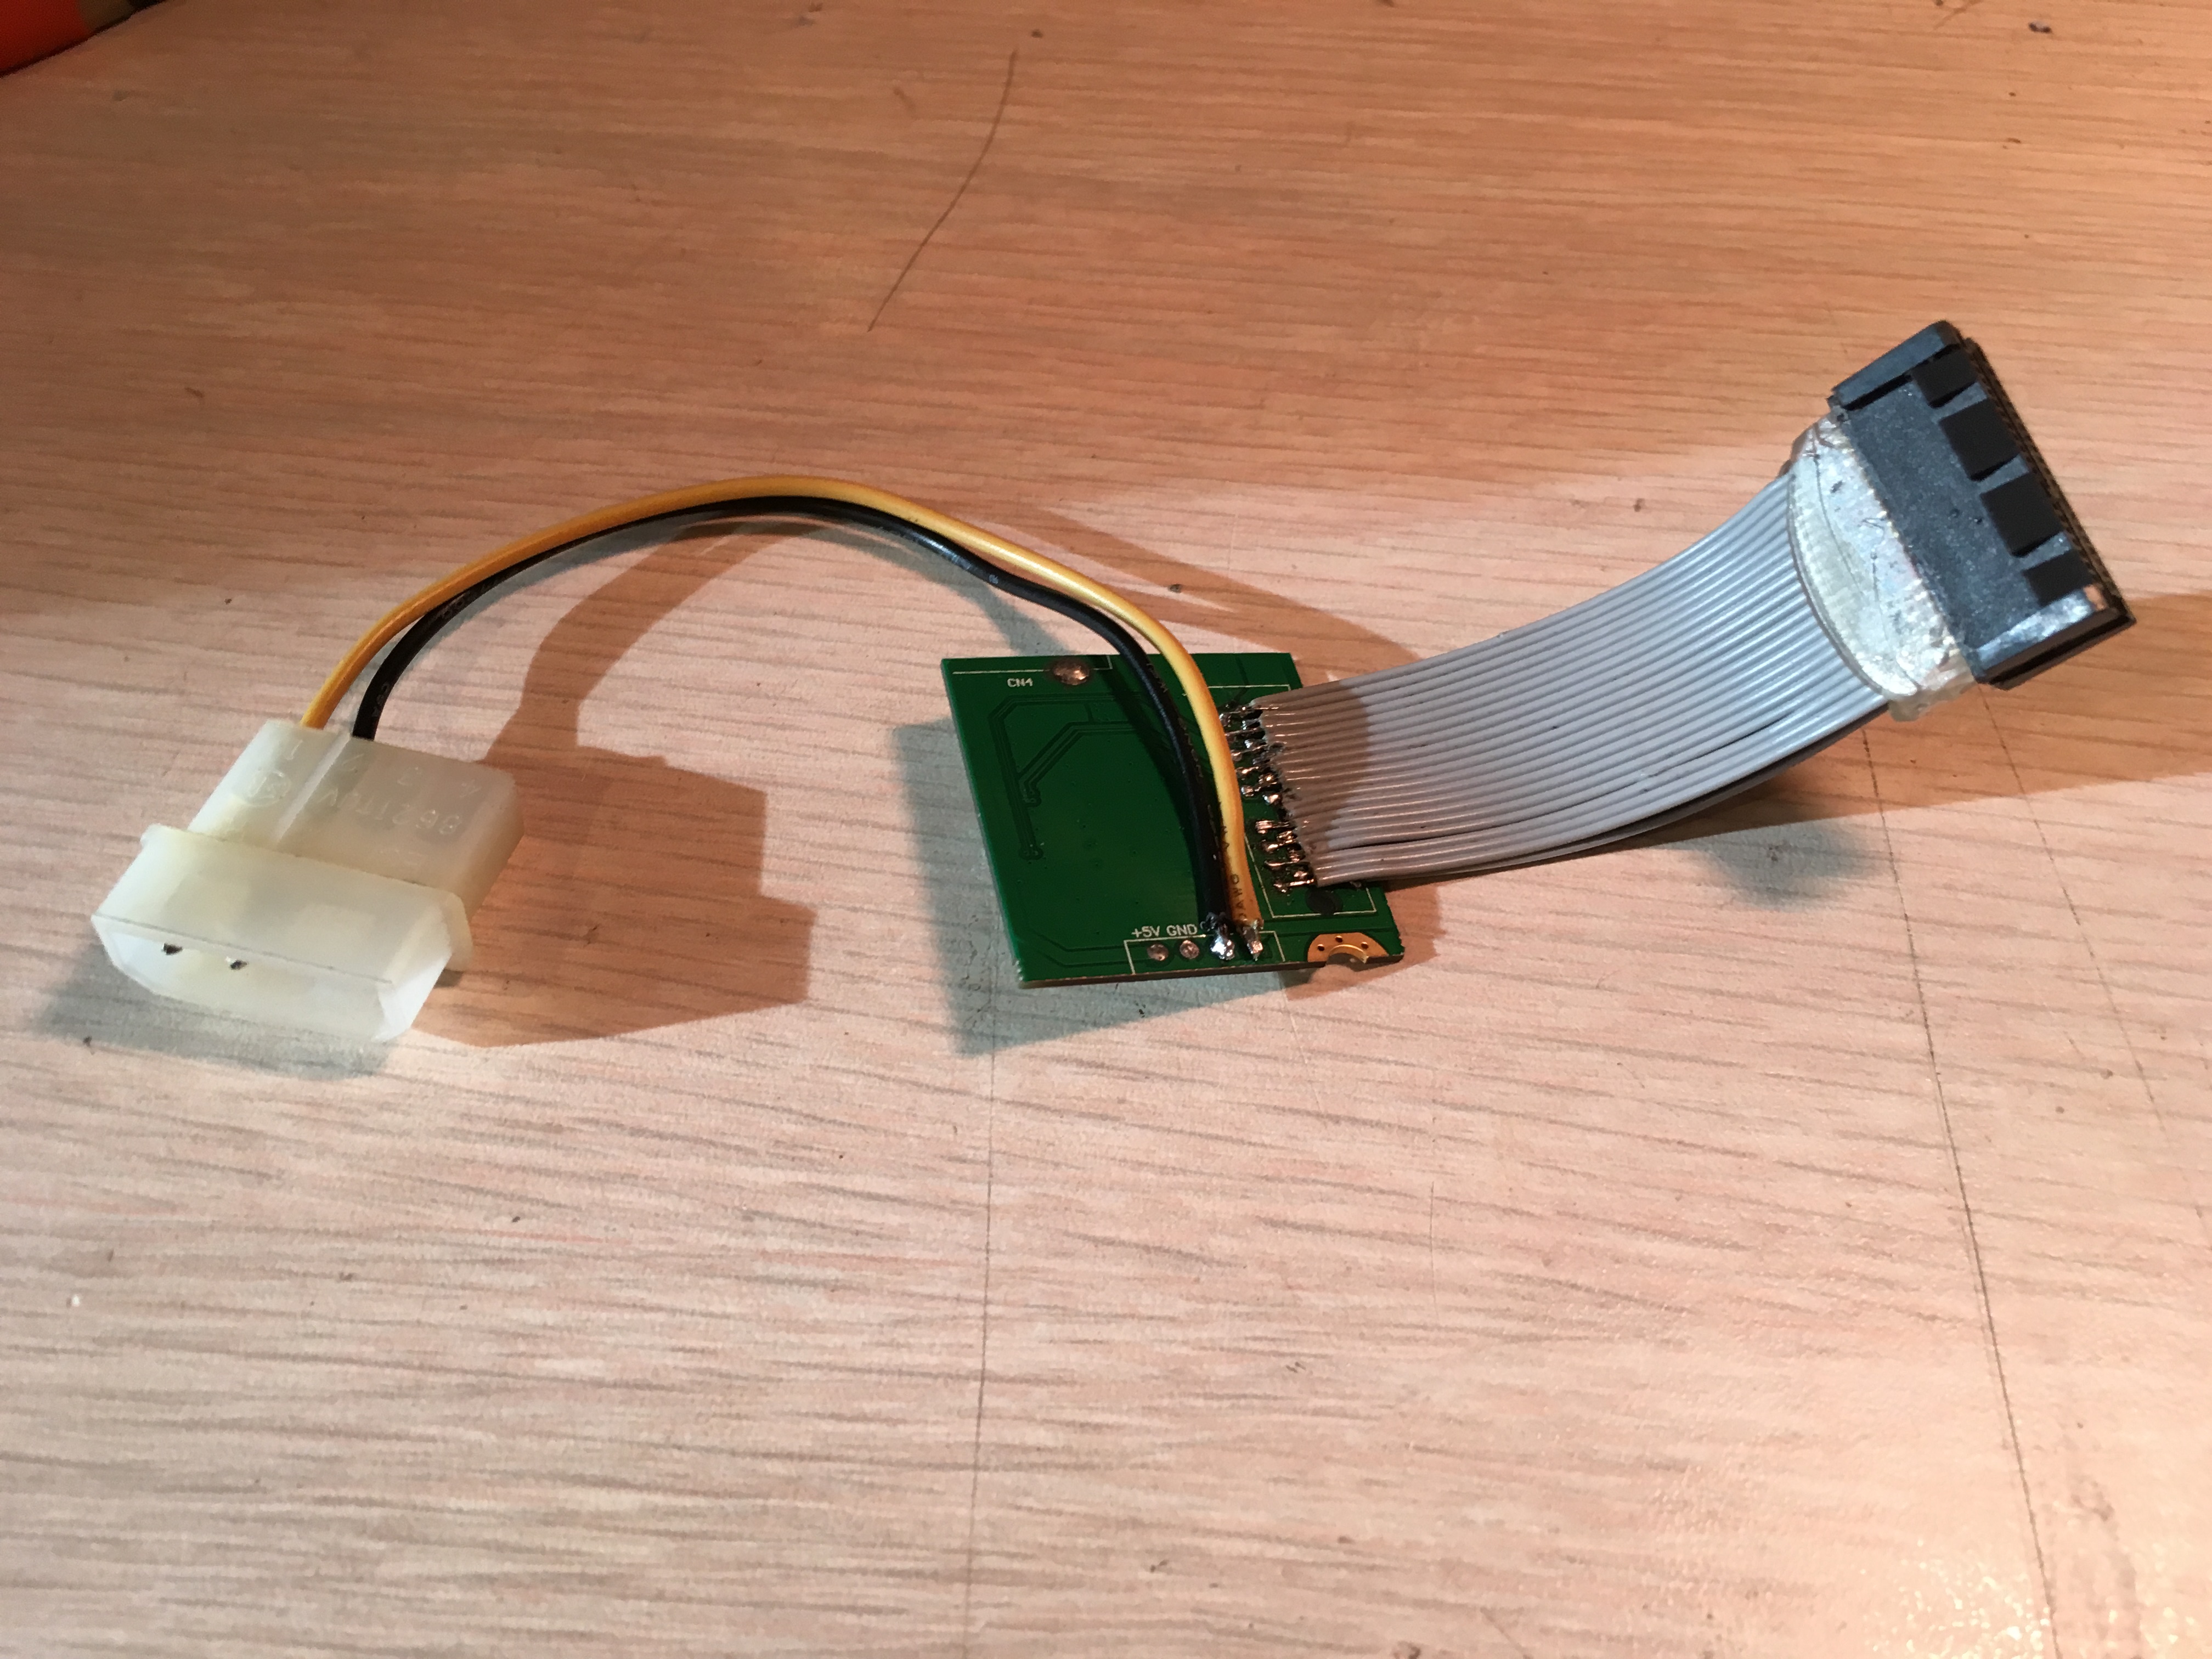
Lastly a spare 12v molex adapter was added to provide the additional voltage to the PCI-Express connector.
Mounting
The card needs to be mounted somewhere secure within the machine, the logical choice in this case was using an empty 3.5” drive bay.
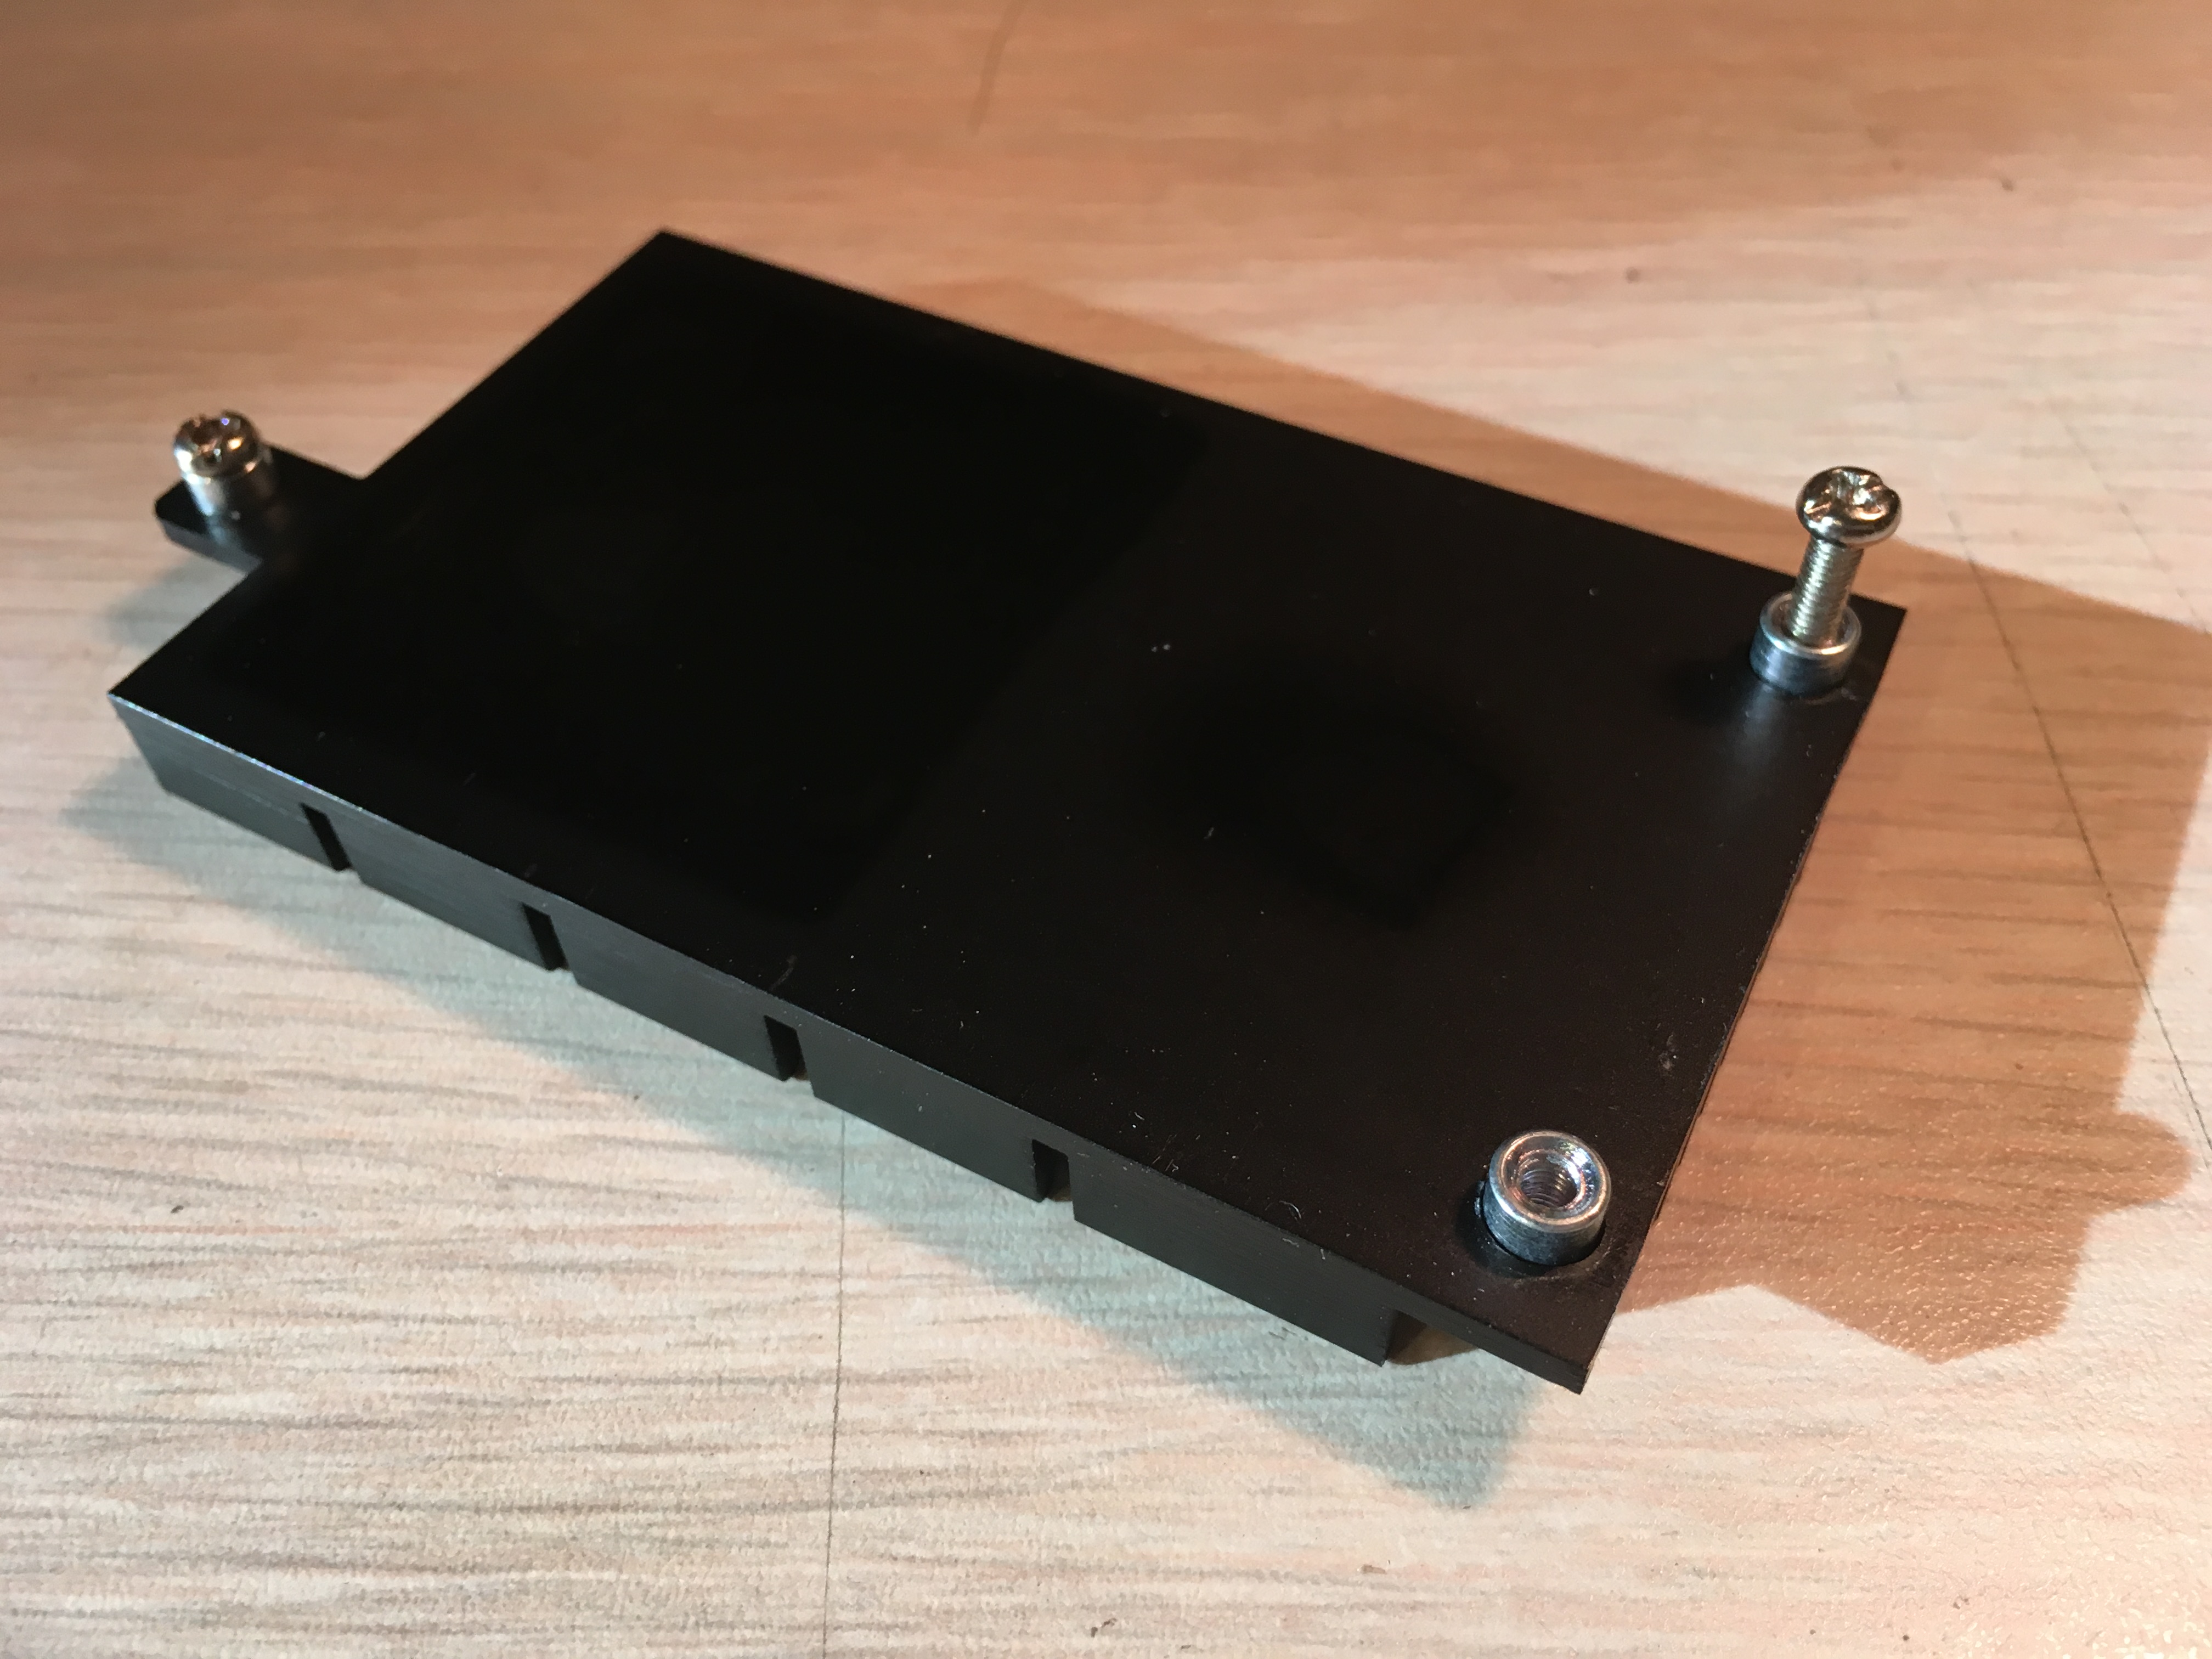
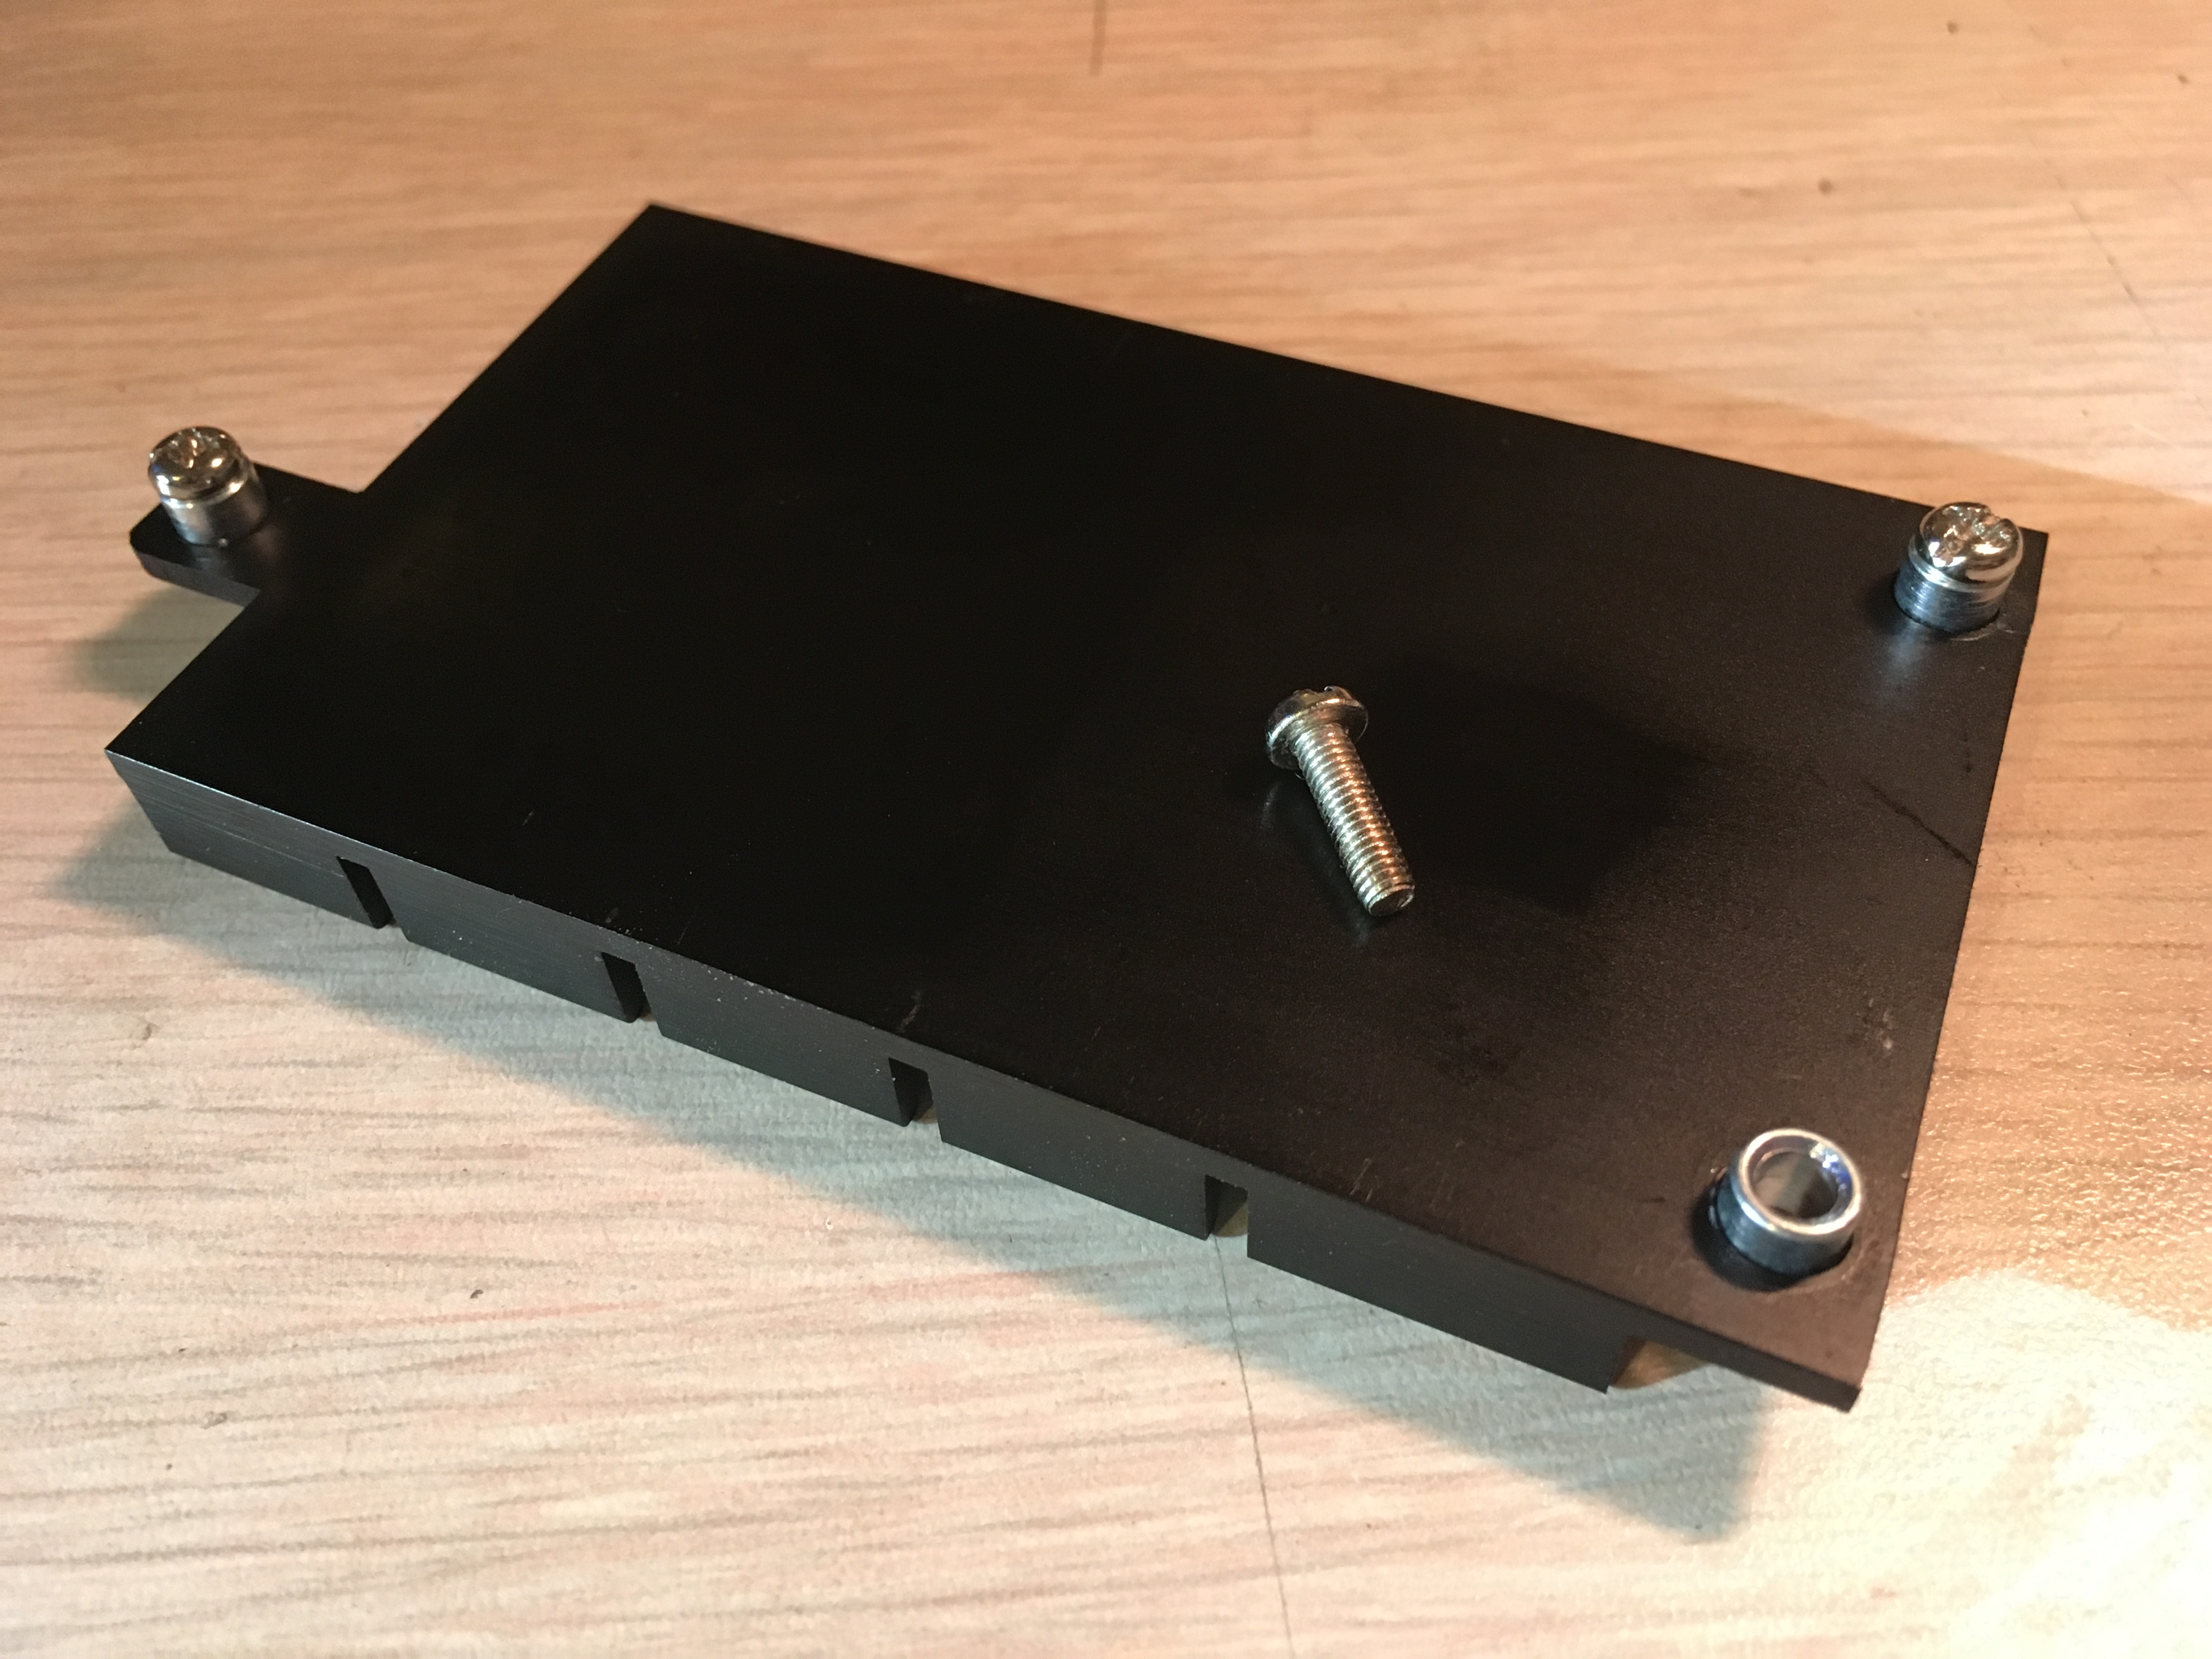
First the threaded holes in the original heatsink are drilled out so that longer screws can be run through the card and into risers placed on the 3.5” drive plate.
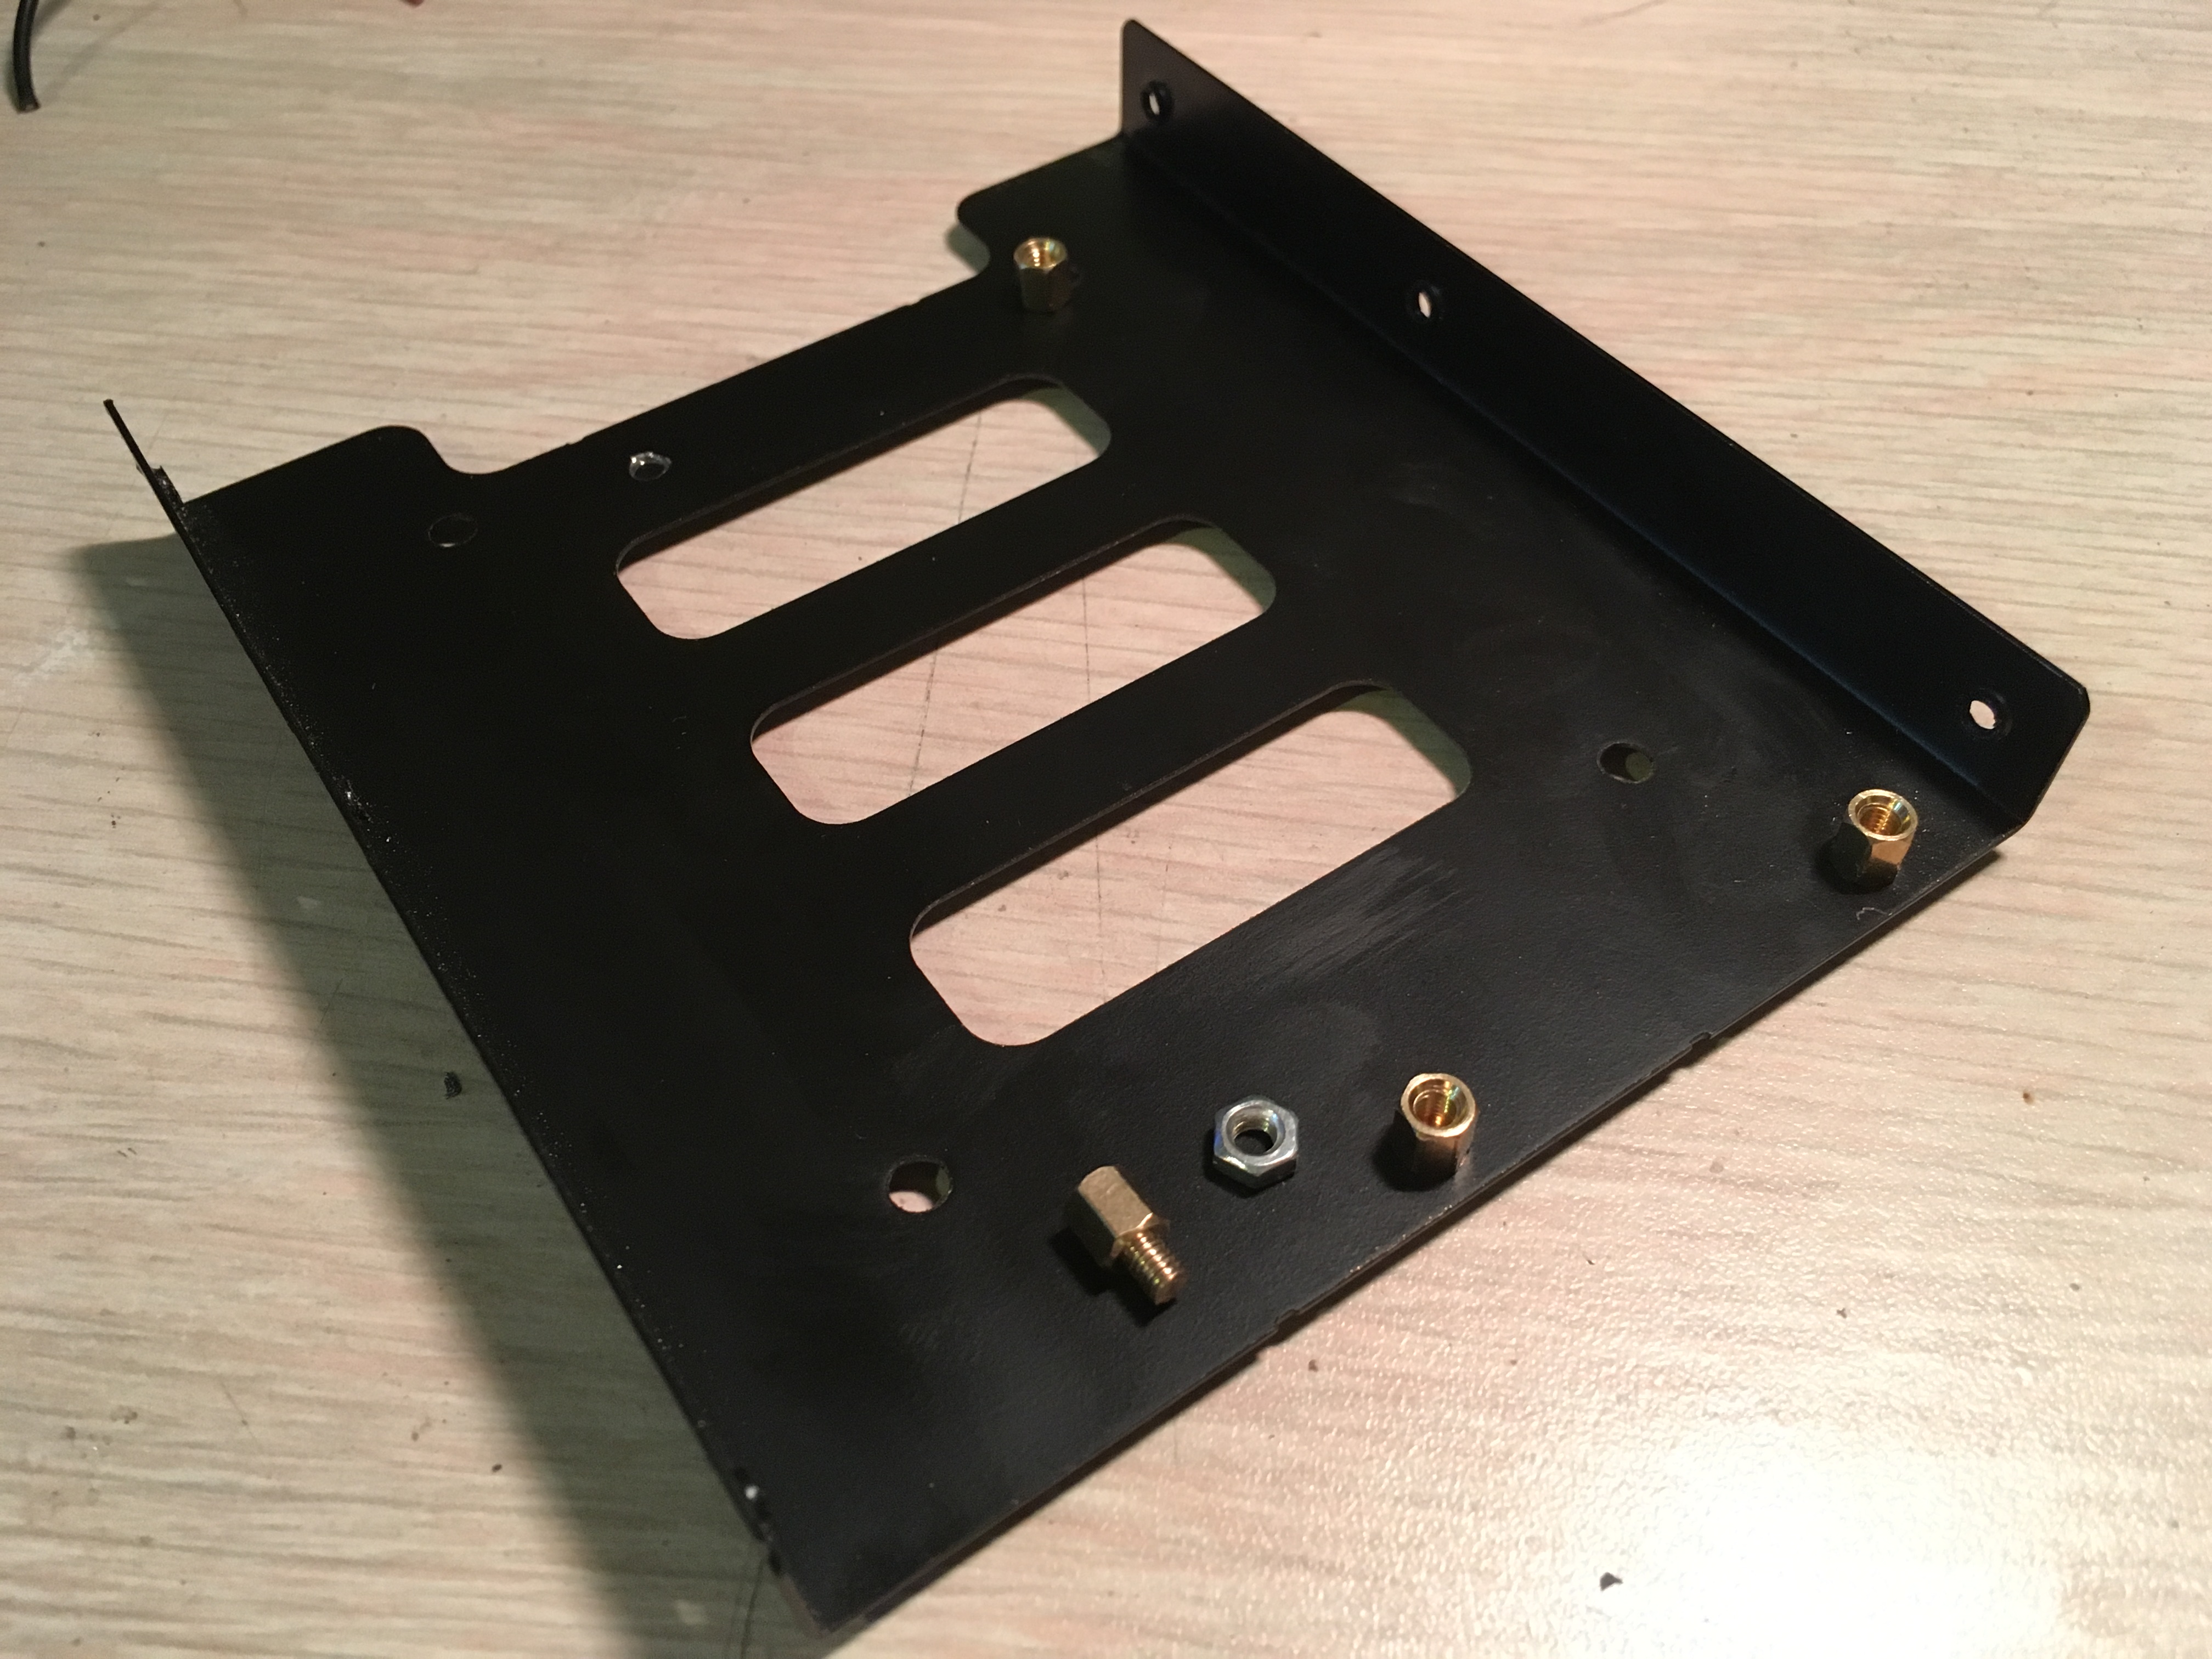
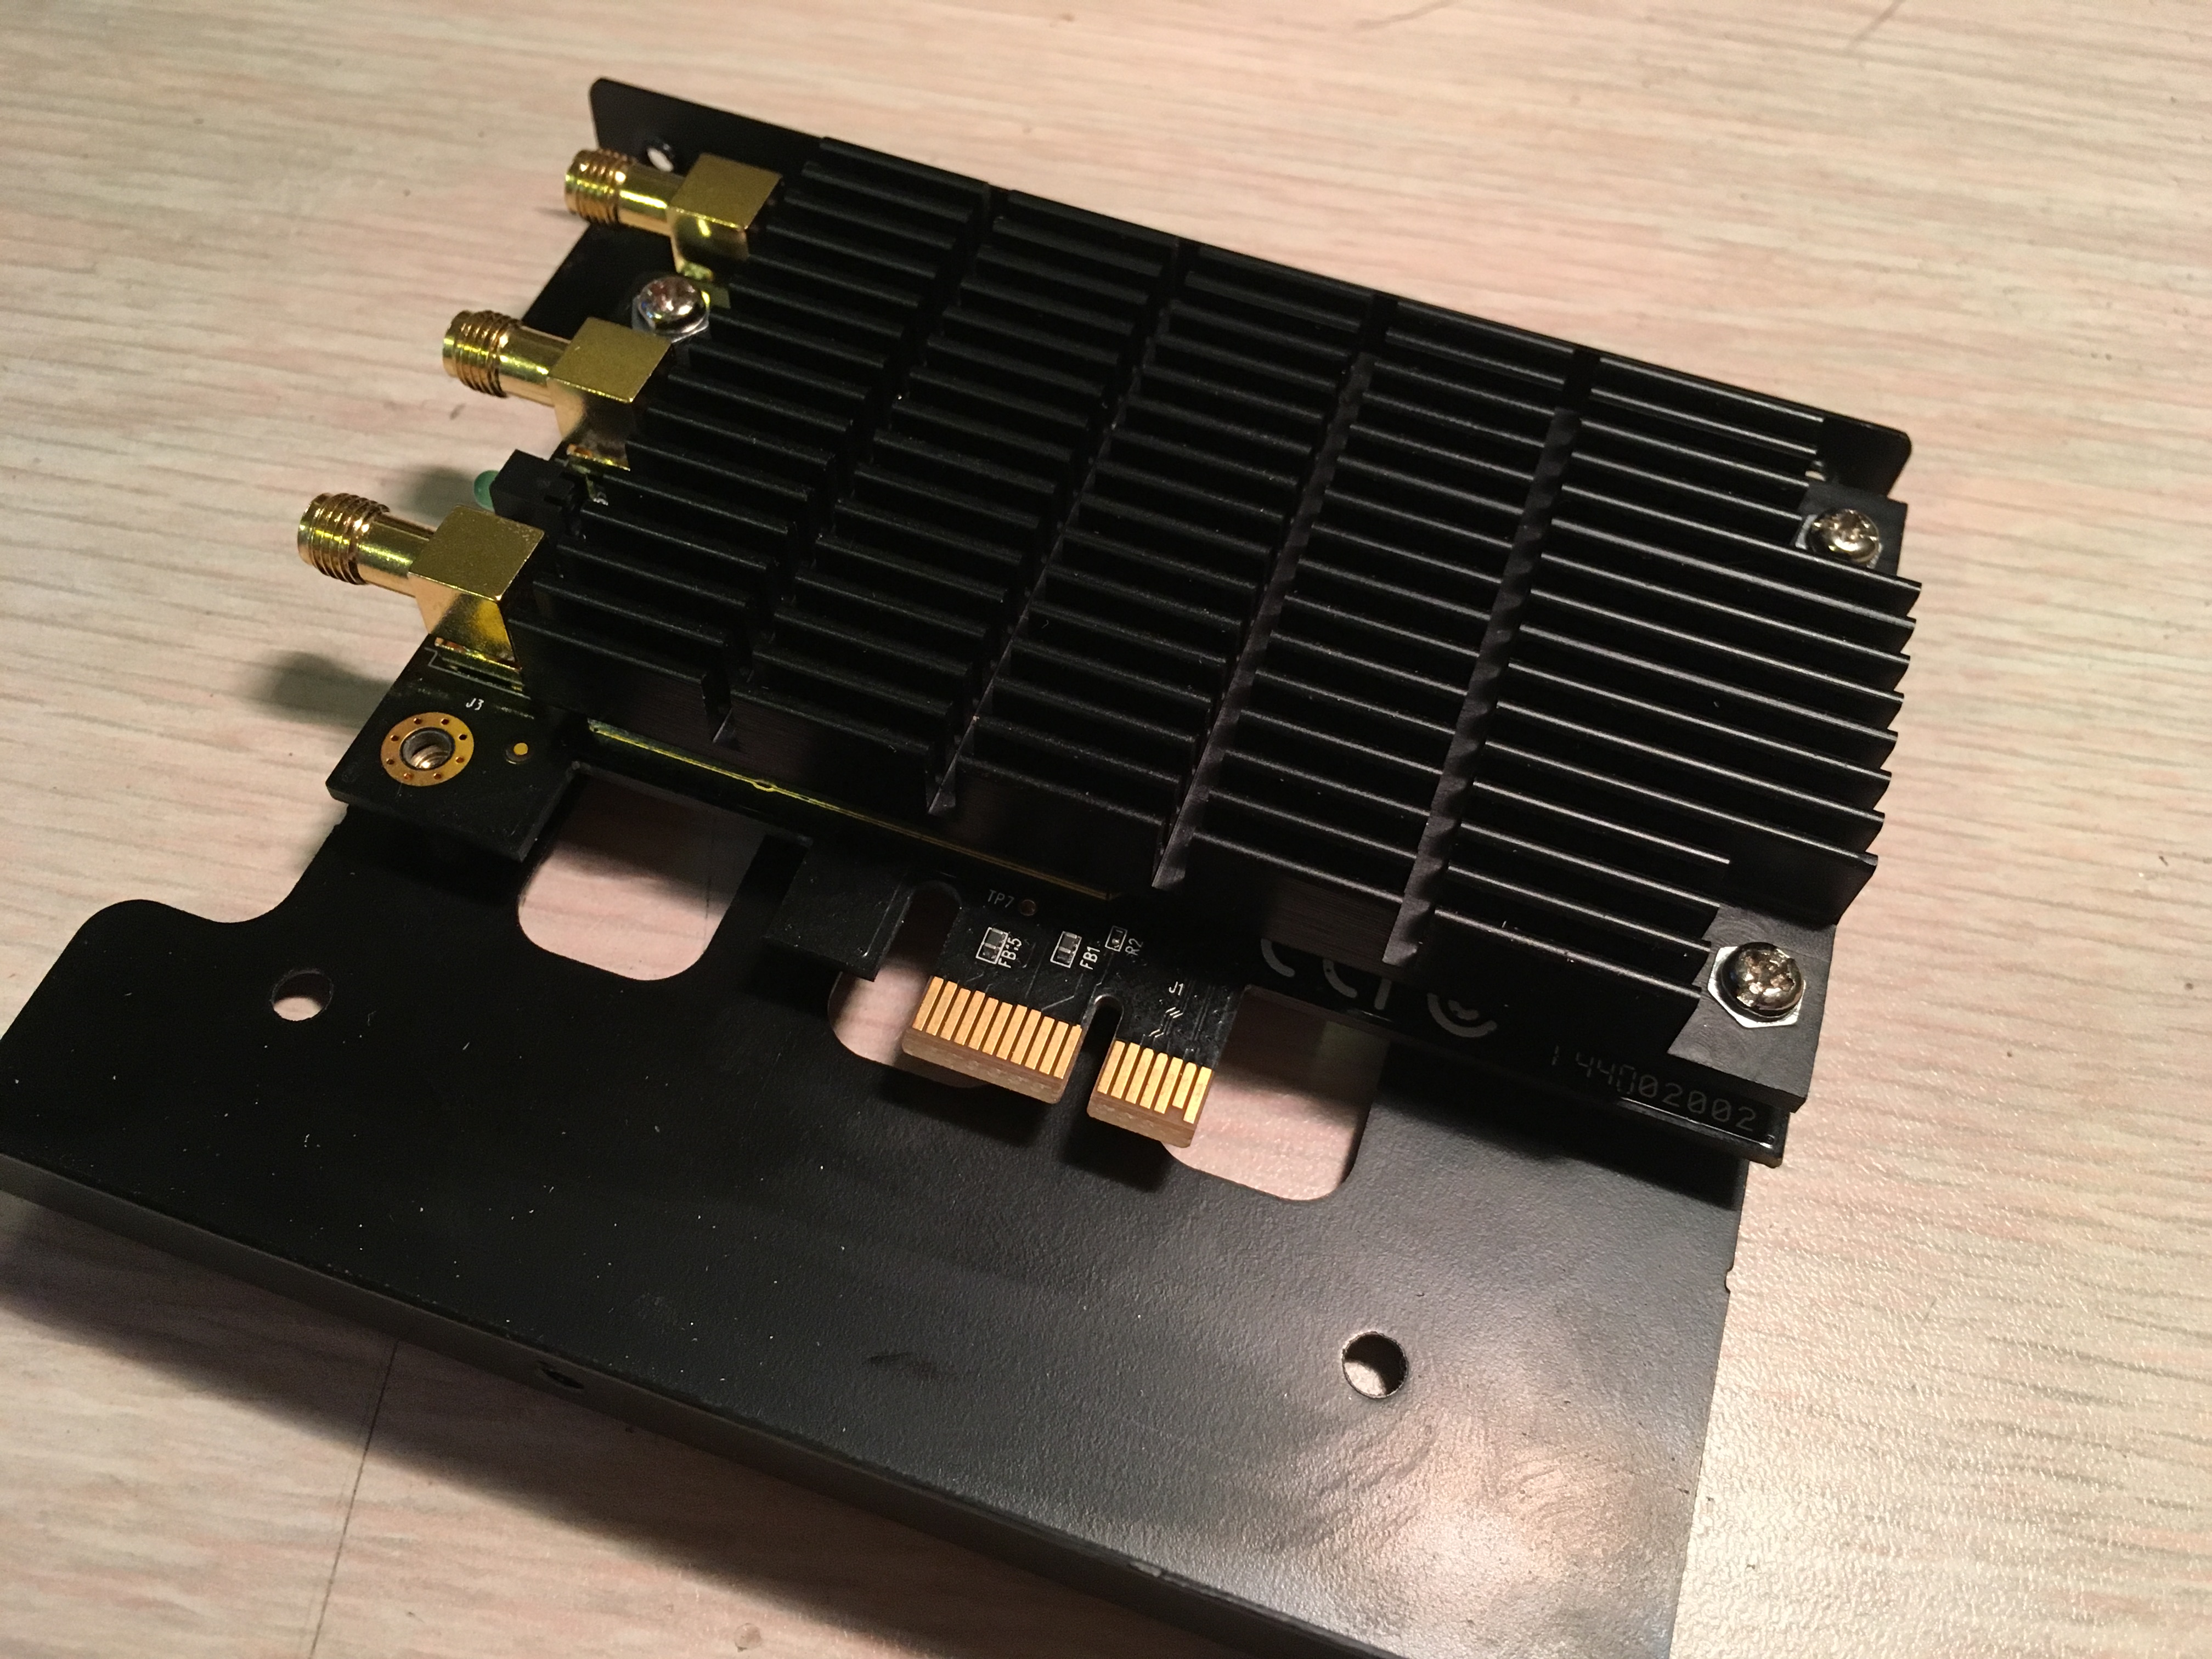
Attaching the risers to the drive plate and then finally mounting the card. Very strong and secure.
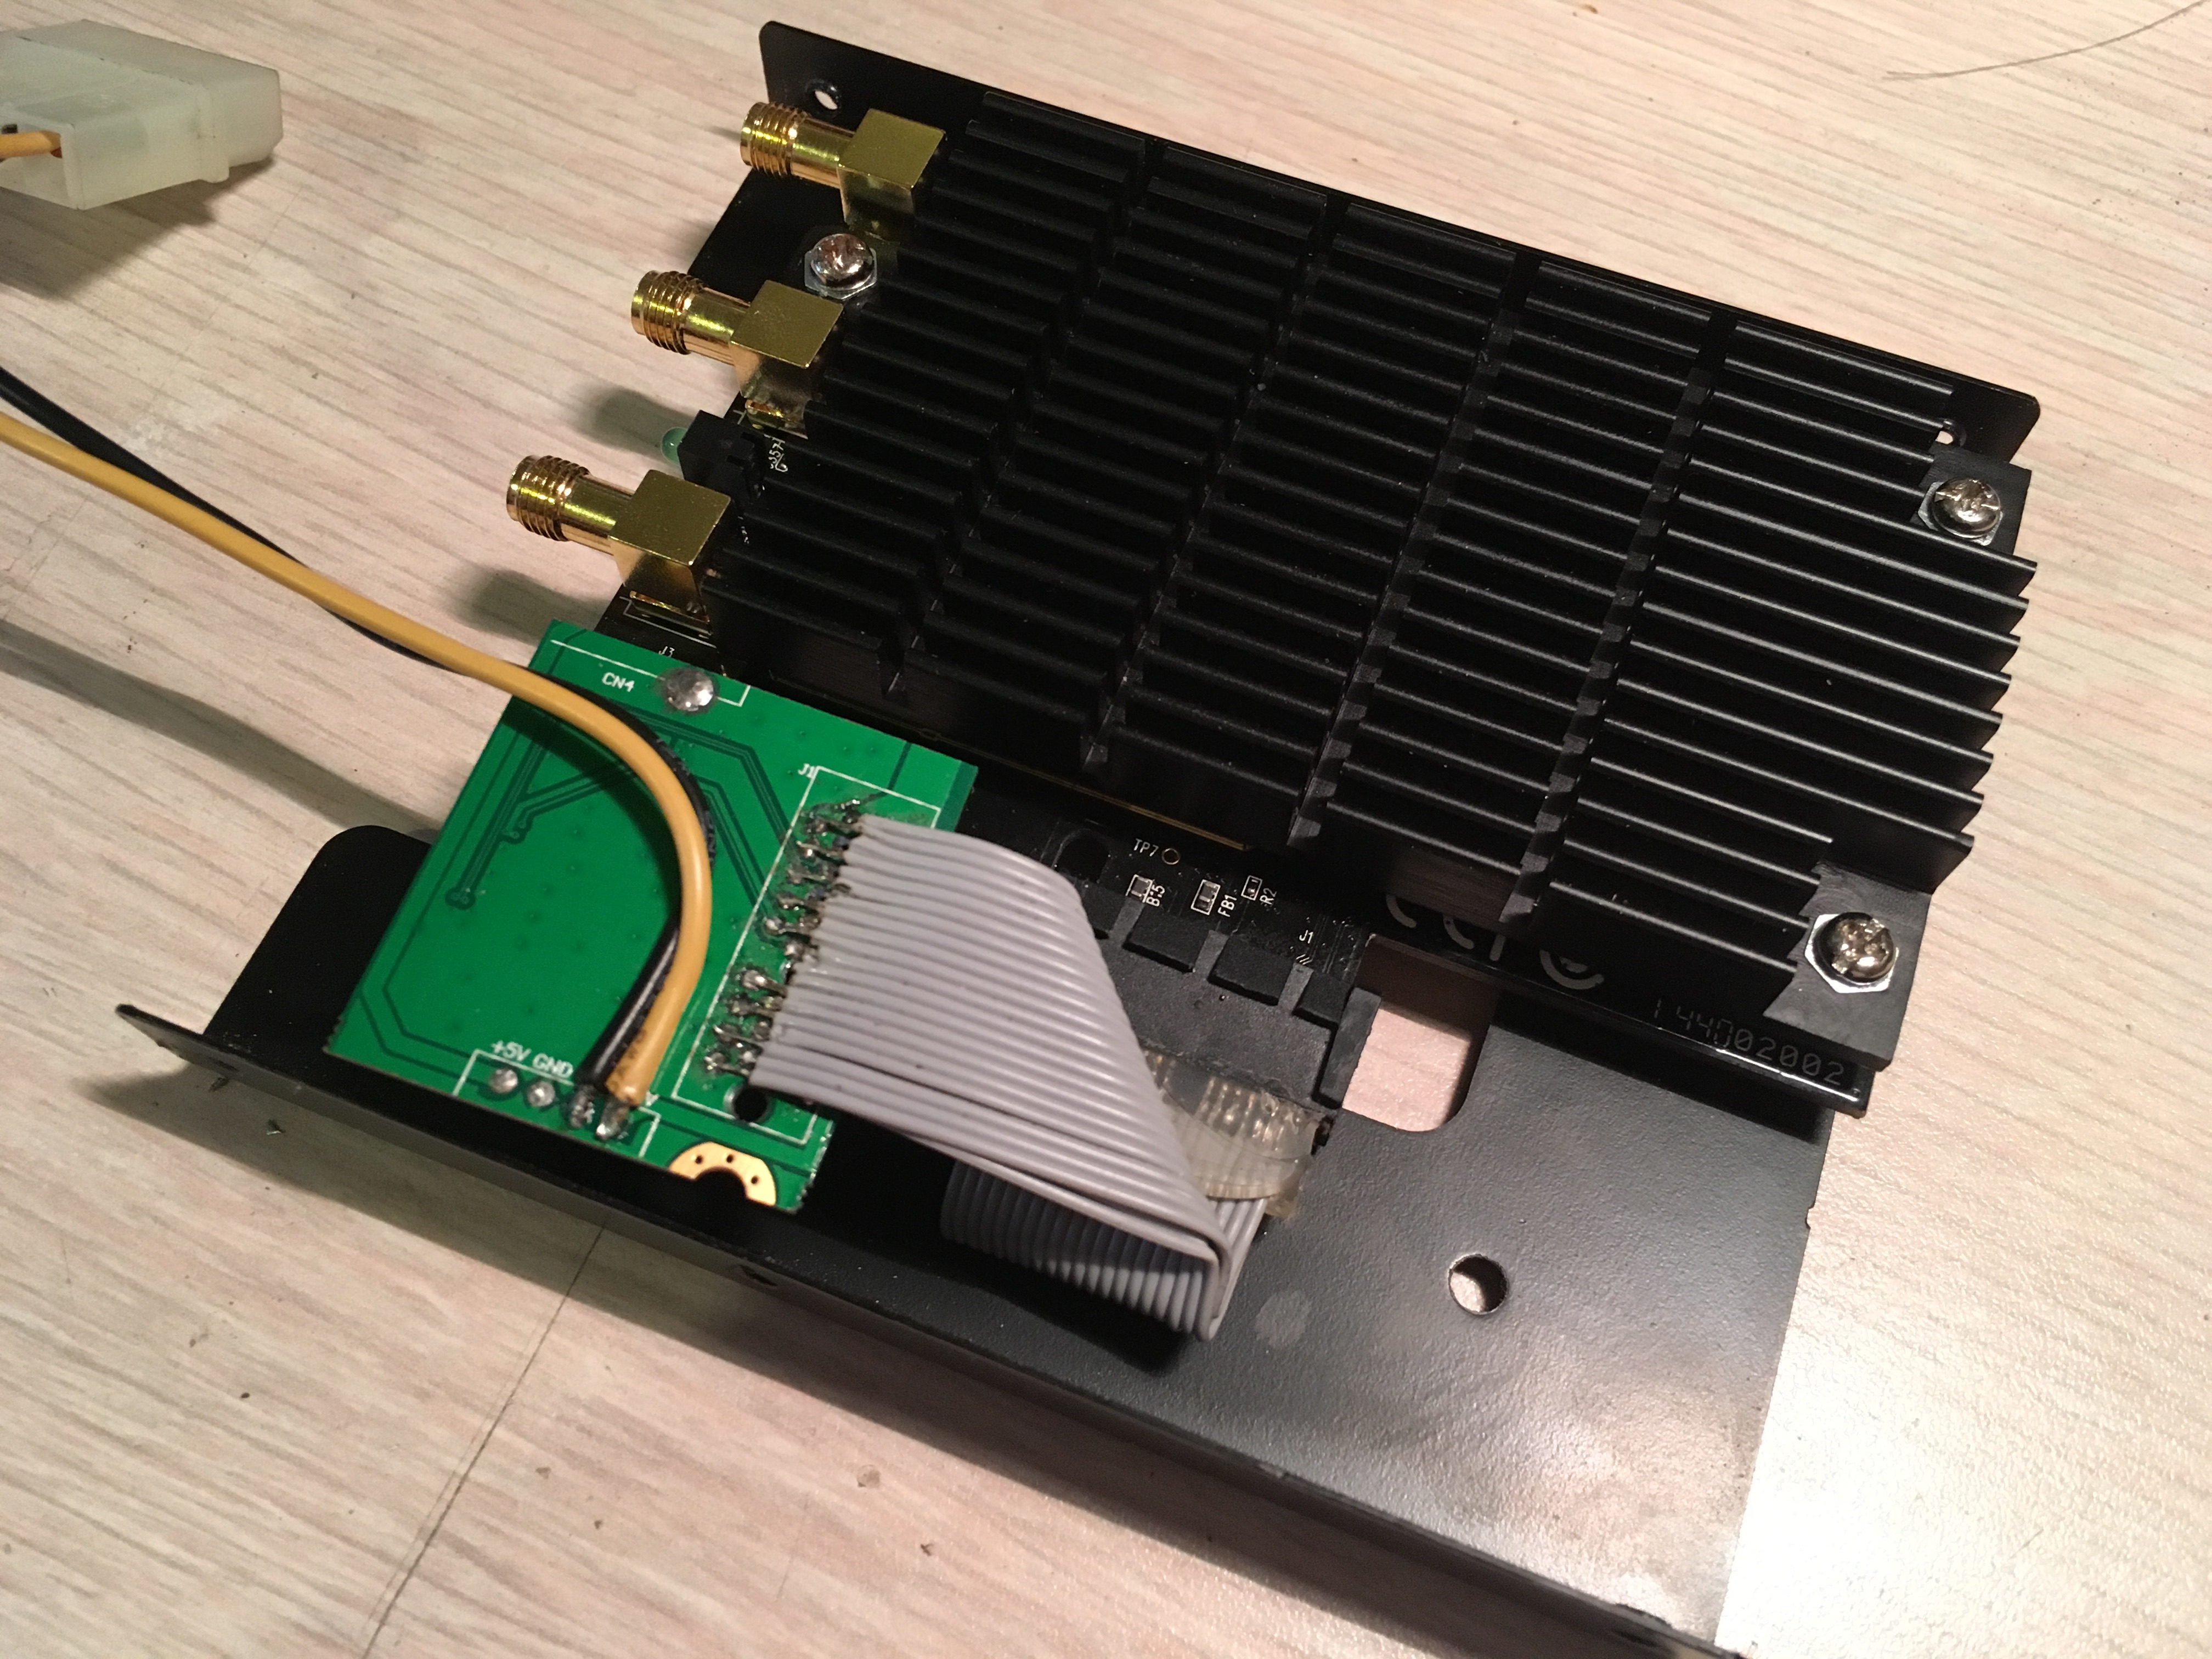
Next a bit of cable folding and the adapter cable and interface board fit perfectly inside the constraints of the drive plate. Lastly a bit of tape is added to ensure nothing shorts with the exposed wires on the interface board.

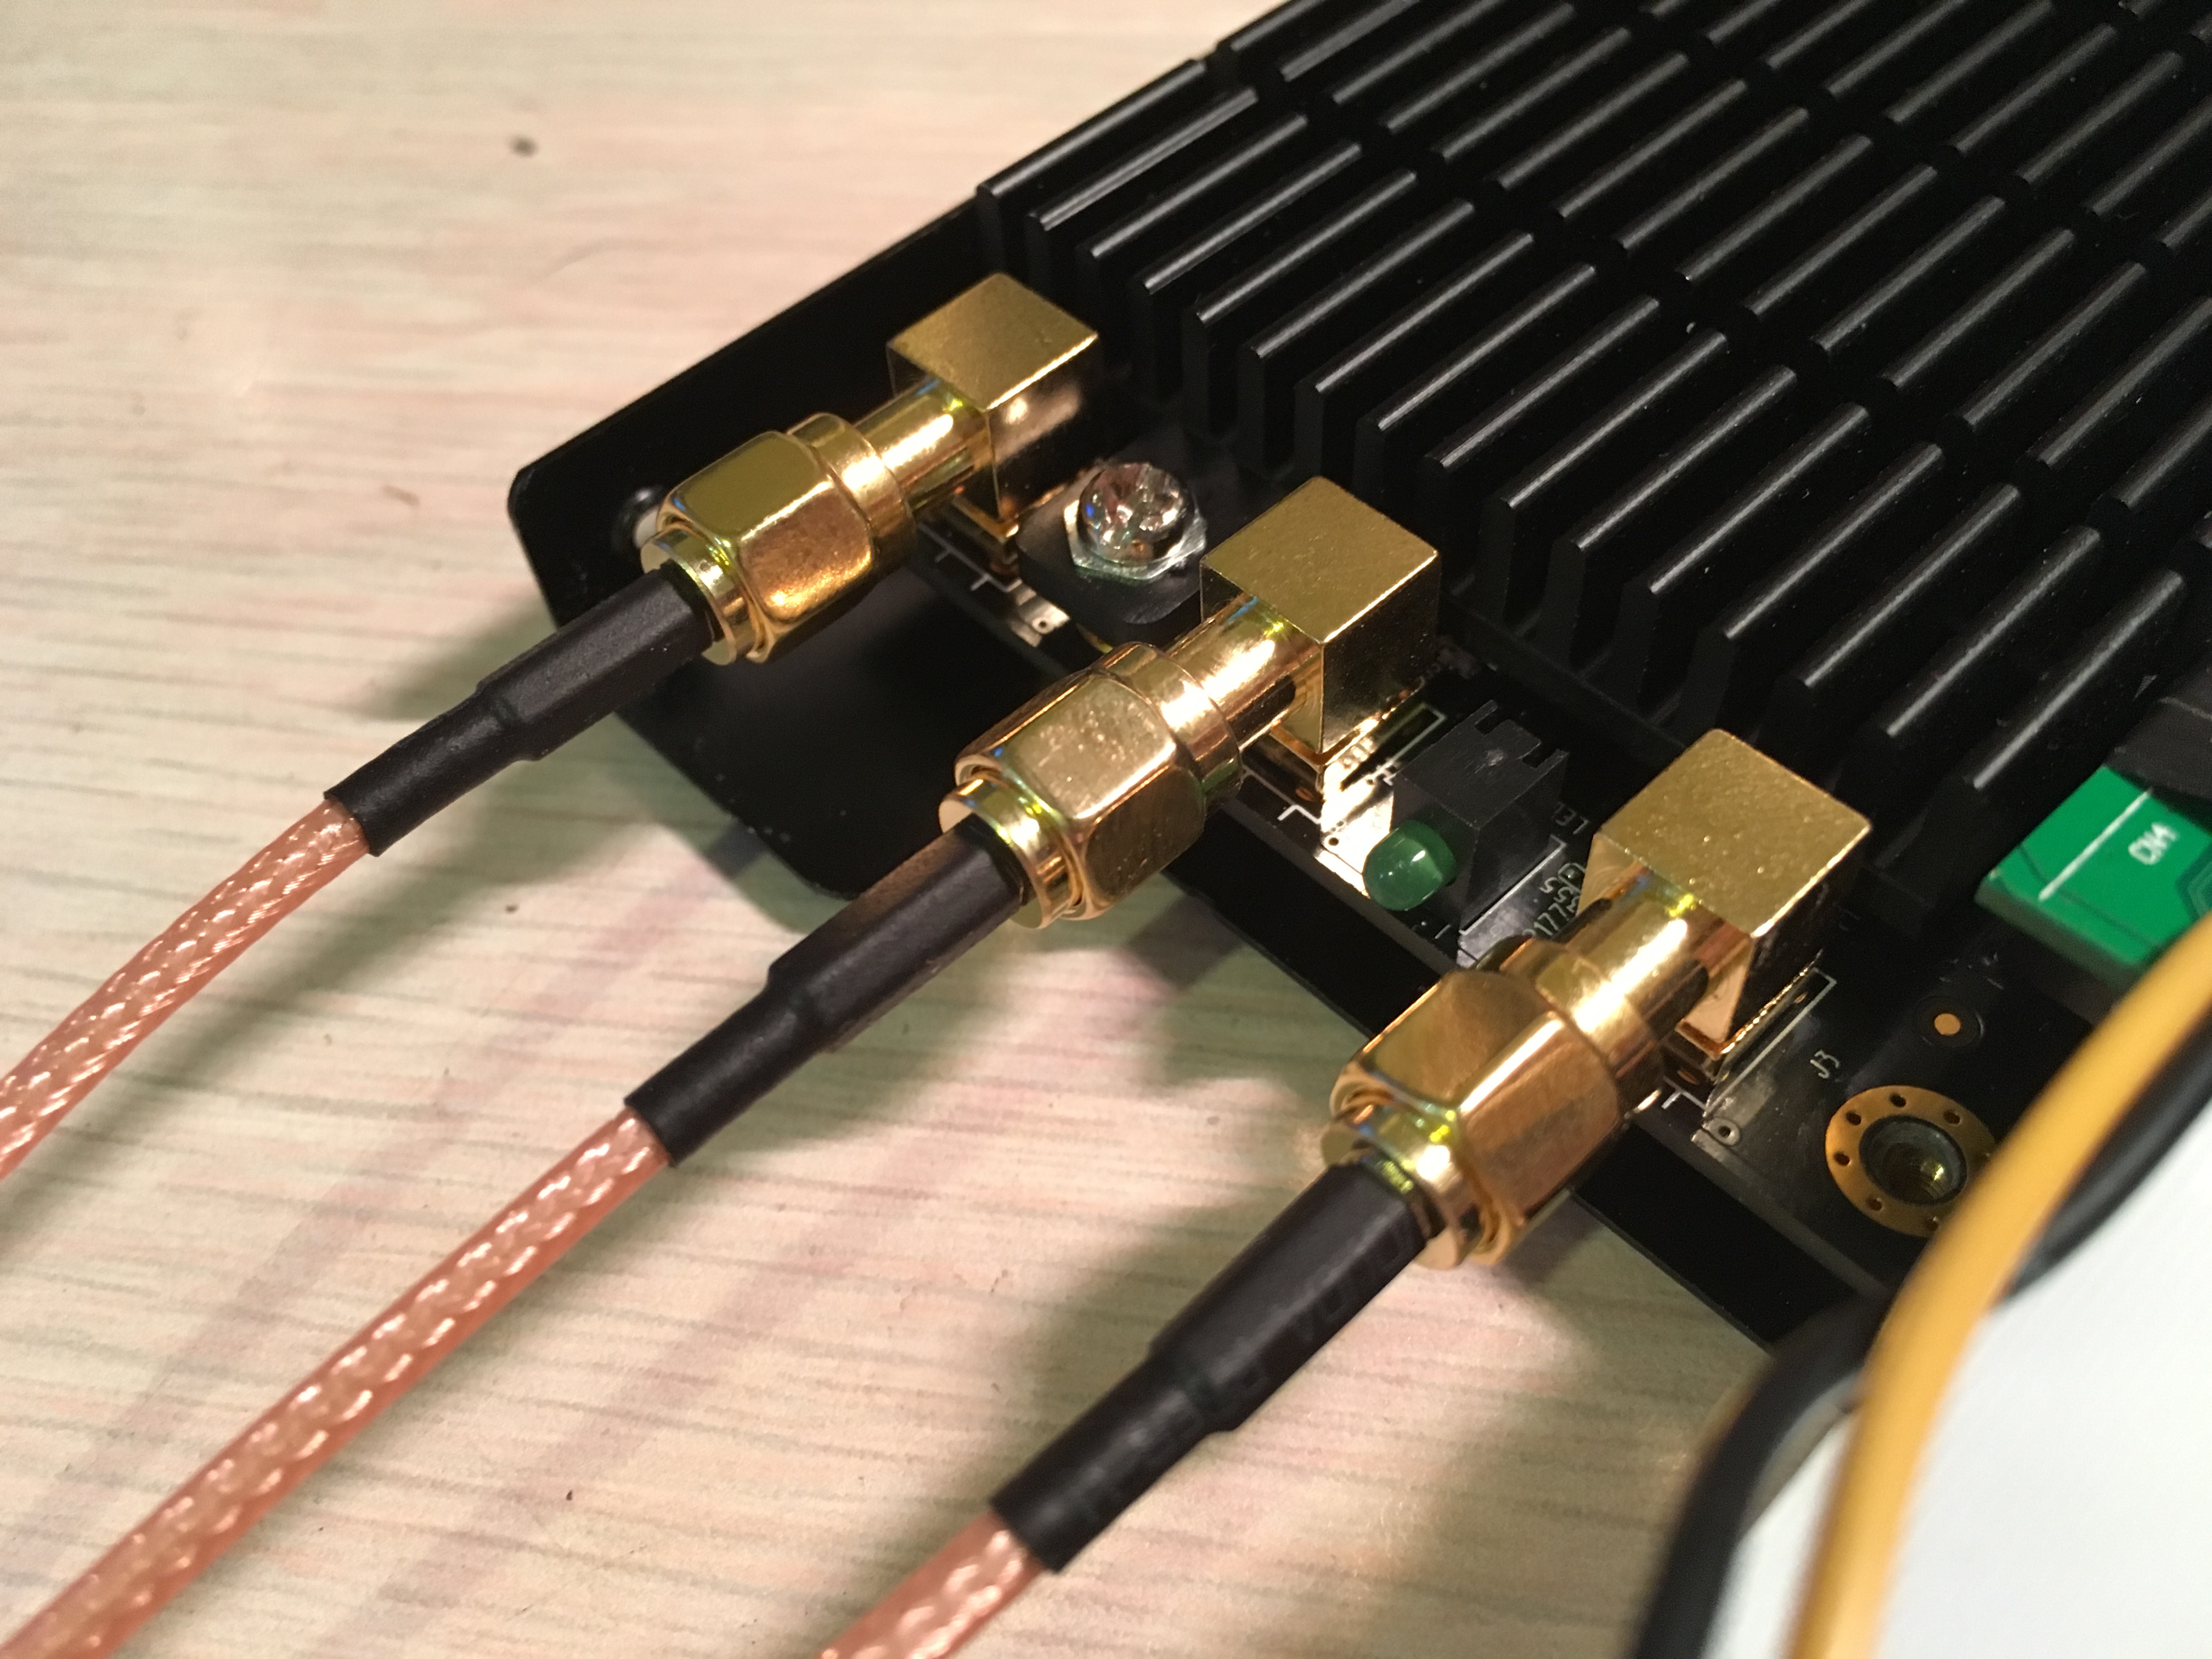
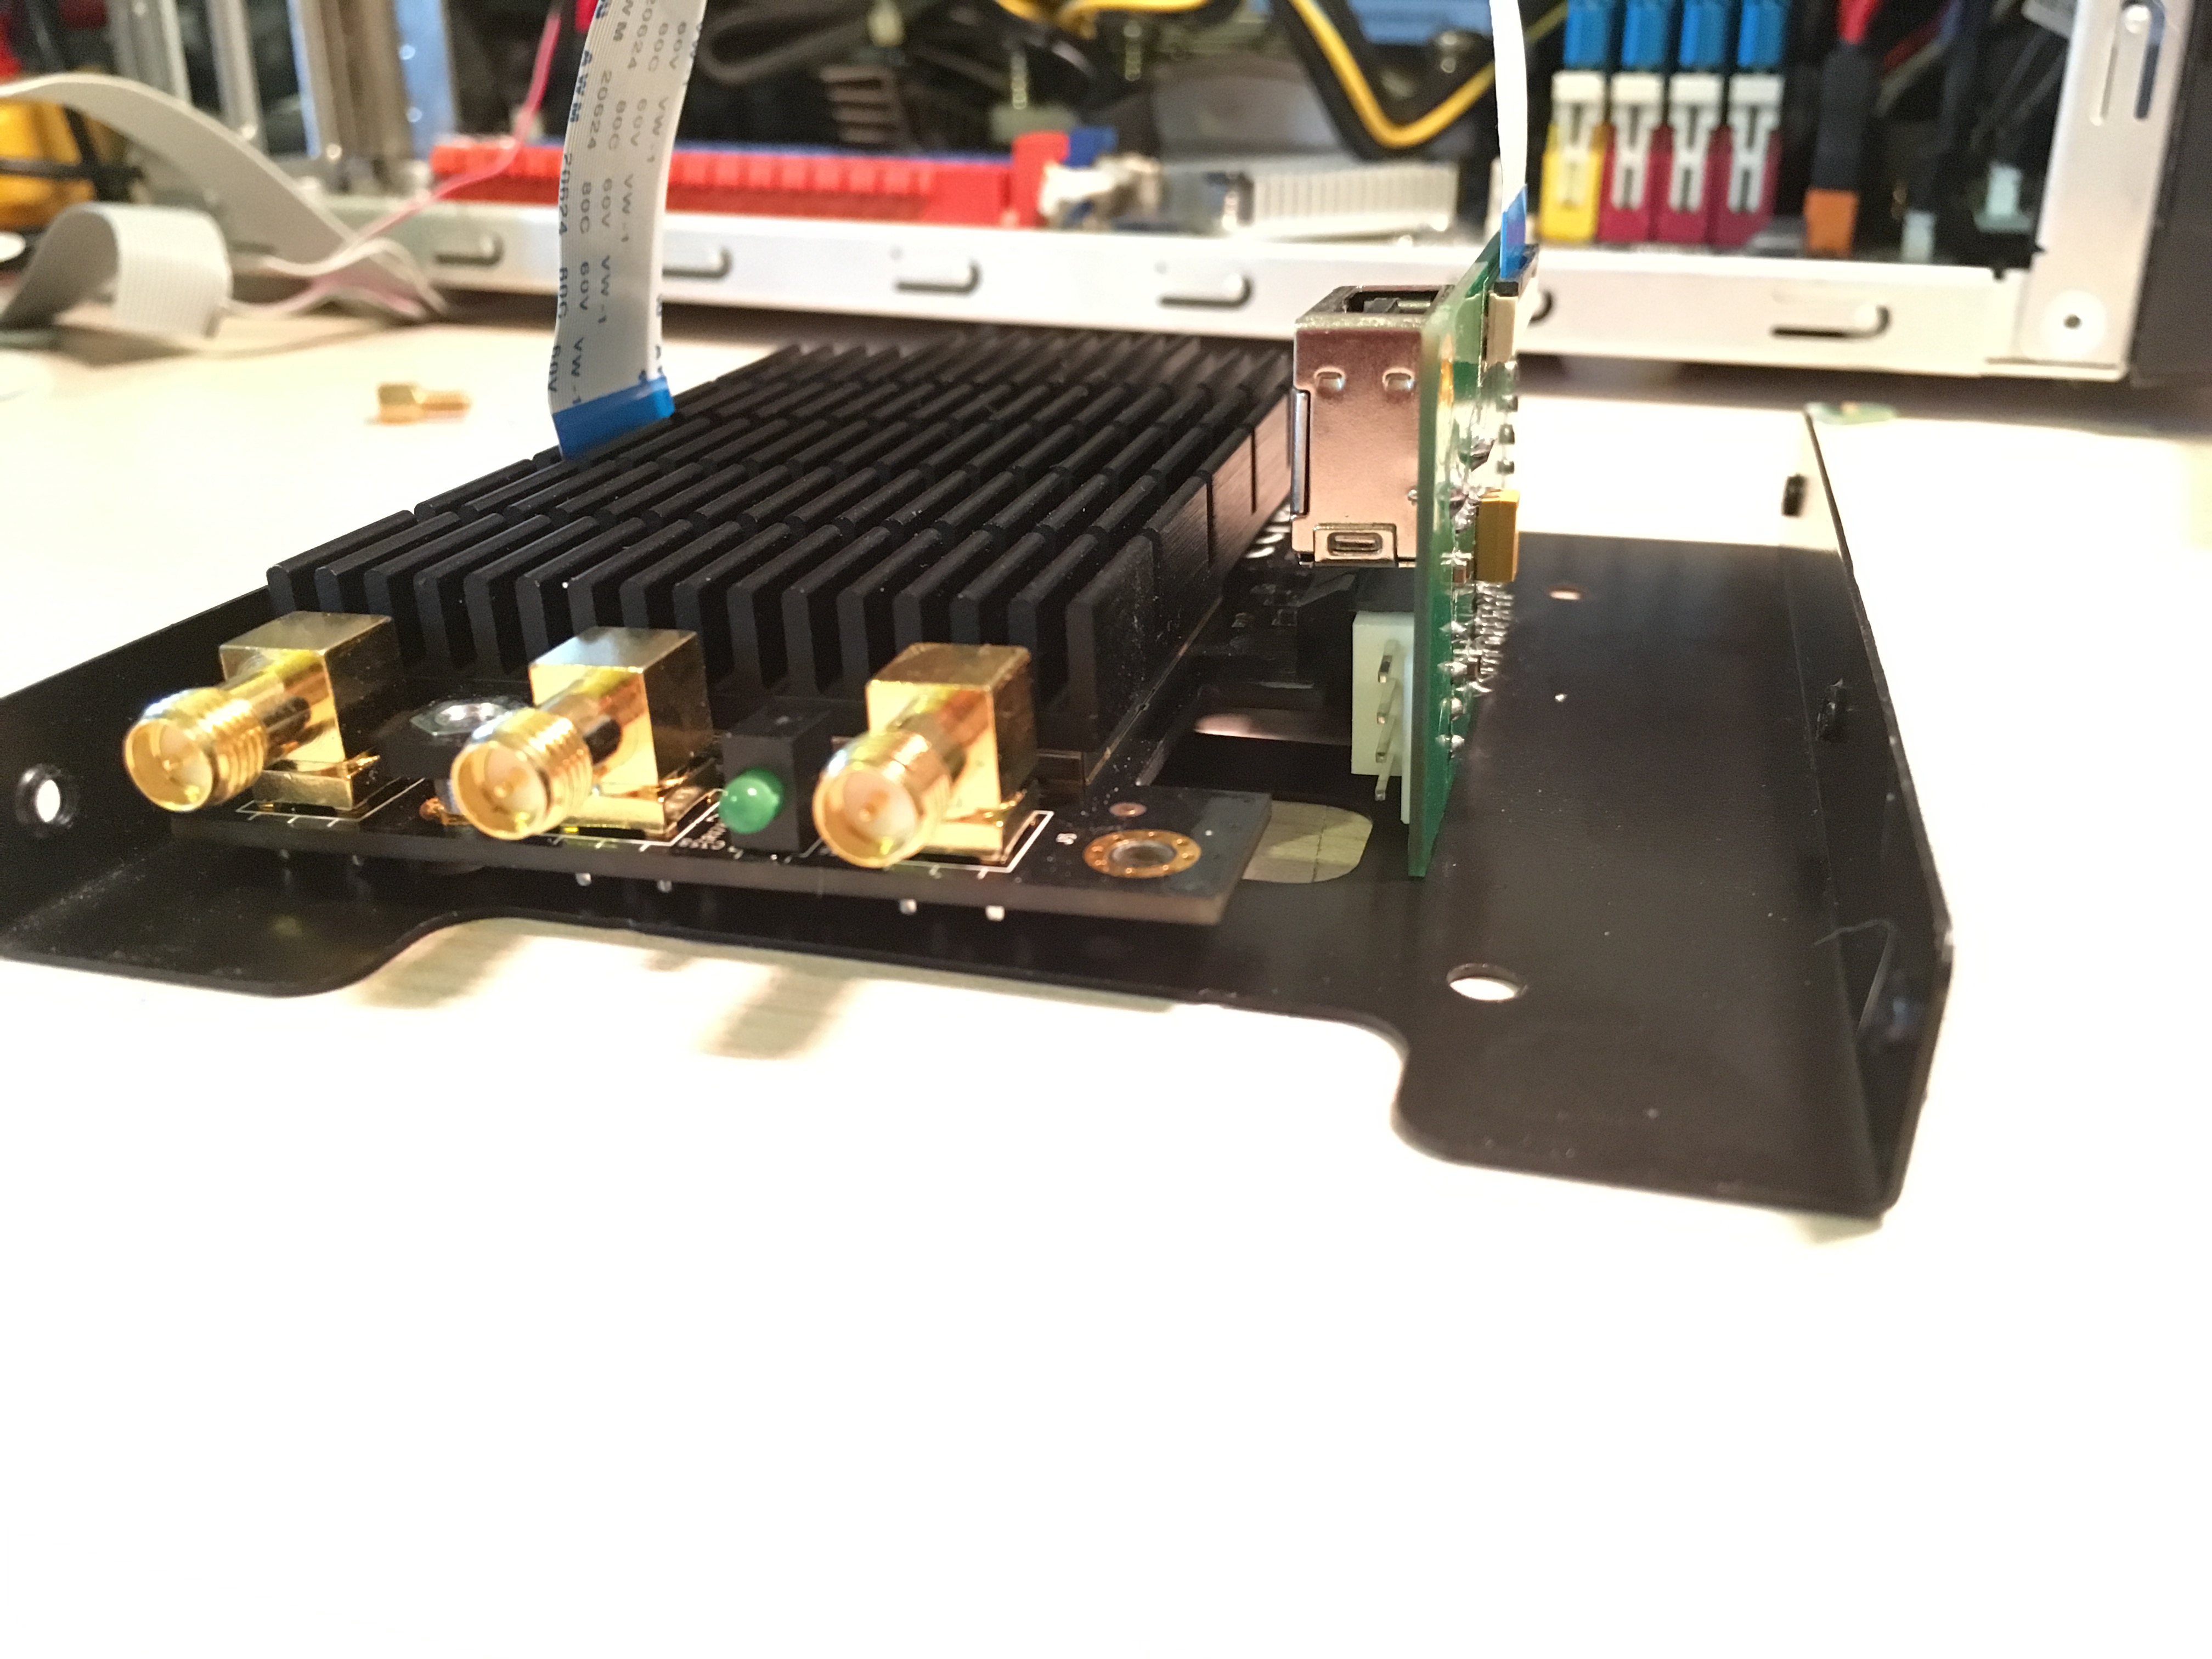
A set of antenna extensions is then added to the card and a nice close up of the shiny gold connectors.
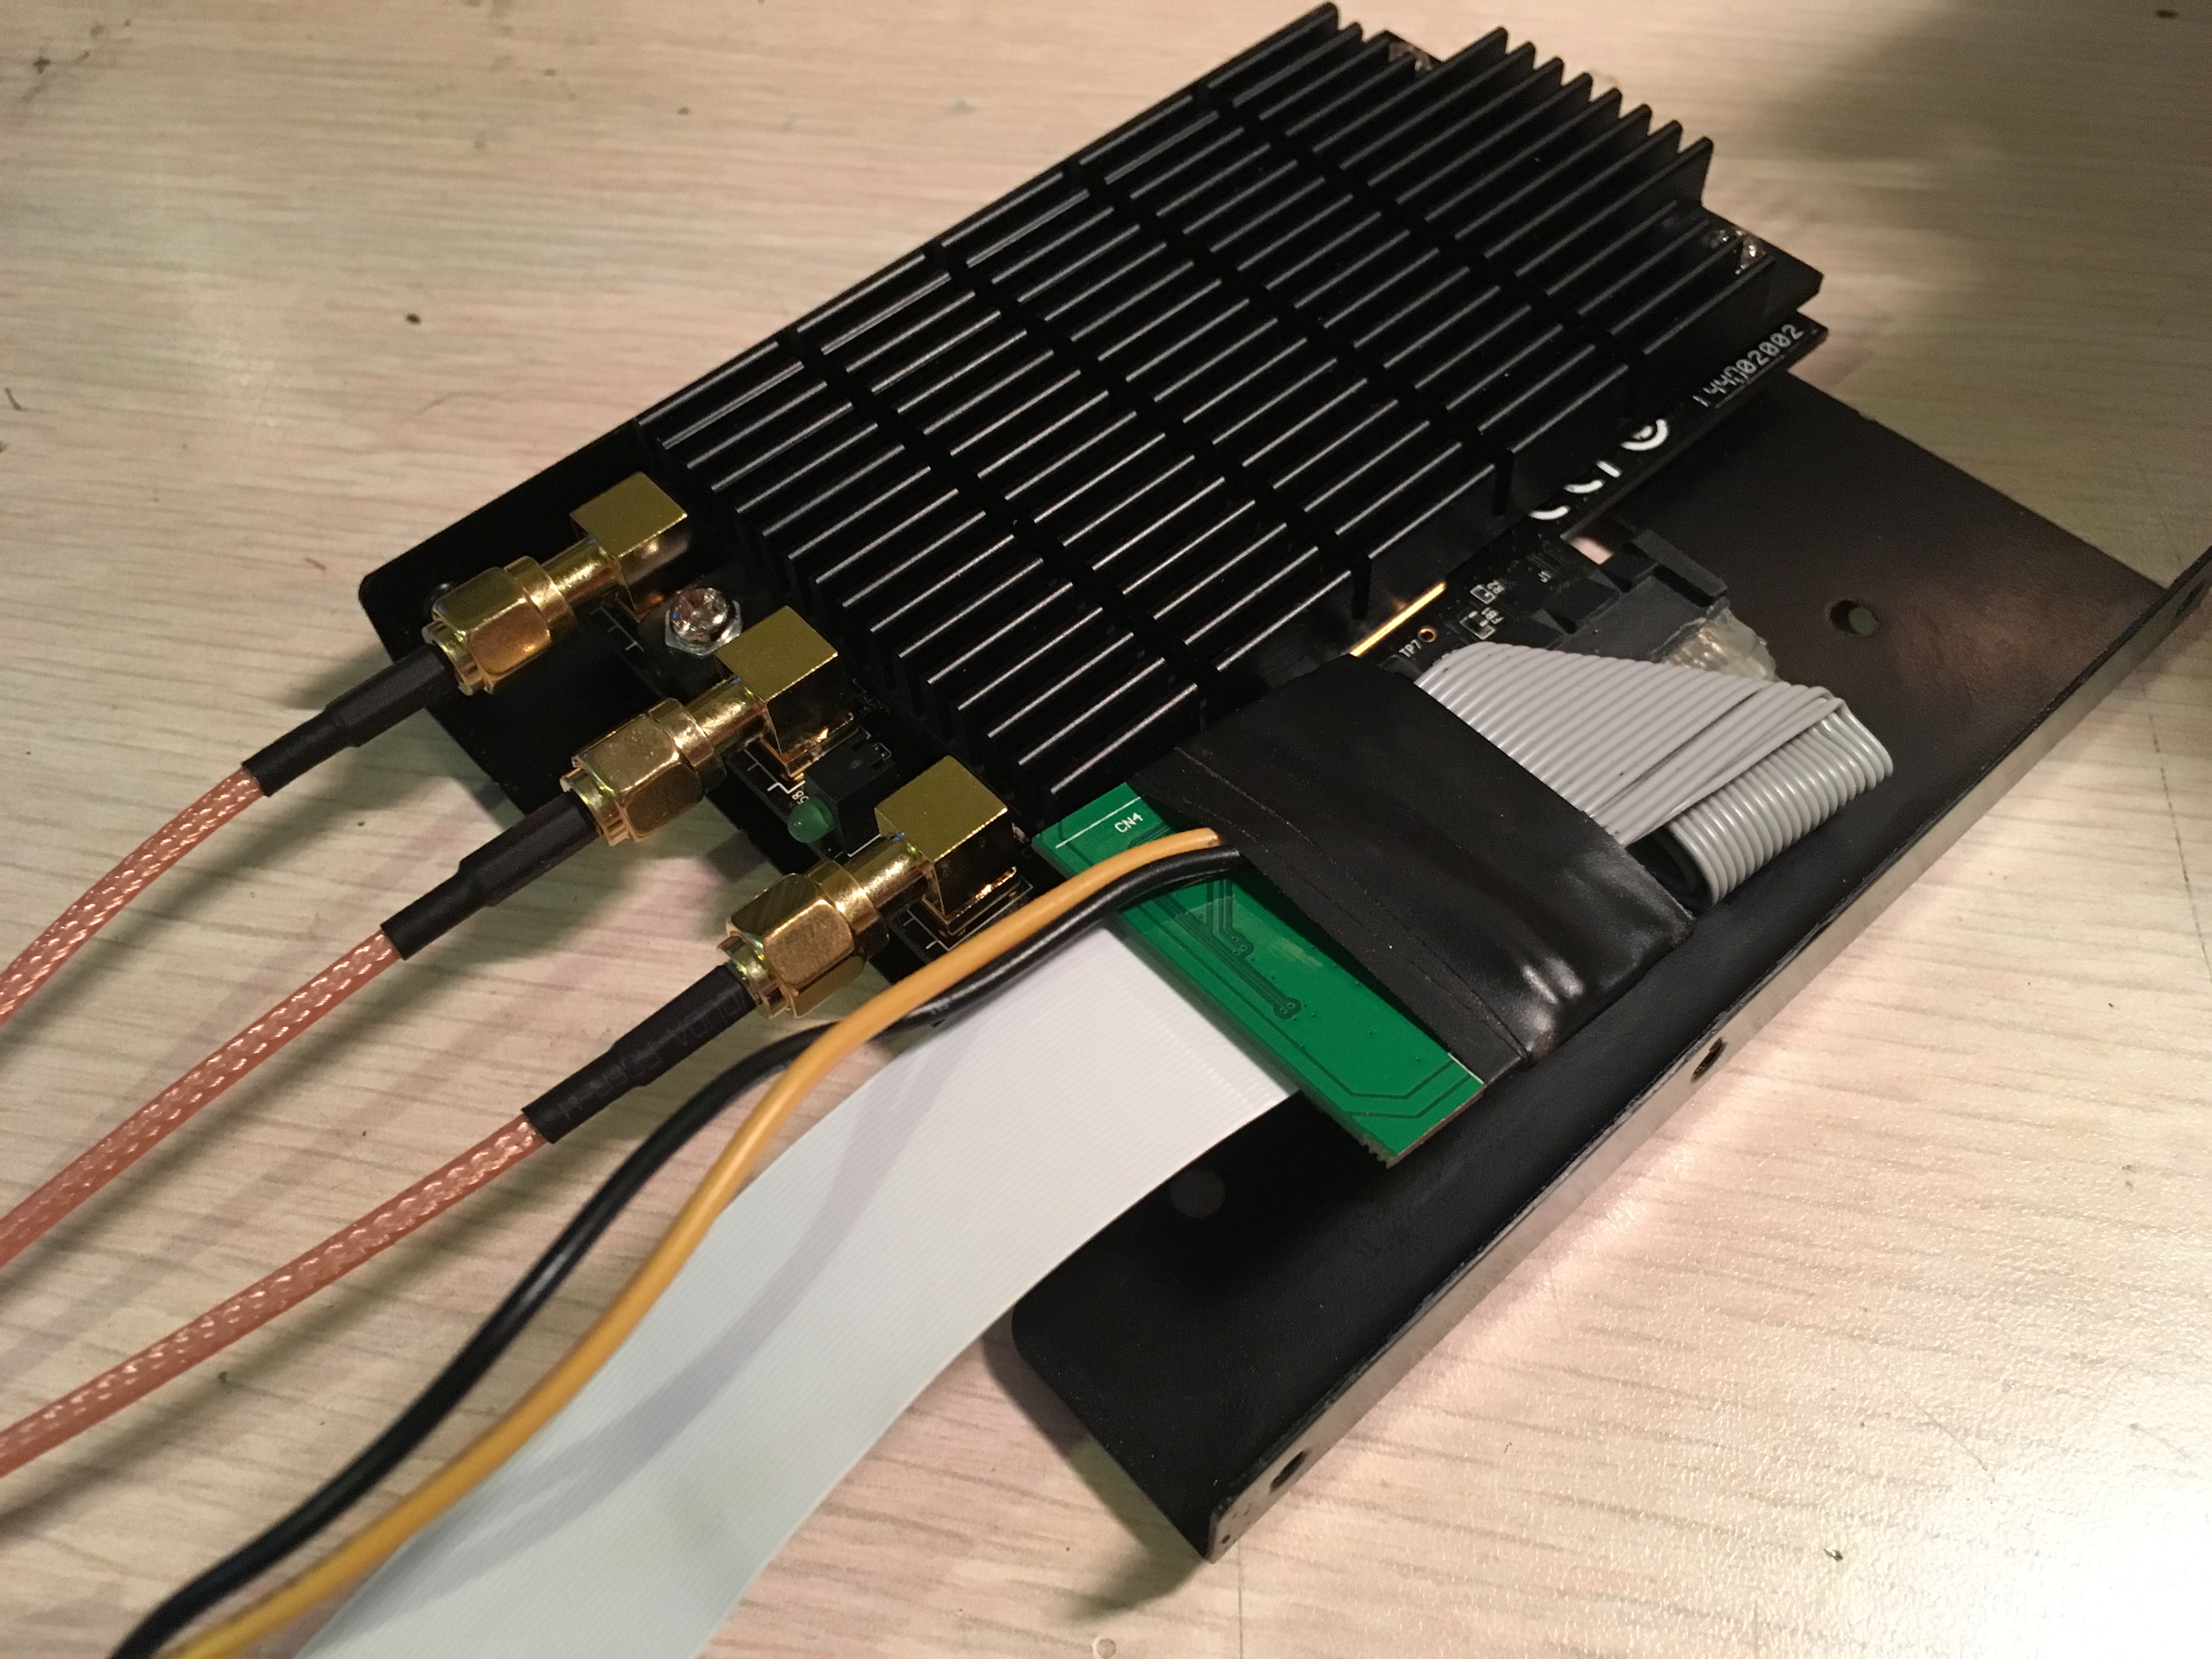
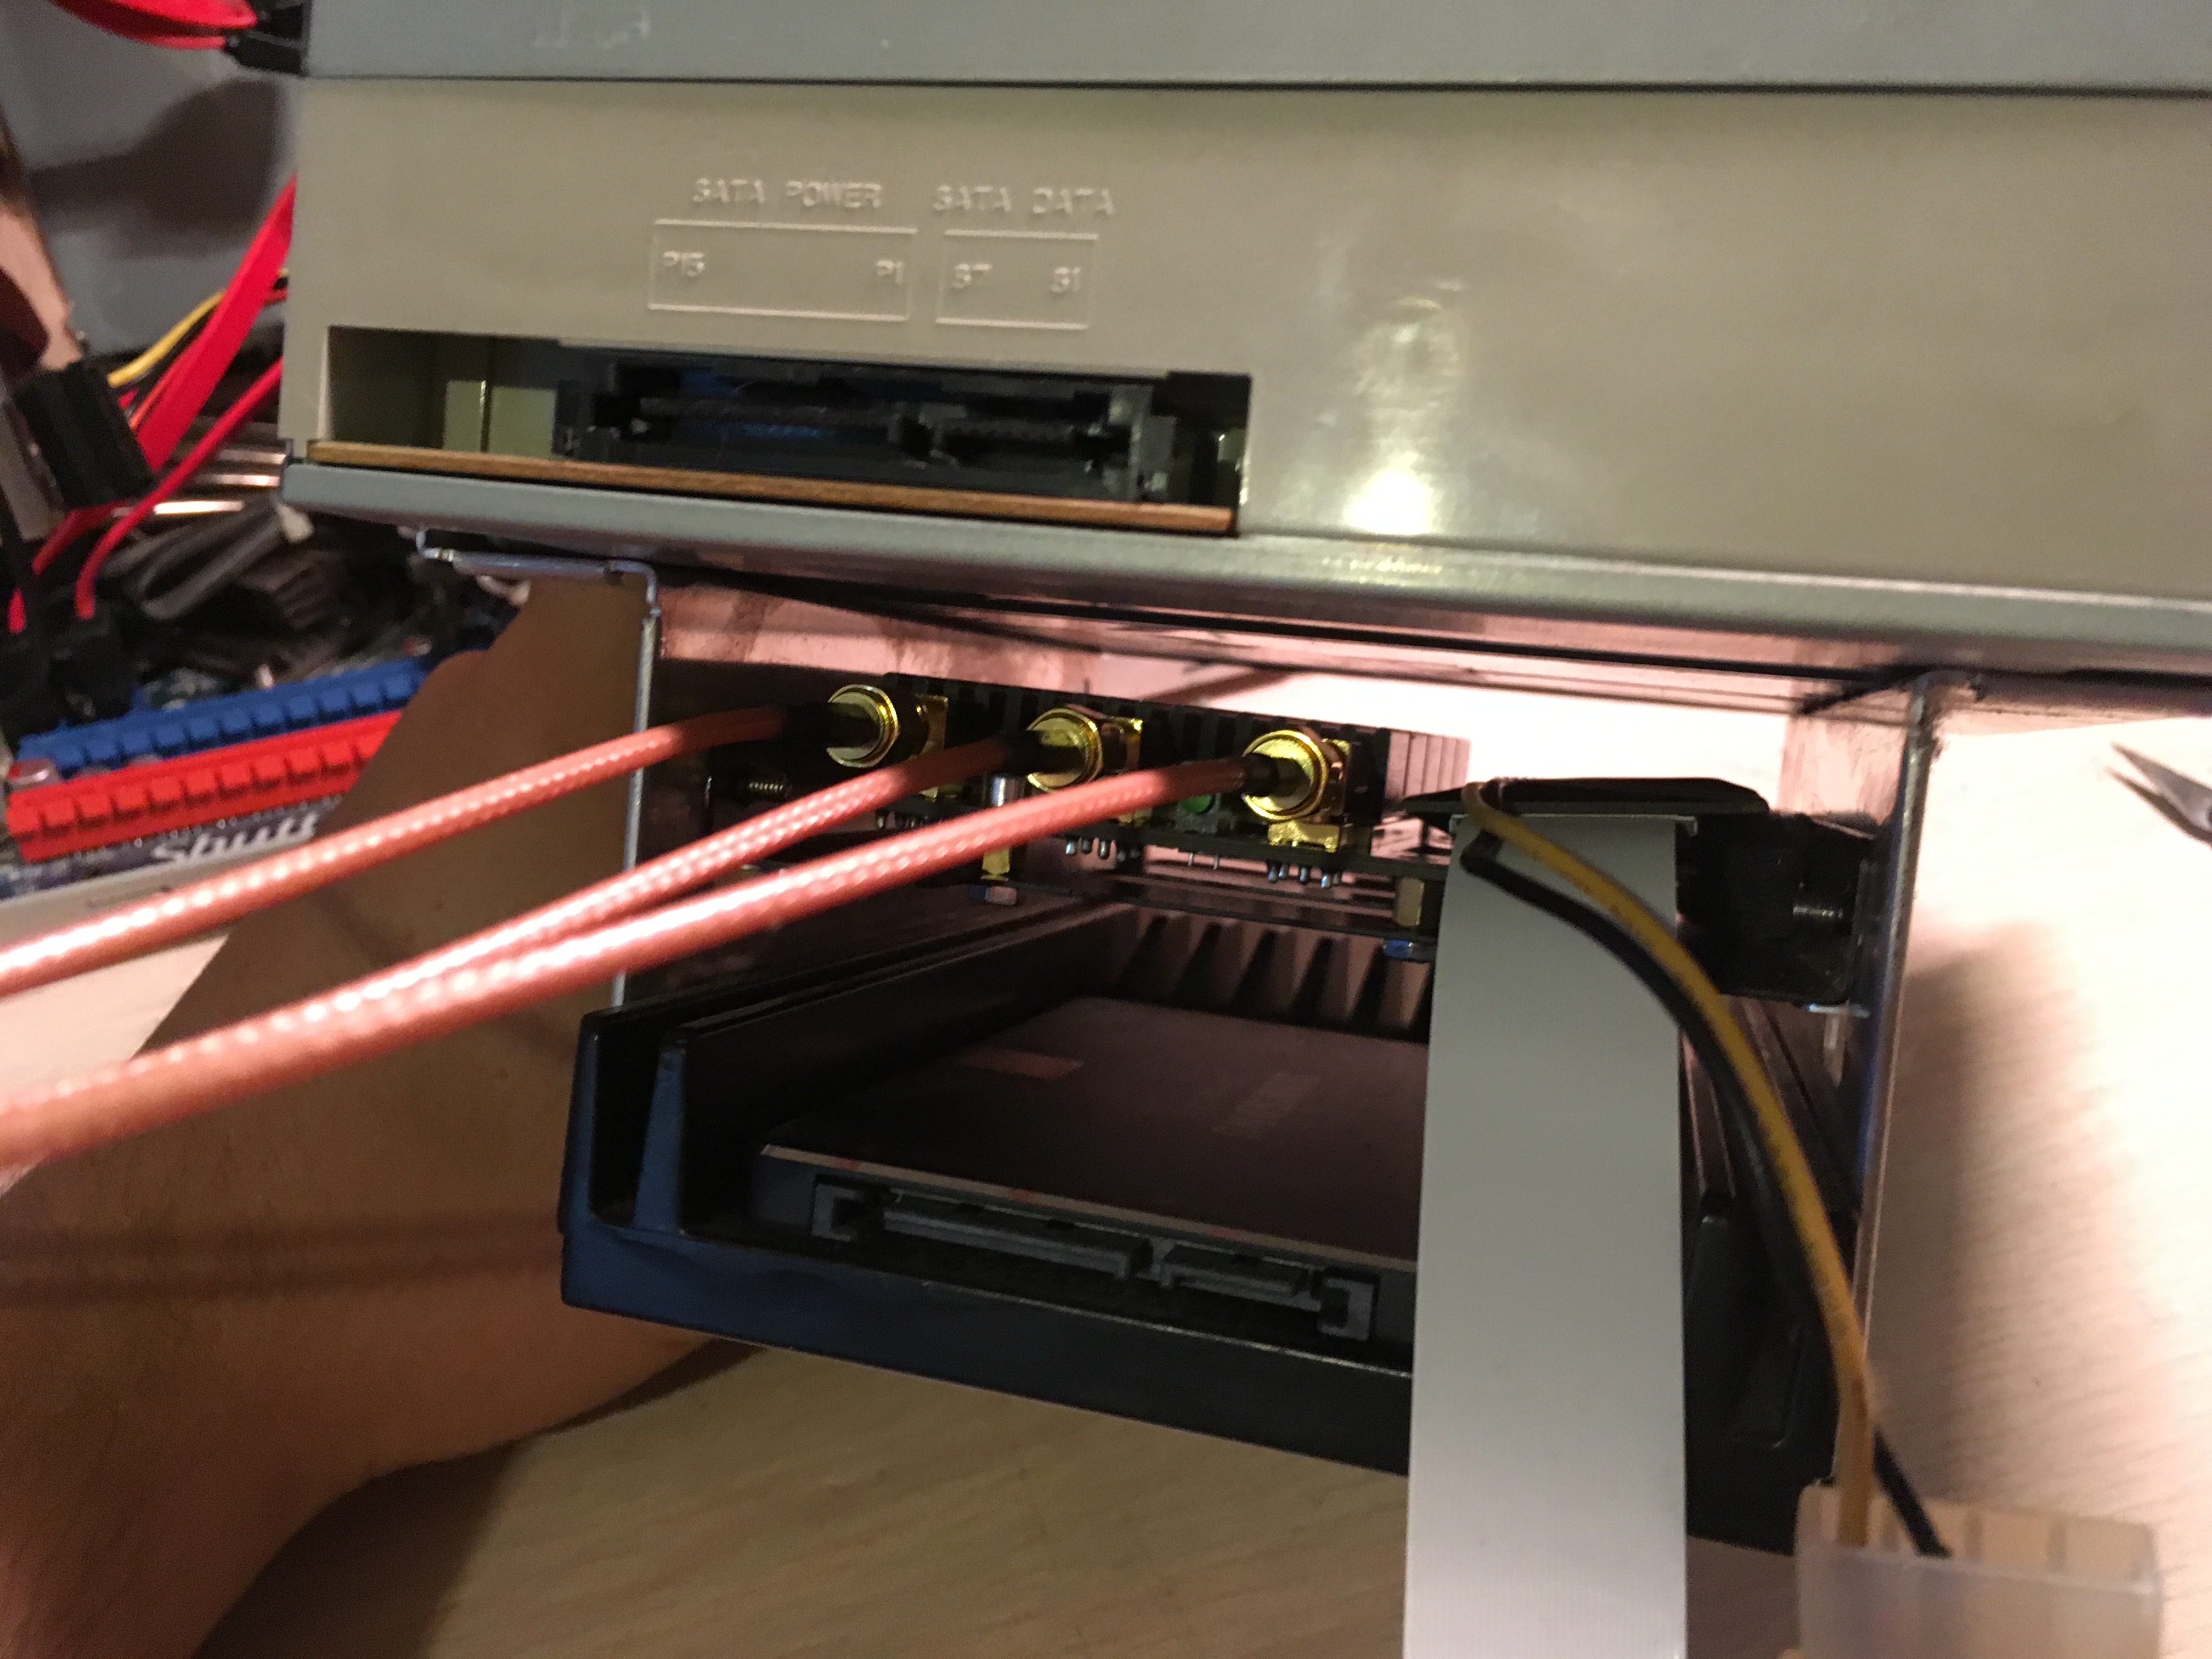
Finished shot of the whole assembly and then being inserted into an open drive bay in the shuttle bracket.

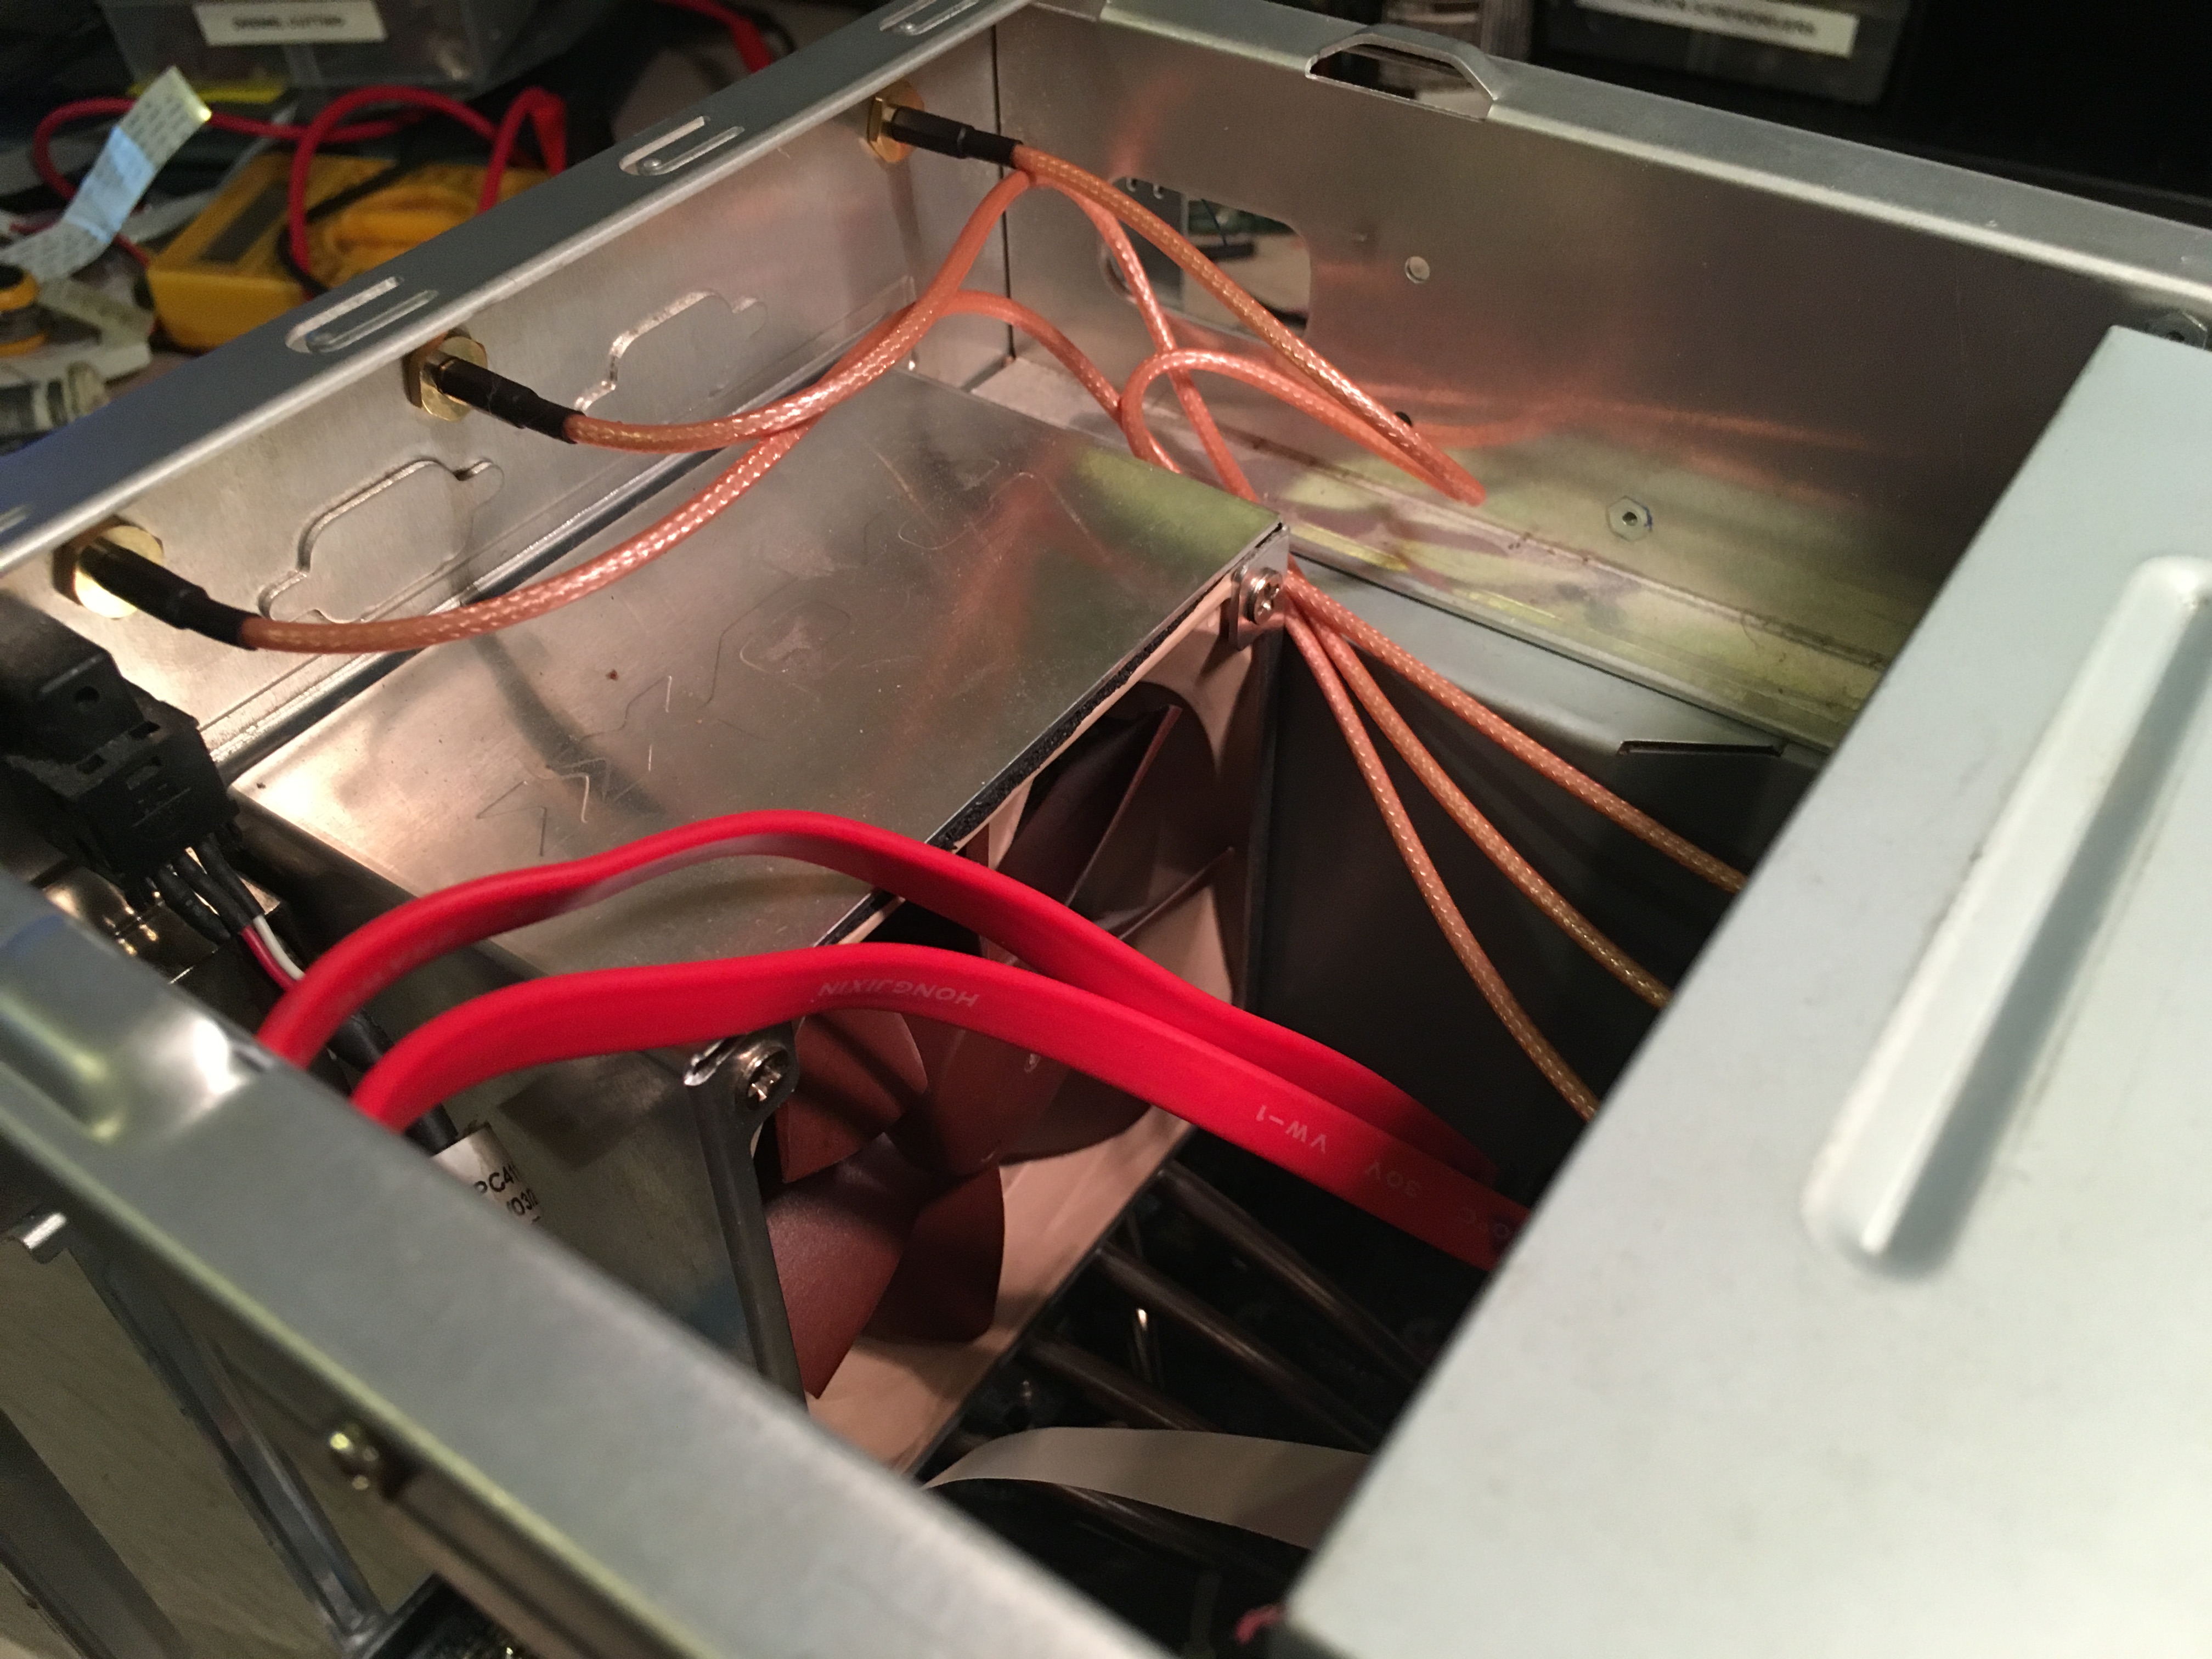
A side shot of the drive bracket and then installed with the antennas routed out of the back of the shuttle.
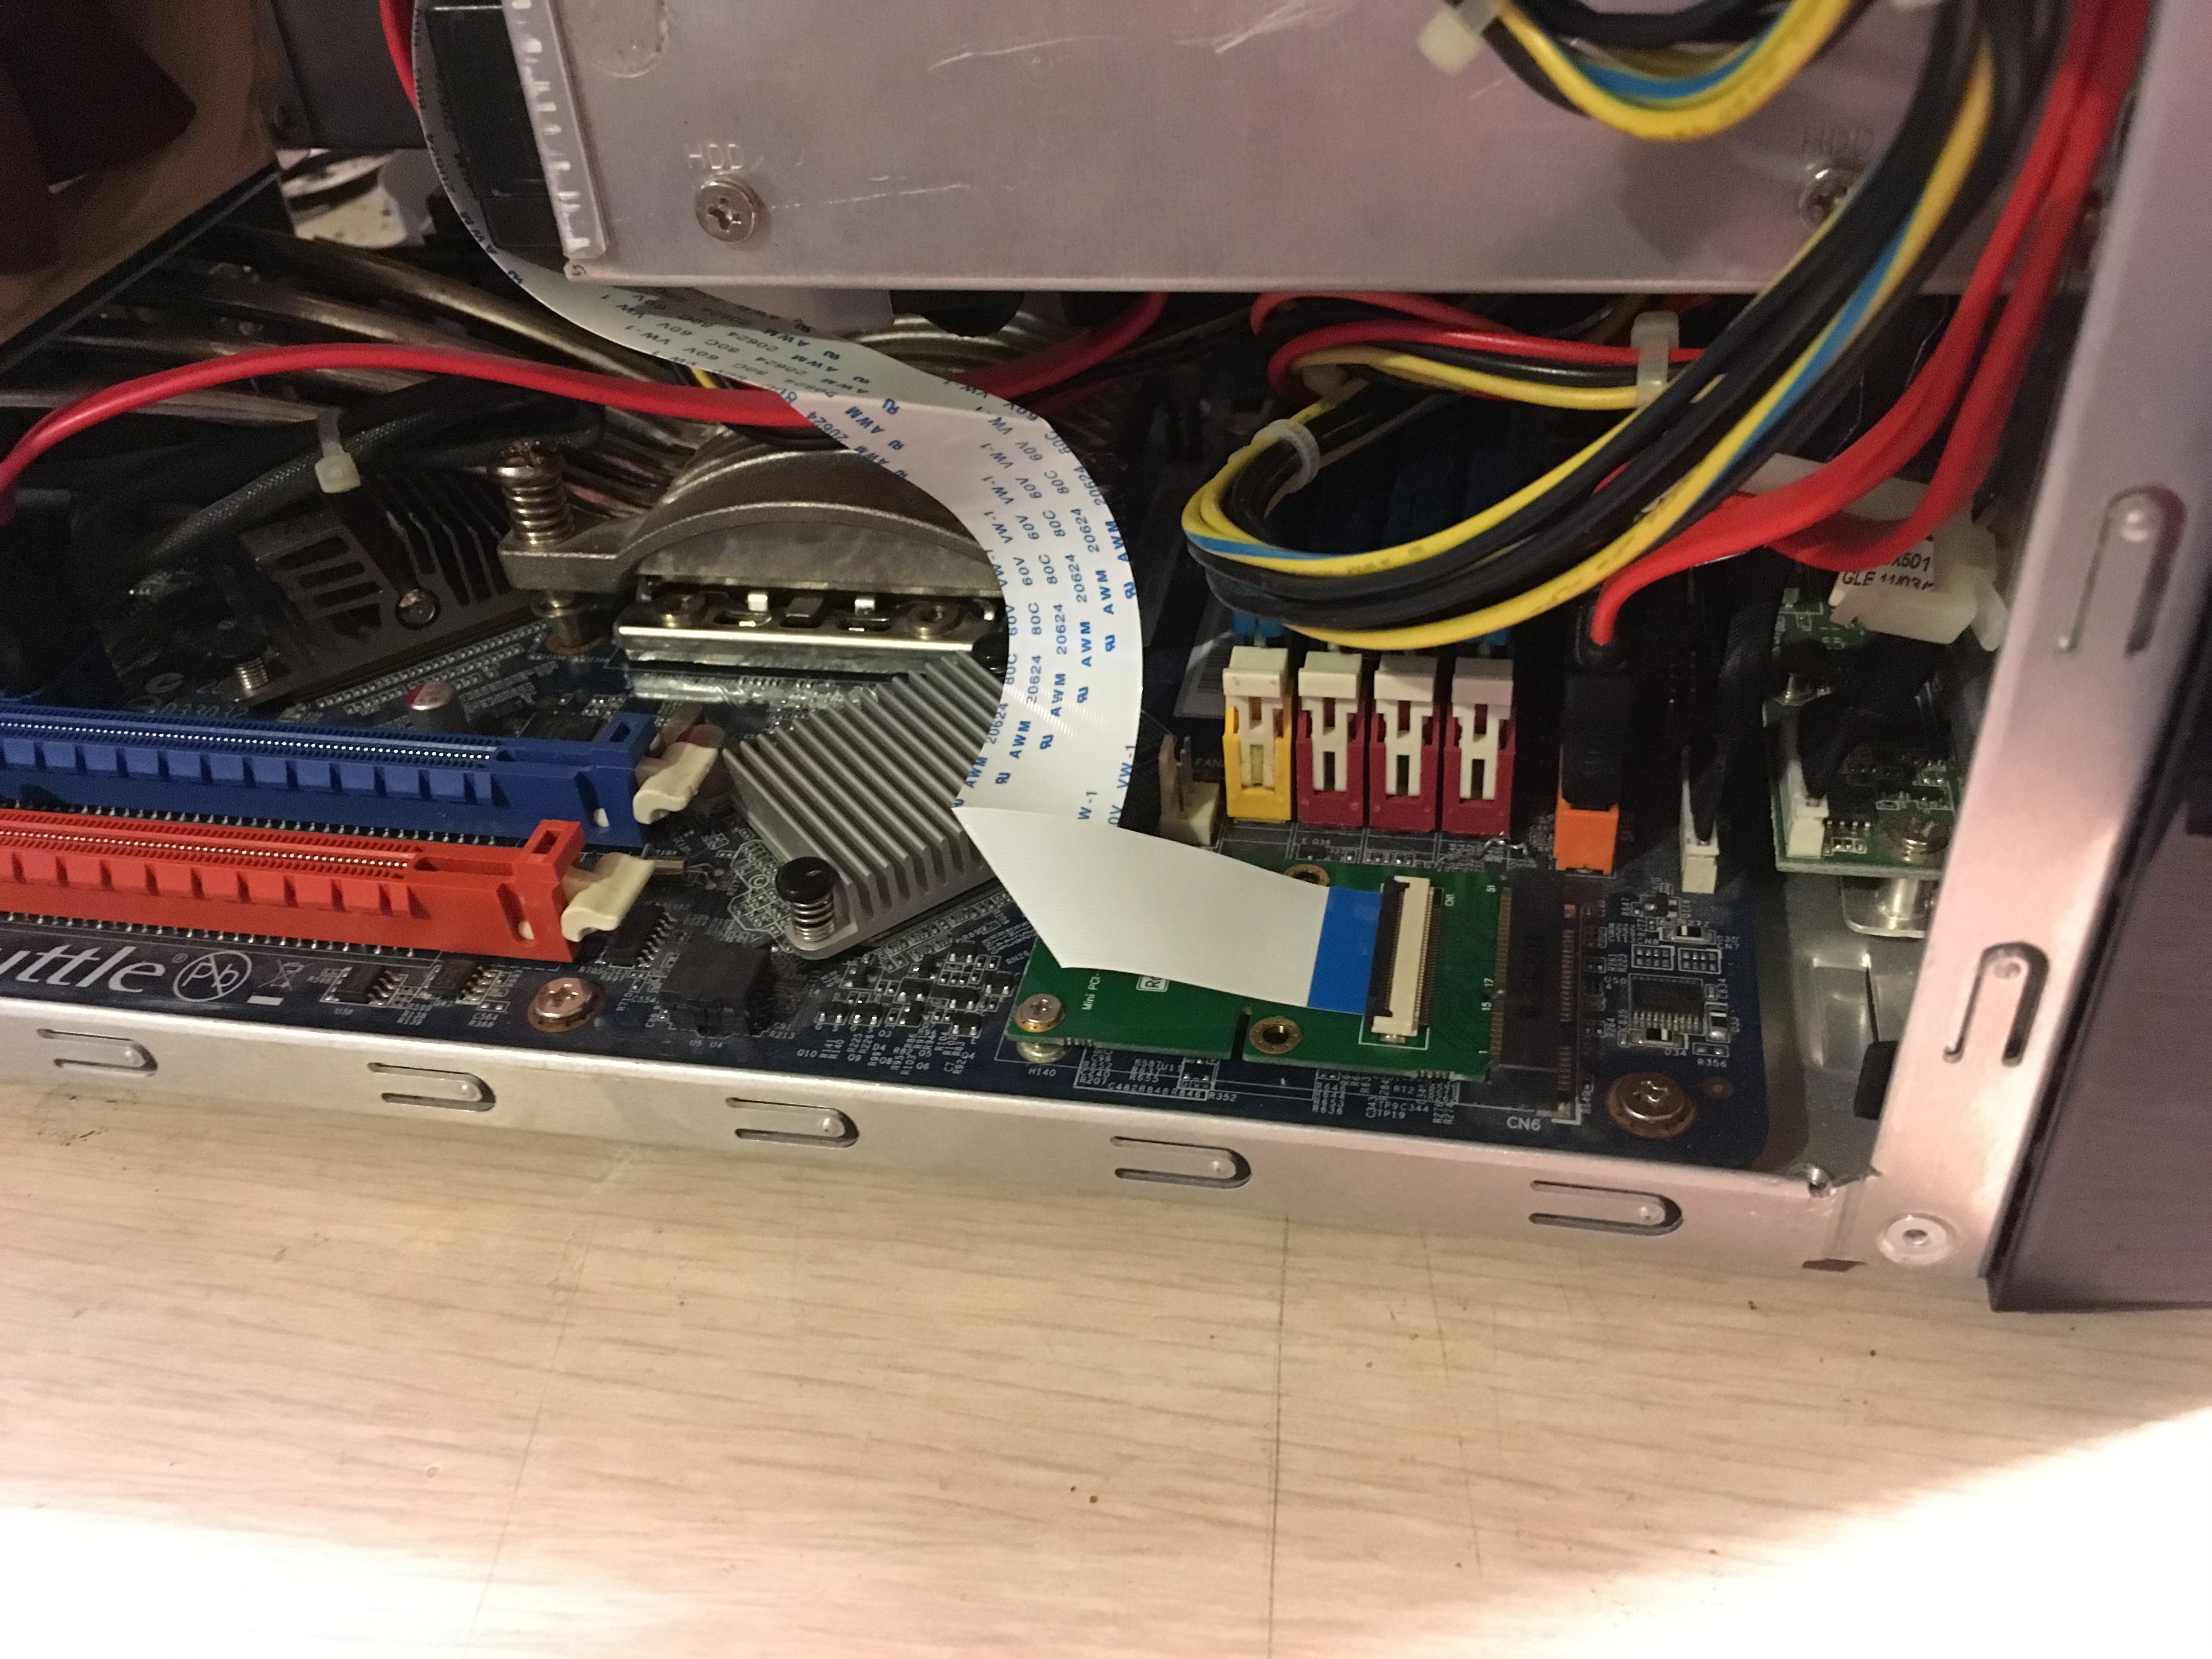
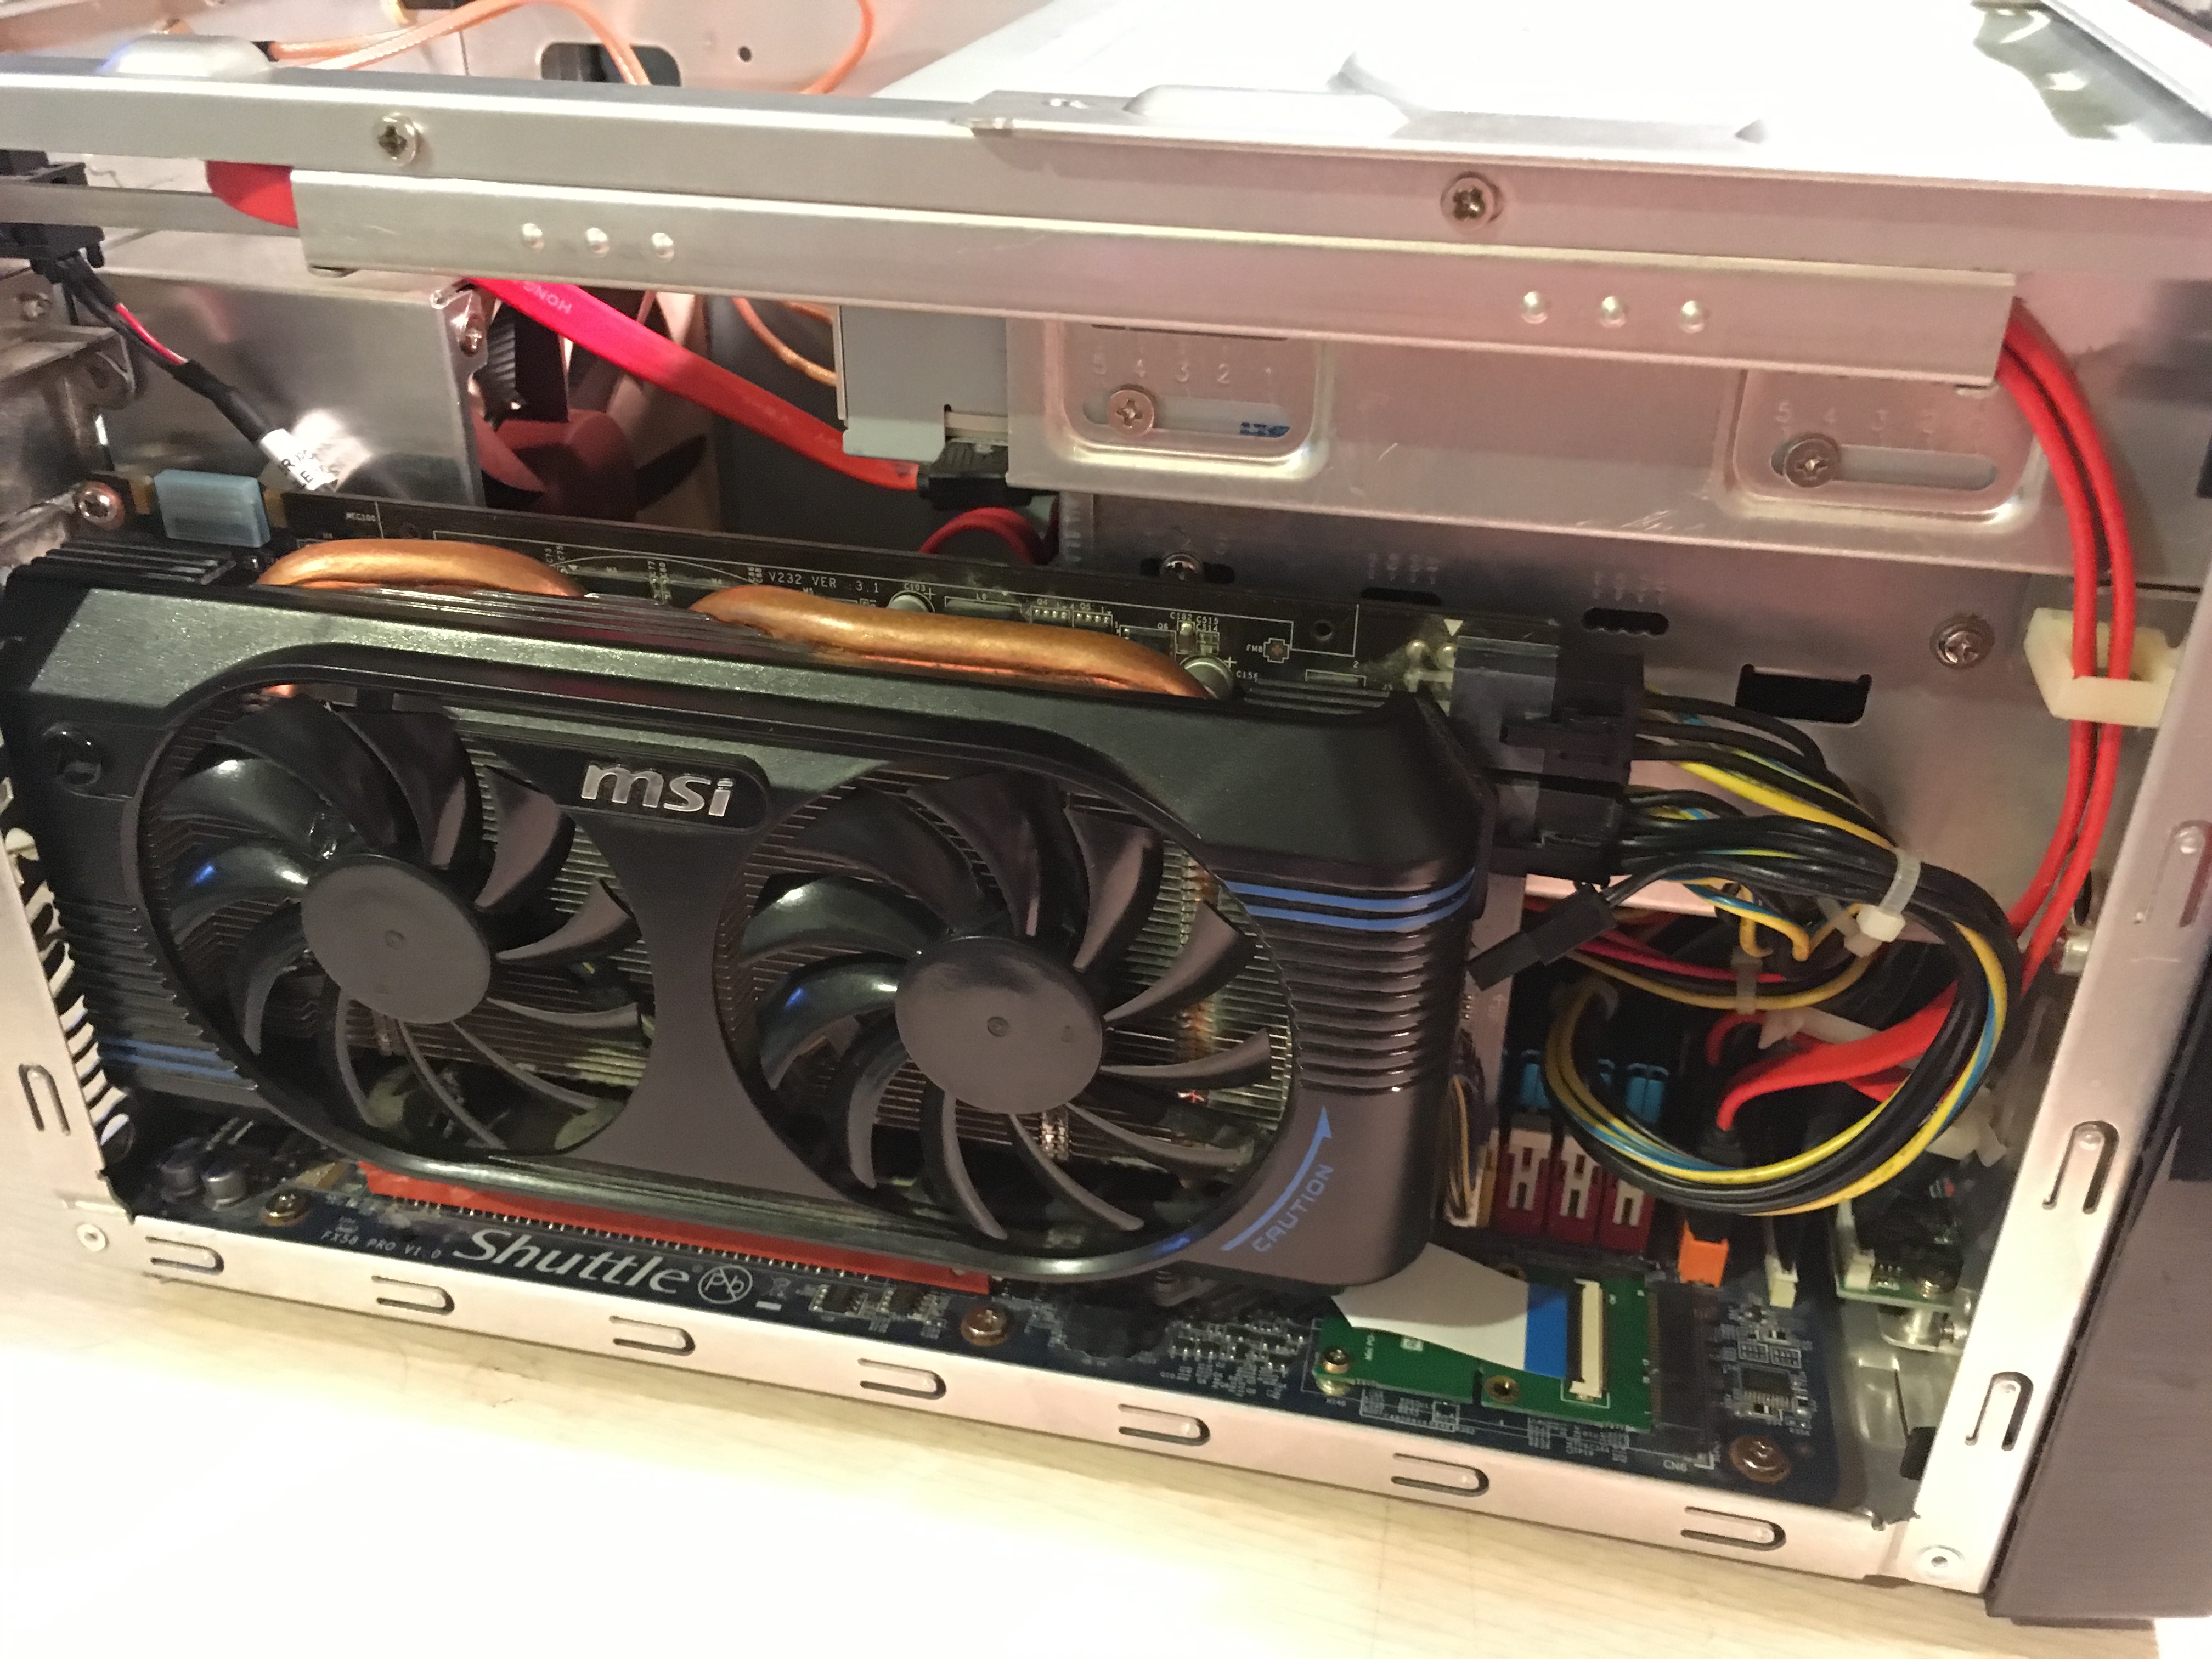
Lastly the adapter card is fitted into the Mini-PCI Express port and a bit more cable folding so that it is not in the way of the grahpics card. Next a shot with the graphics card installed, not much spare room but it all works!
Finished Project


The shuttle now needs only 2 cables and a small wireless keyboard receiver eliminating yet another cable and now allowing the machine to be placed anywhere in the house.