Description
Introduction
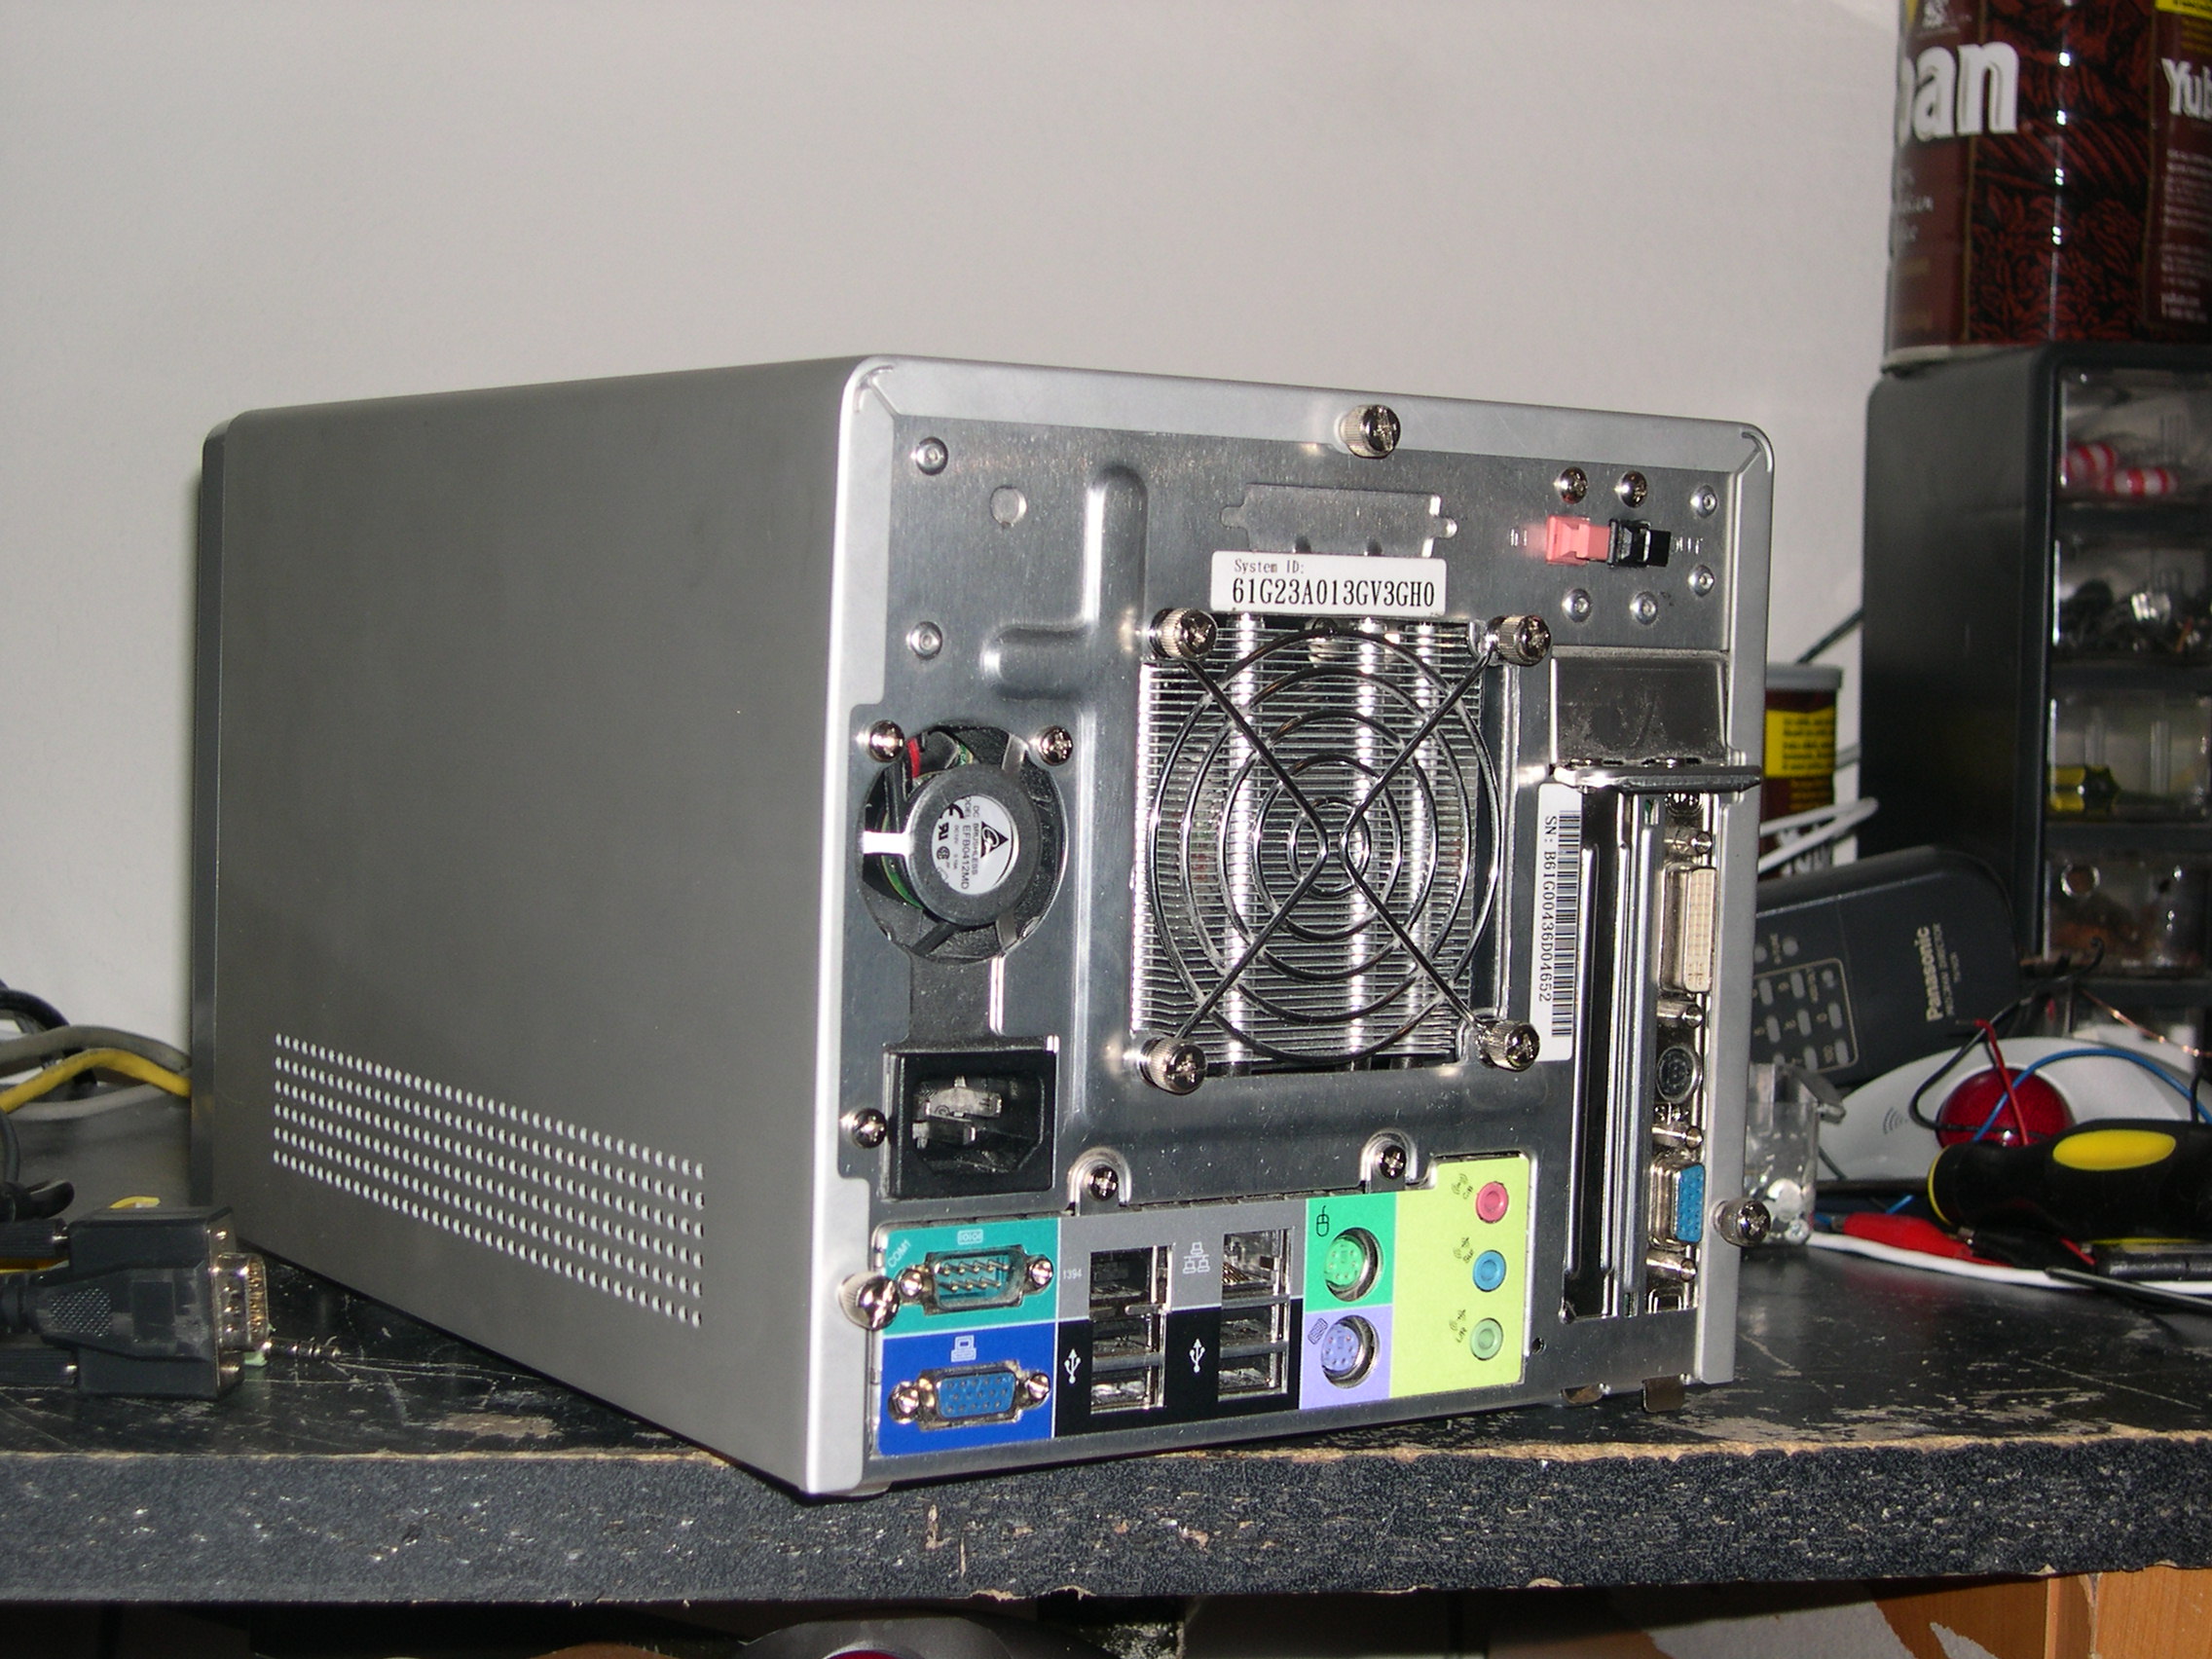
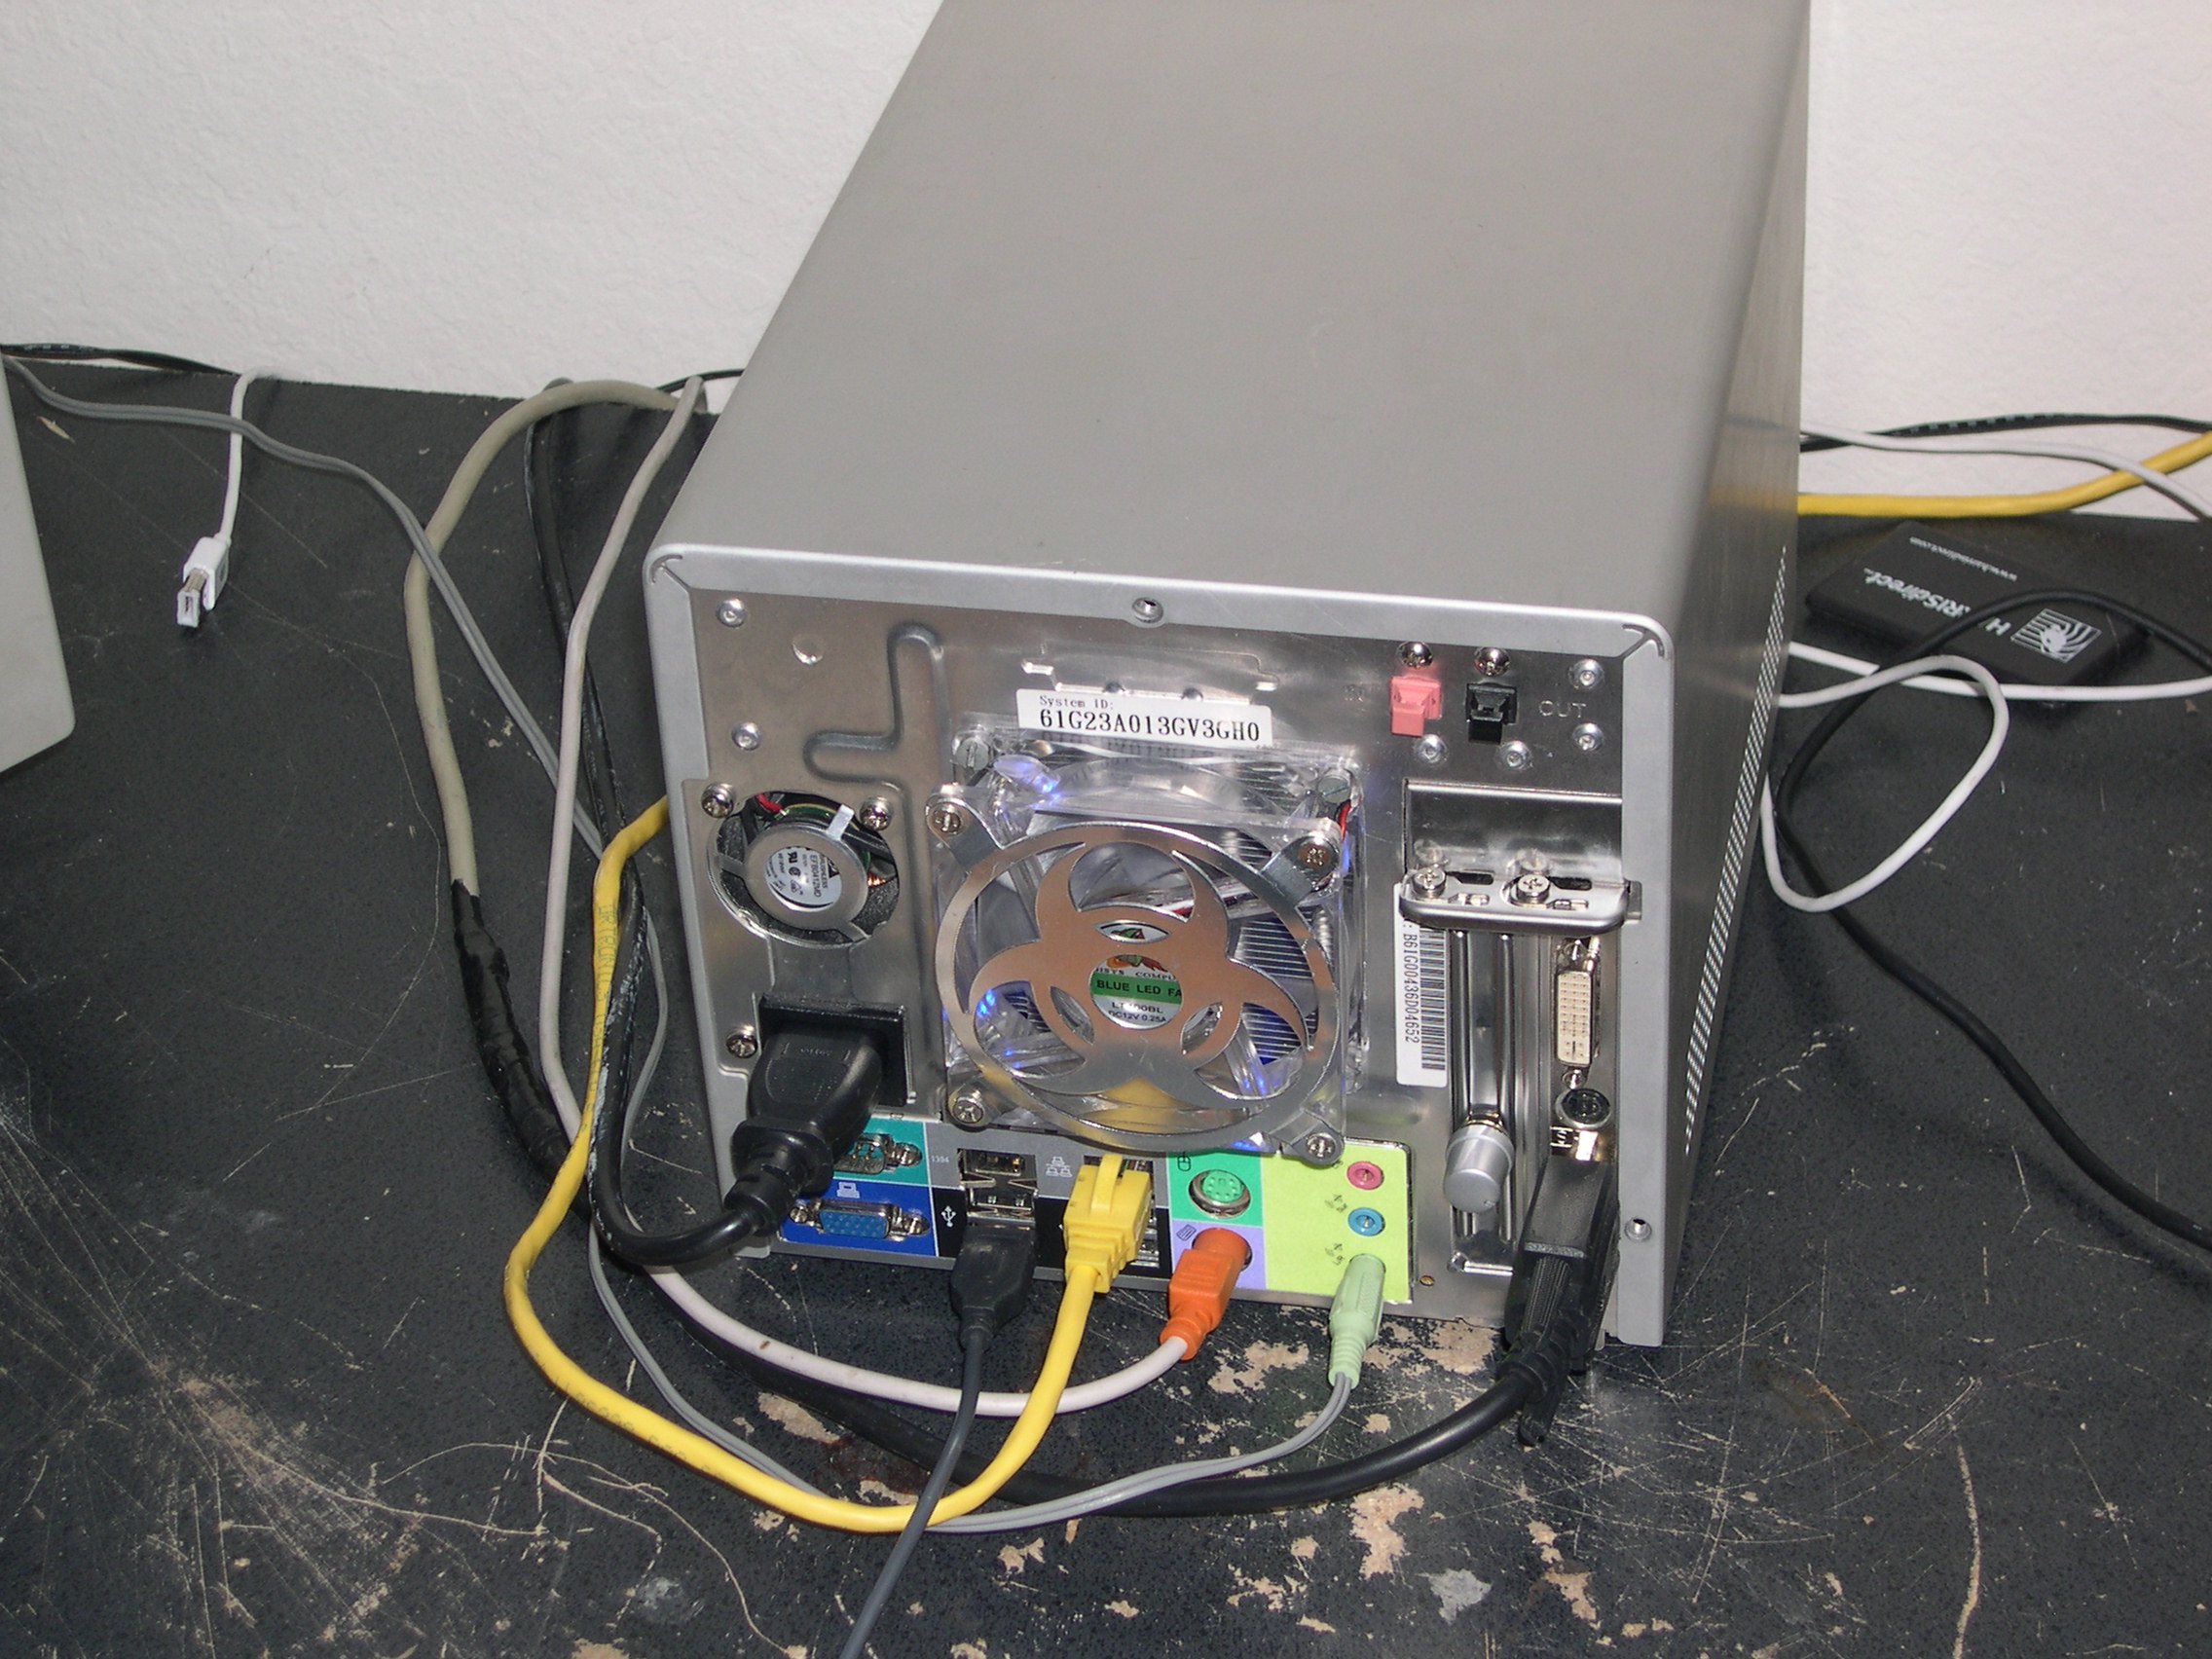
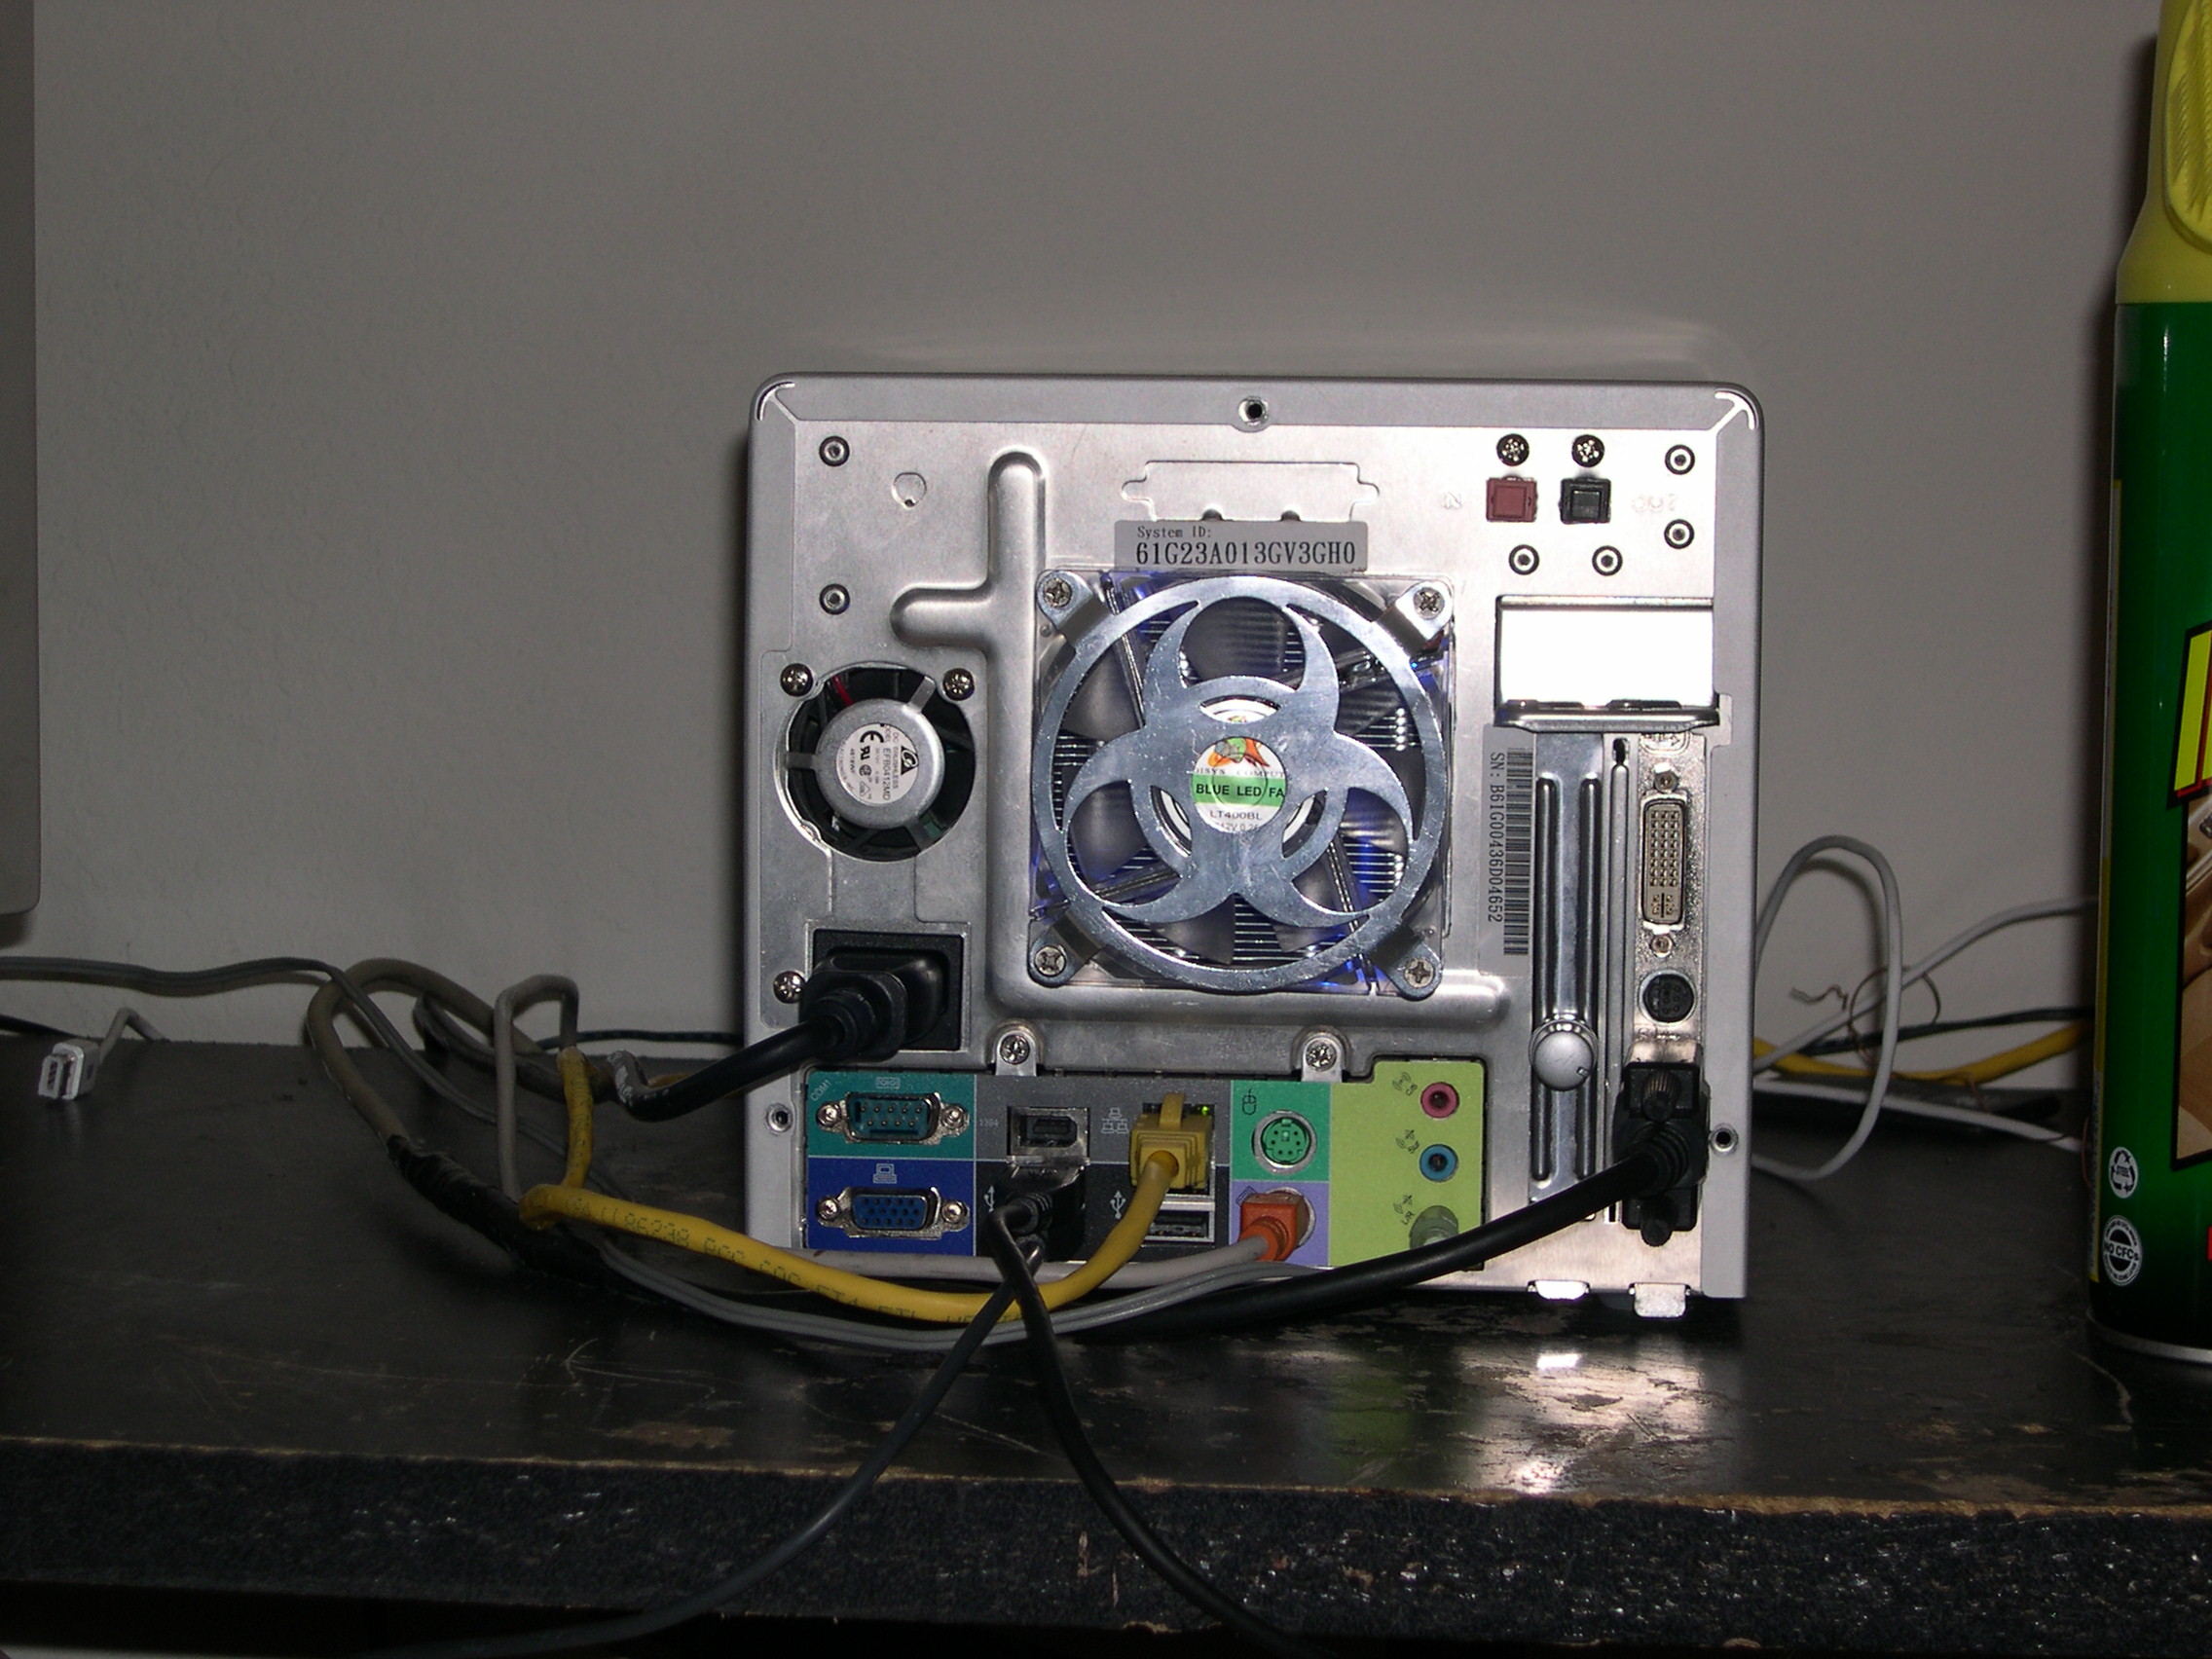
I have a really hot processor, the Intel Pentium 4 3.0E prescott, this particular chip should not be used without some additional cooling options in the shuttle, from first glance I can see that the stock shuttle fan grill on the back not only restricts air flow, but it also creates a lot of noise, not cool, so i decided I would just simply cut away the old one, and attach a classic 80mm fan grill.
Removing the XPC’s honeycomb grill
Here I have cut out the stock honeycomb grill that is in place over the shuttle’s rear fan as it horribly restricts airflow.

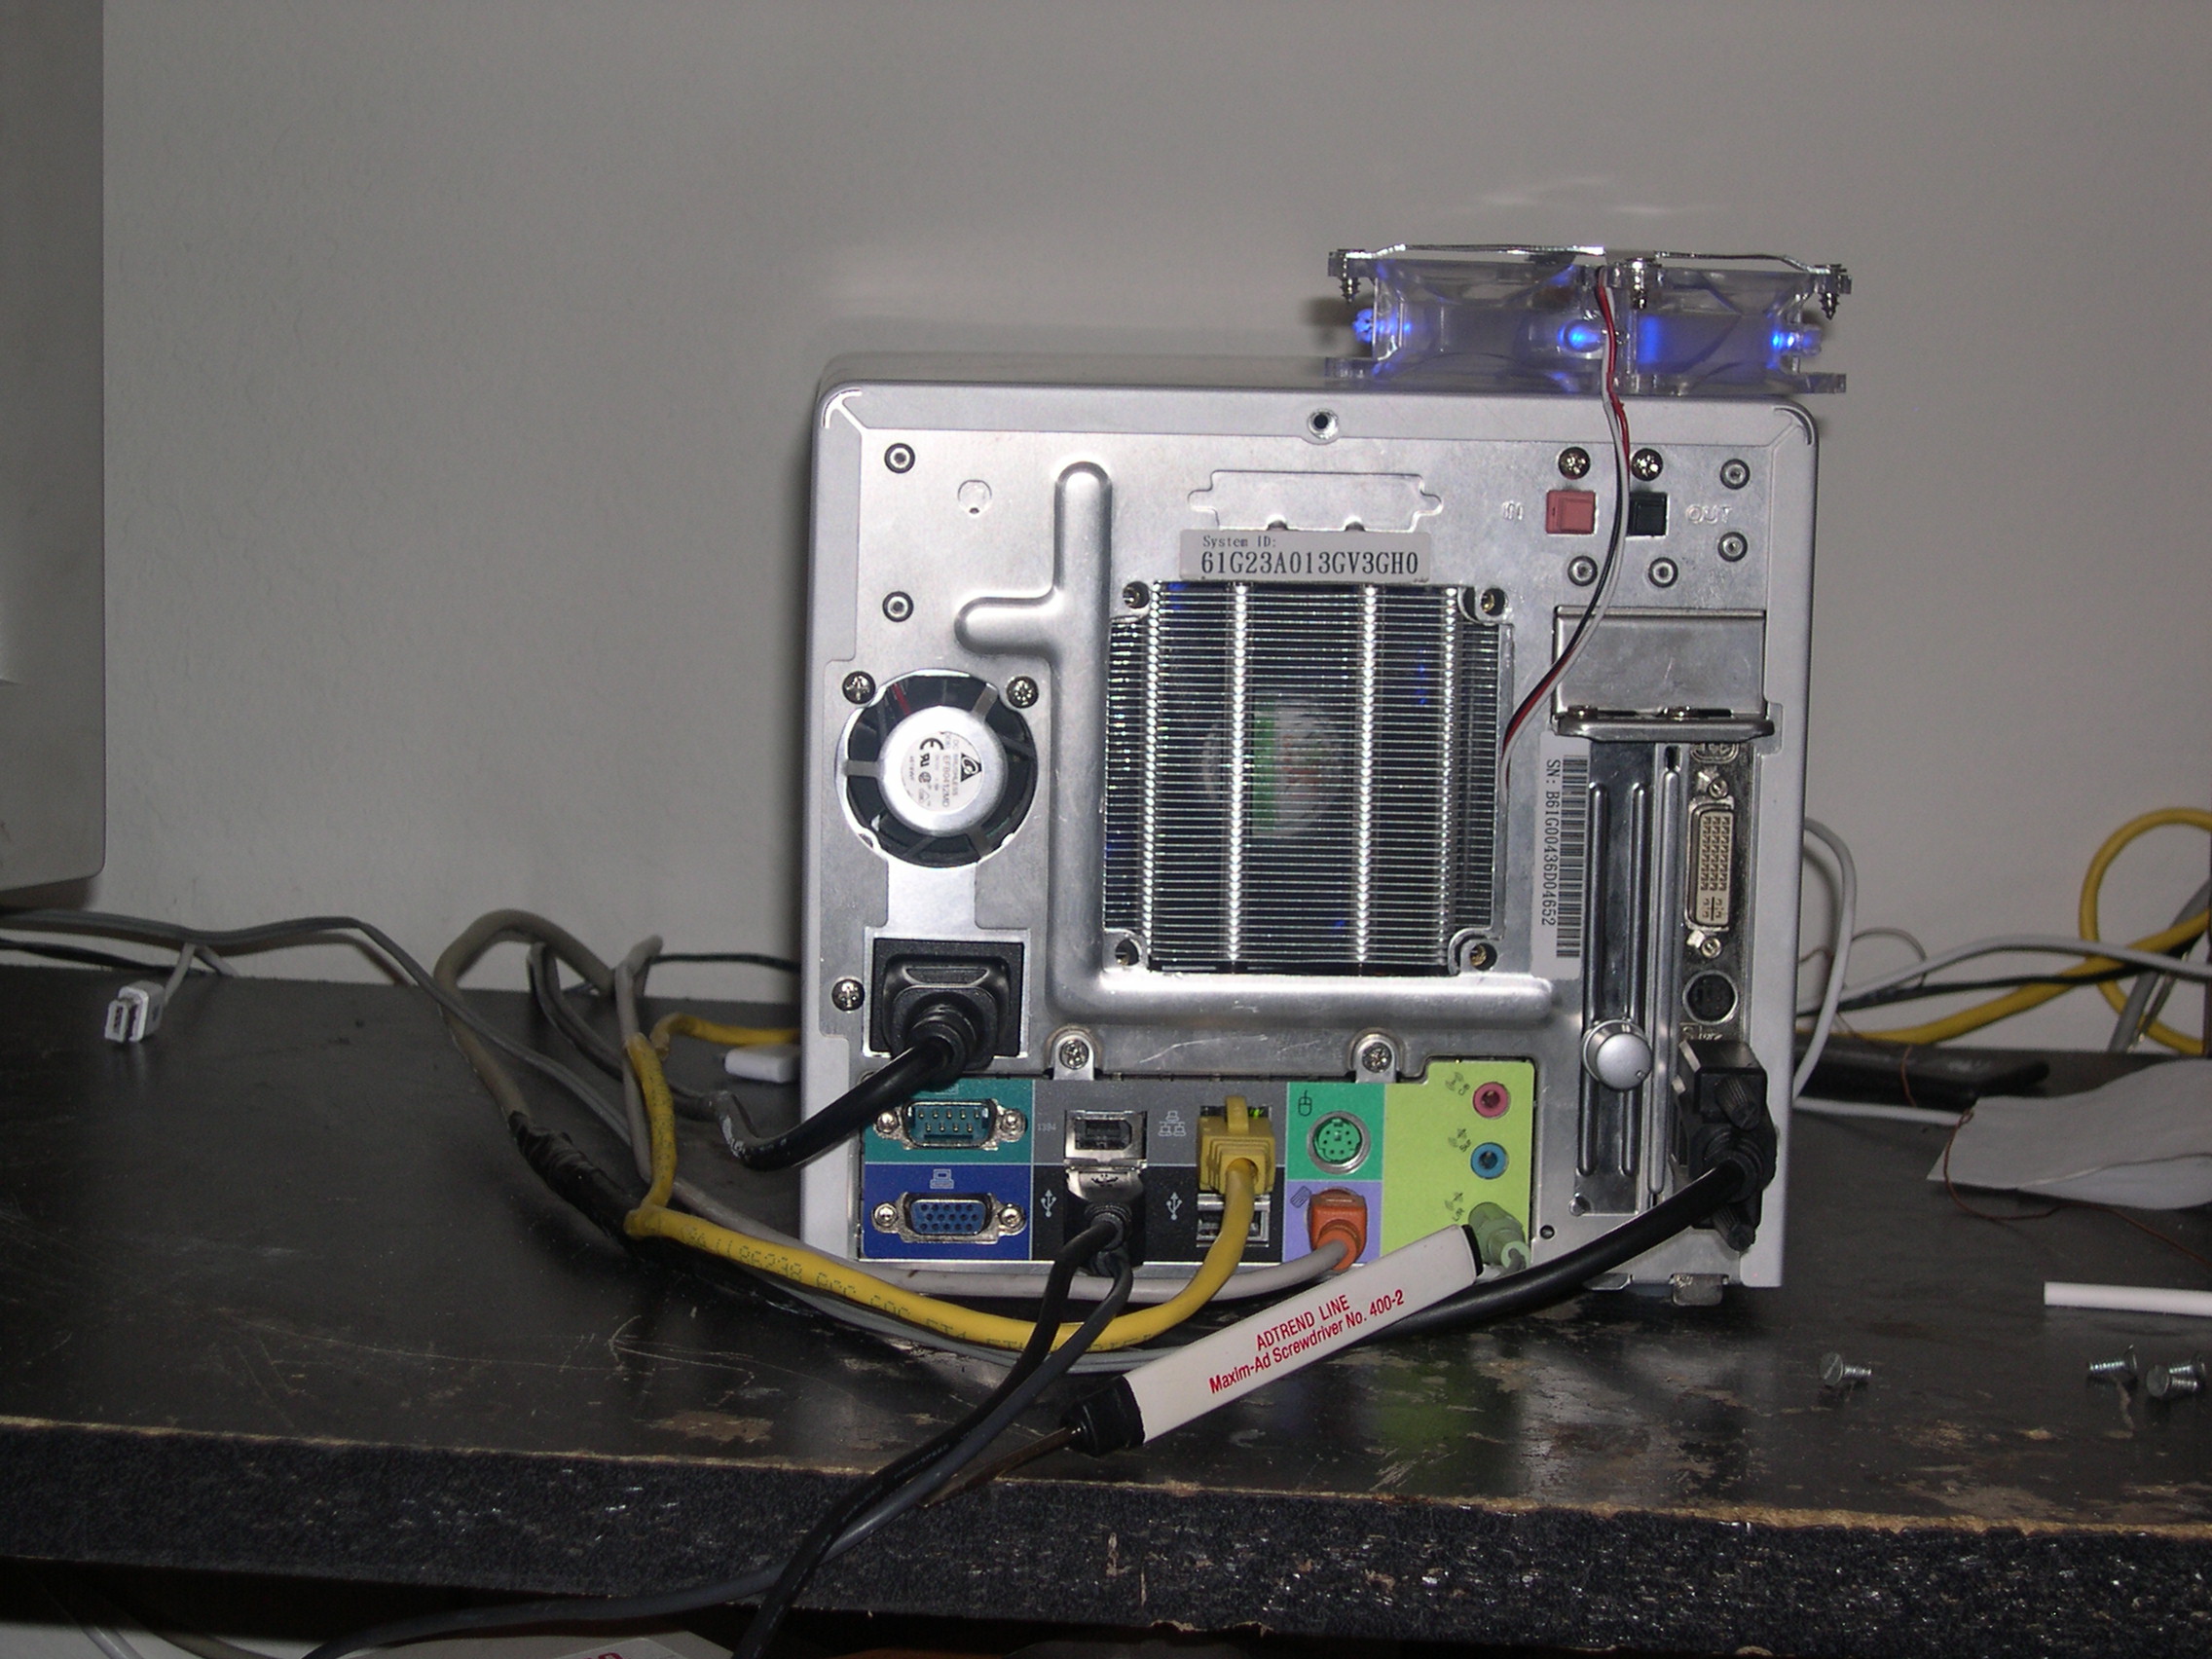
I decided that since the shuttle xpc’s ice cooling system has a hole down at the bottom where the ice pipes enter the fin unit, that leaves for a lot of air to escape out of there, and back into the shuttle, leaving the same warm air to travel back into the cooling system, and then get blown back over the ice unit. So what I needed to do was create negative air flow for the cooler, I did this by placing the exact same fan I used on the inside for the outside, since I had already ditched the noisy shuttle stock fan, this was easier than some would think.
Adding a custom fan controller
The next step was to add a fan control nob, as I’m always short of cash, I just stole the volume control off a old worn out sound system I had laying around, mounted that to a PCI slot cover, directly wired into the 12v rail coming off the power supply.
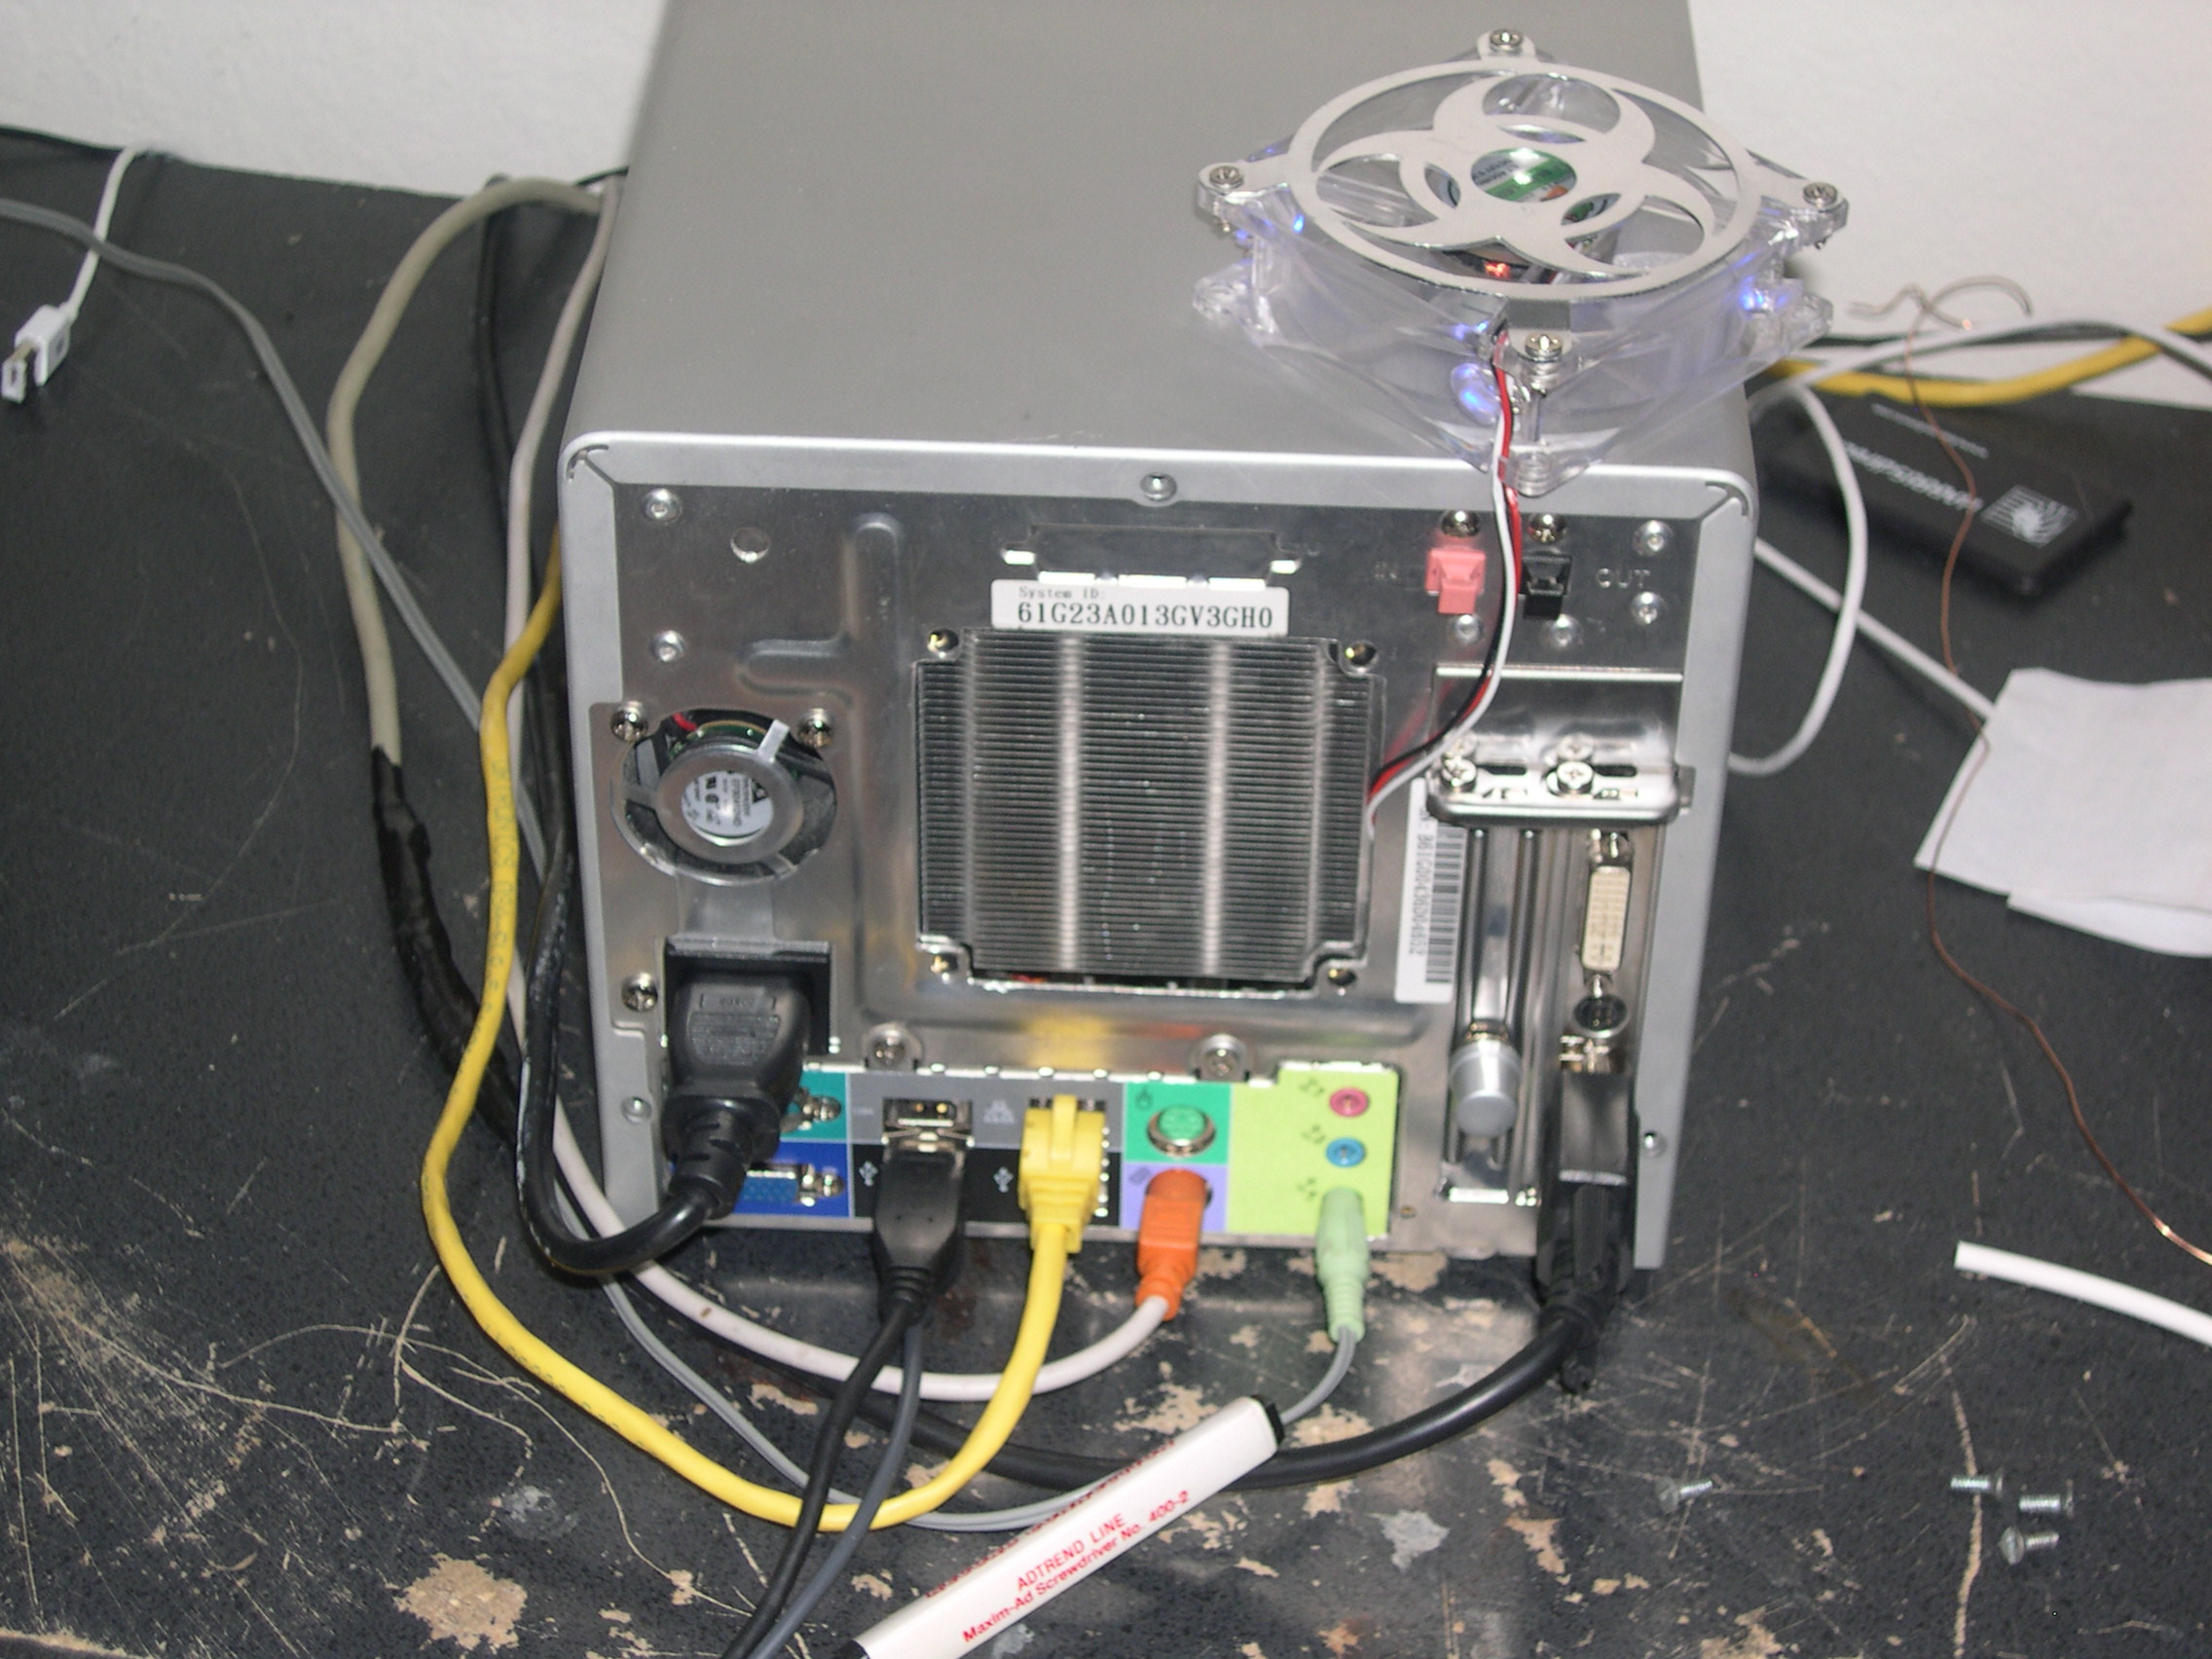
The sensor pins for both the cpu fan and the external fan are also broken out, something that a standard fan controller generally does not do, is give the sensor wire back to the motherboard. I did this because although the ‘smart fan’ that the shuttle provides is good, it does not see much action in higher end more hot computers, and sometimes its nice to control fan speeds on demand, also the point is that the mod is discrete.

Wiring the fan controller
The fan controller is actually quite simple, its as if you were to hook up a bunch of fans to a 12v inline connector, except you put a pot (potentiometer) in the circuit, the interesting thing about this is like a lot of mods, it cost me nothing but time, and it allows control of 4 fans at the same time, and for the 2 processor fans it allows me to still hook up the sensor wire so that I can monitor speeds, from motherboard monitor, as well as temperatures and whatnot.
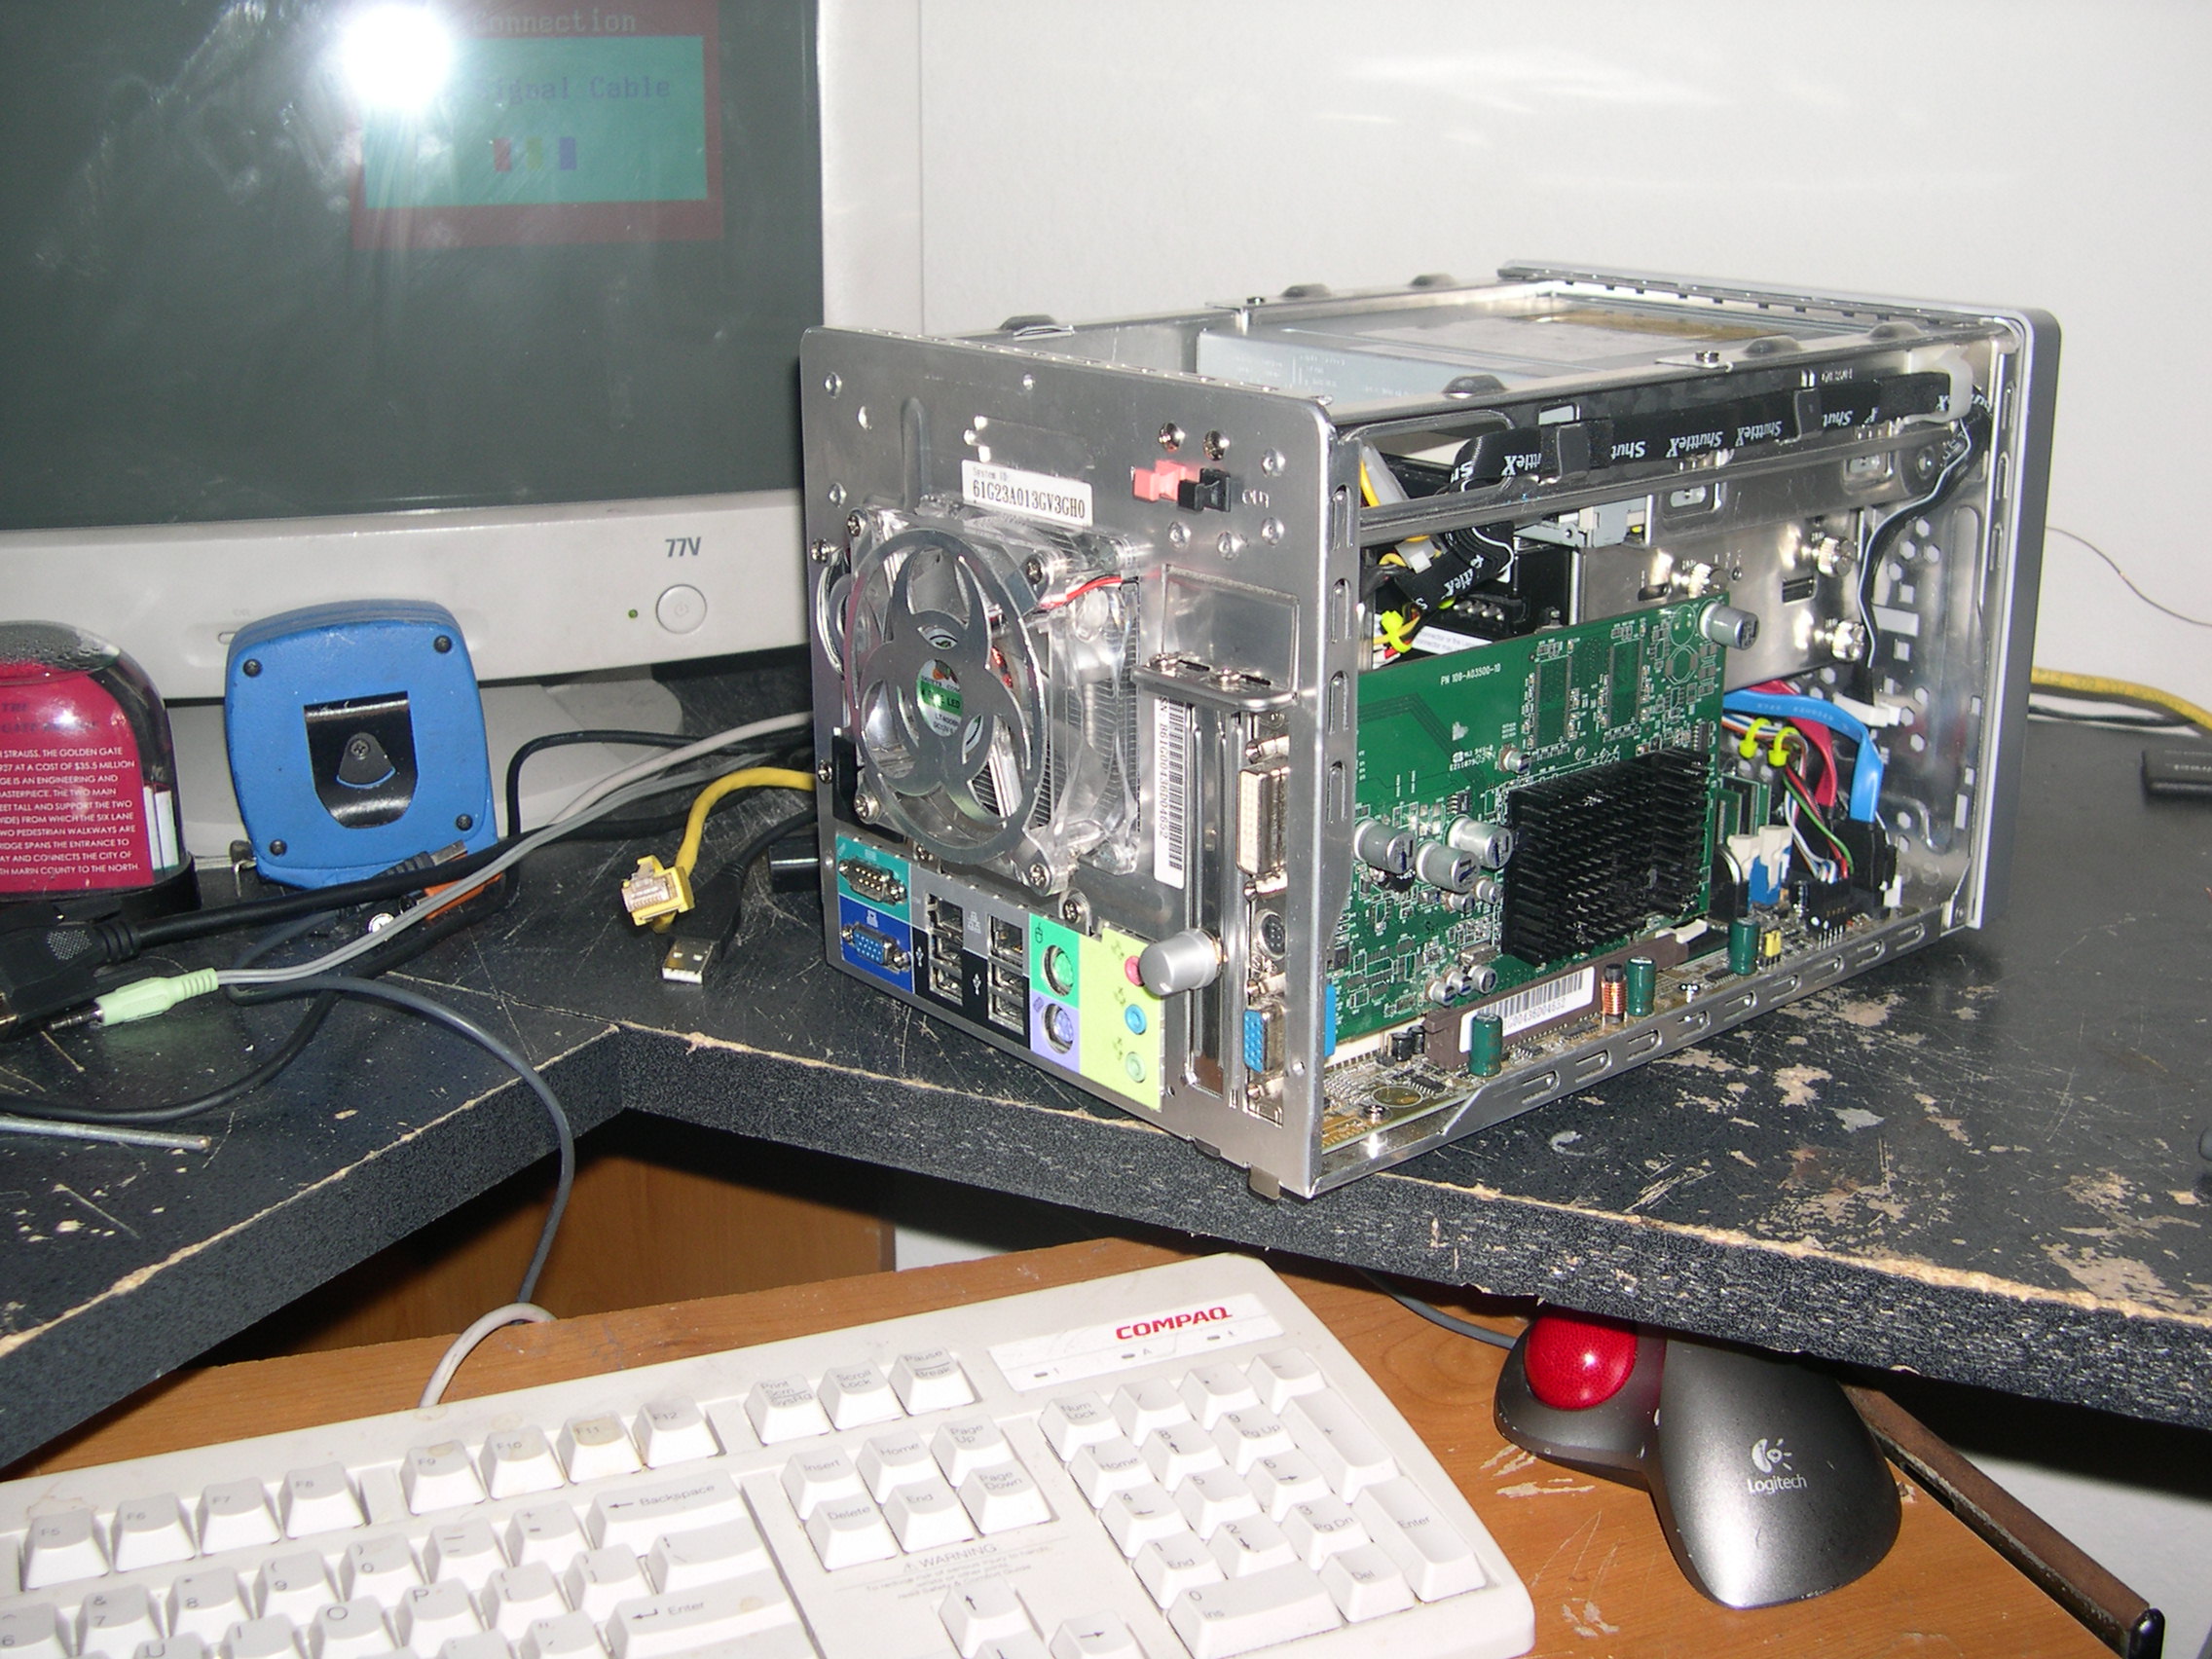
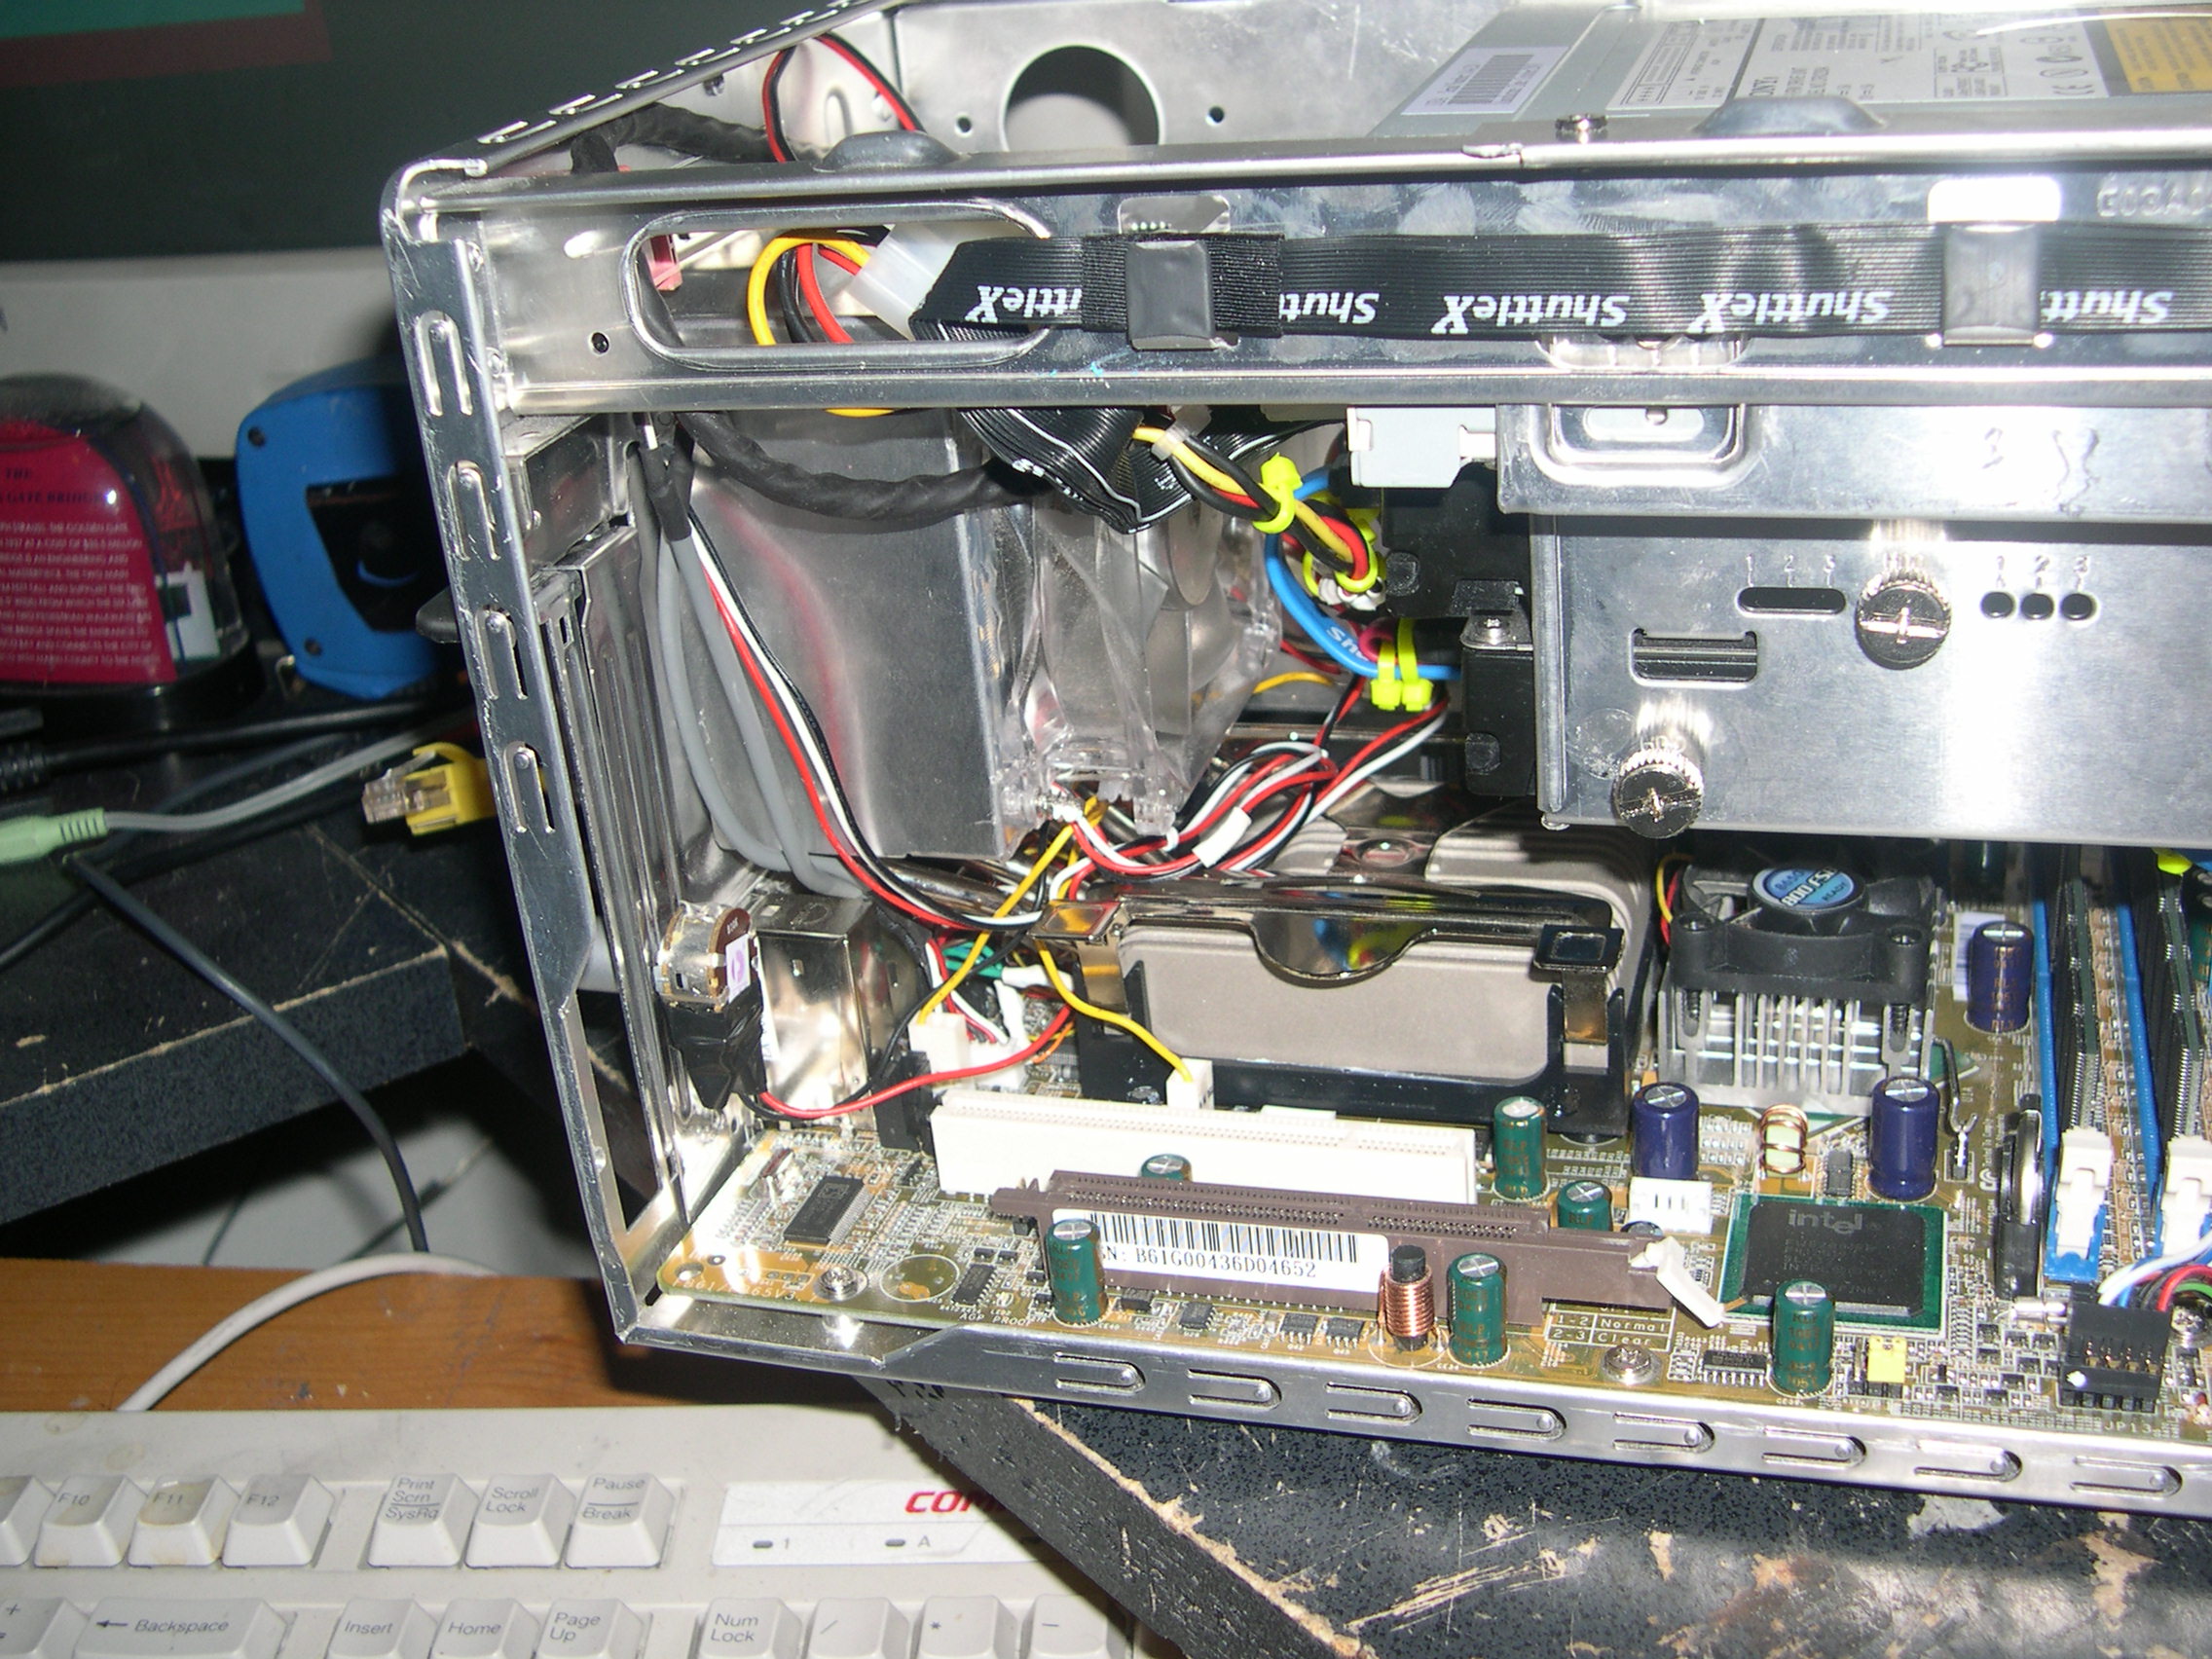
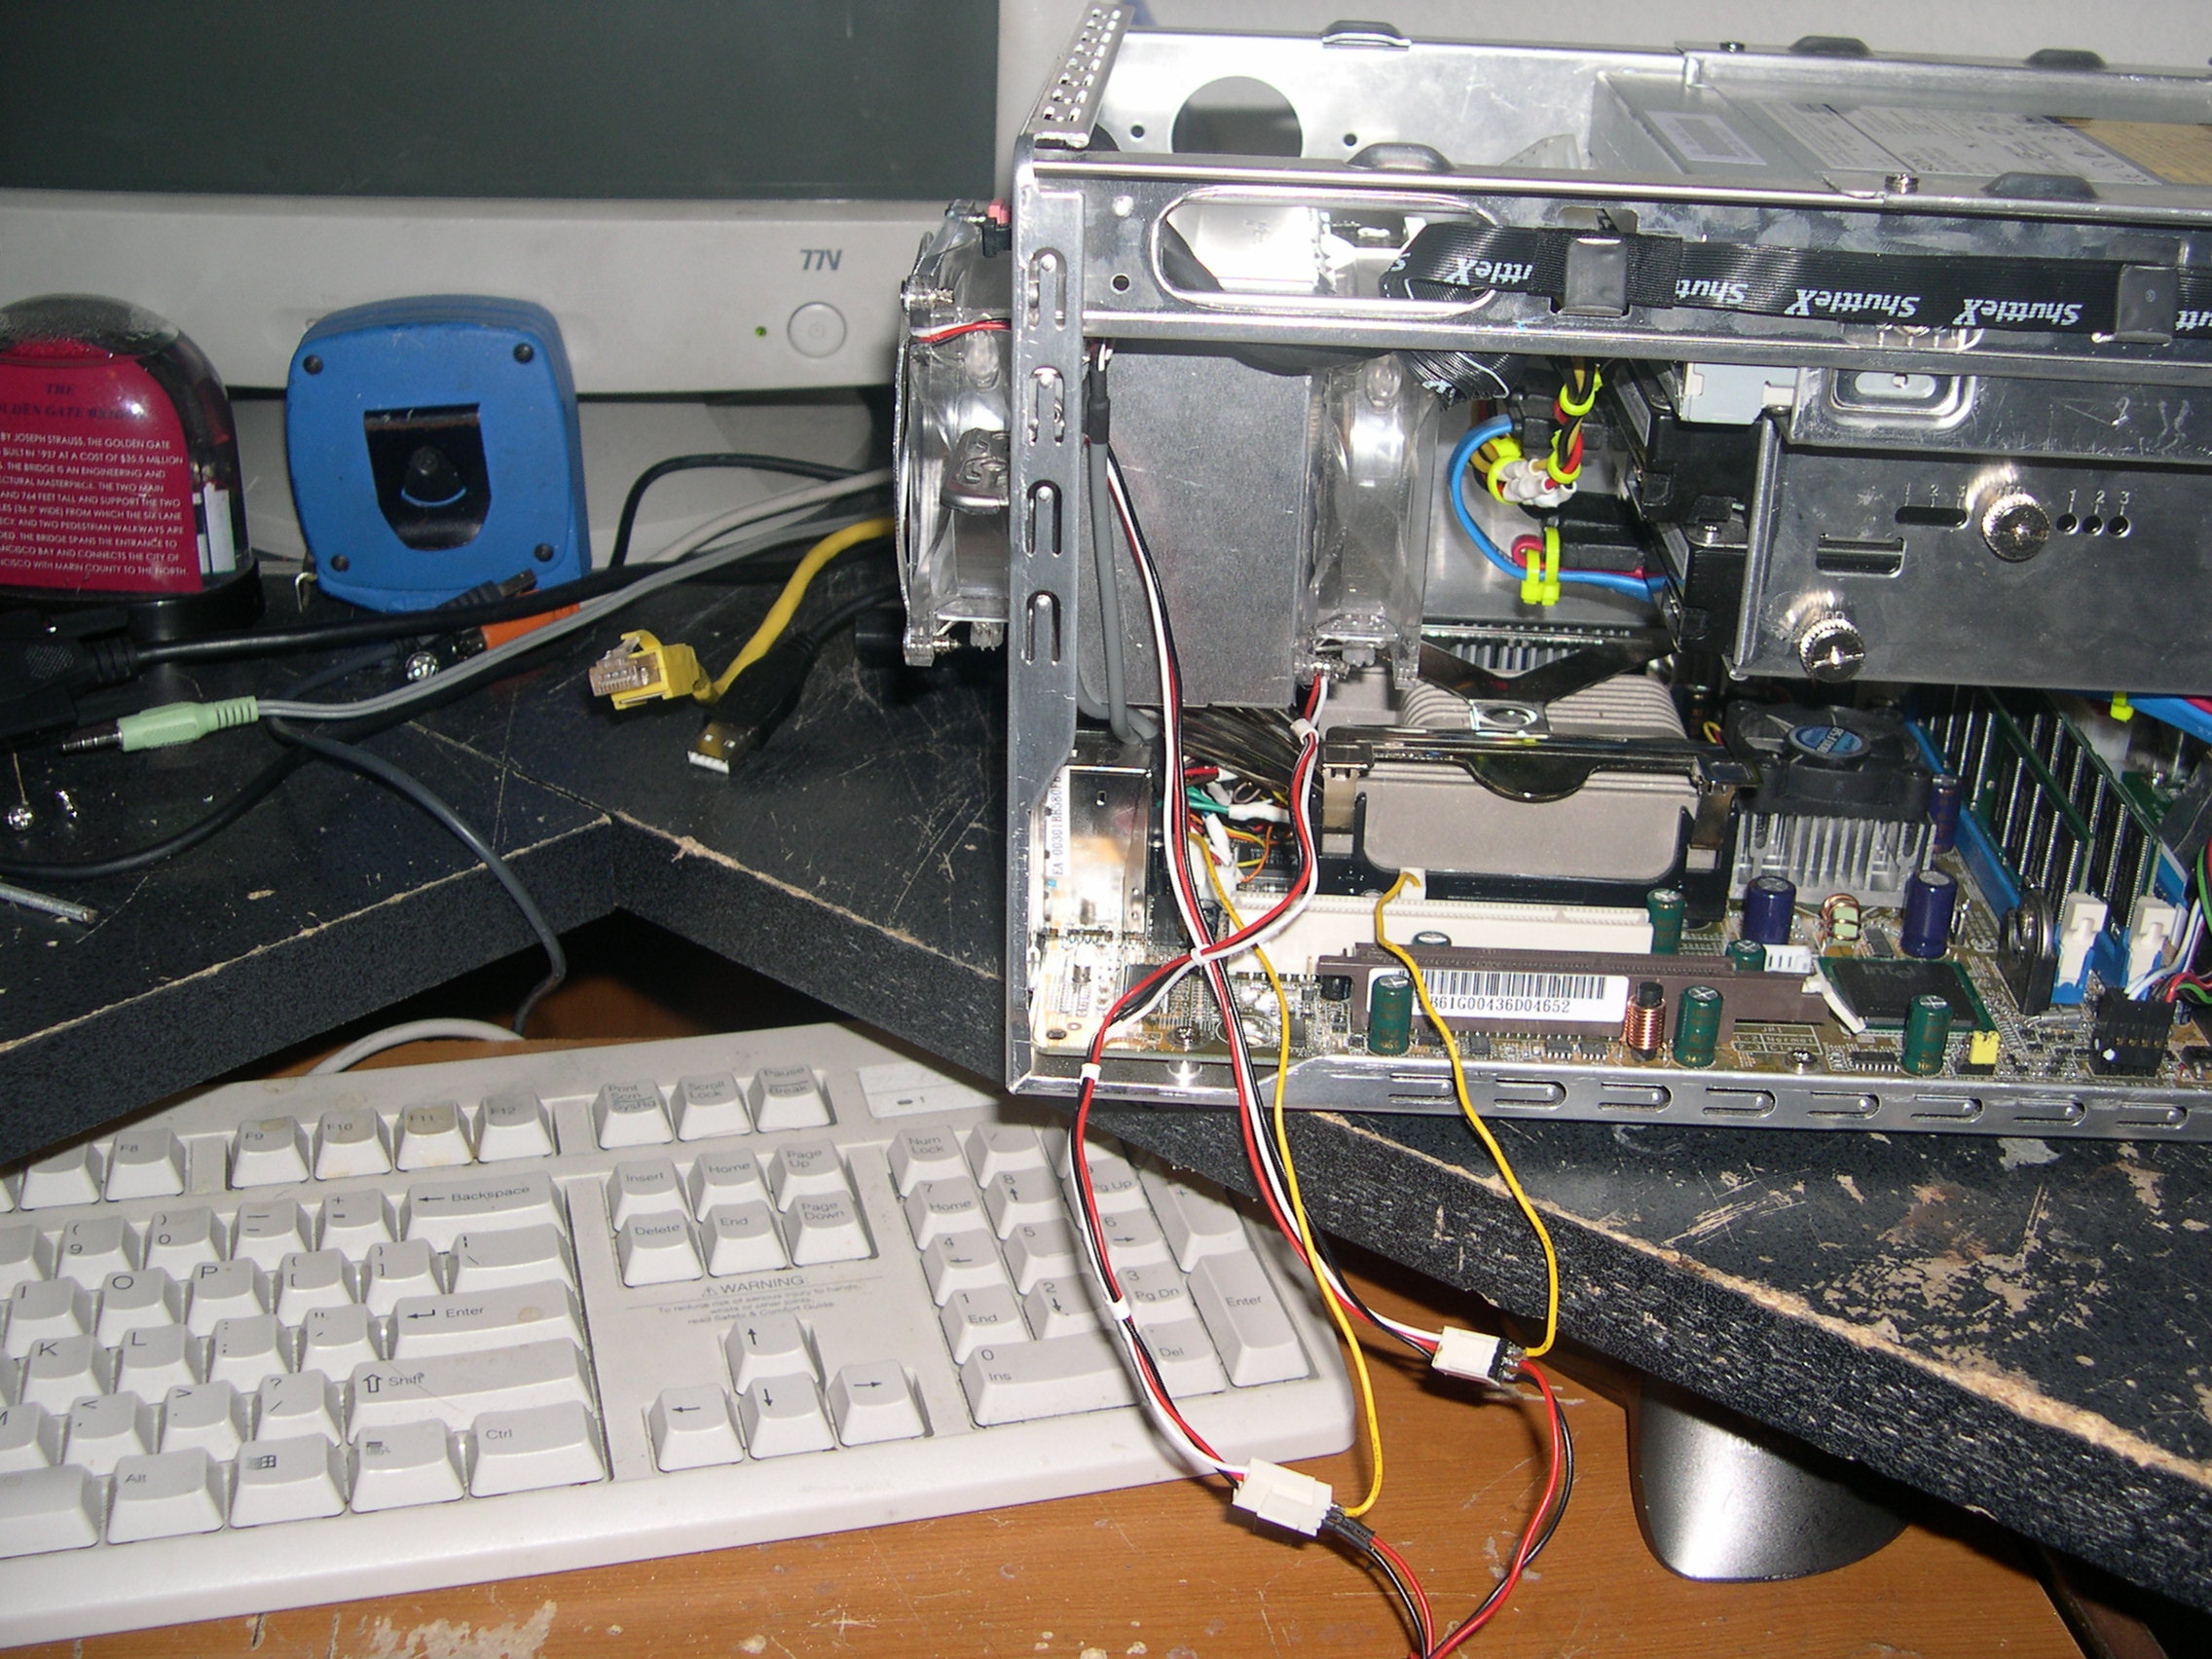
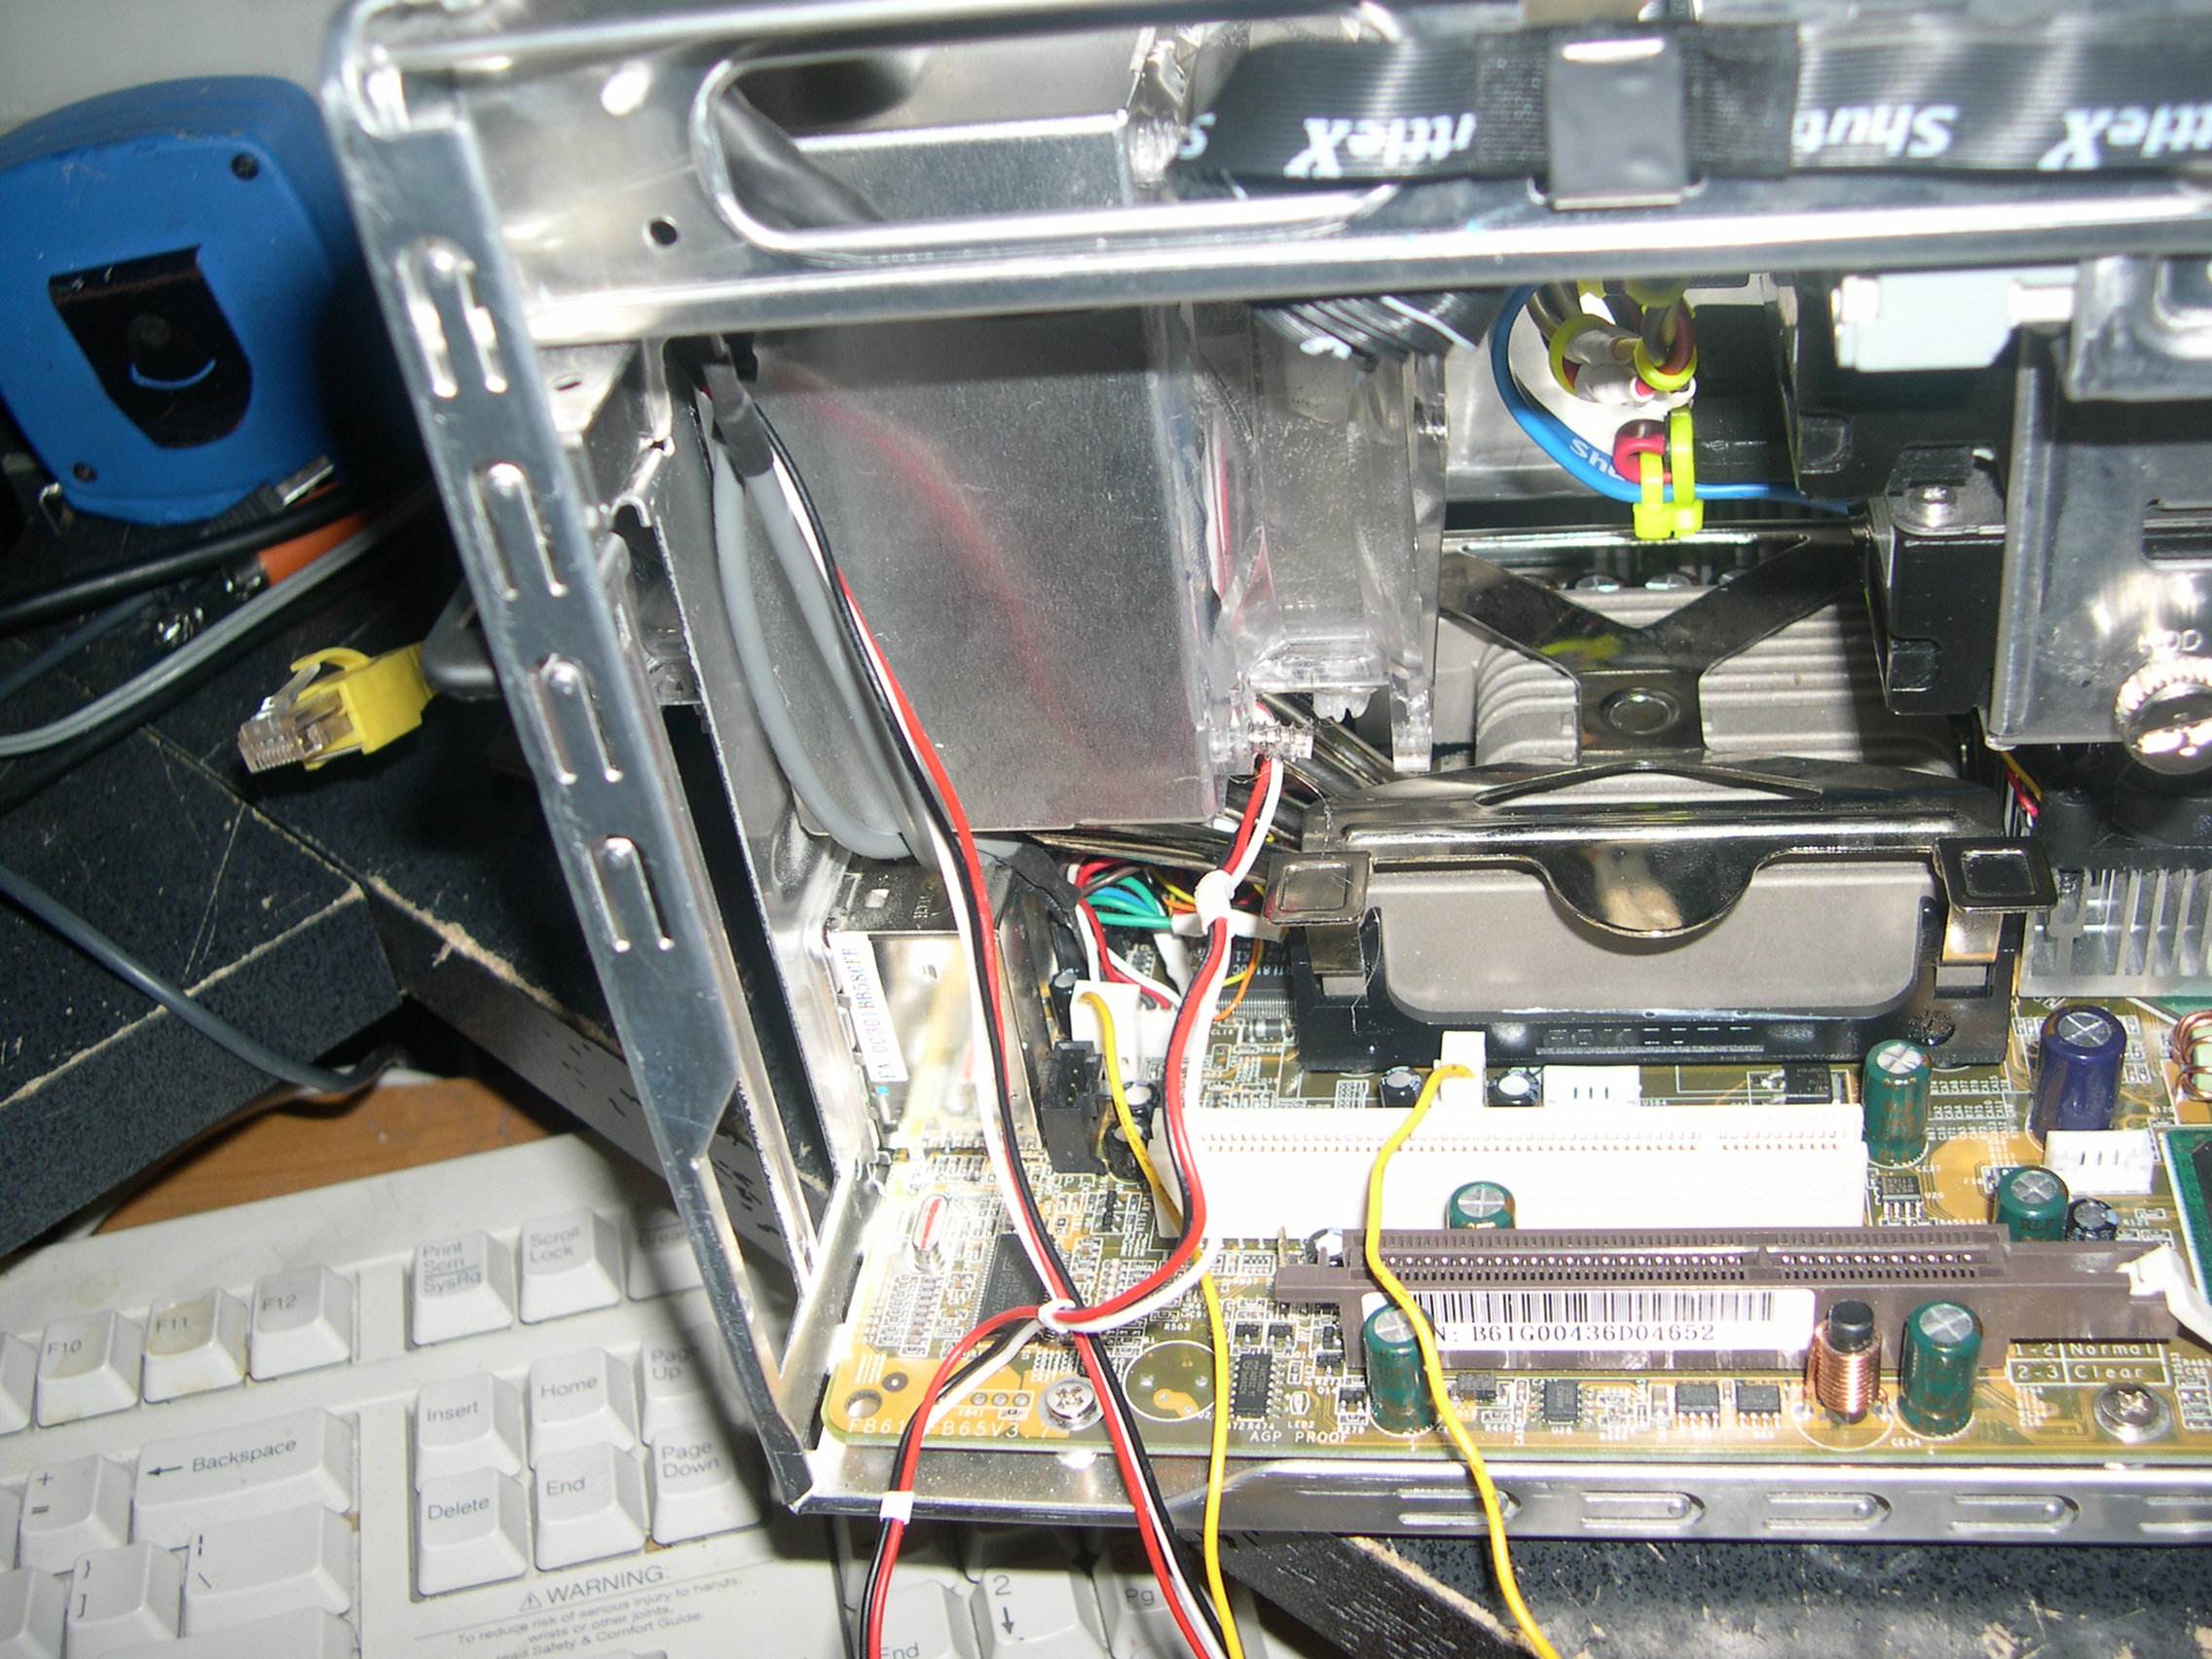
Here I connect the custom fan controller to the various wiring headers in the shuttle. The power is drawn directly from the power supply and individual leads are run to the CPU and SYS fan headers on the motherboard to relay RPM readings back to the computer.
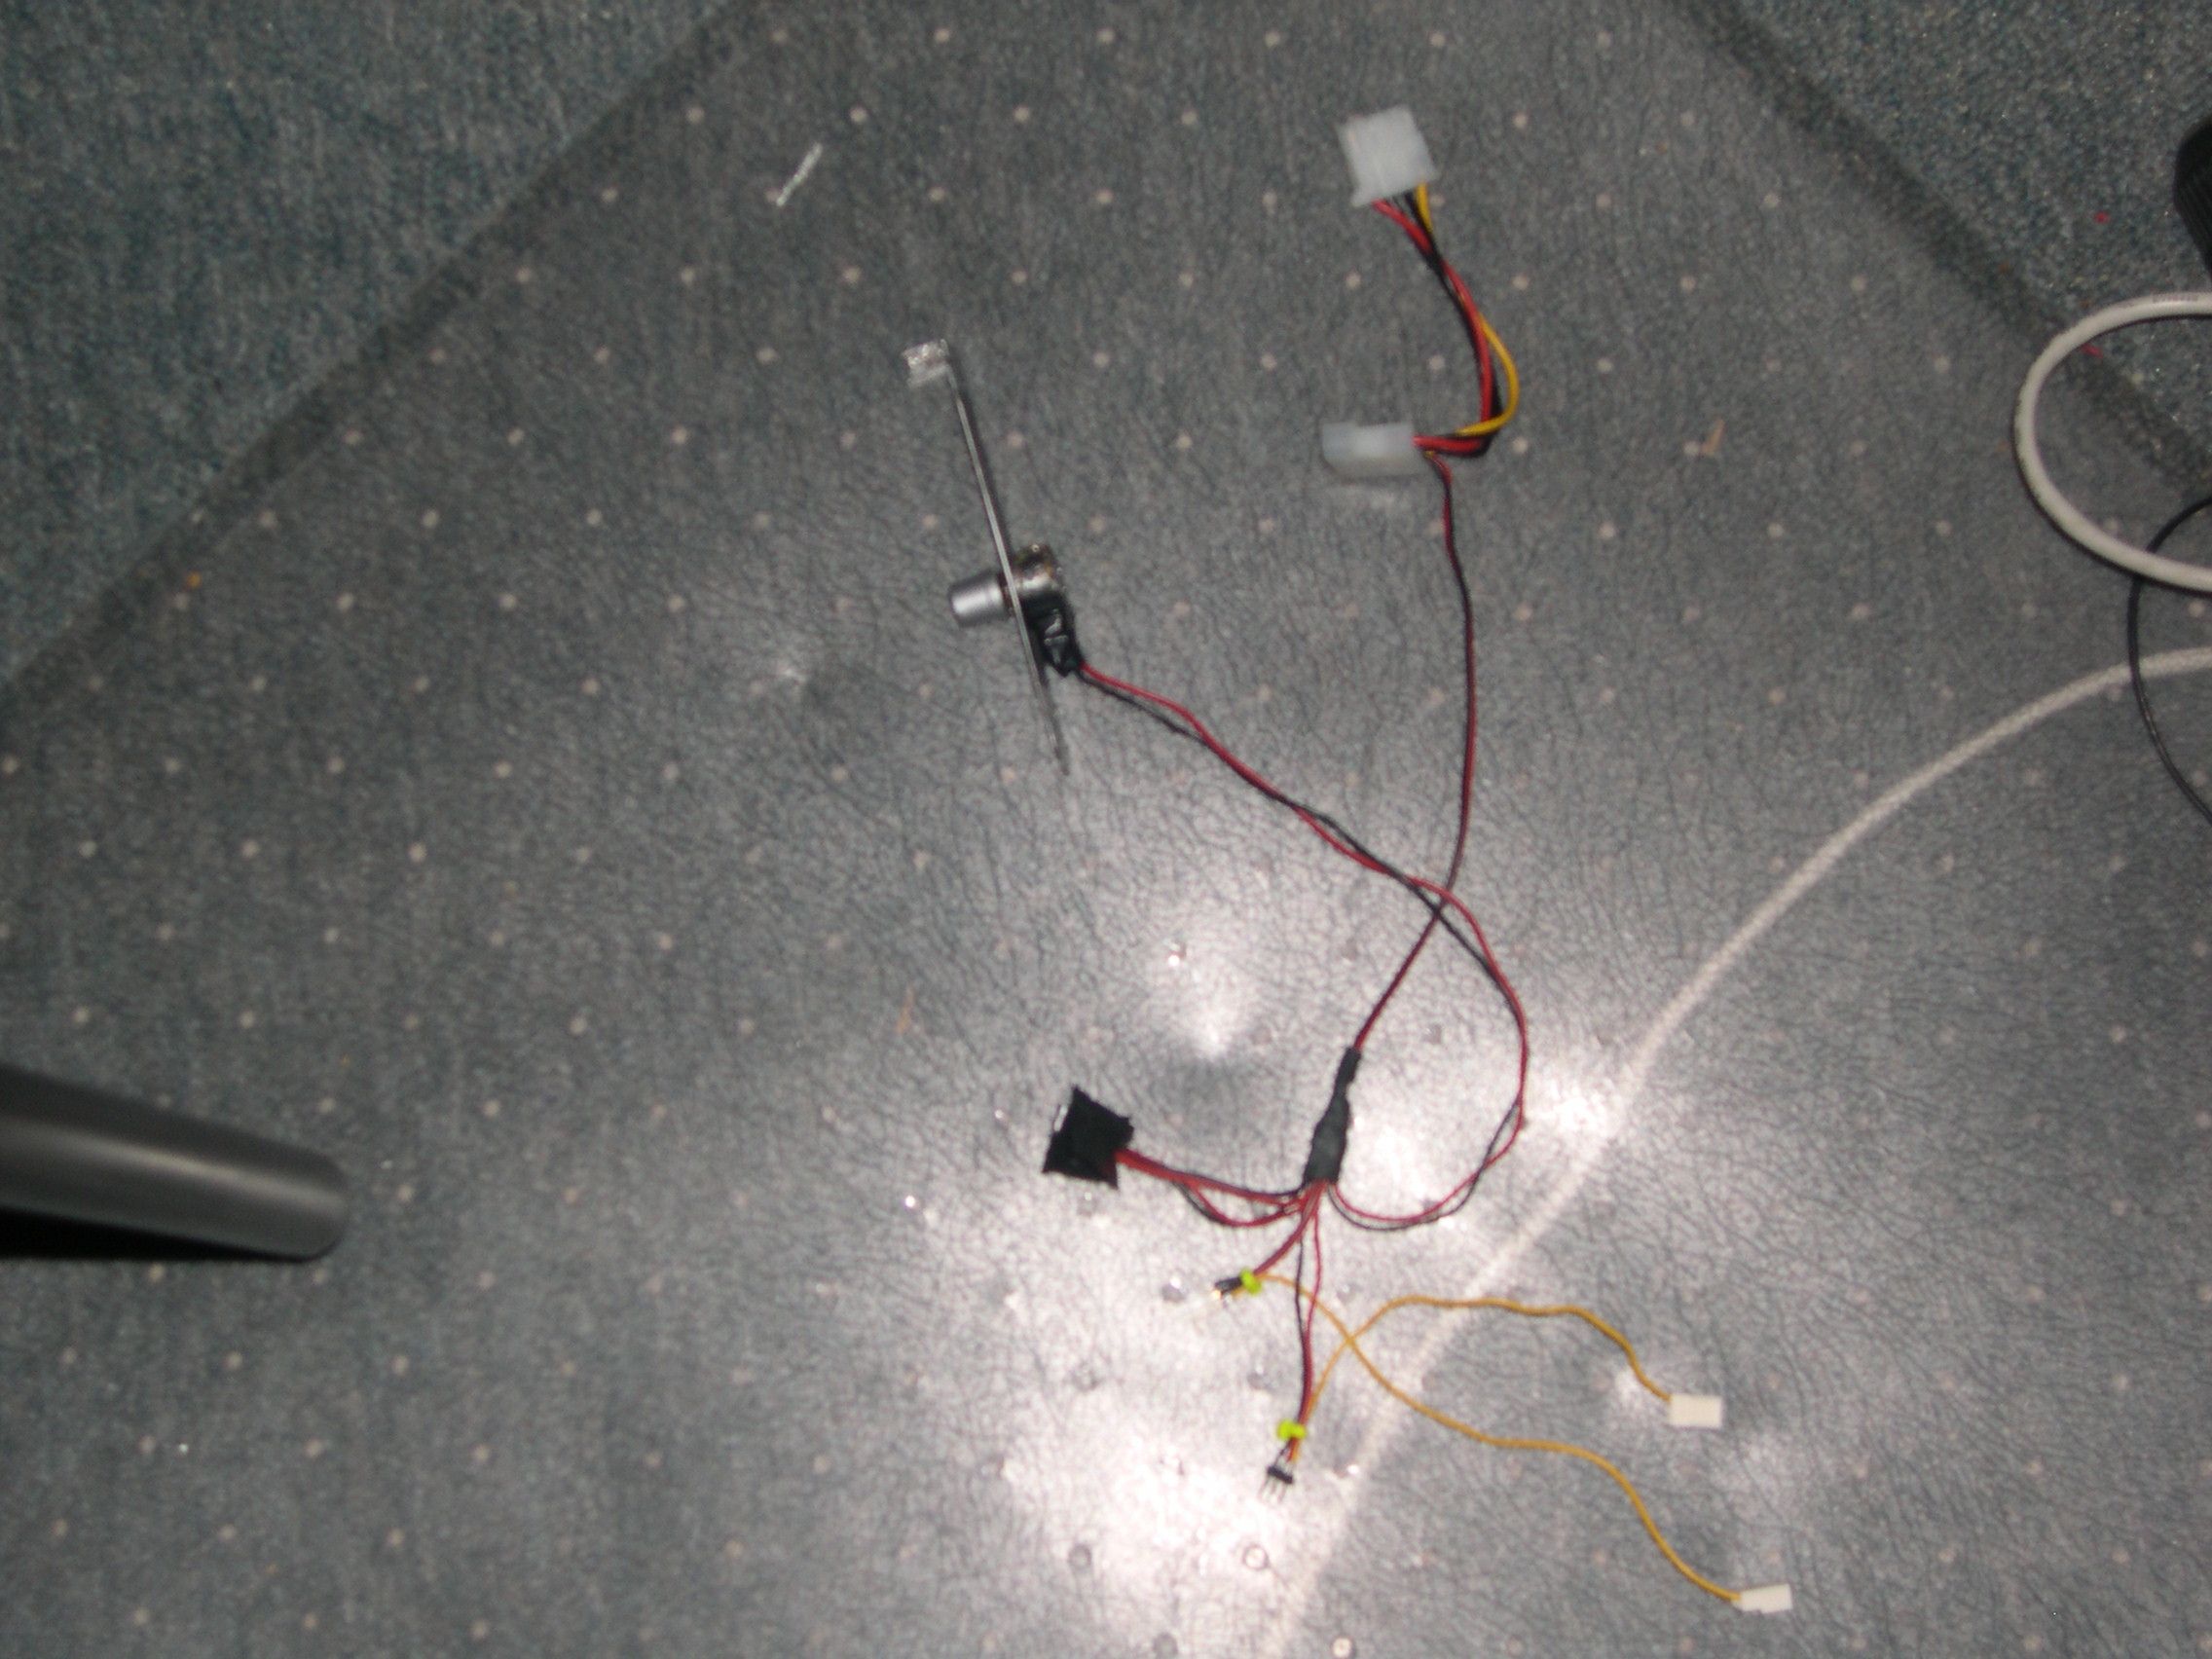
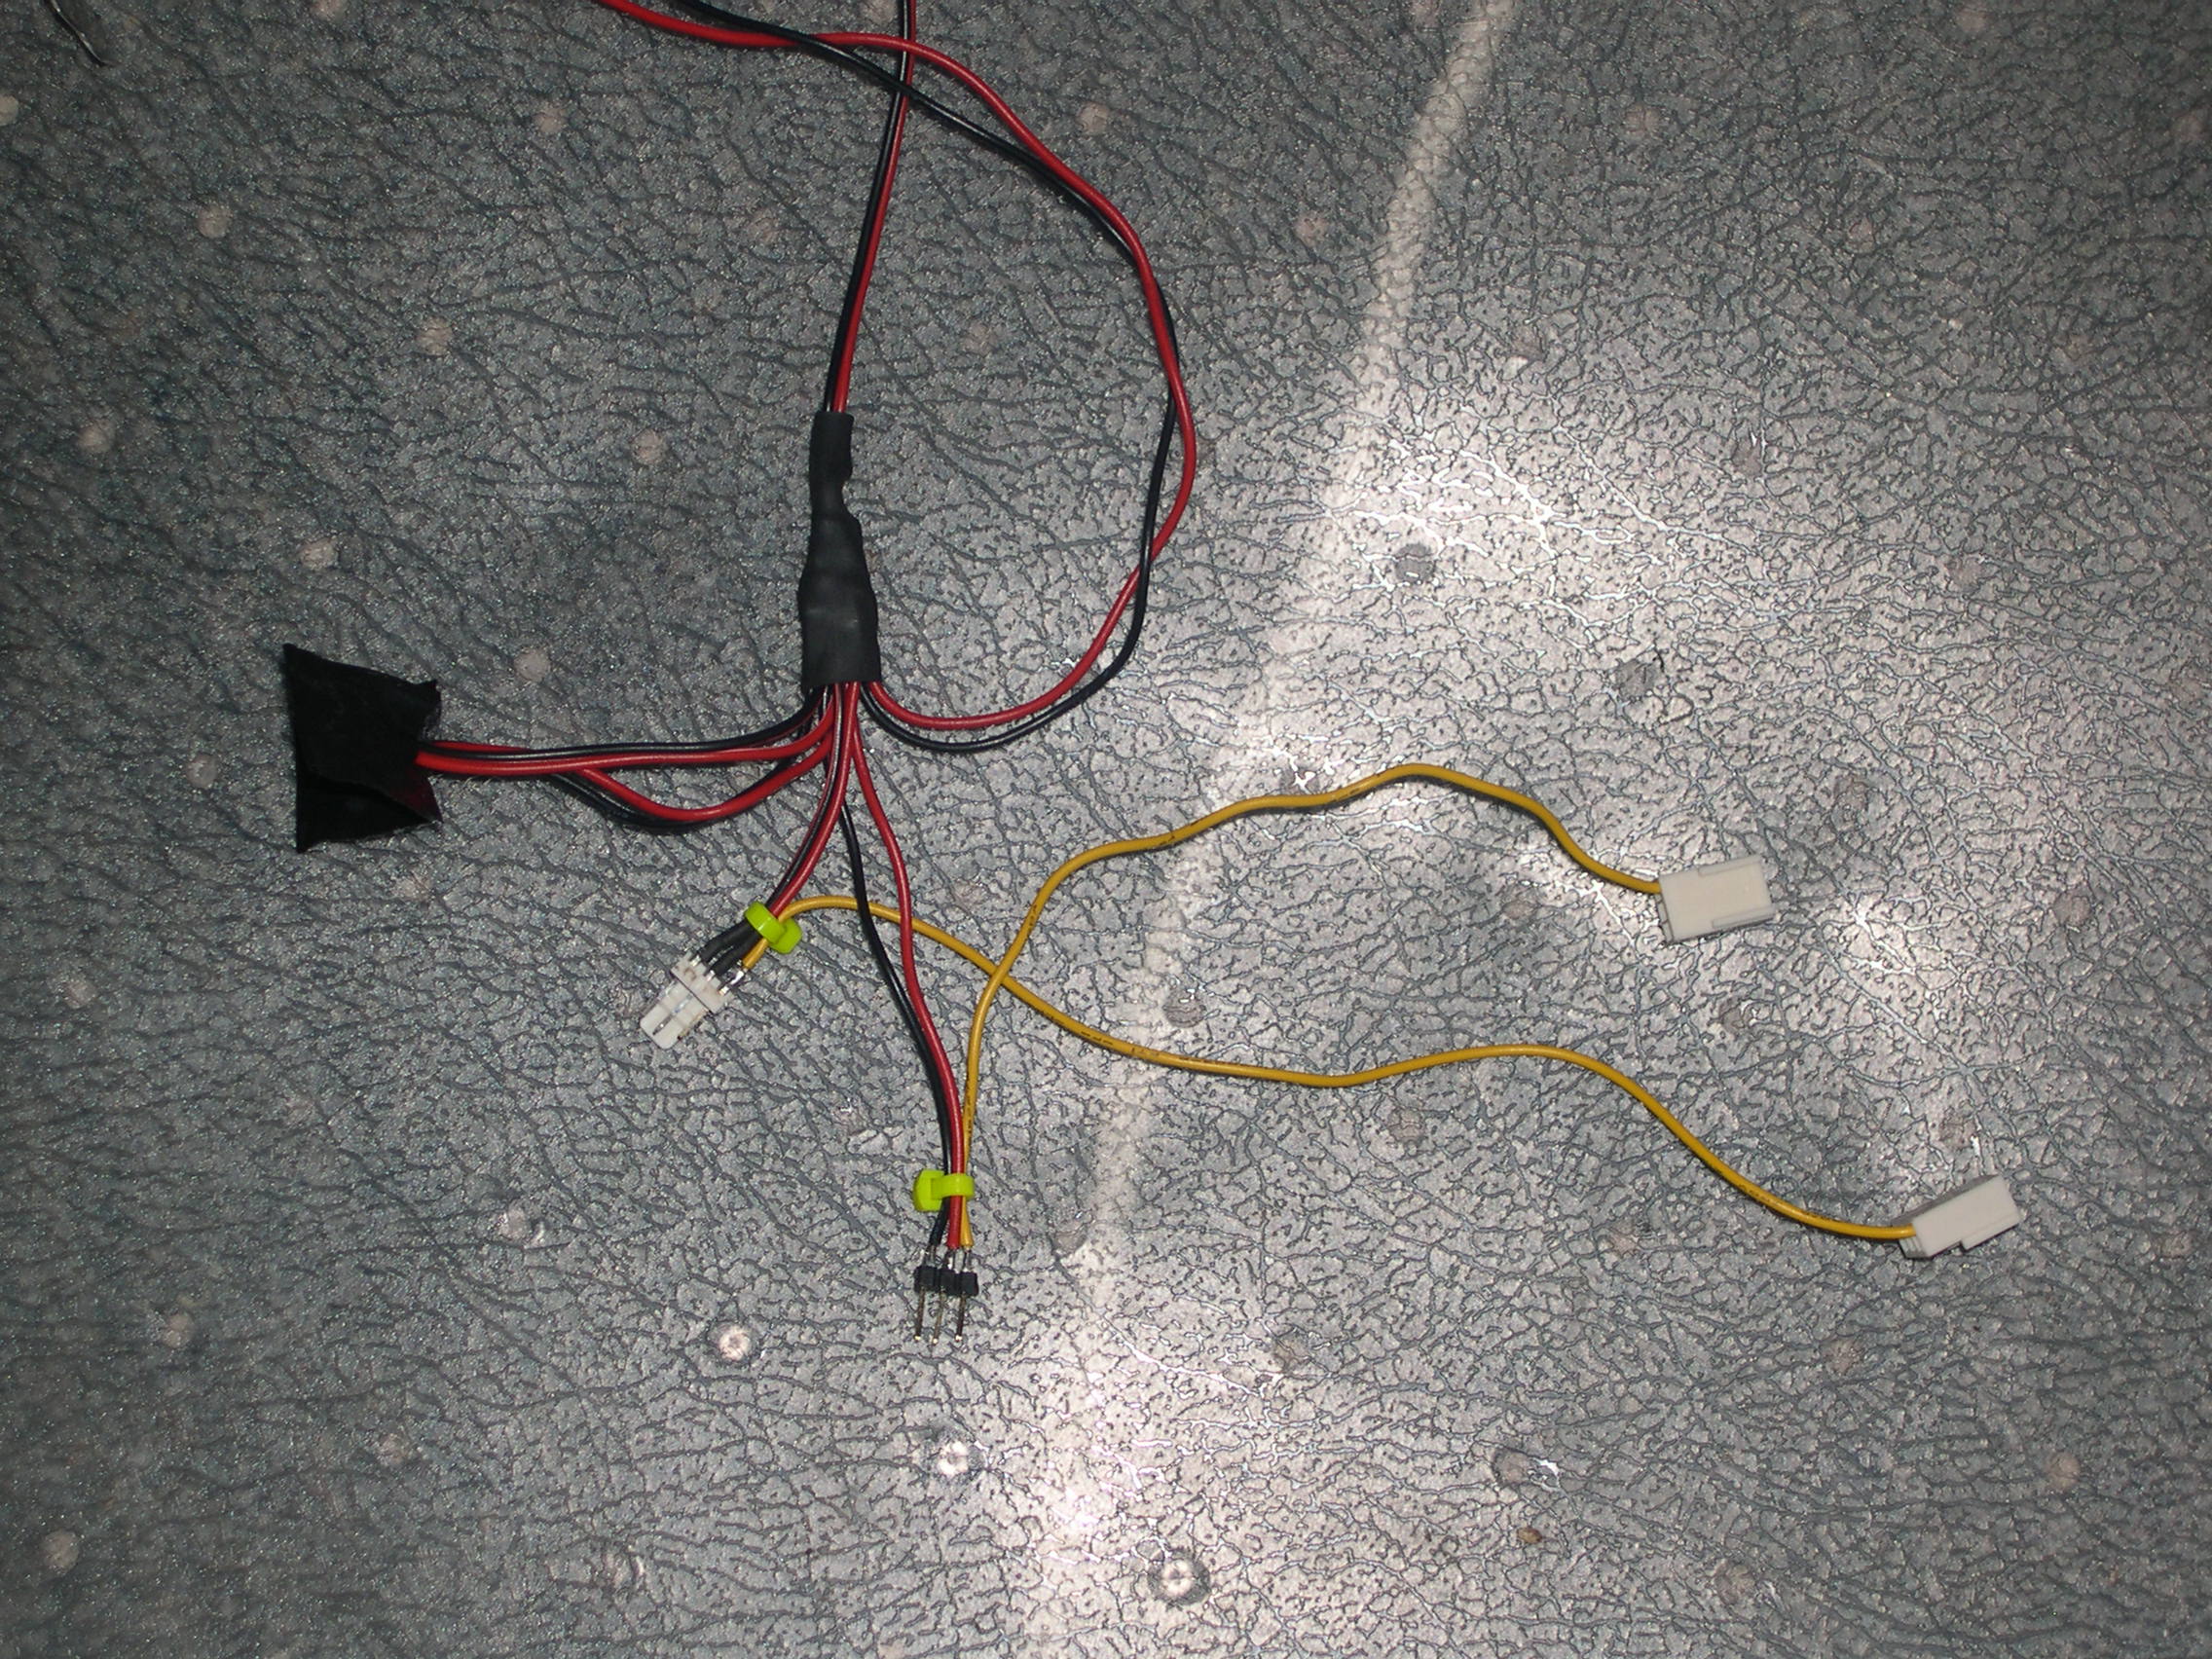
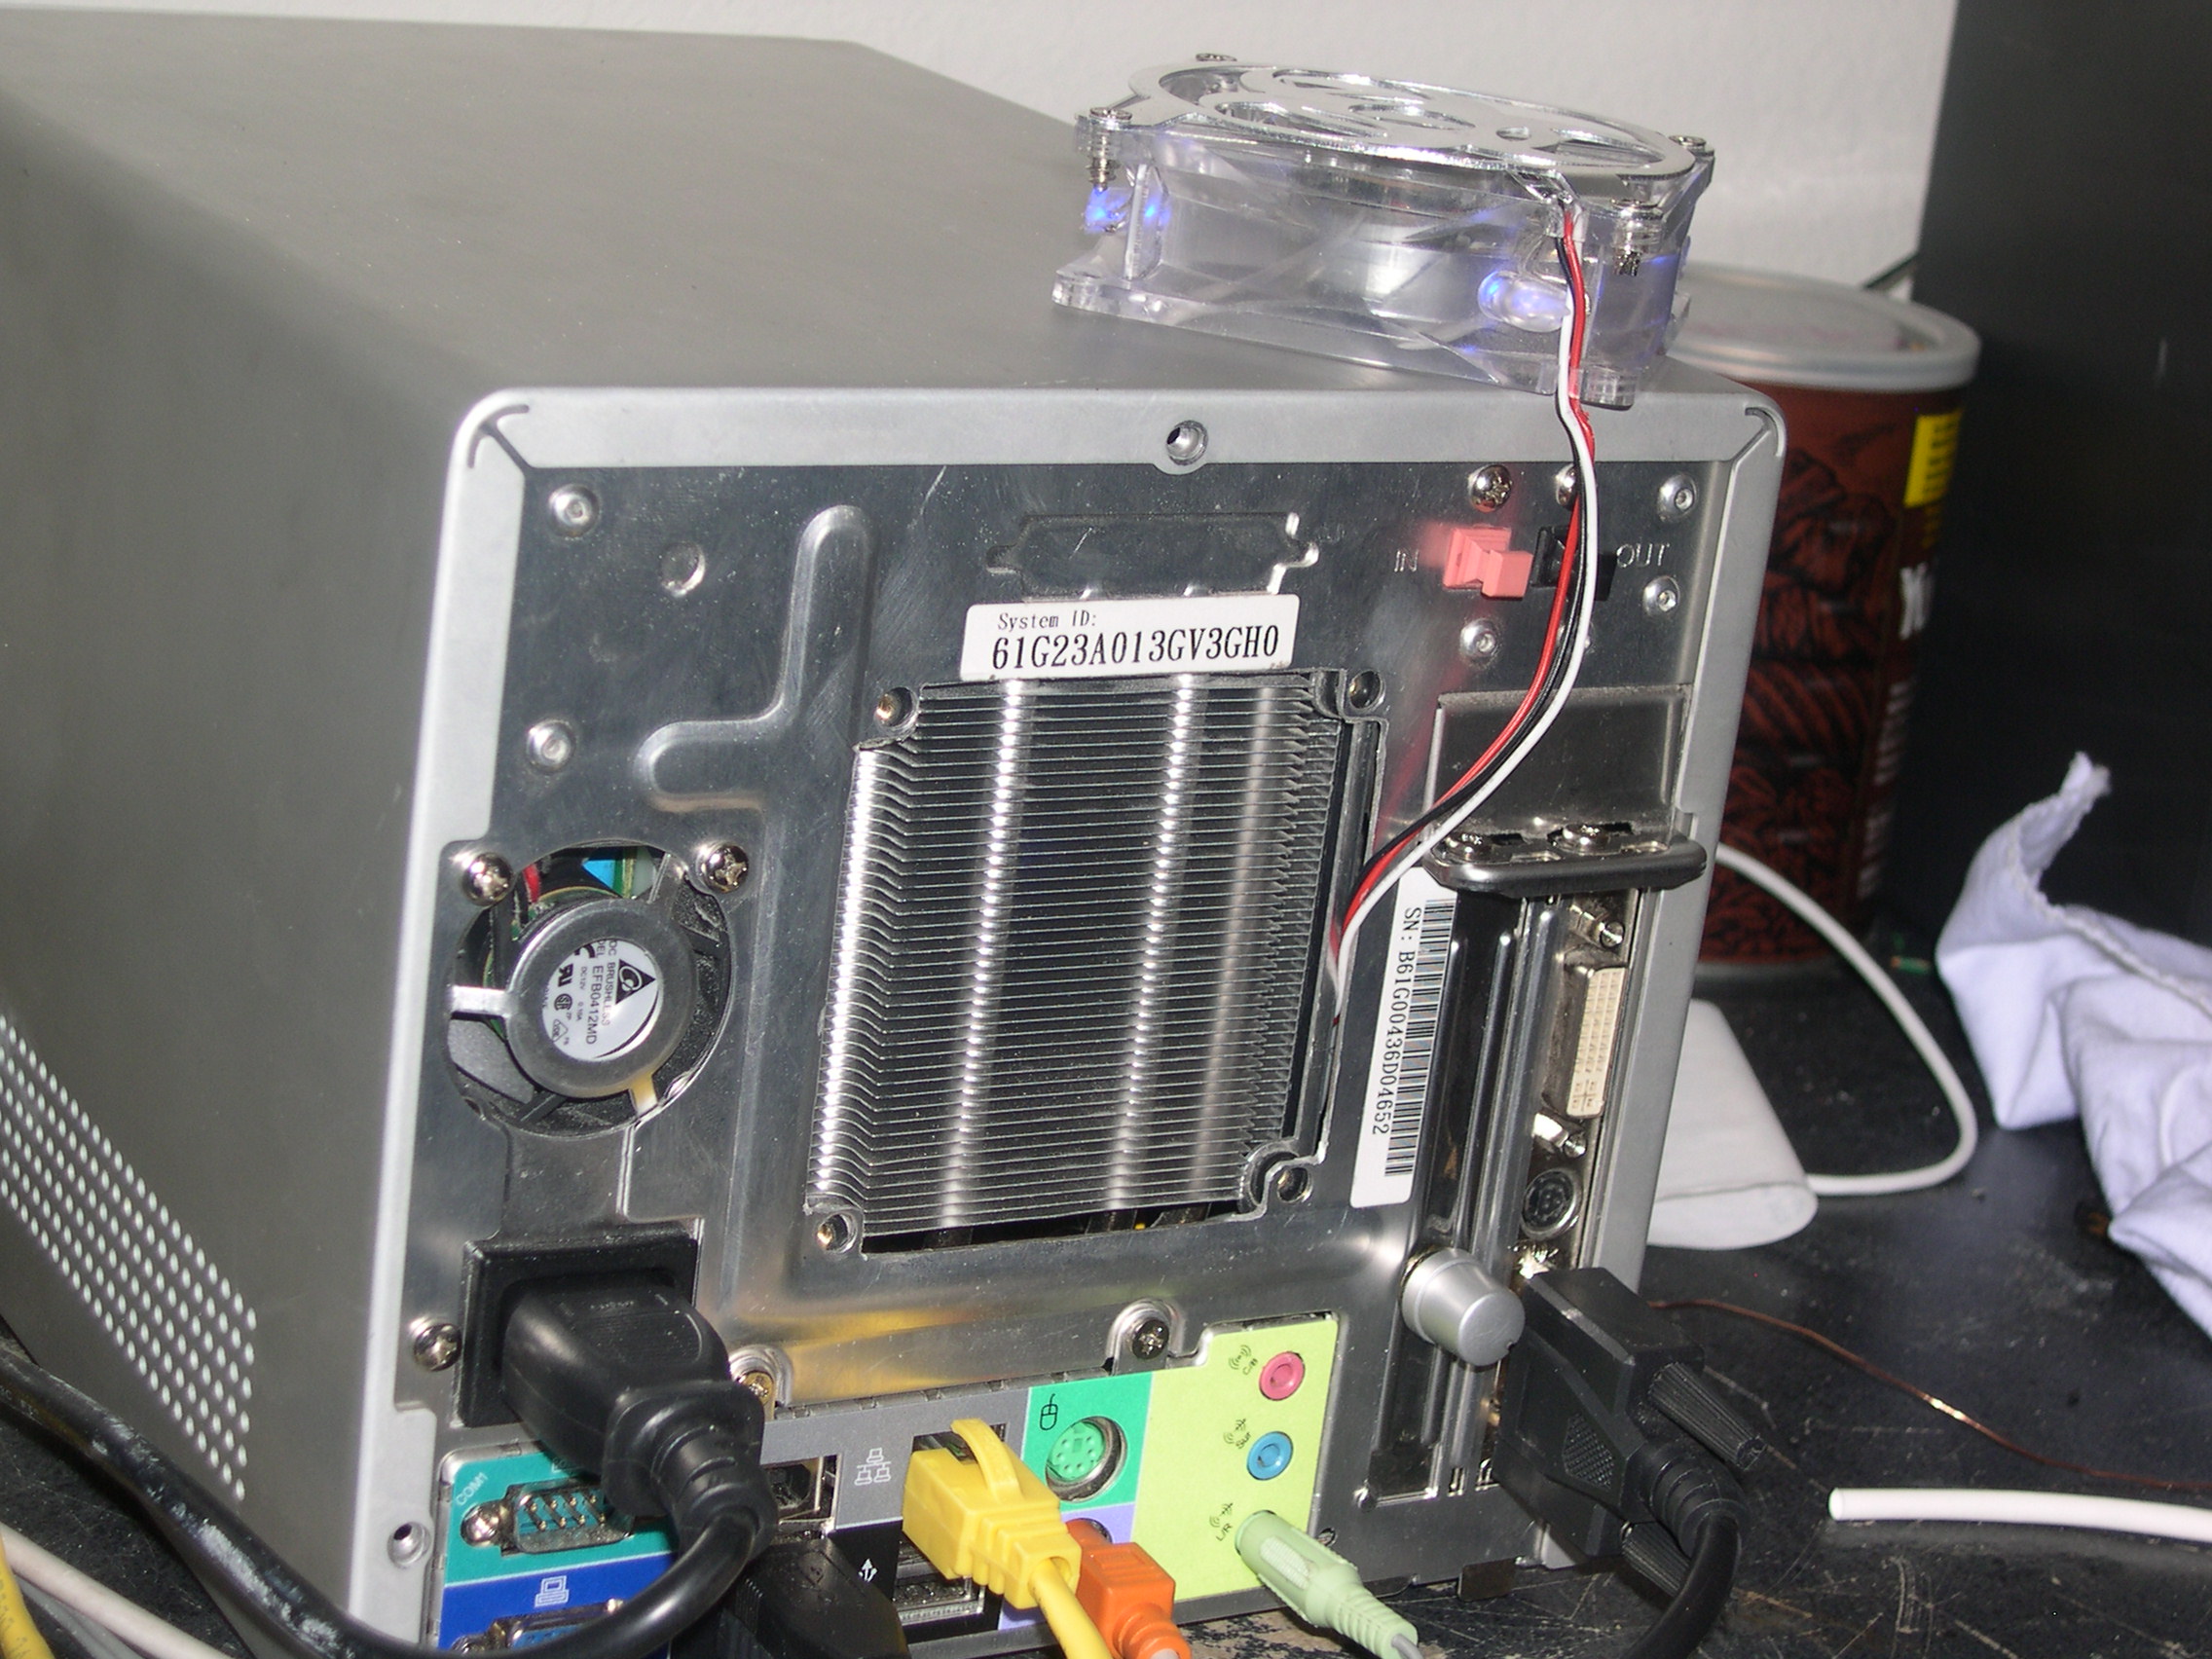
Here is a close-up of the fan controller. It won’t look like much since most of the items that would be on a PCB or enclosure are simply implemented with wires that access everything the controller needs.