Description
Introduction
When I added a 3rd HDD to my shuttle XPC I decided just to take the optical out, haven’t missed it since, though I was looking to some day trying to add a slimline optical drive, preferably a slot-load. So when I was building the new HDD mounts for my shuttle I had to take that into effect.
Phase I
First I started off with some metal stripping, not sure what the stuff is called, but I know it is used in construction to hold ventilation pipes in place. Its really bendable and super easy to work with, great for this sort of thing. I bent it into a |——| shape to hold the drive up off the bottom of the 5 1/4 bay, and high enough to allow a slime-line to one day mount below it.
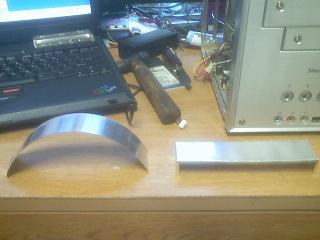
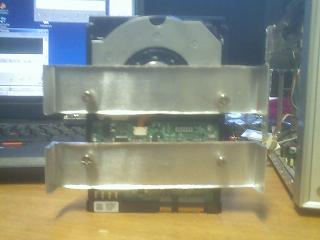
Mostly shows how I built the brackets. and how I bent the edges to give them added strength.
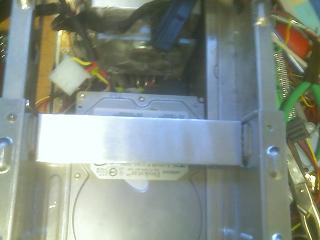
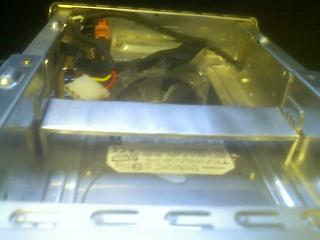
Here we start to see one of the brackets in the 5 1/4 bay.


Mock-up shots of the HDD resting on the two brackets.

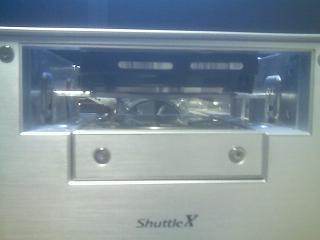
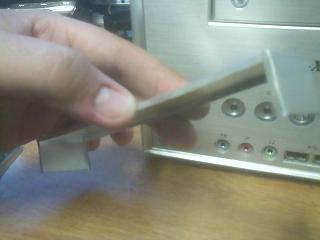
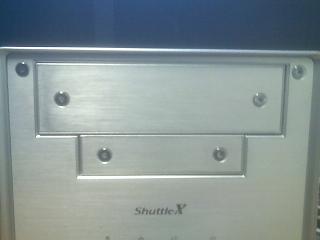
Shots of the HDD and brackets from the front, showing the ample room I have to mount a slimline optical.
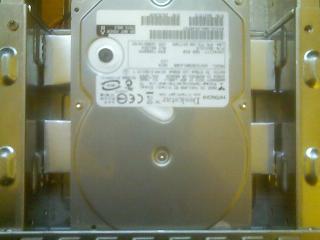
The HDD finally mounted to the brackets and another mock-up shot of it mounted in place with holes drilled on the sides to keep it from going anywhere, mounted with 8 screws total, 4 on the drive and 1 on each leg of the brackets.
Phase II
Now for the interesting part, This is where I link up another project that I was working on with this one, I was working on modding this USB SATA controller I have and now you will finally get to see why I did the crazy things I did to it. Also how pretty it looks when its finally in its spot.
Mockup of where it will end up, and the white part behind the PCB is to separate the contacts from the metal of the shuttle case, it is a cut-up old insurance card.

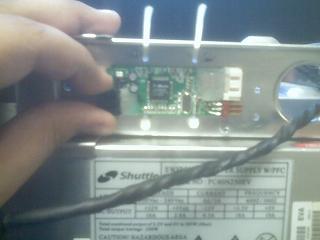
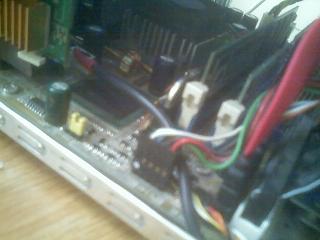
Got the controller mounted with some zip ties through the new holes I drilled in the shuttle chassis, and My not so excellent wiring job from the hd, I will making that look better later.

Pics showing the fully connected controller, and the connection to the motherboard on the other side of the case.
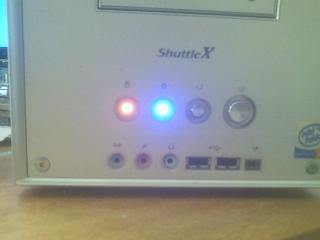
Completely mounted and connected, and then my shuttle all buttoned up to get back to its duties!