Description
Introduction
This project’s aim is to fit a Western Digital Velociraptor 10,000 RPM hdd inside of a Dell D630 laptop. There are three major obstacles to completing this mod; testing compatibility, powering the drive, fitting the drive in the laptop.
Testing Compatibility
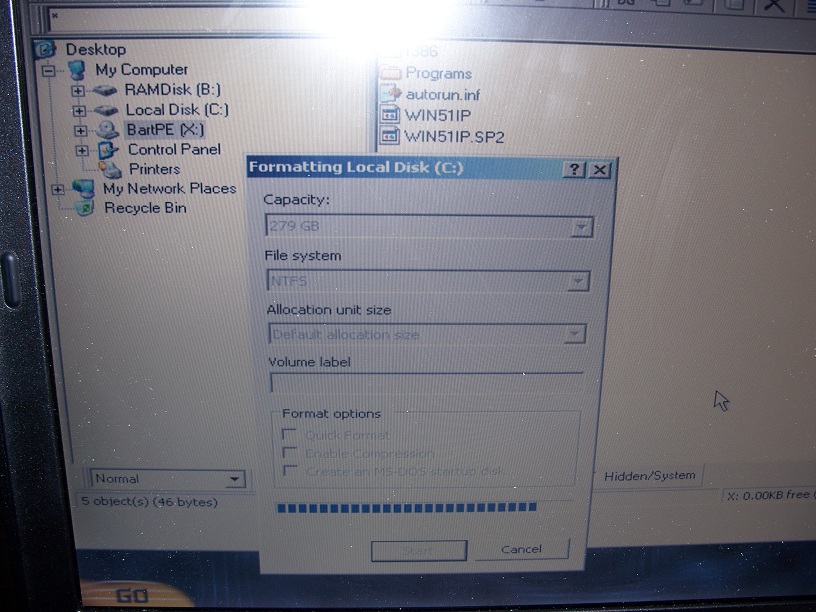
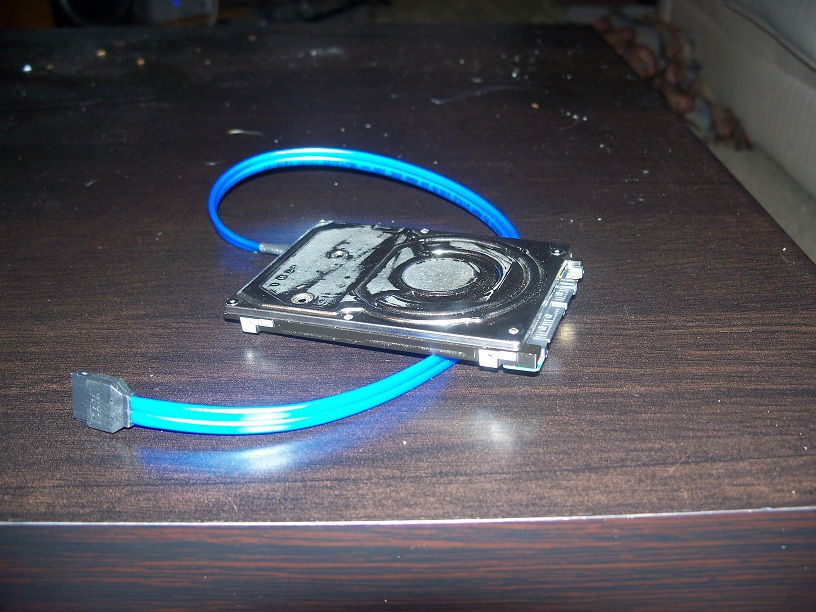
In this test I have created an adapter that allows me to connect an external SATA device to the D630’s hard drive bay. The device is a faux gutted laptop hdd where the SATA connector is routed outside the laptop.
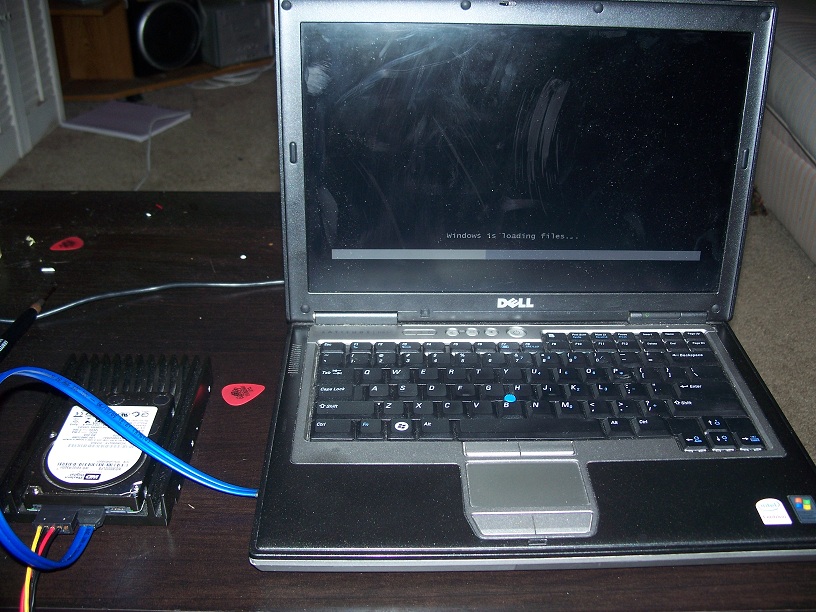

The velociraptor connected to my dell d630 and installing windows. The drive is being powered externally using an old modded external HDD enclosure power supply. Side shot of the device inserted into the HDD bay of my laptop.
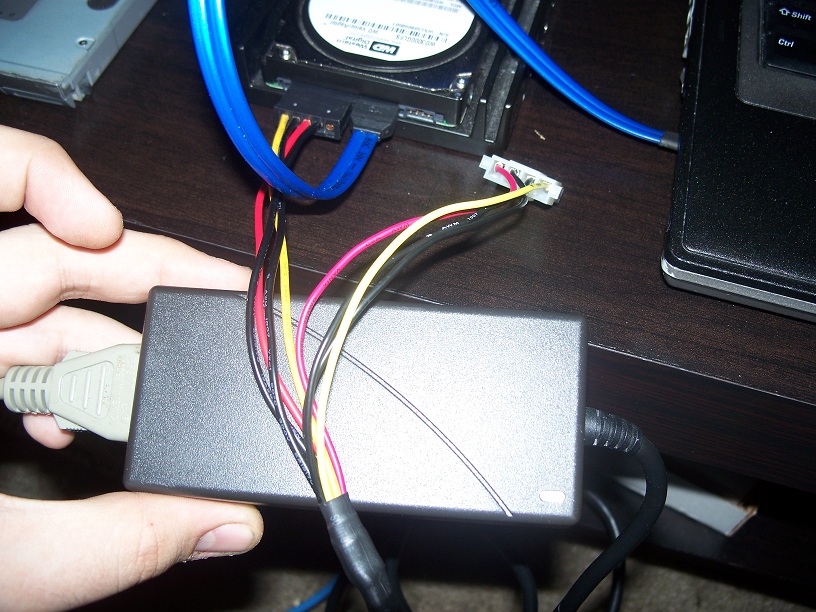
This is the power supply I modded, adding molex and SATA power connectors. This PSU gives out 5v @ 2.2a and 12v @ 1.2a, so it can power any drive I throw at it.
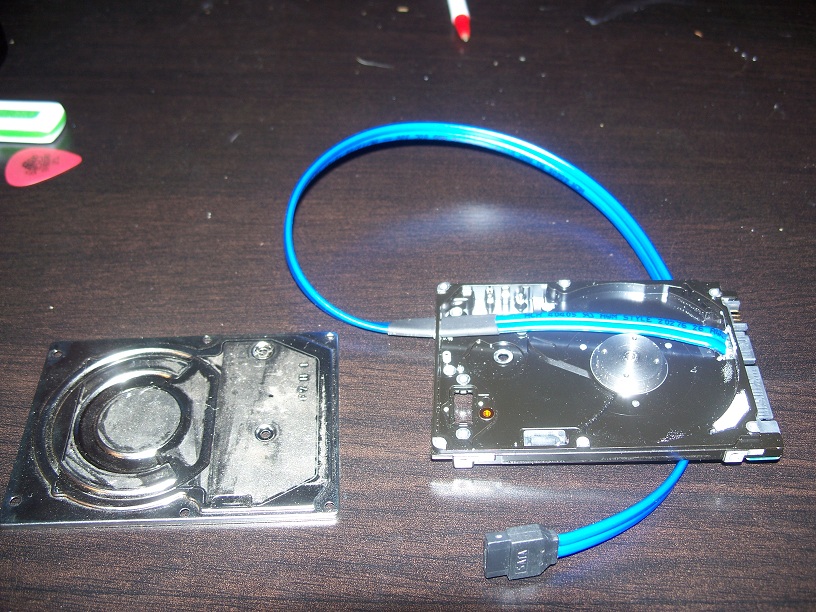

This is the device I constructed to connect SATA drives externally to my laptop. I gutted the electronics and inner mechanicals leaving only a small strip of the PCB to solder my SATA cable to. I then cut a hole at the end of the drive to feed the cable out of the laptop. Underneath showing the small strip of PCB that was reused.

Side profile of the device. And finally some comparative hdtach results with the stock 7200 rpm hitachi drive in my laptop and the velociraptor. Can anyone tell the difference?
Powering the drive
This phase involves actually powering the drive from the laptops own power. The drive takes 5v and 12v, with 12v at a max of ~280ma. The idea for now is to use a step up converter from another 5v rail on the laptop, like the optical drive bay that I use a 2nd battery in. The other is to take power directly from the batteries.
I have removed the velociraptor from the heatsink and ran some extended tests to ensure the drive would not overheat. After running a full chkdsk and then running windows 7 the drive is warm, not hot. The bottom of dell d630 where the hdd screws in from underneath is metal infused and will allow the drive to dissipate heat through the bottom chassis.
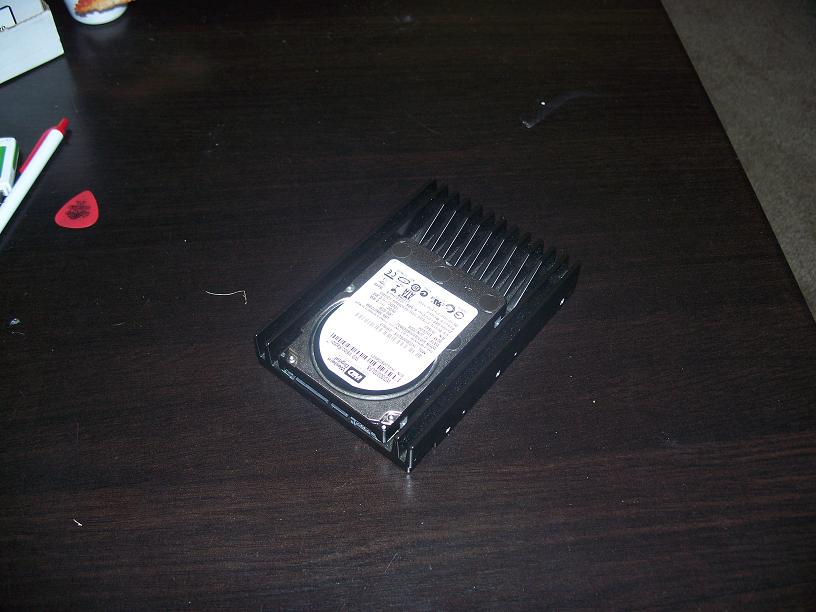

The velociraptor daring me to remove the bigger than my processors’, heatsink. Removing the 4 screws on the bottom releases the drive.
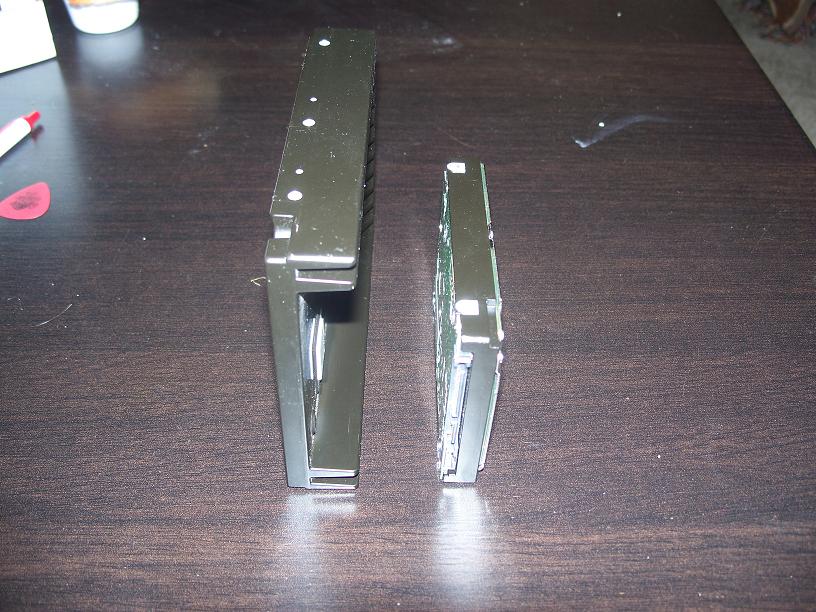
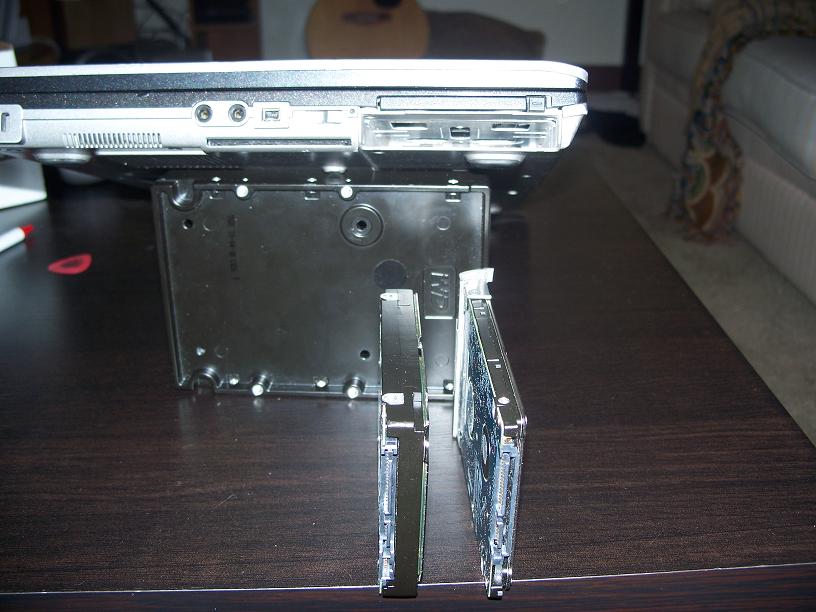
Side profile of the velociraptor next to its heatsink. Side profile of the velociraptor next to a stock laptop hdd.
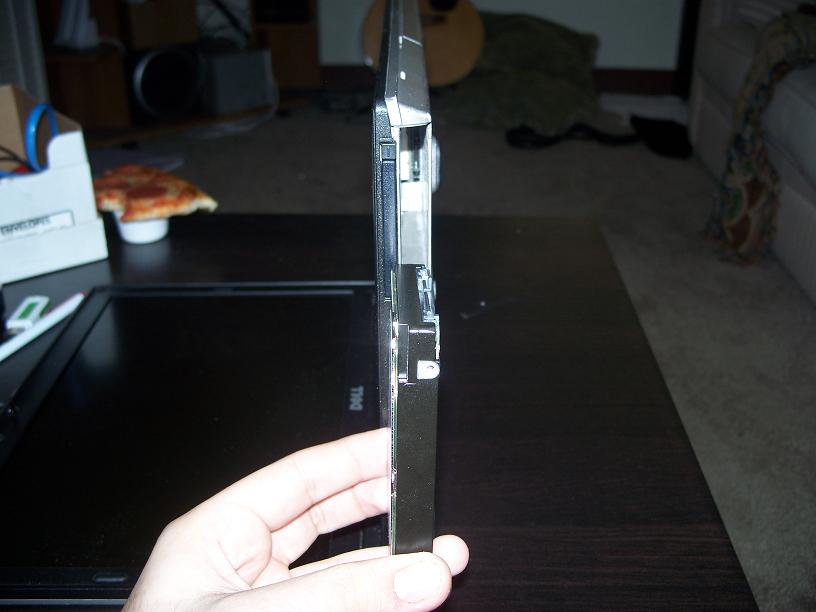
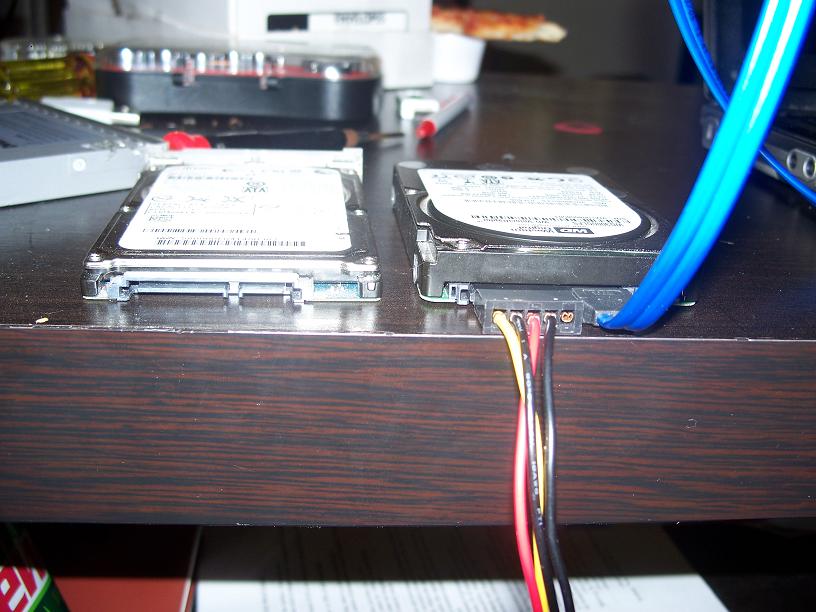
The drive profile compared to the laptop profile. The hdd will push up through the PCMCIA slot, which is going to be removed. The drive running externally next to the stock laptop hdd.
Fitting the drive inside the laptop
In the dell D630 the hdd is mounted with the SATA connector at the bottom of the laptop, above the hdd bay is a PCMCIA socket that I can remove. With some creative dremeling on the inside the drive can physically fit inside the laptop with no outside bulge. Unfortunately I do not have any pictures of the last phase of this mod.