Description
Introduction
My parents bought this for their beach house but were dissatisfied with the original LED’s in the sign. Using a few off-the-shelf components it was easy to not only replace the LED’s with the proper type but also take this decorative sign into a league of its own.
Project Video
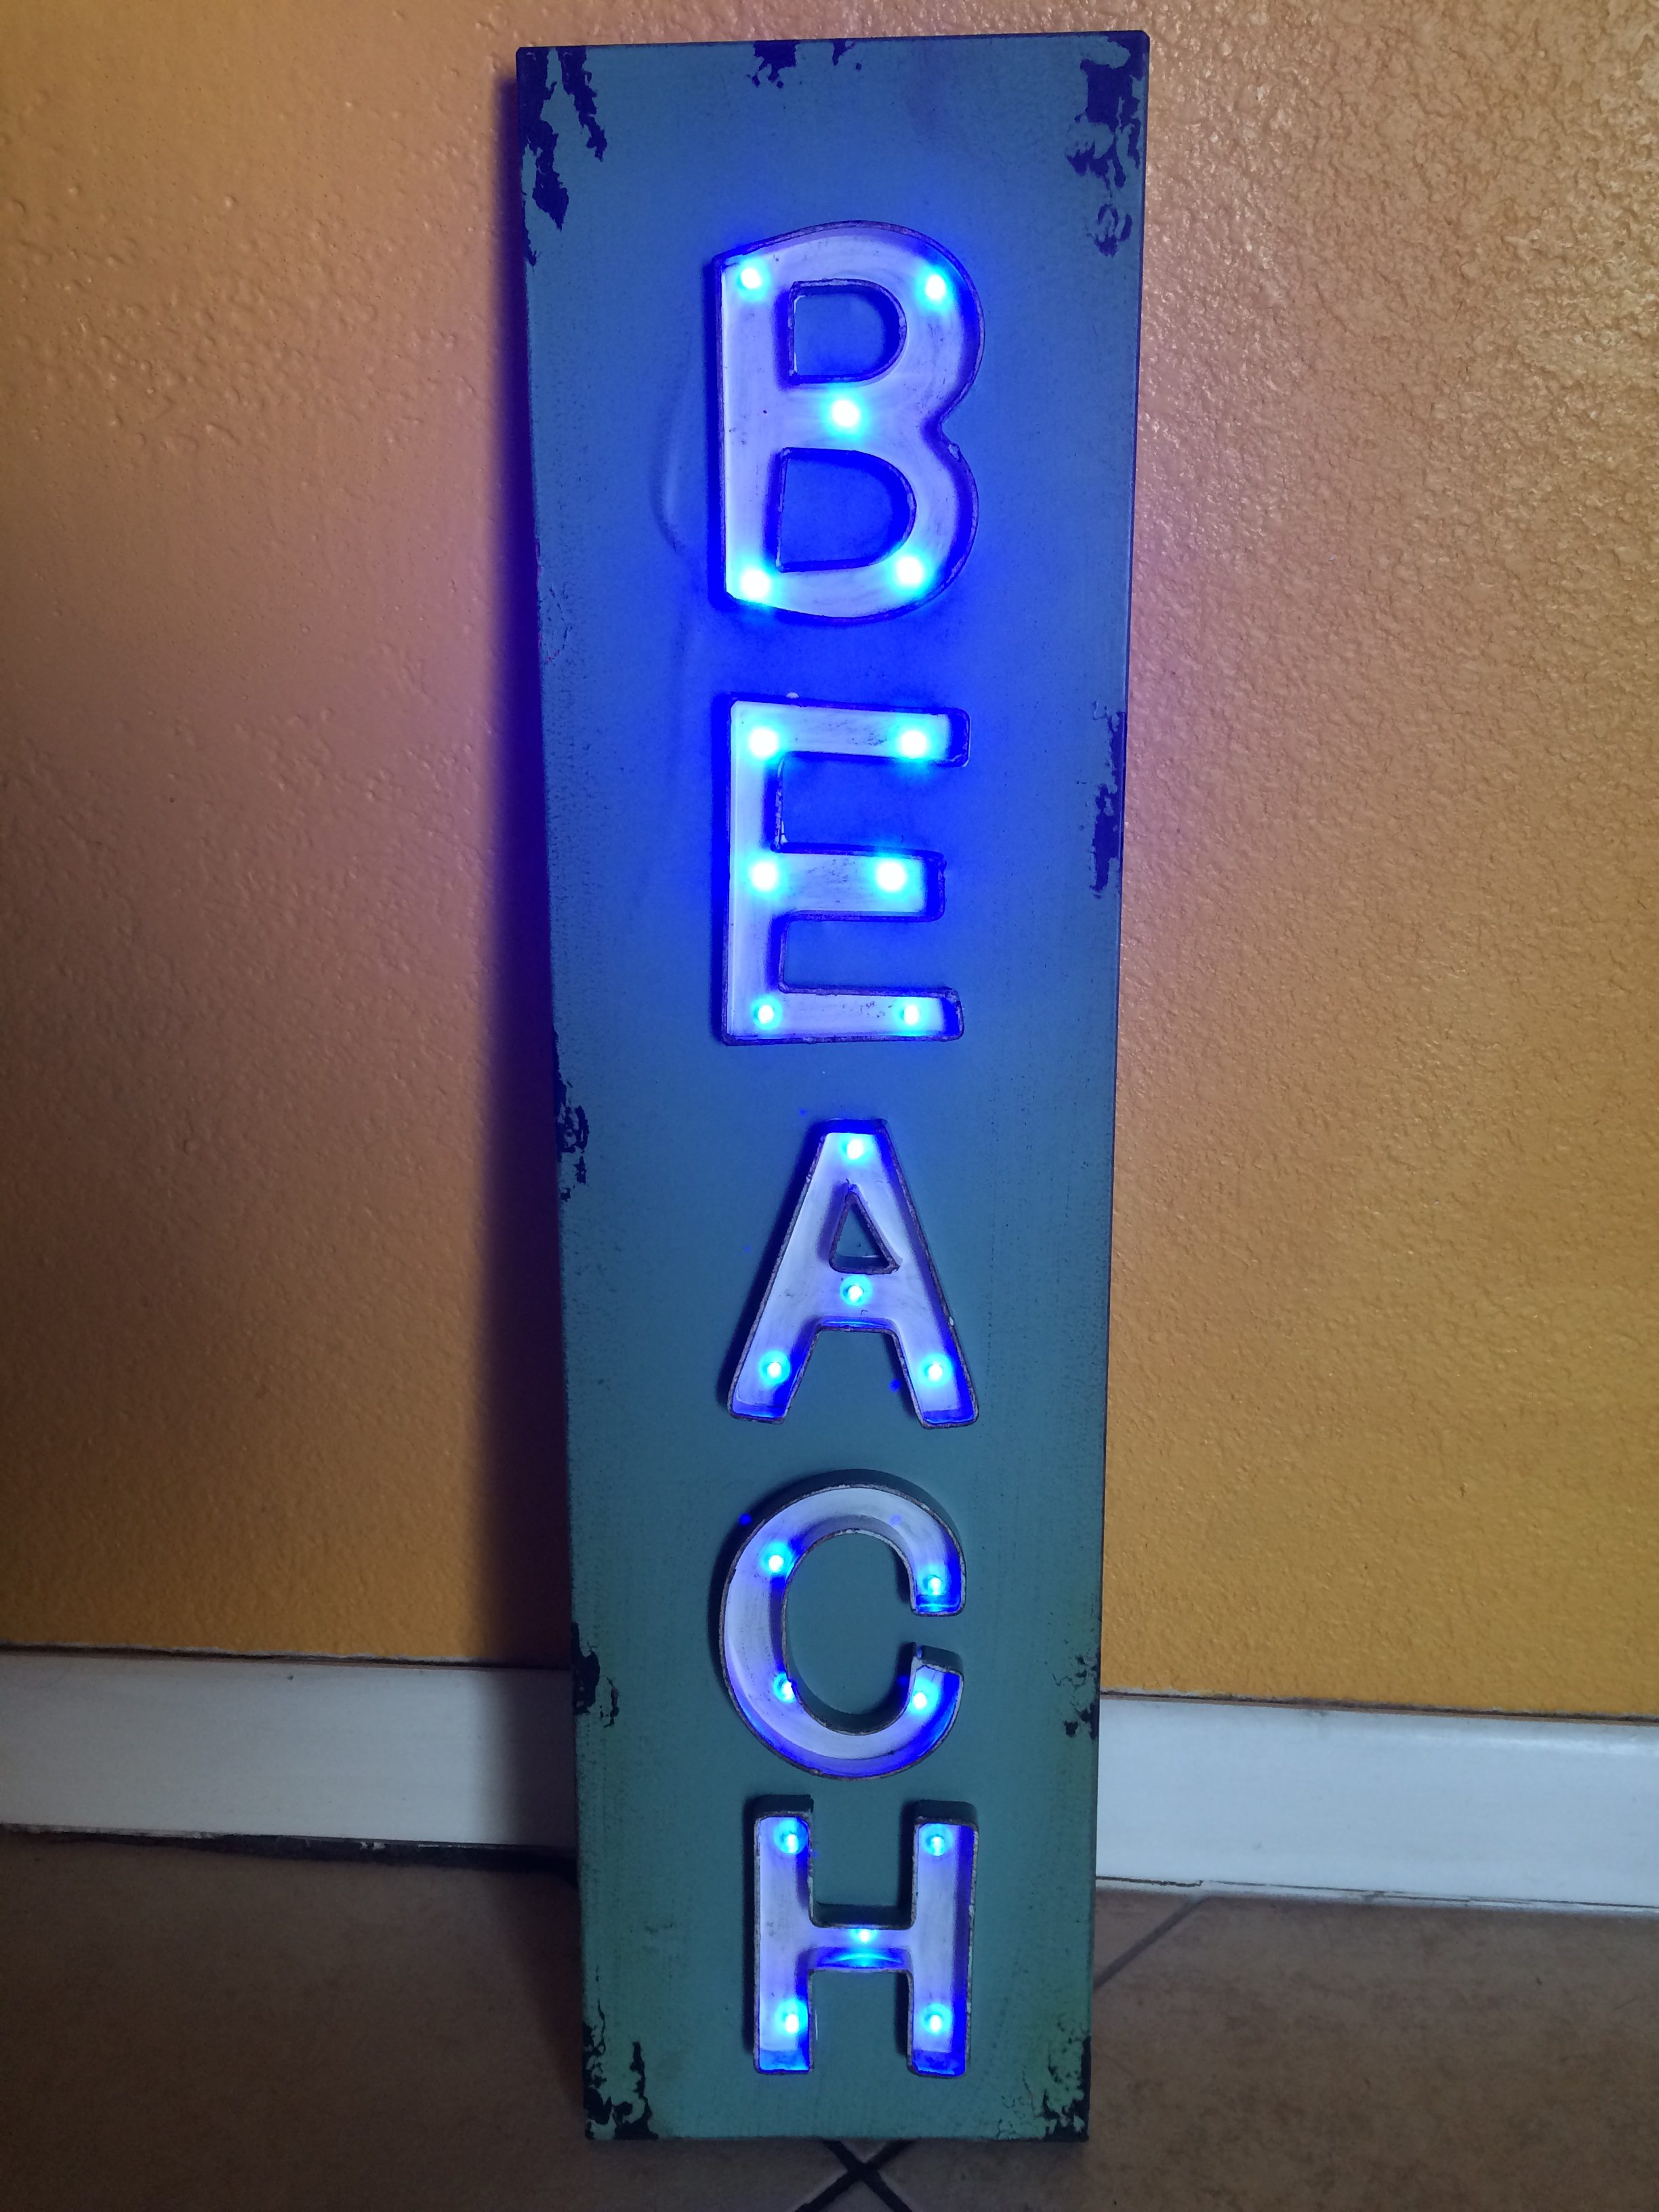
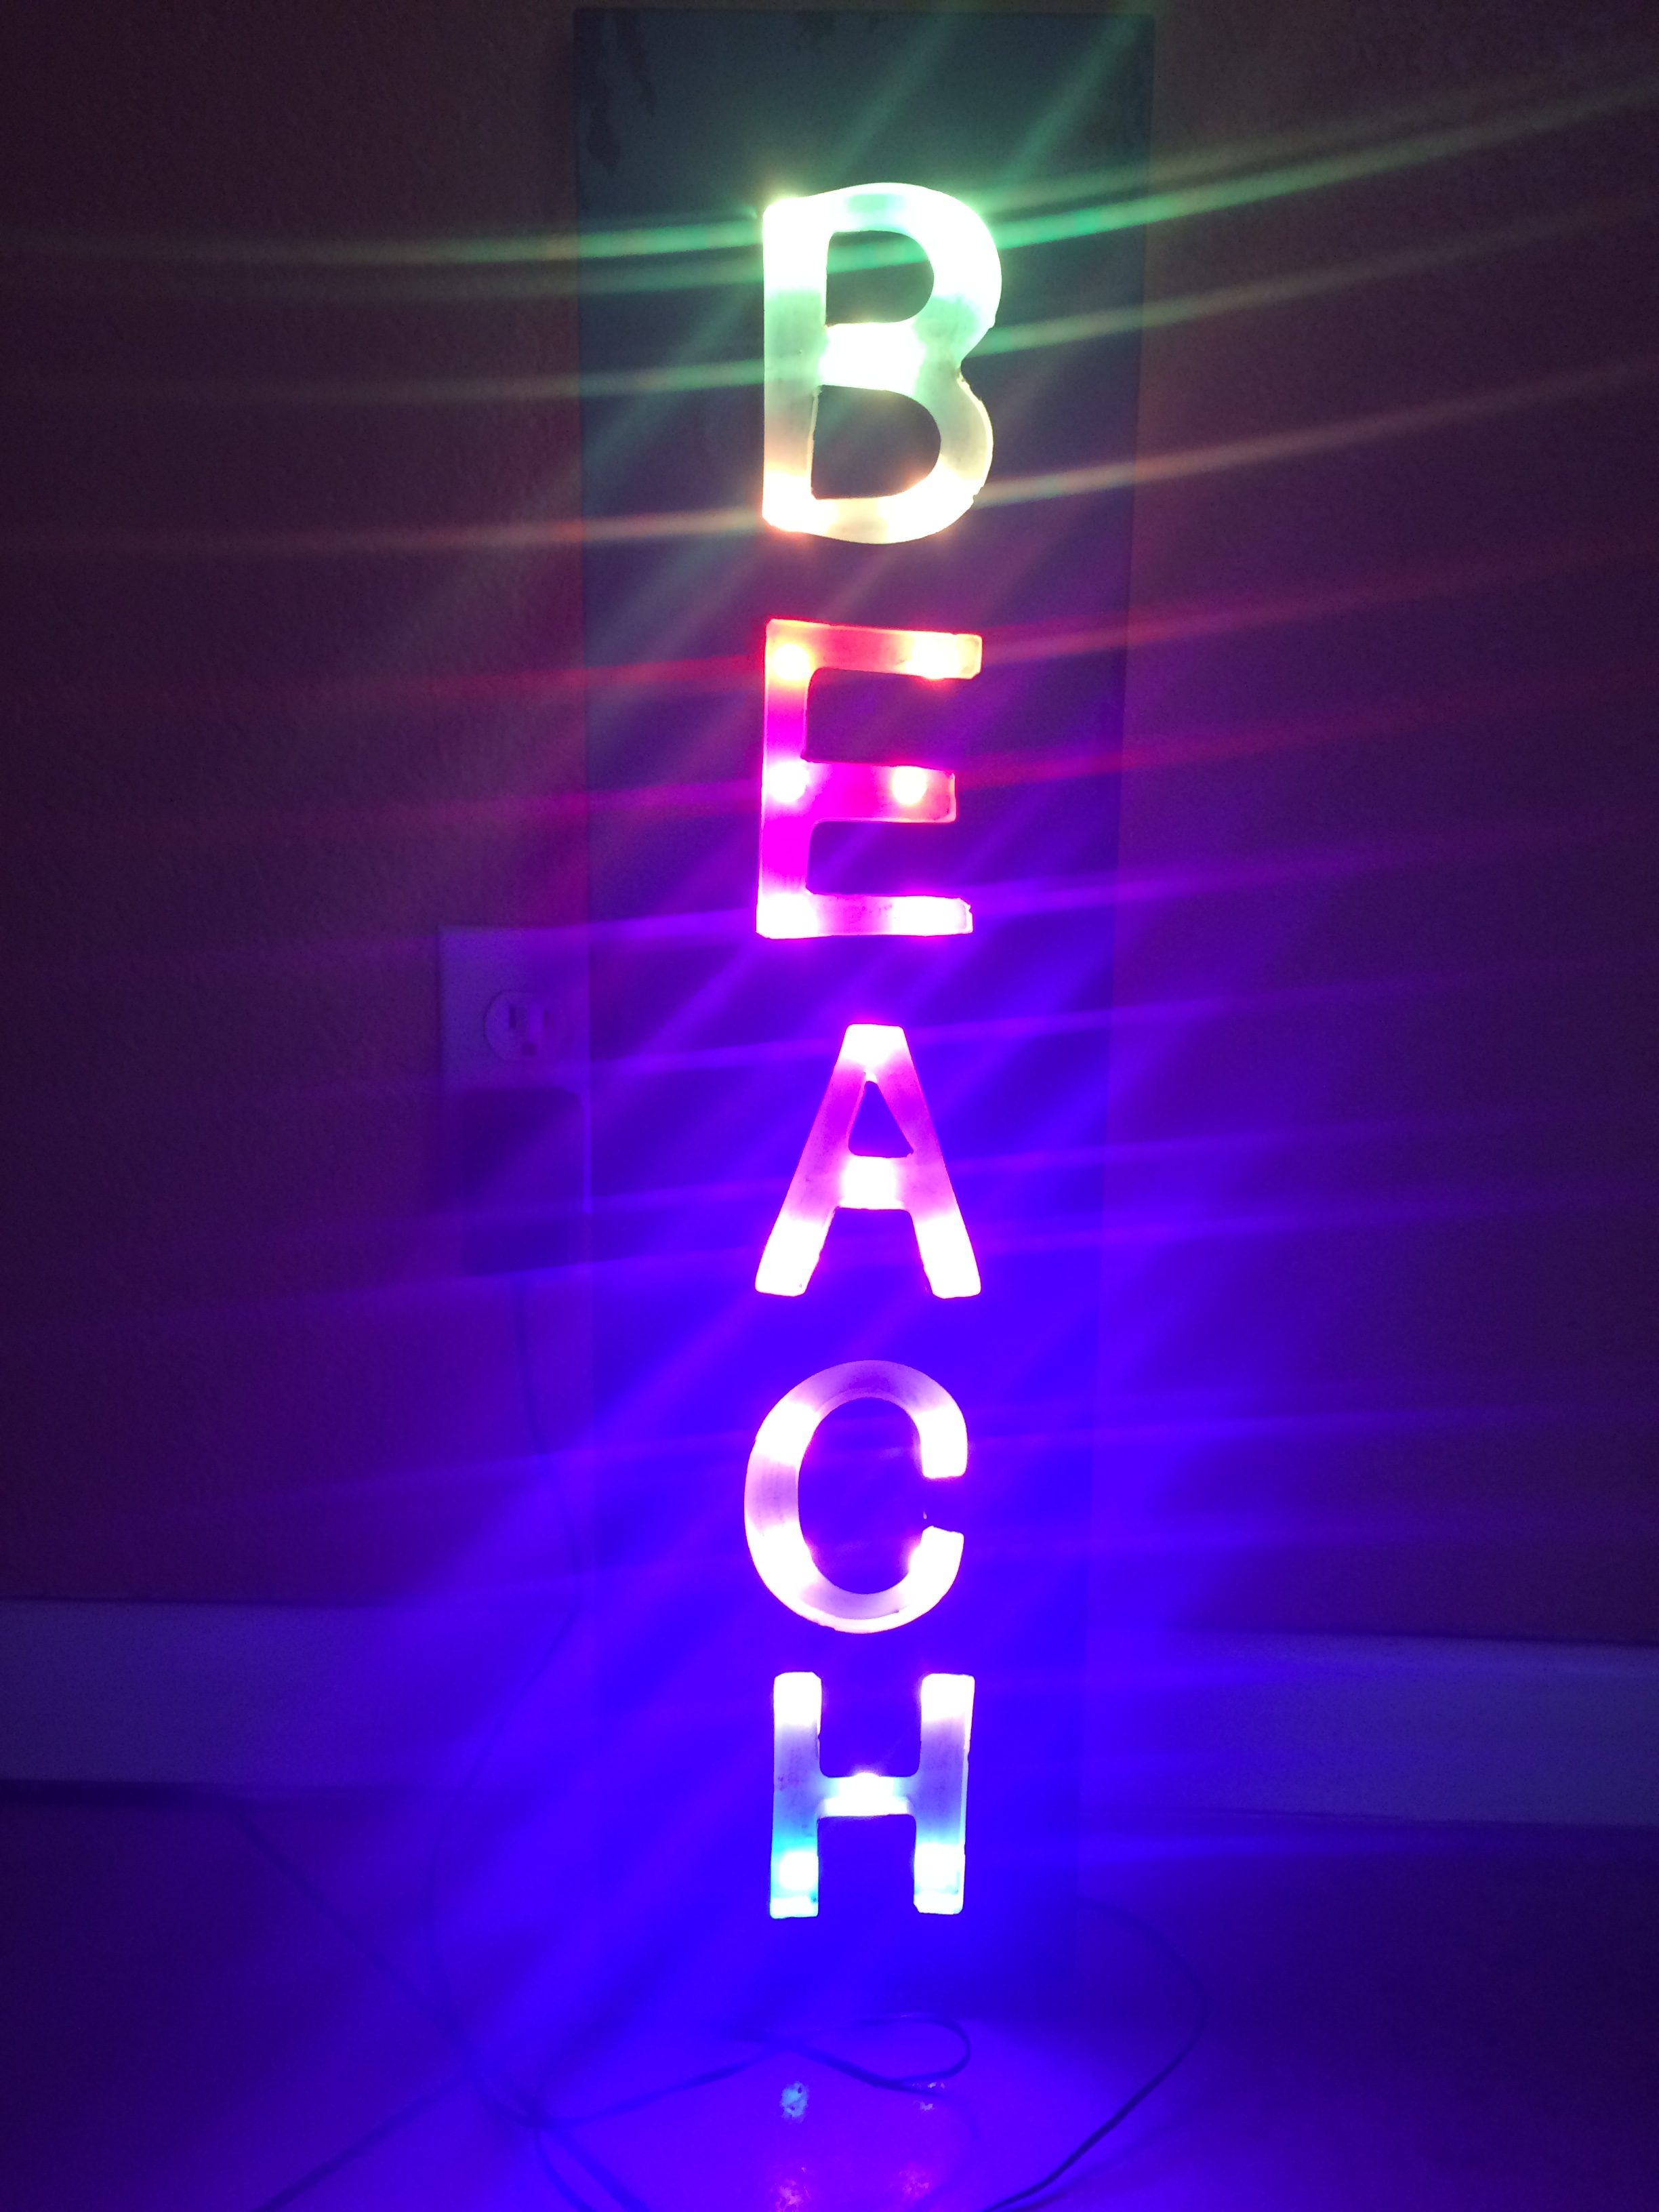
The completed sign and cycling through a few of the modes, there are 63 in total with around half being mostly Christmas themed which makes sense given the demand for this type of holiday lighting.
Stock Sign
The stock sign had blue LED’s which normally would have been fine for something like this however they were of the focused variety and would project a beam of light across the room and blind anyone looking on directly. The lights were not only very bright with no control but were also stuck on a single color.
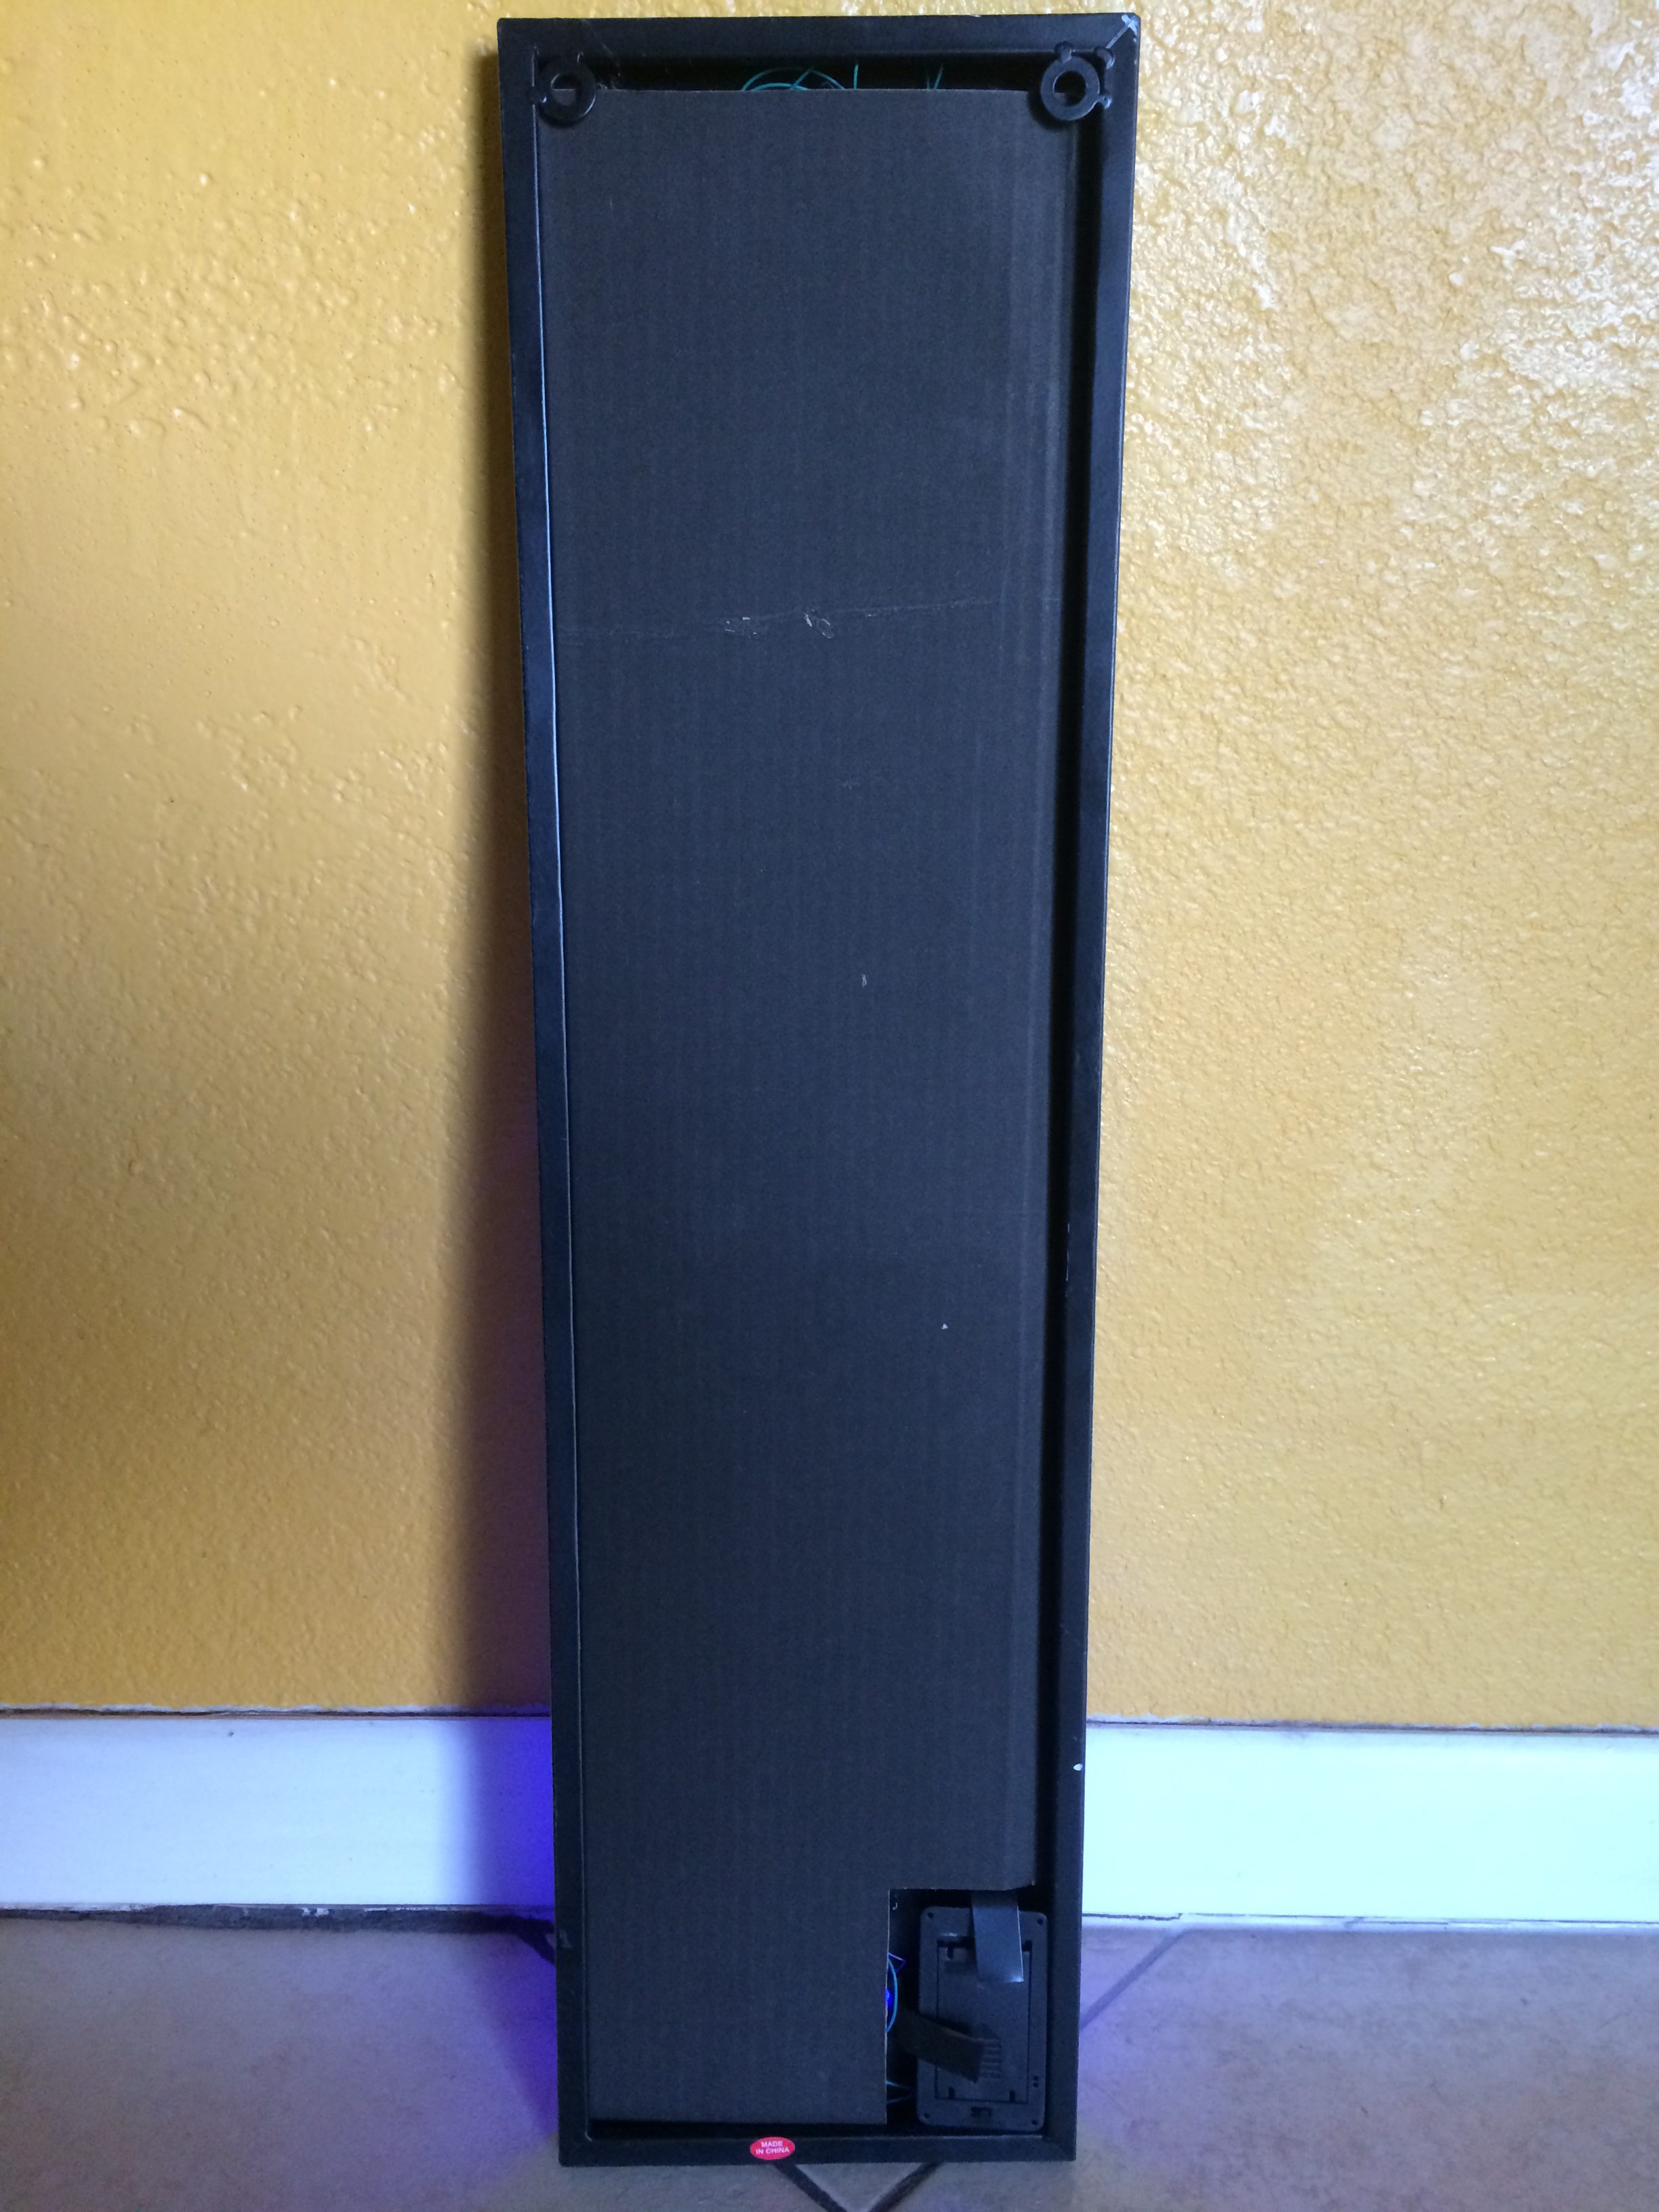
The original sign is powered by two AA batteries and all the more interesting bits covered by a piece of black cardboard.
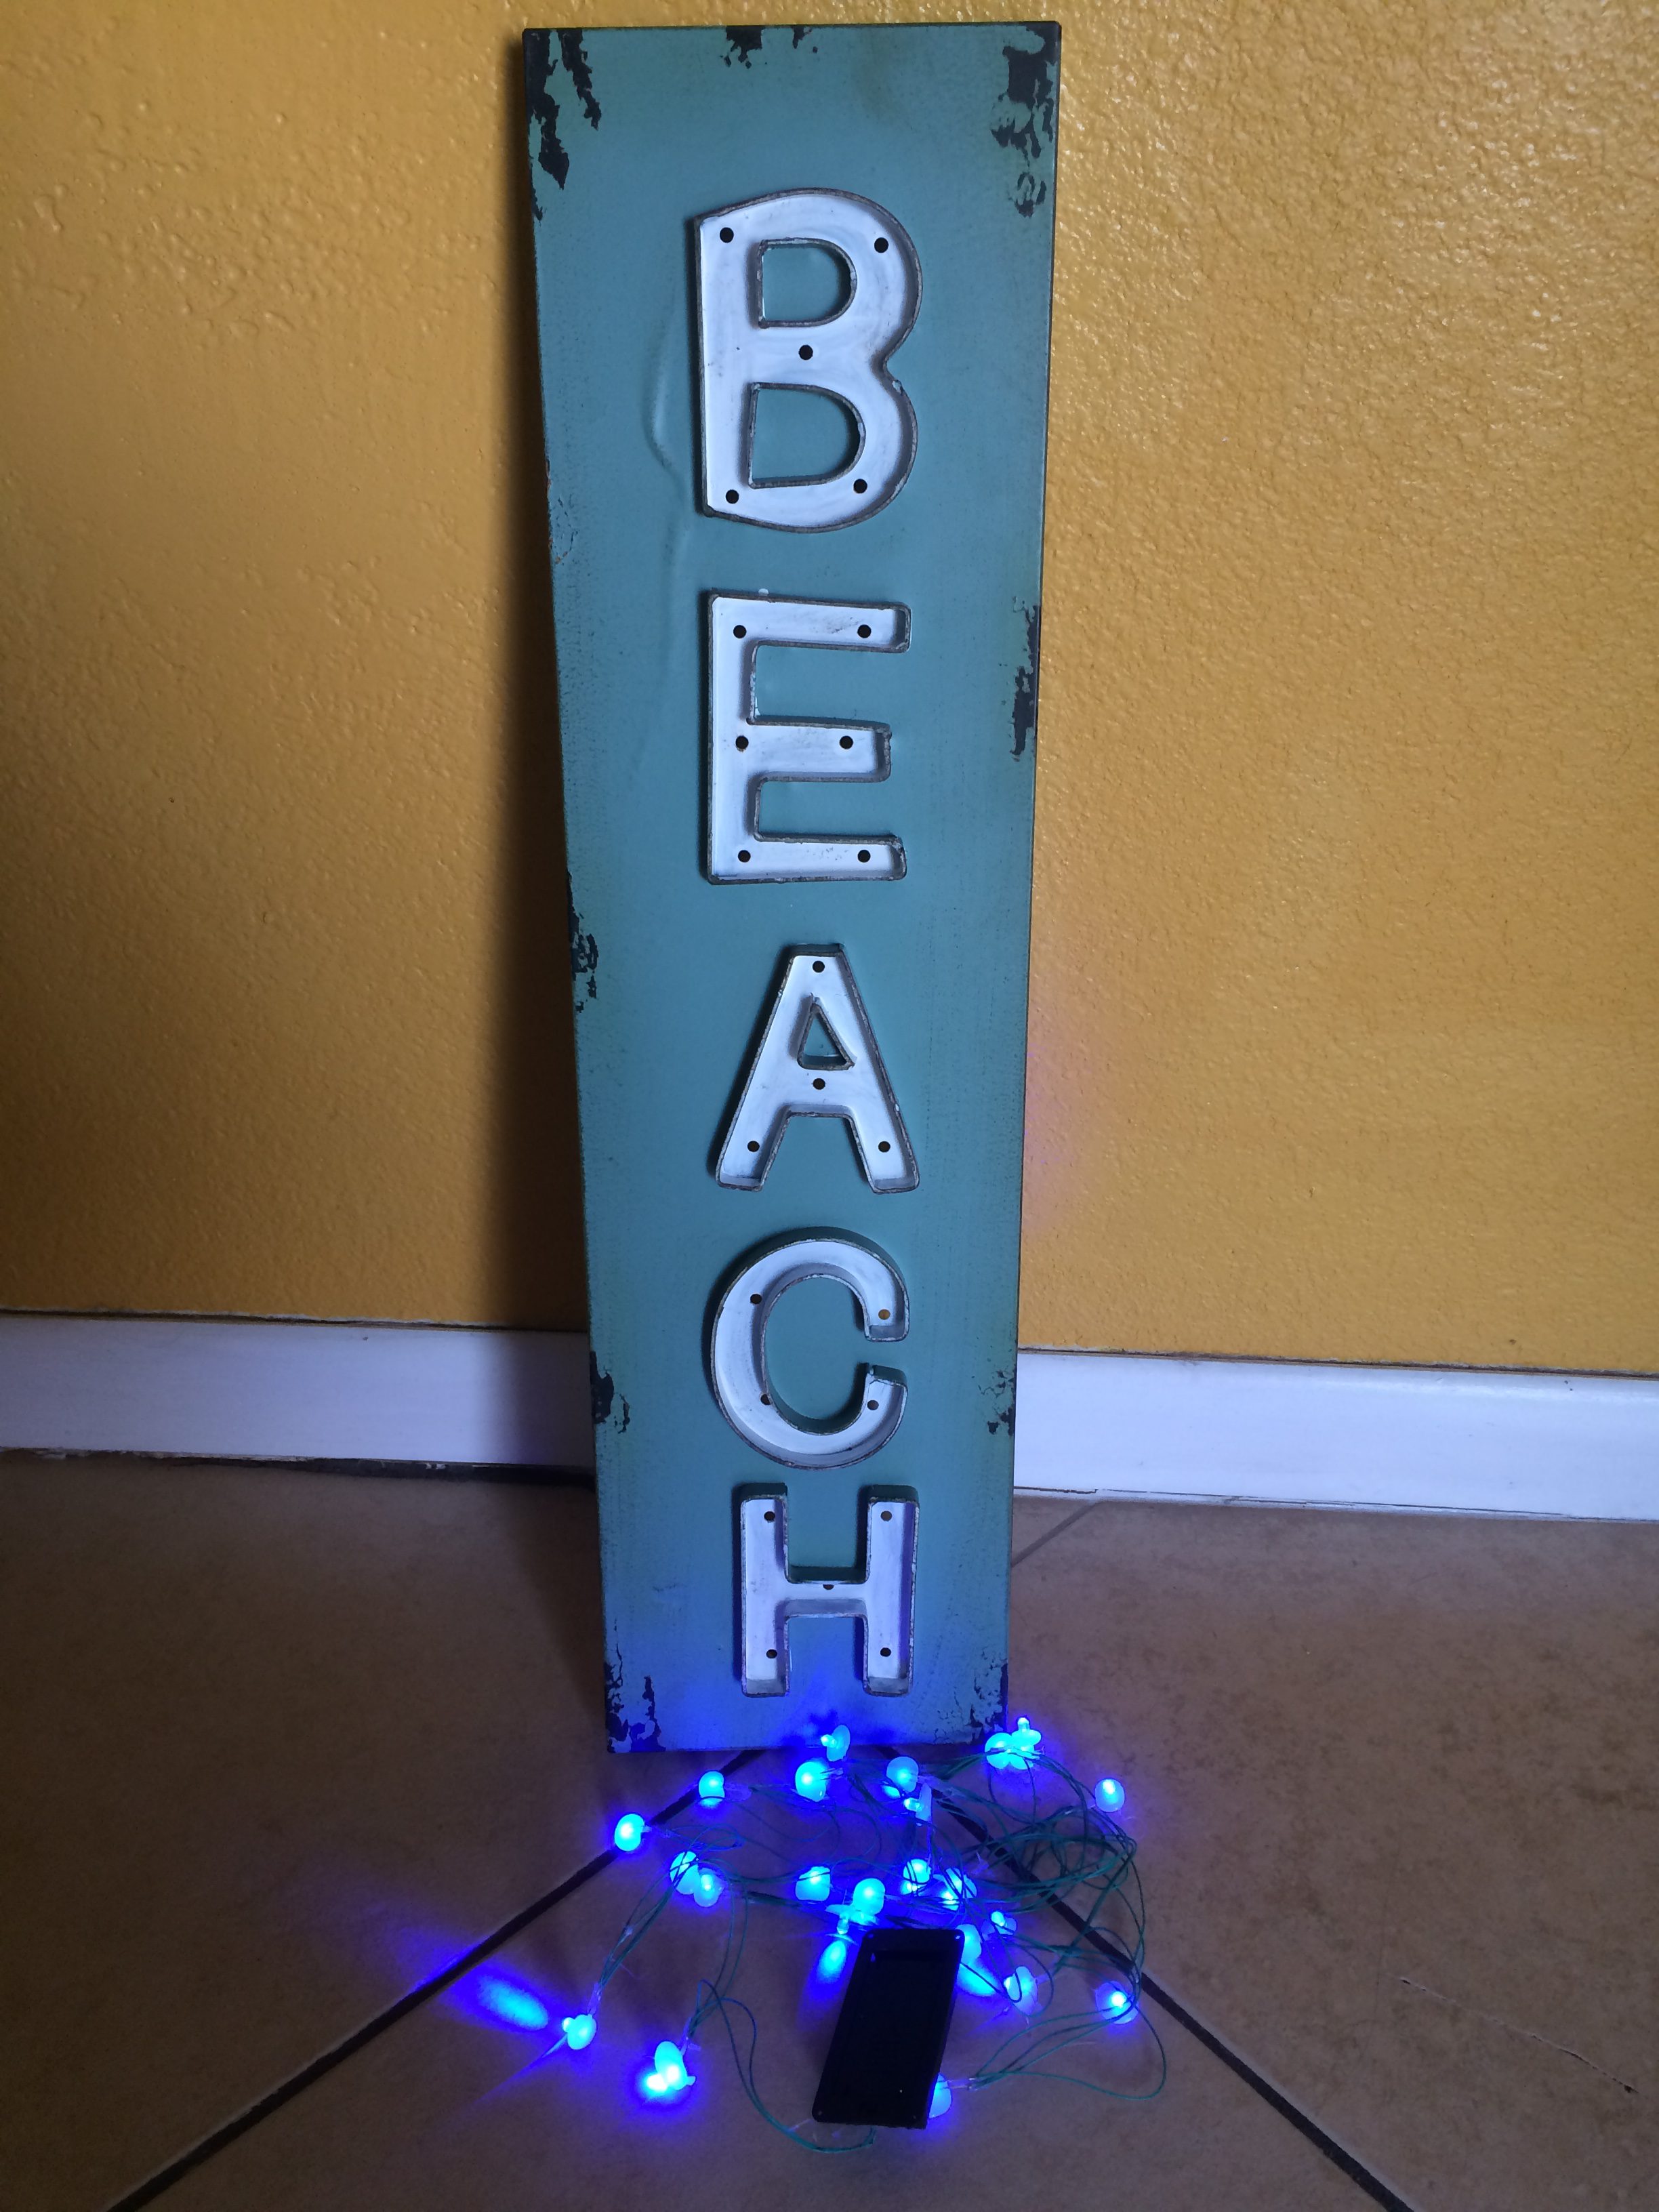
With the cardboard backing removed the original guts can be removed. The LED’s were easily popped out by using a stick and tapping lightly with a hammer. These can actually be reused for a future project where this type of LED is more appropriate.
WS2811 Pixels
These days there are many options for individually addressable LED strips coming in several varieties and signal schemes. The WS2811 and WS2812 versions can be found cheaply with many products and software libraries already dedicated to controlling these pixels.
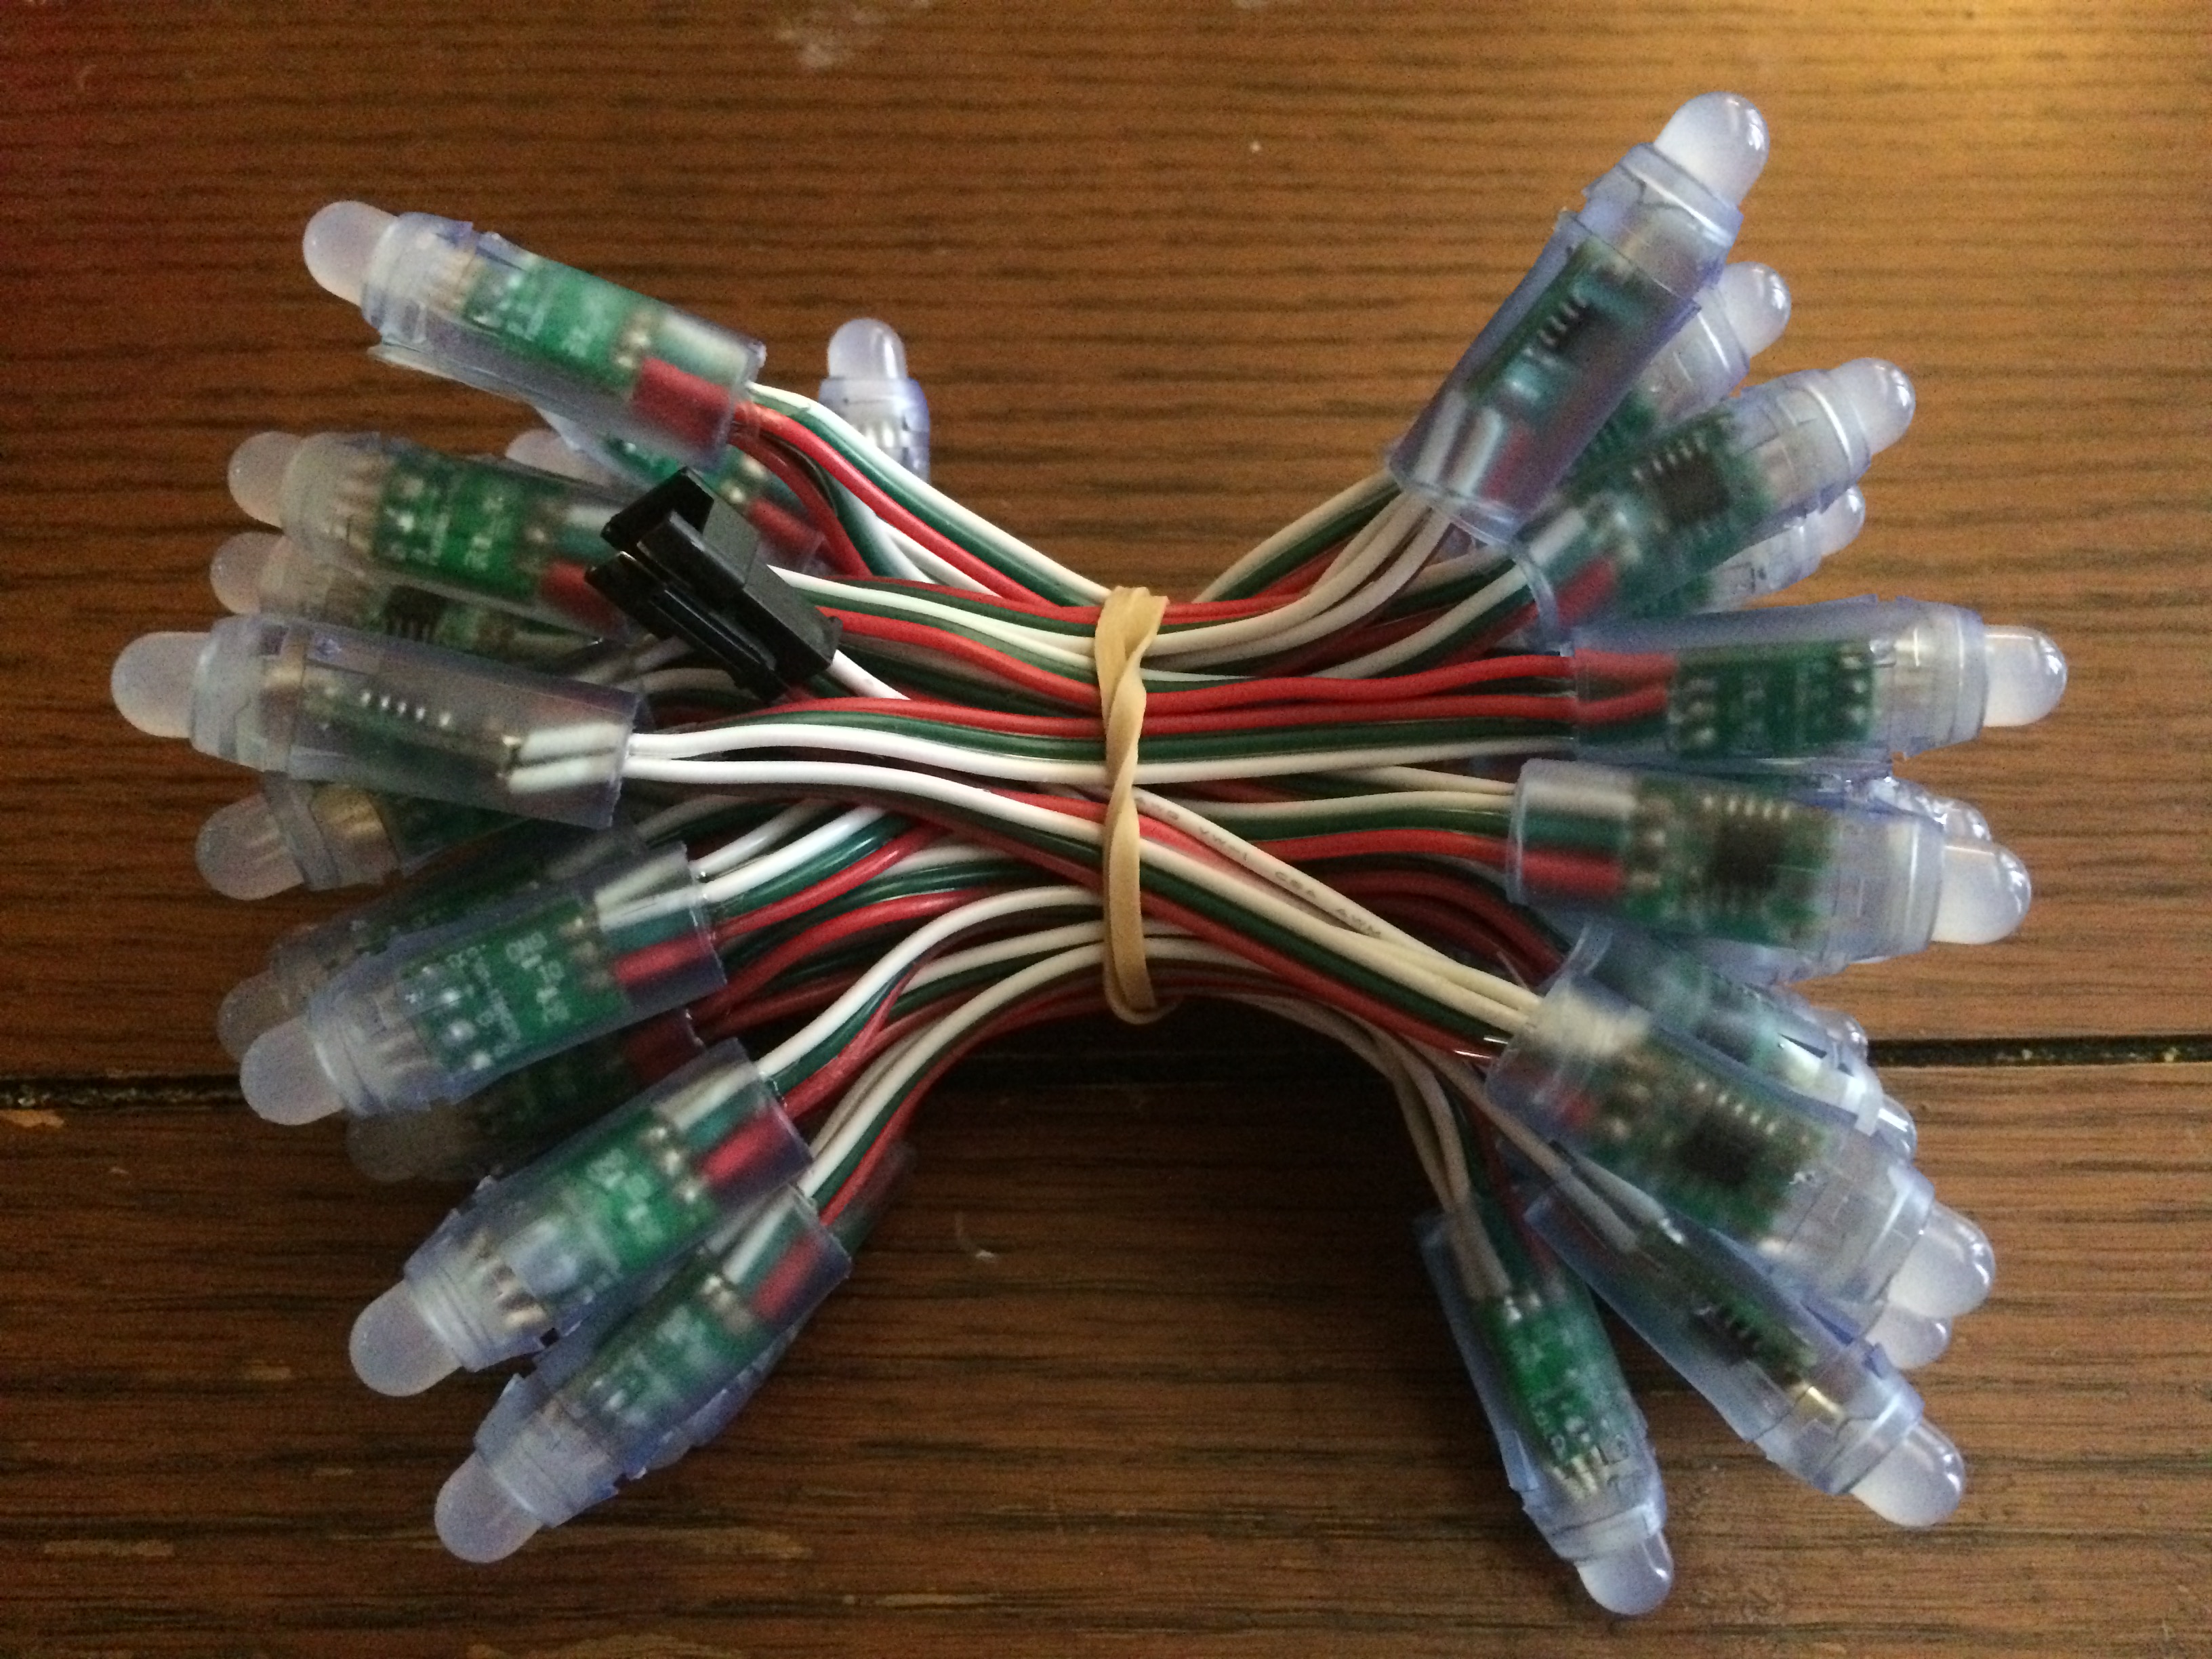
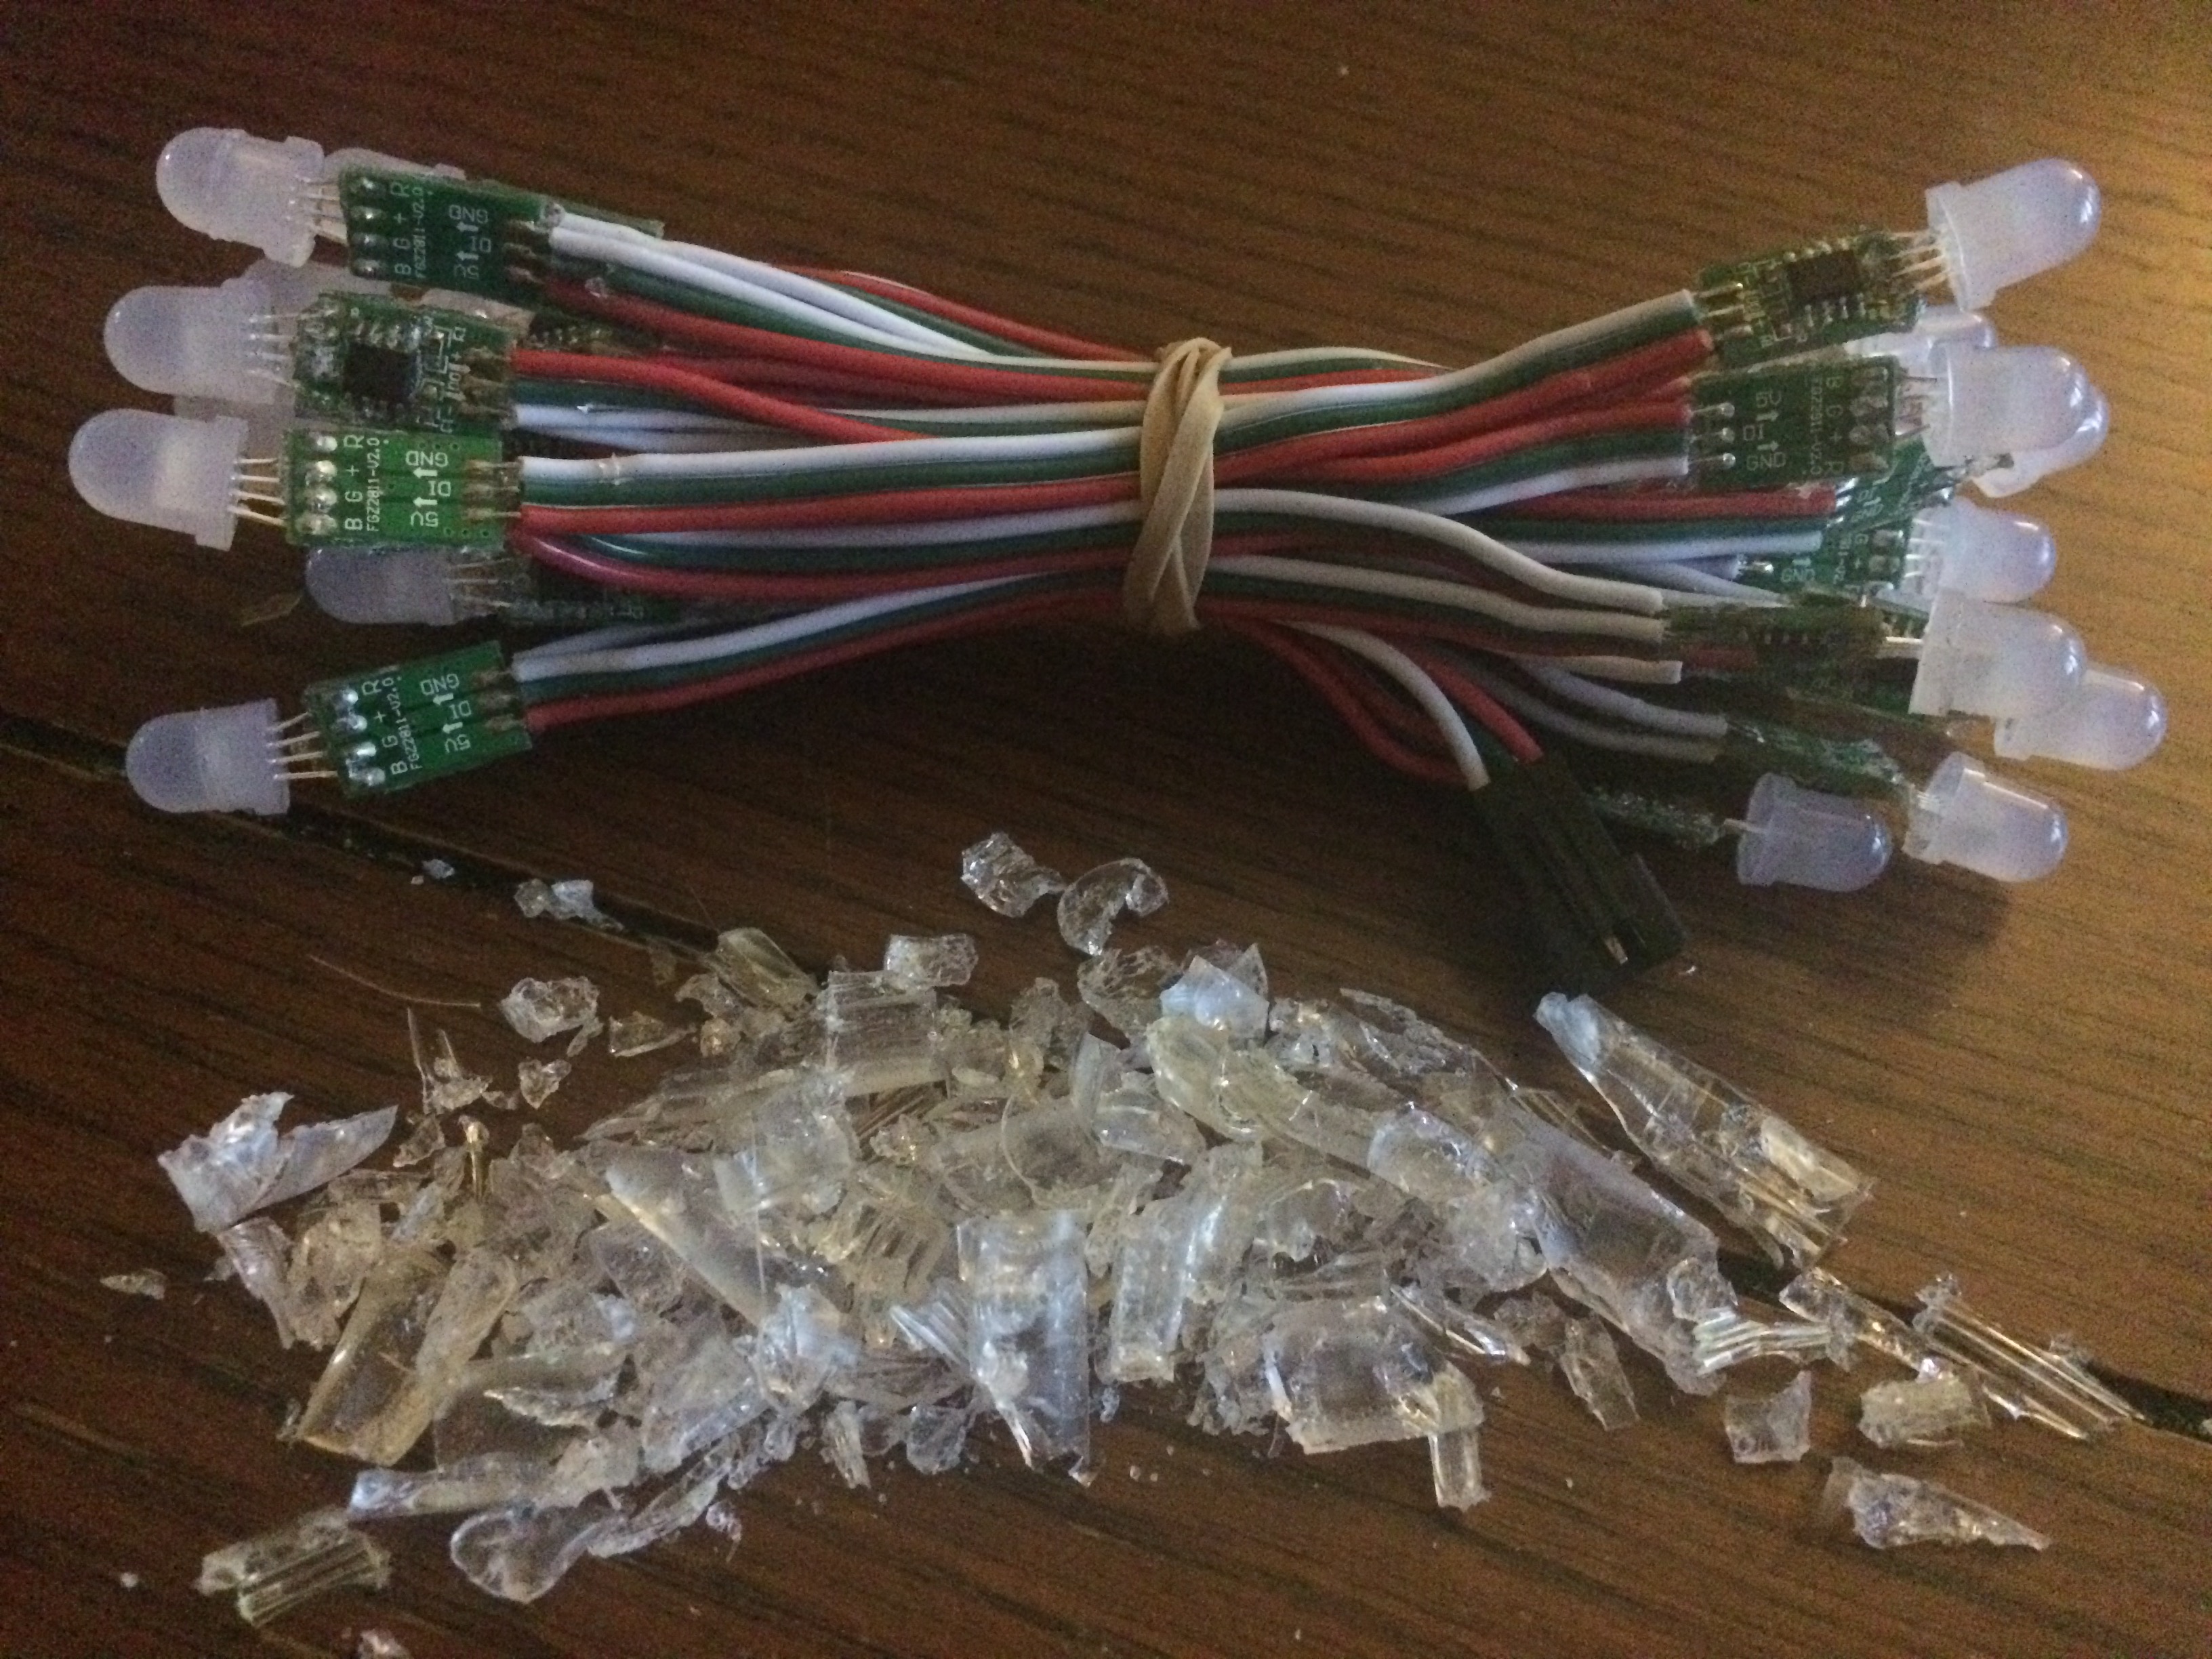
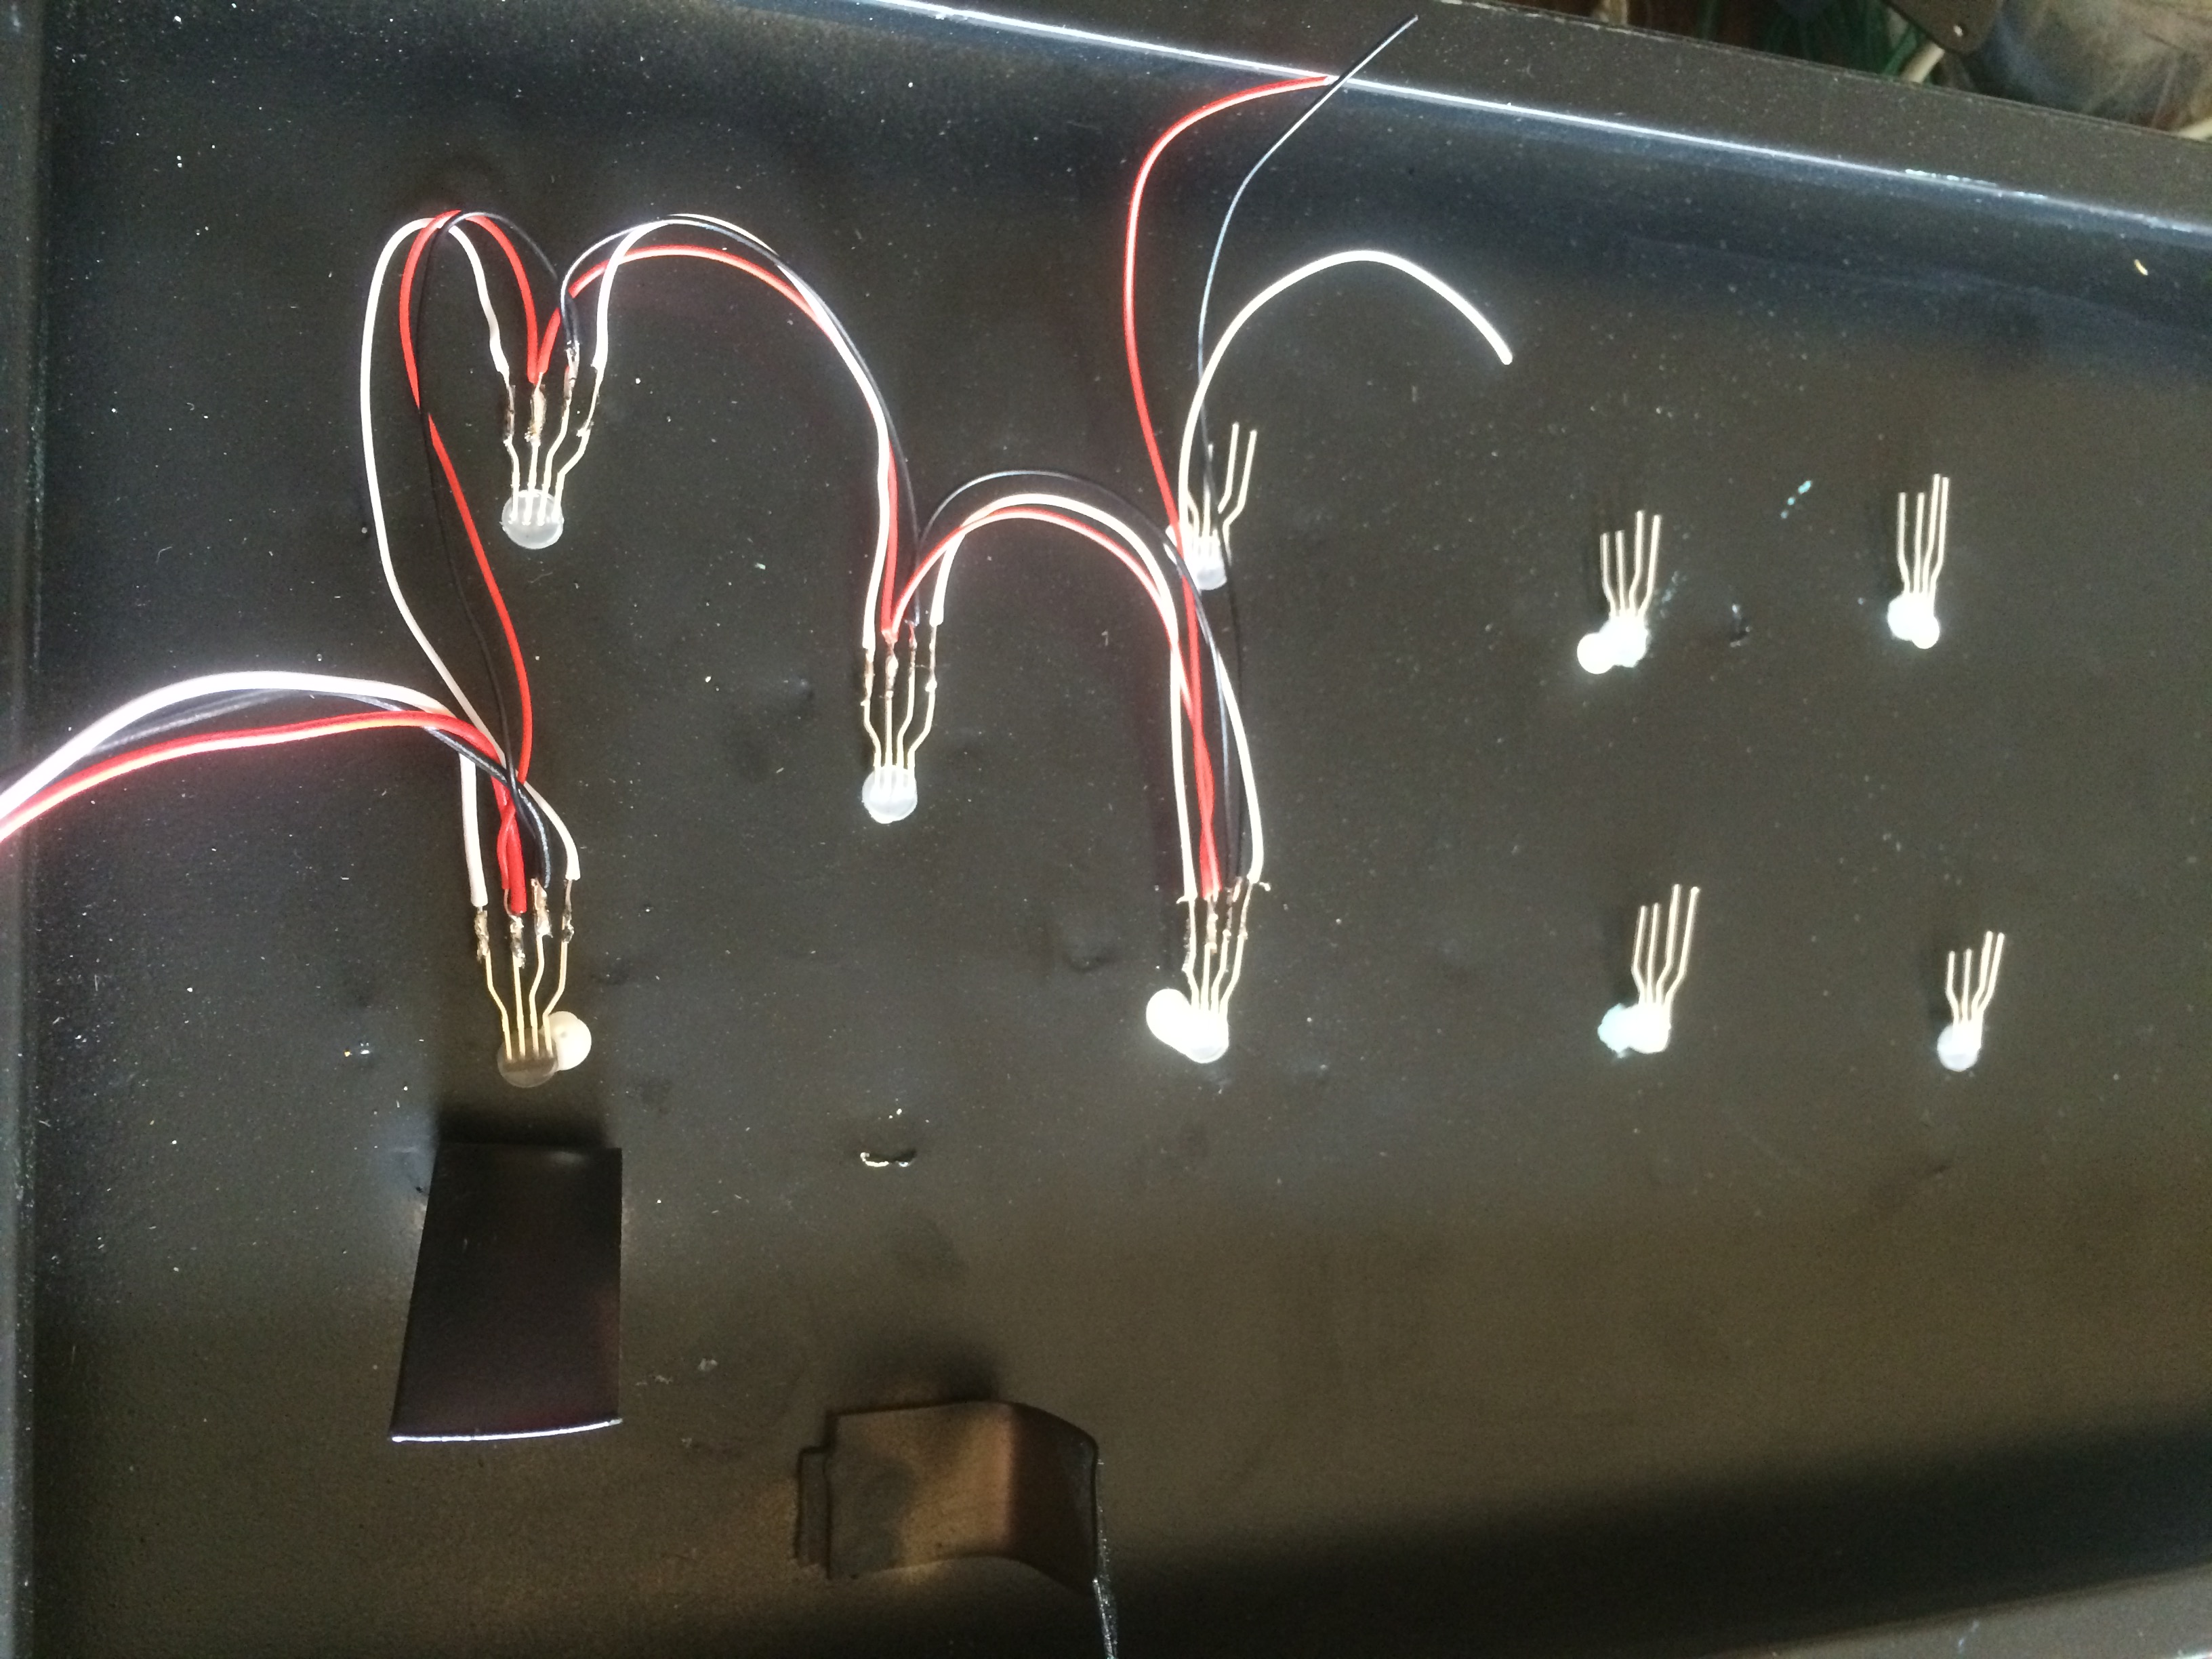
These came pre-wired but were also weather proofed encased in some type of resin. Using a heat gun it was possible to bake this material to the point where it became brittle and could be broken away with the help of some pliers and a utility knife.
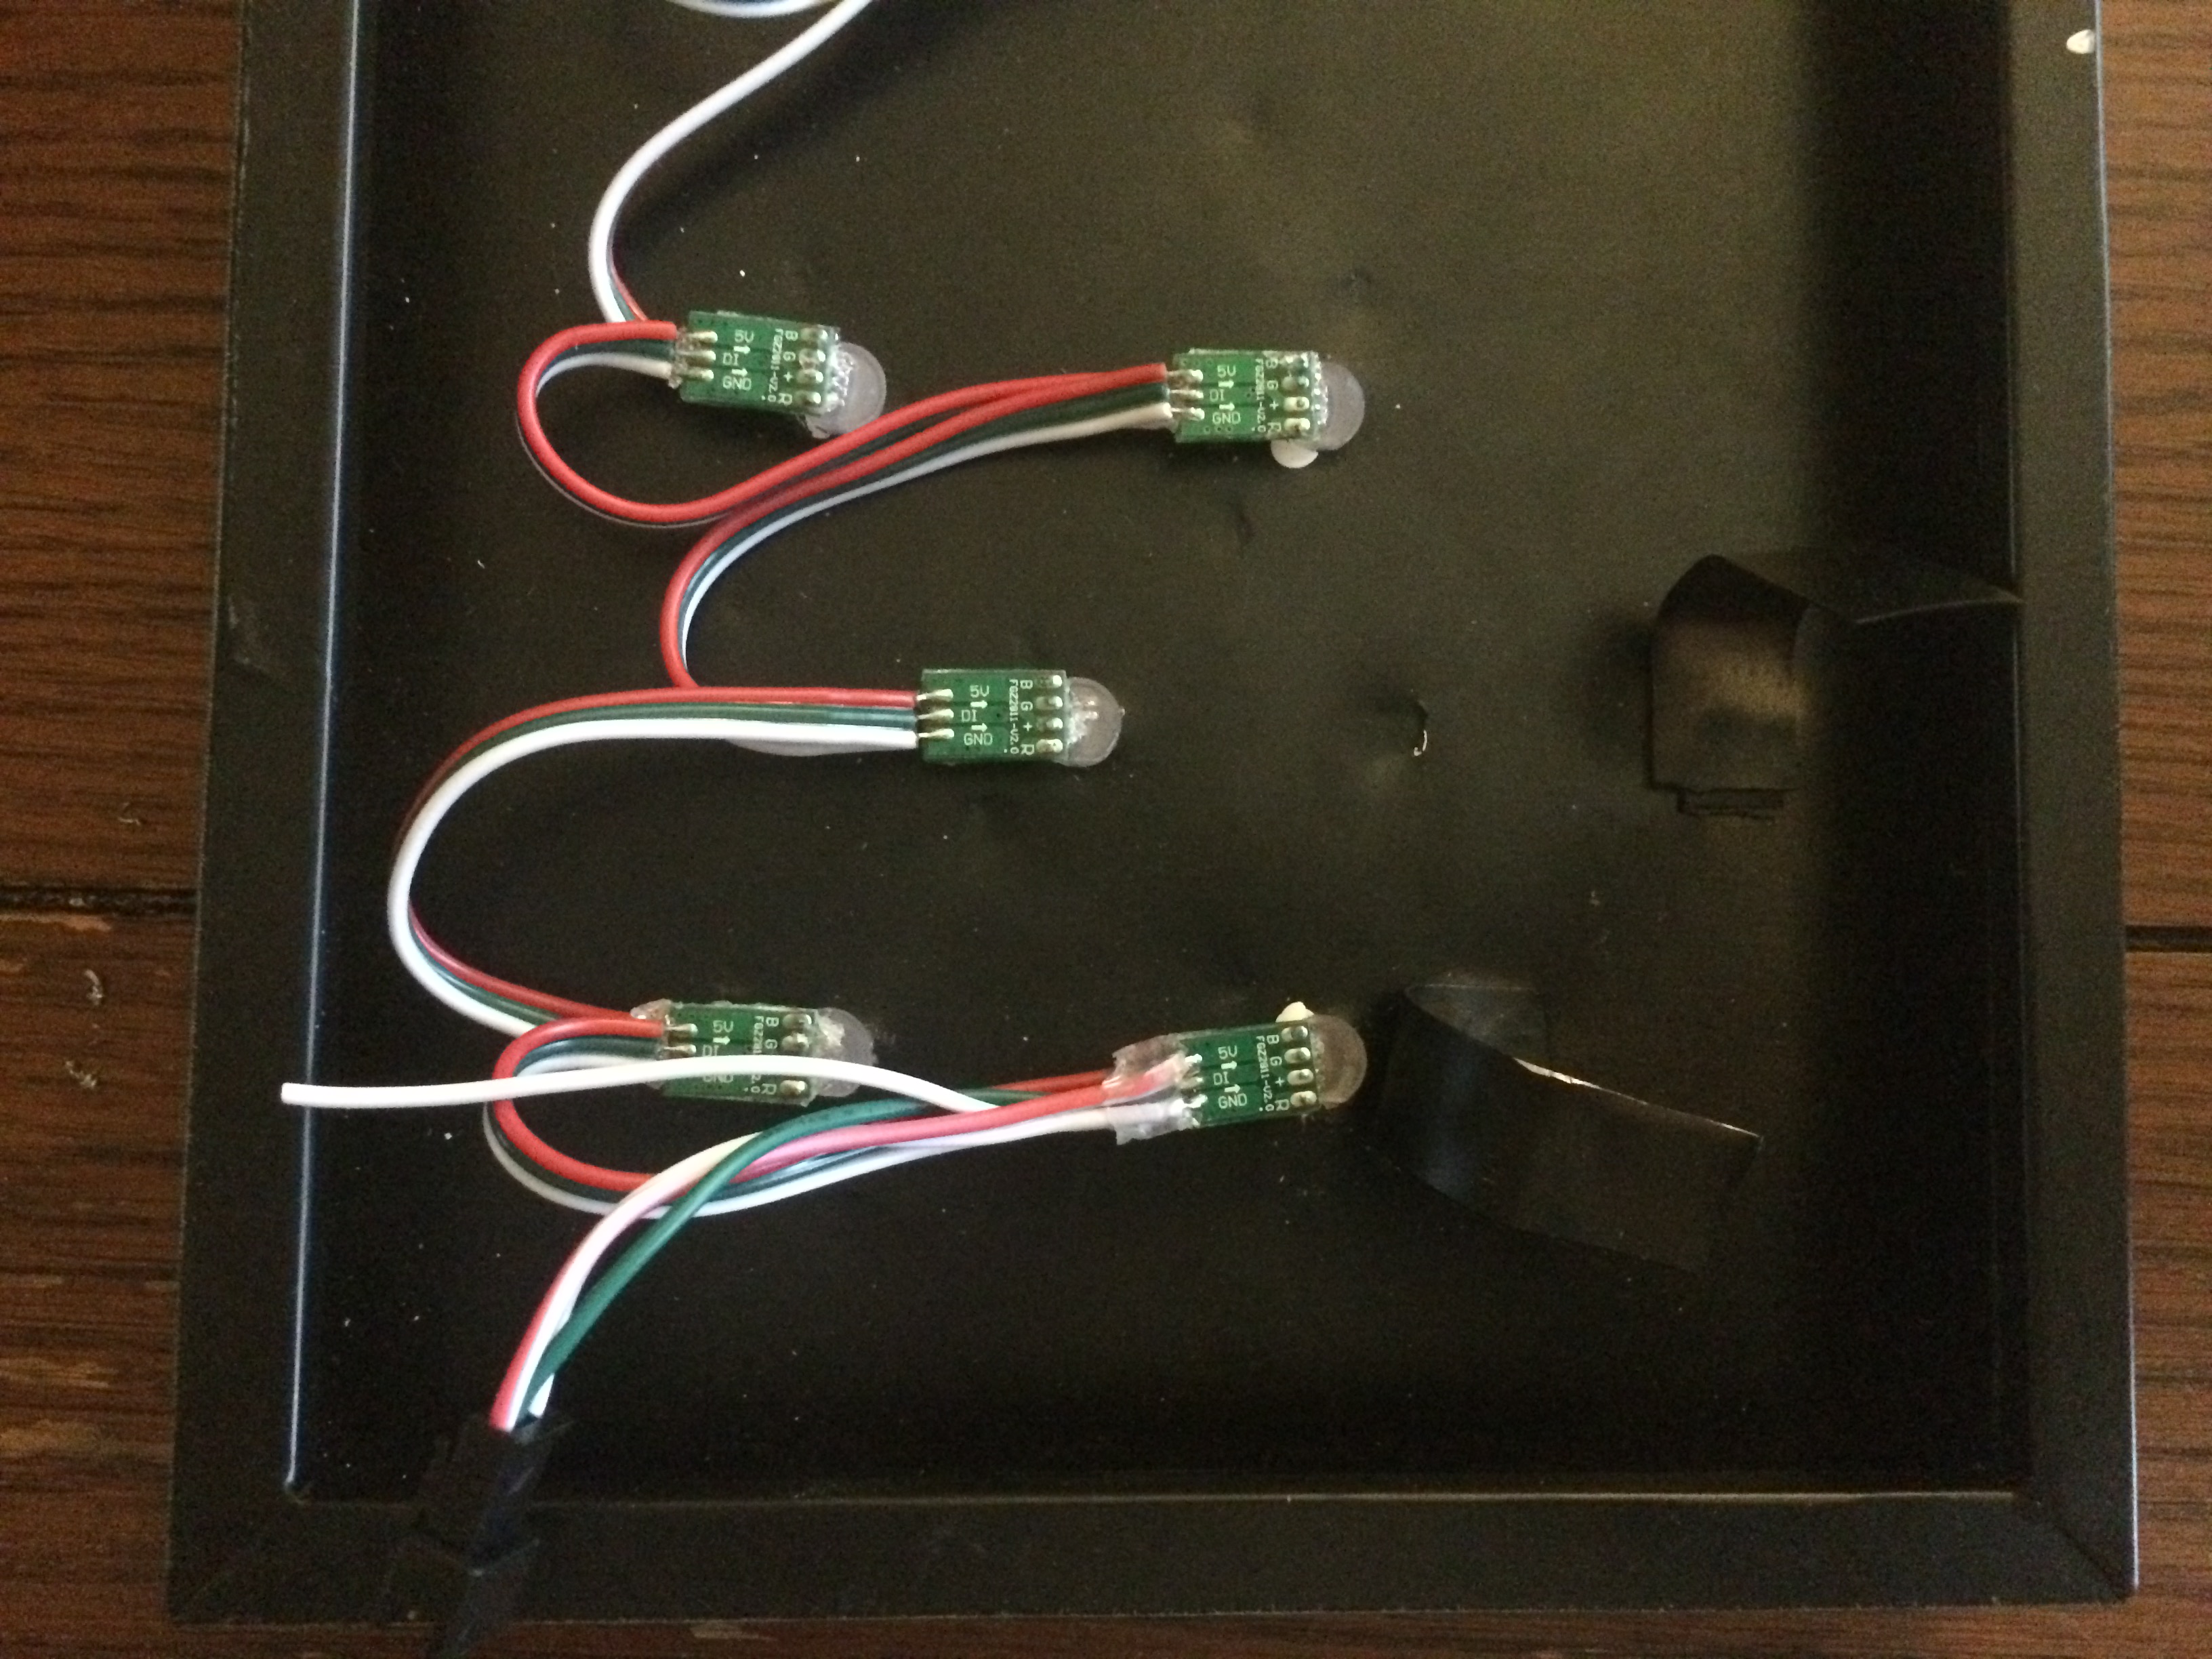
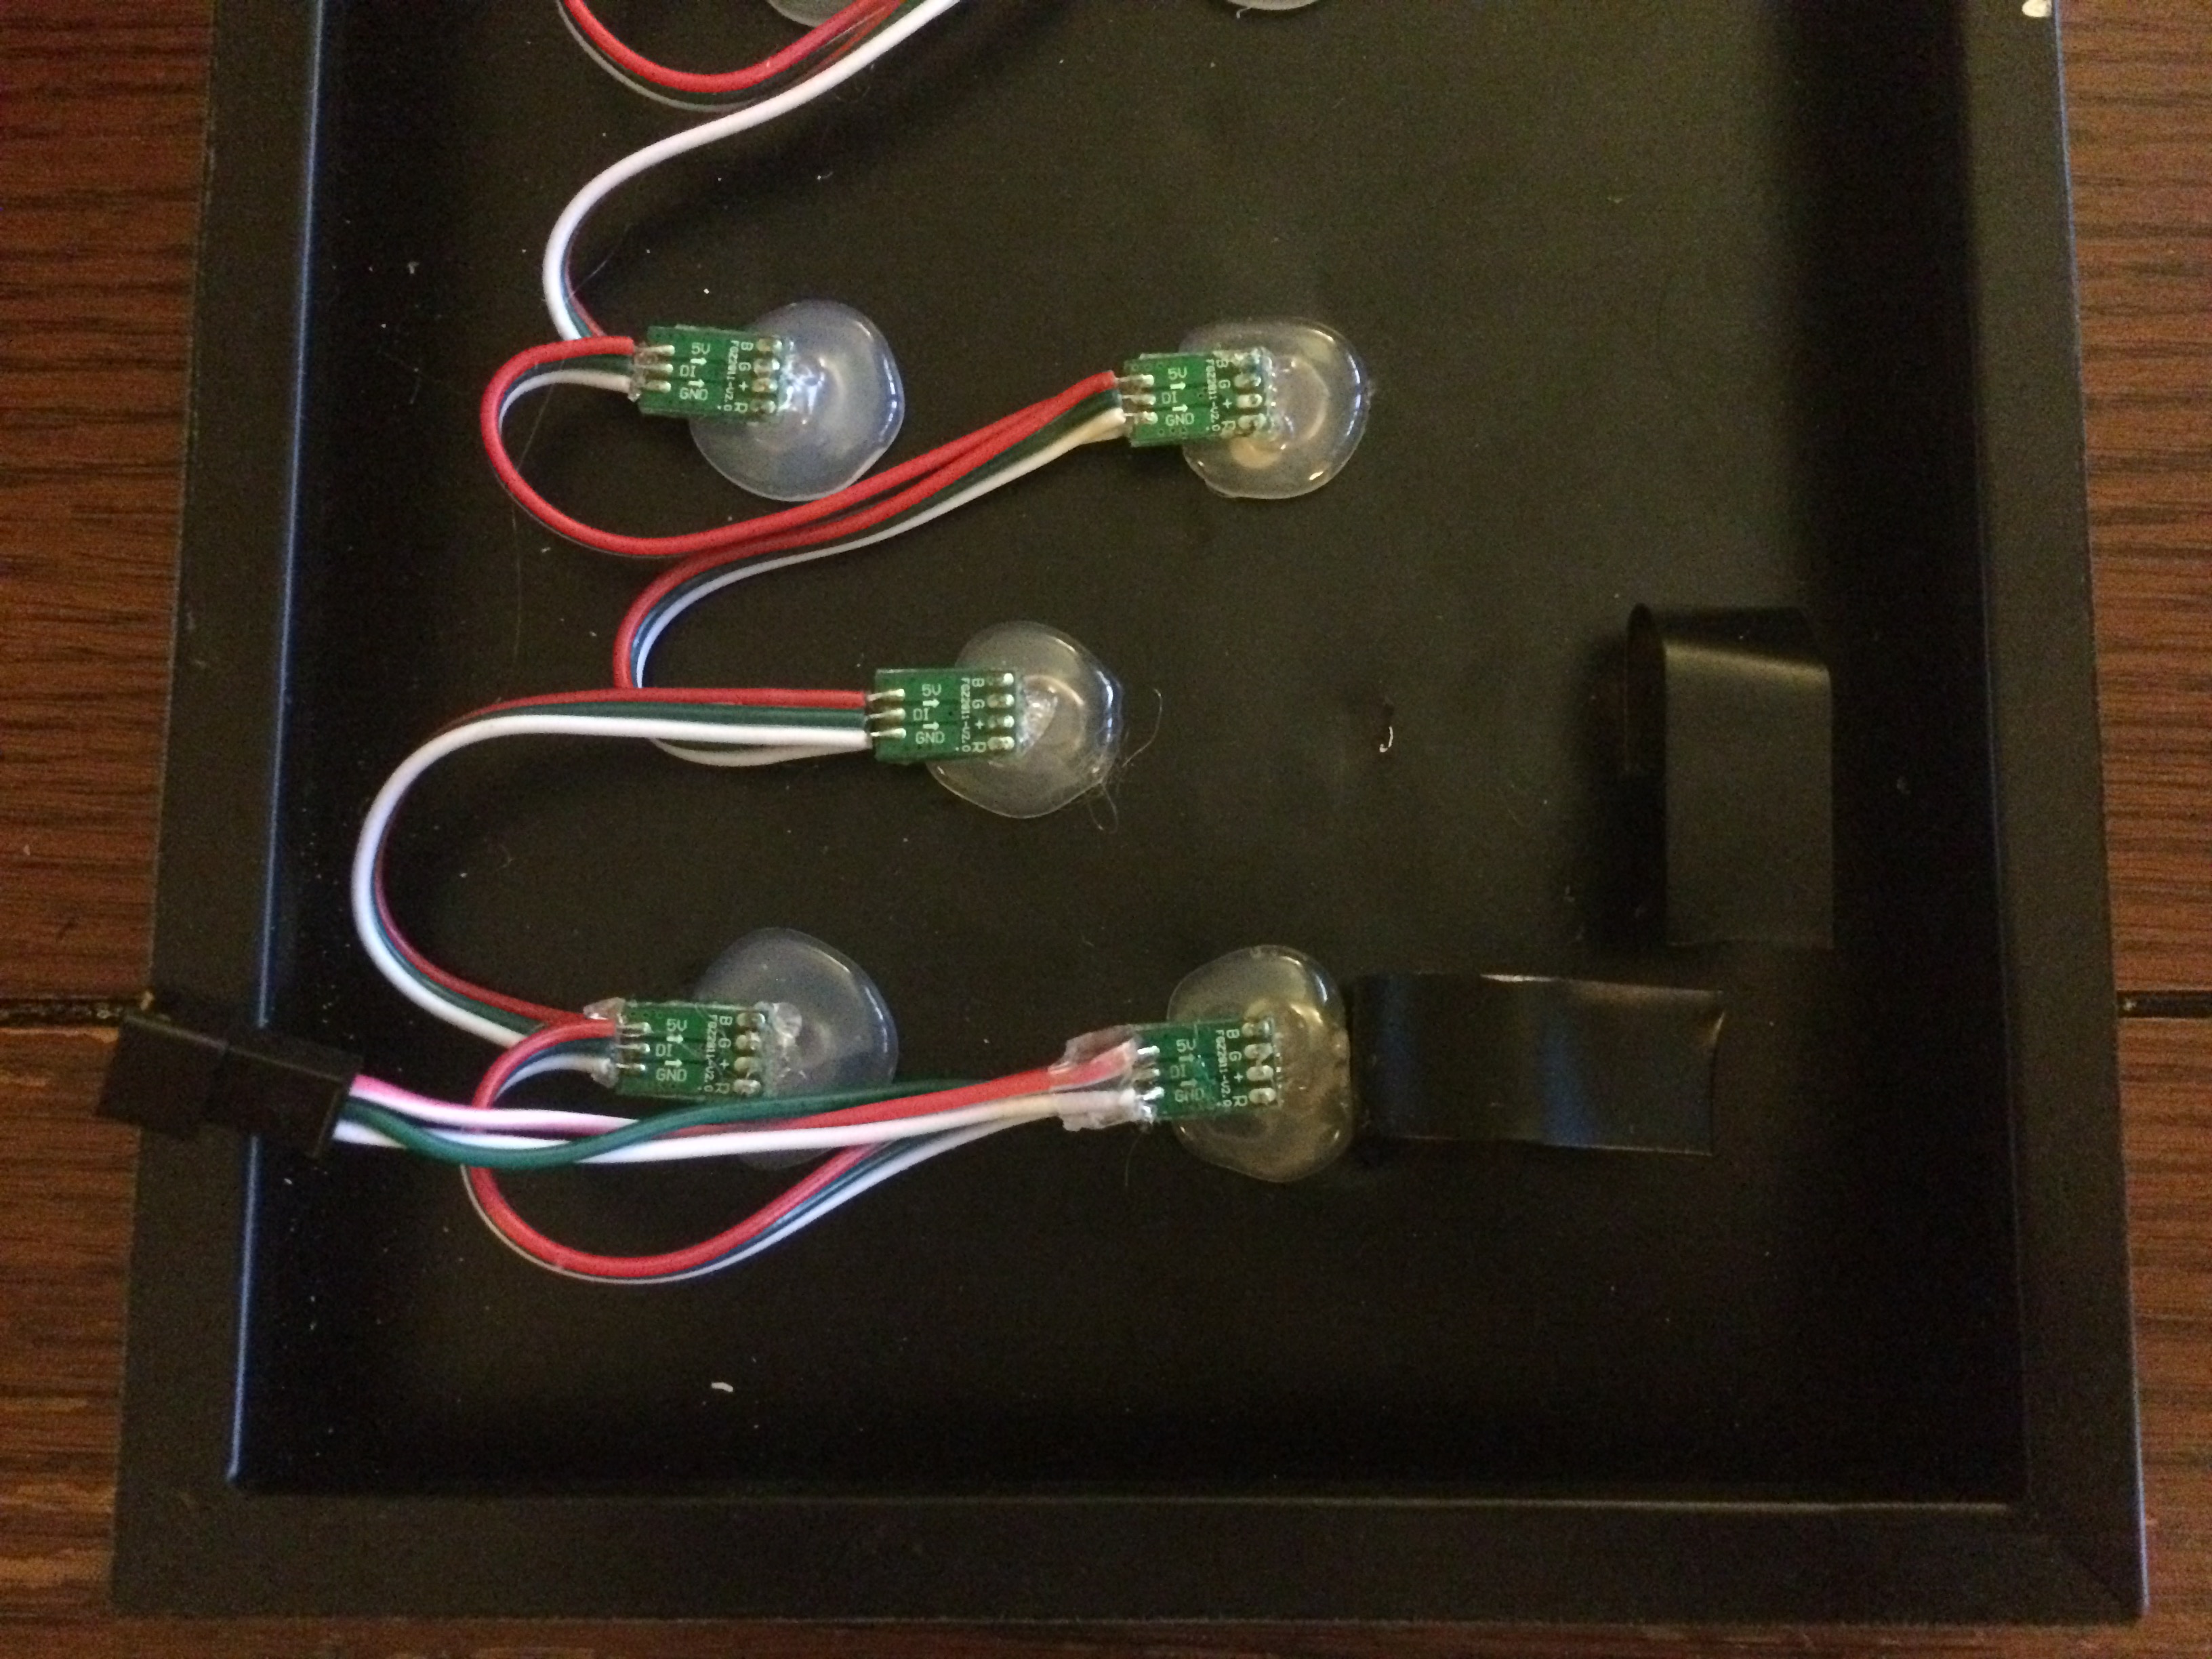
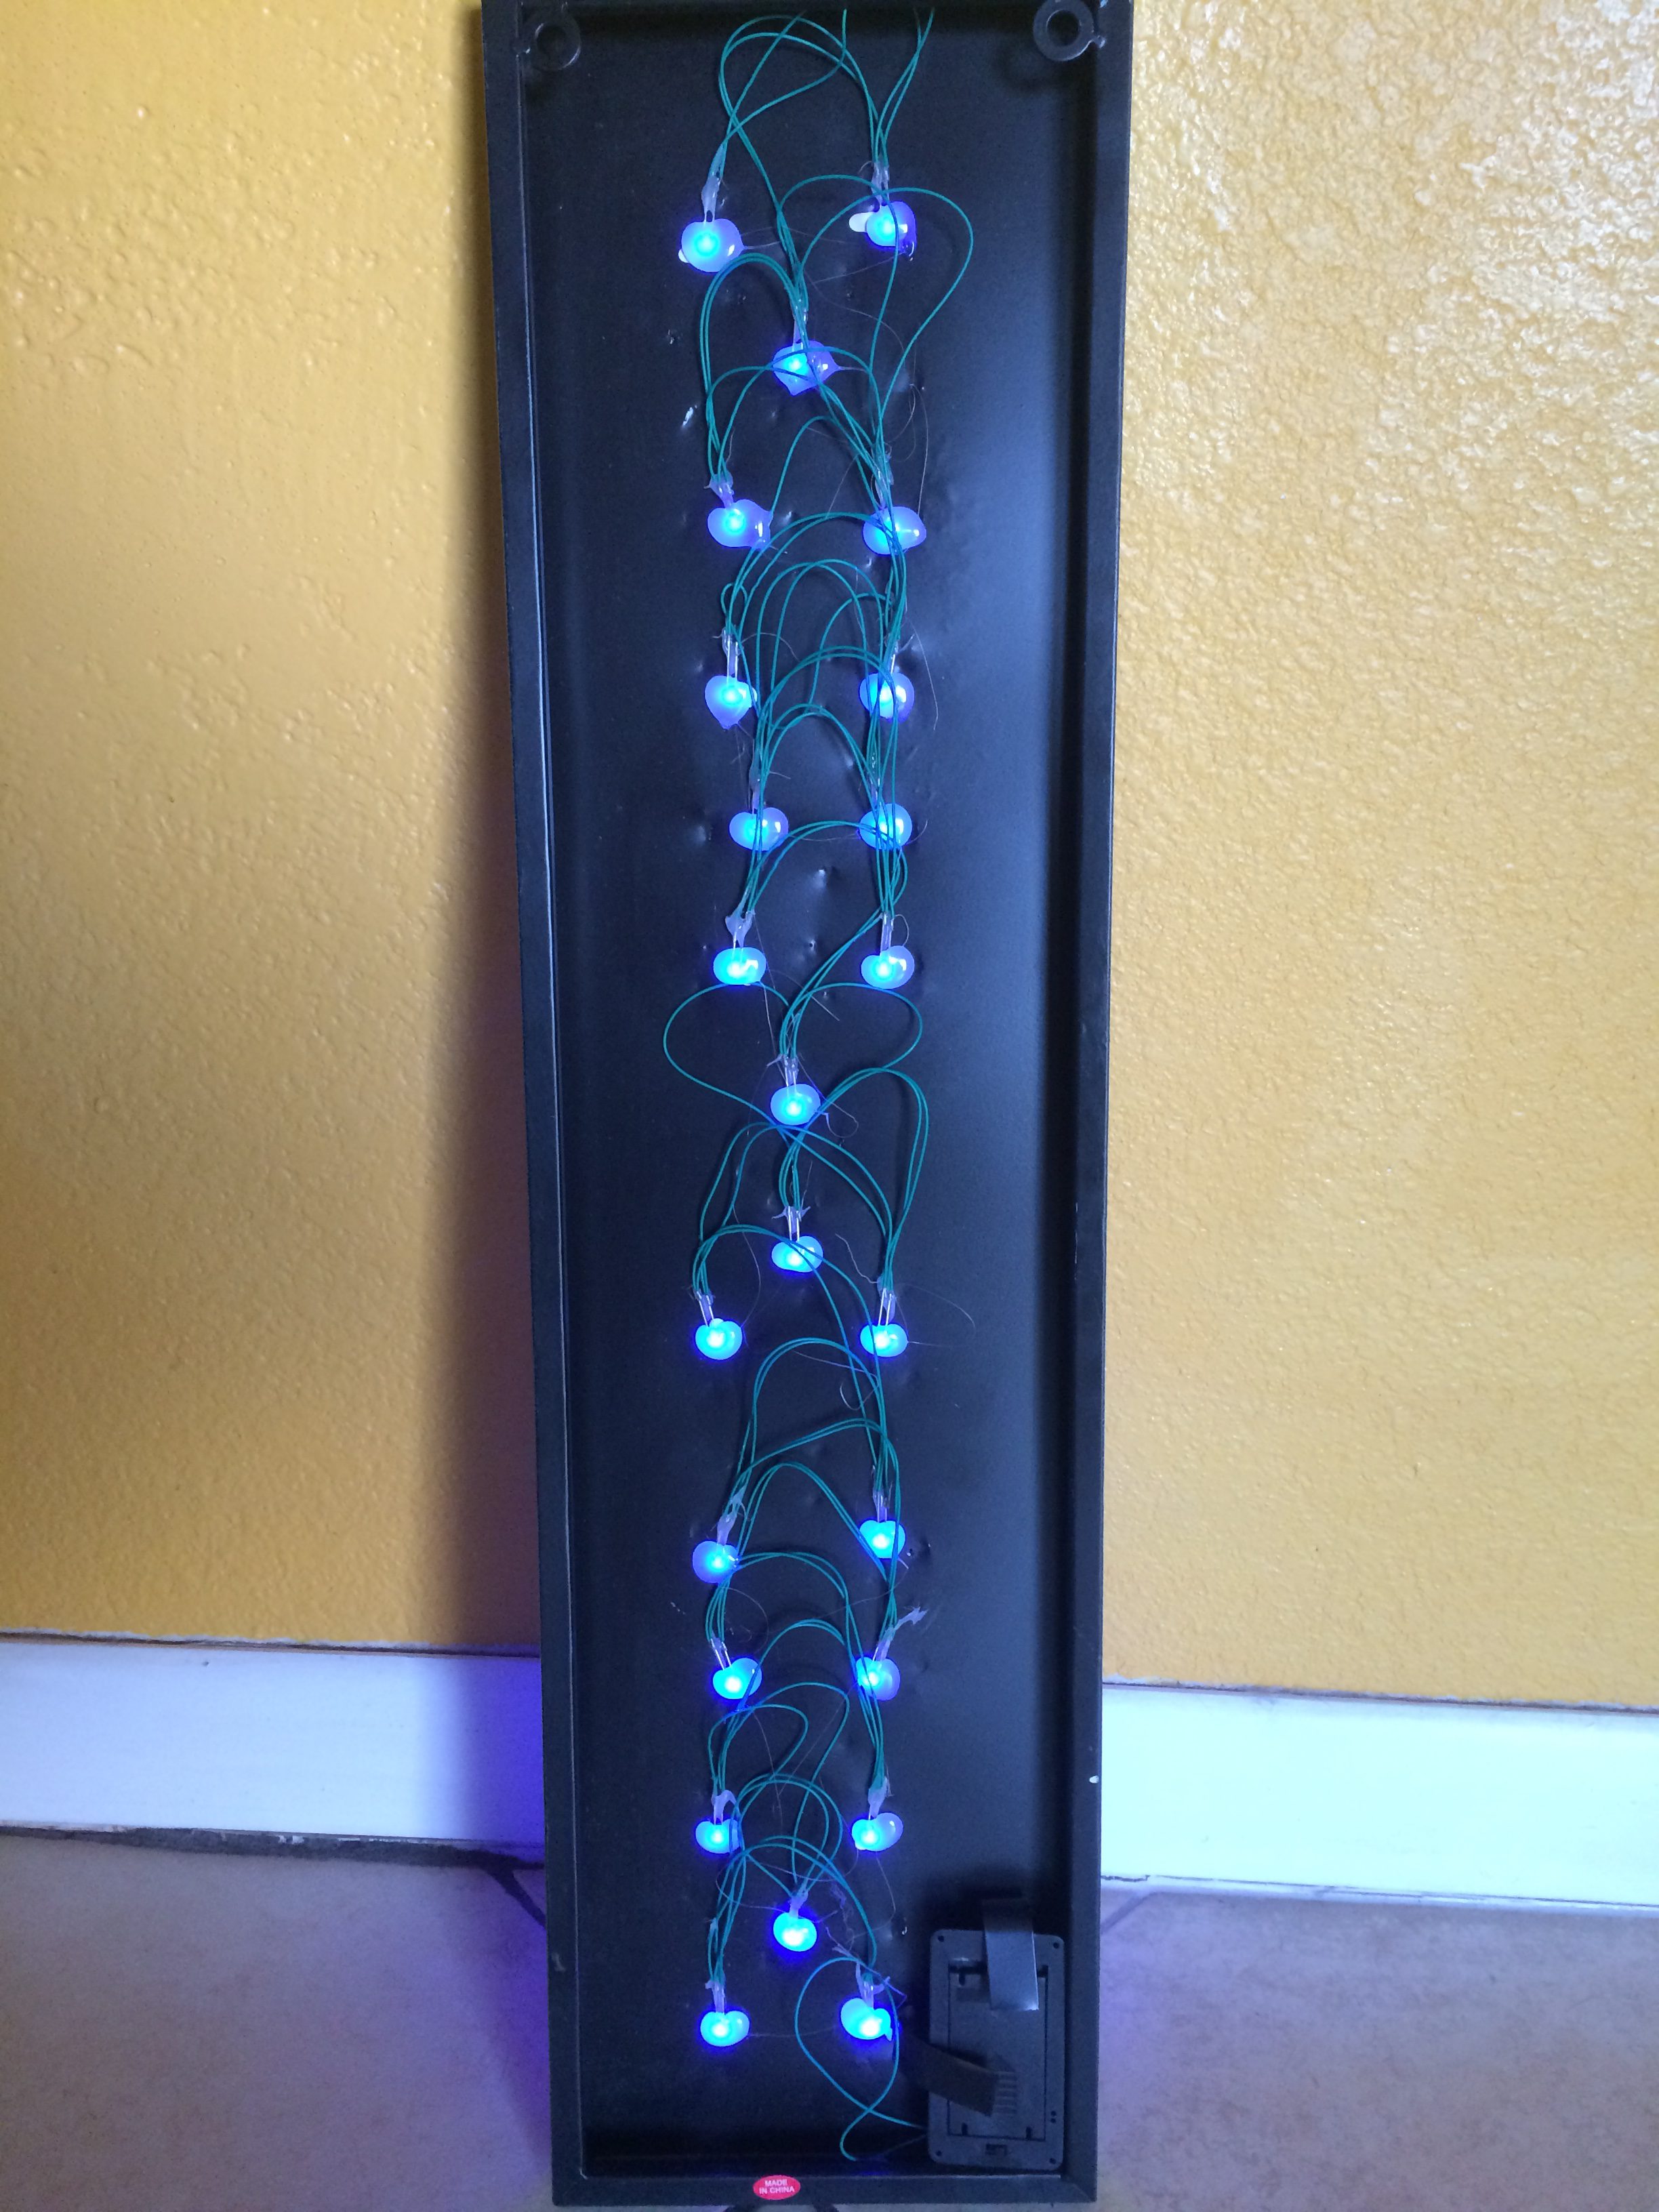
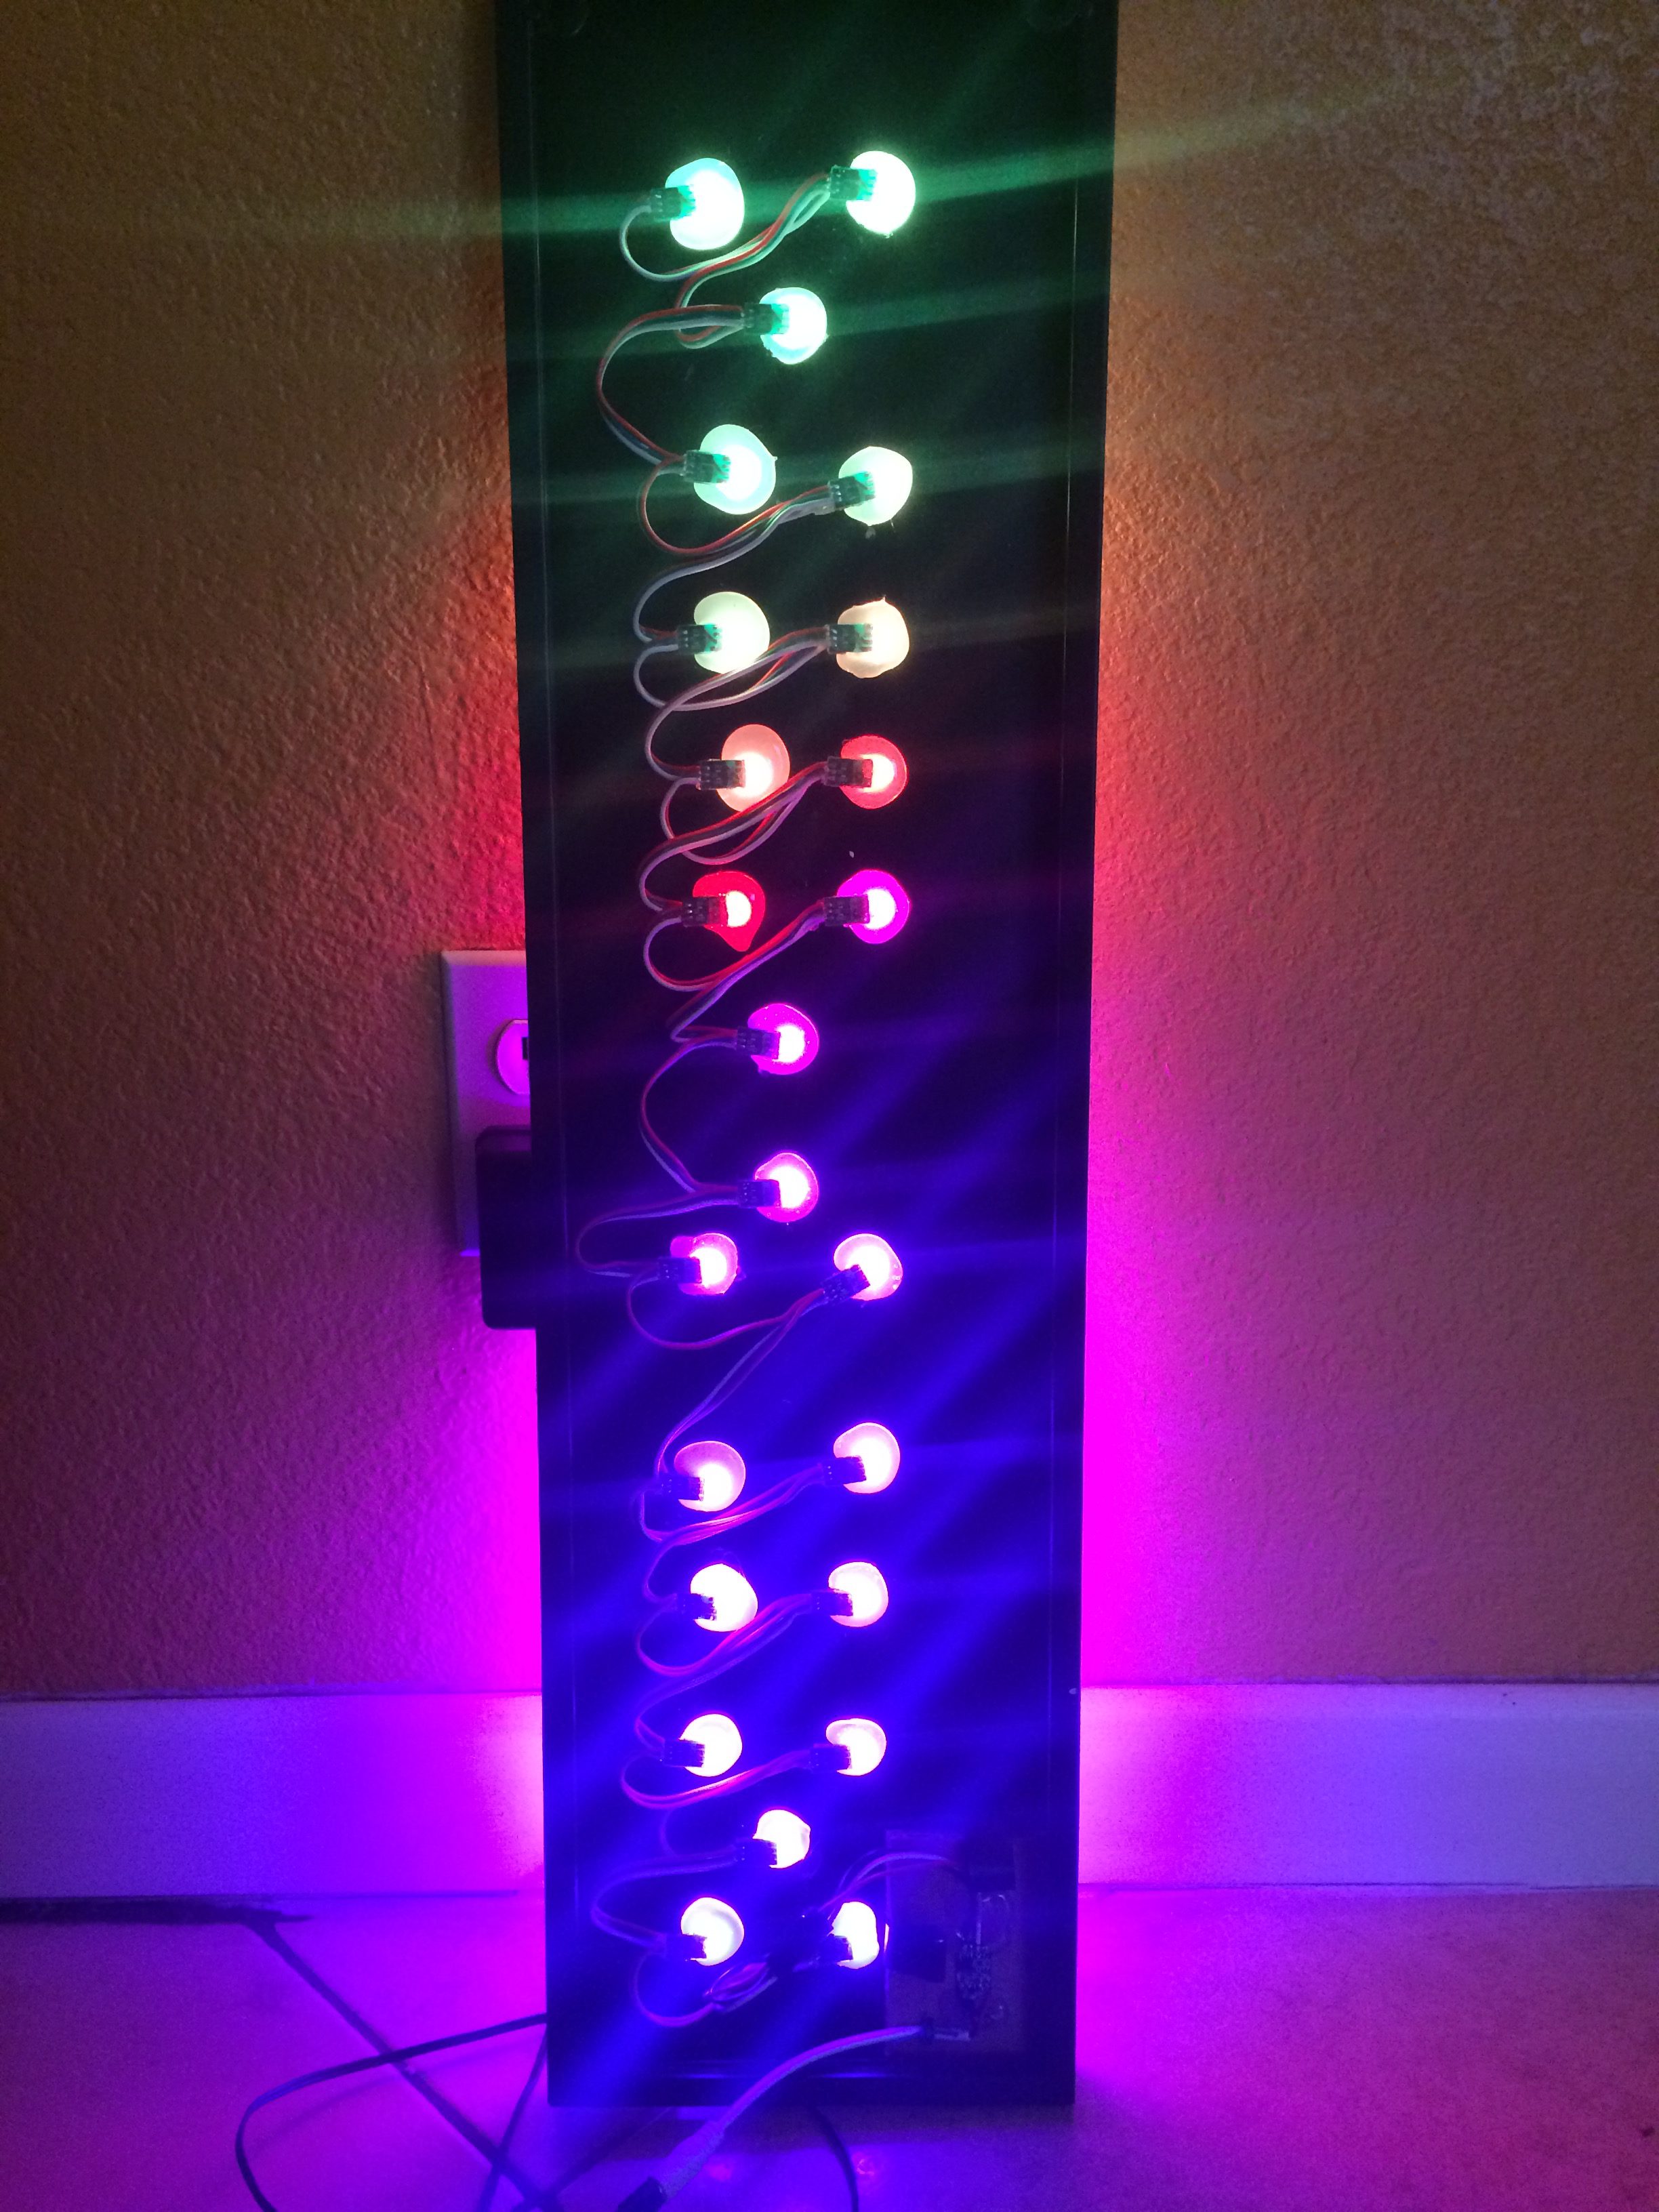
With the casings removed the LED’s were bent to a 90 degree angle and then placed in each of the holes left by the original LED’s. Lastly a bit of hot glue is added to help hold each LED in place.
Remote Controller
Normally I would be inclined to build the controller using an Arduino or similar however for $9 including shipping the prospect of having one that was also remote controlled was too good to pass up. I chose the RF version just to simplify the setup, no additional holes would have to be drilled and there would be no need to point the remote directly at the sign.
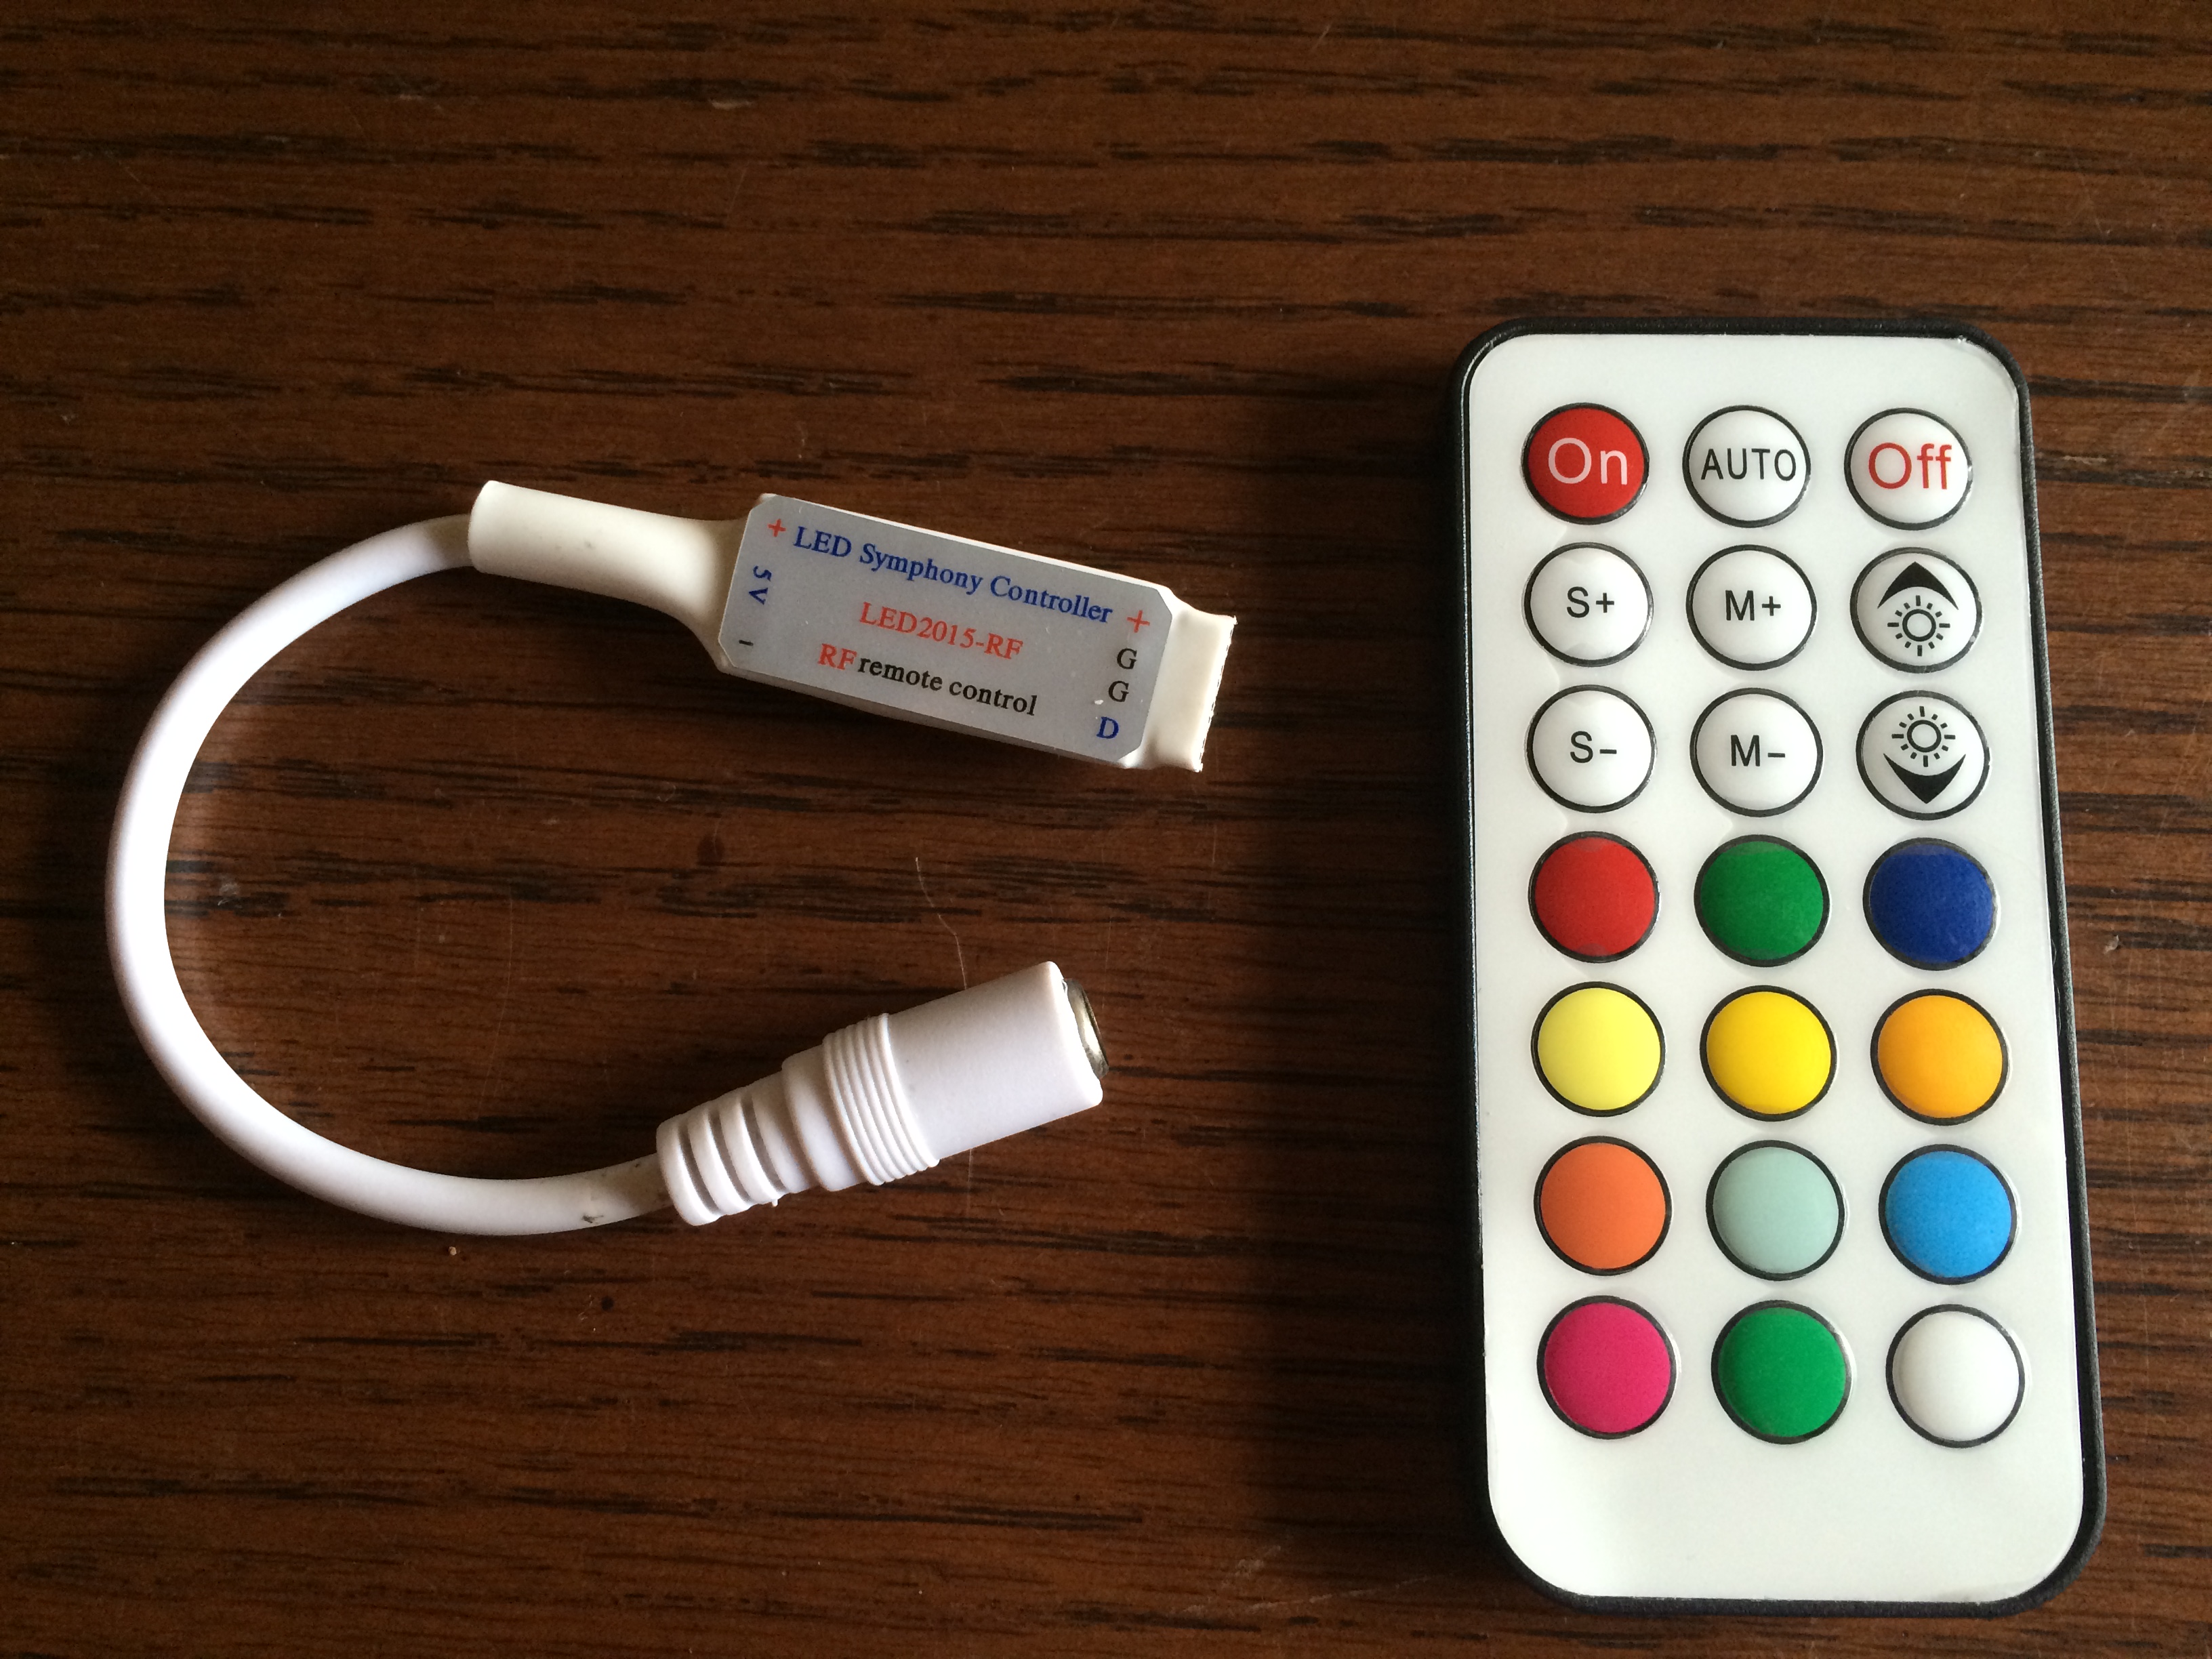
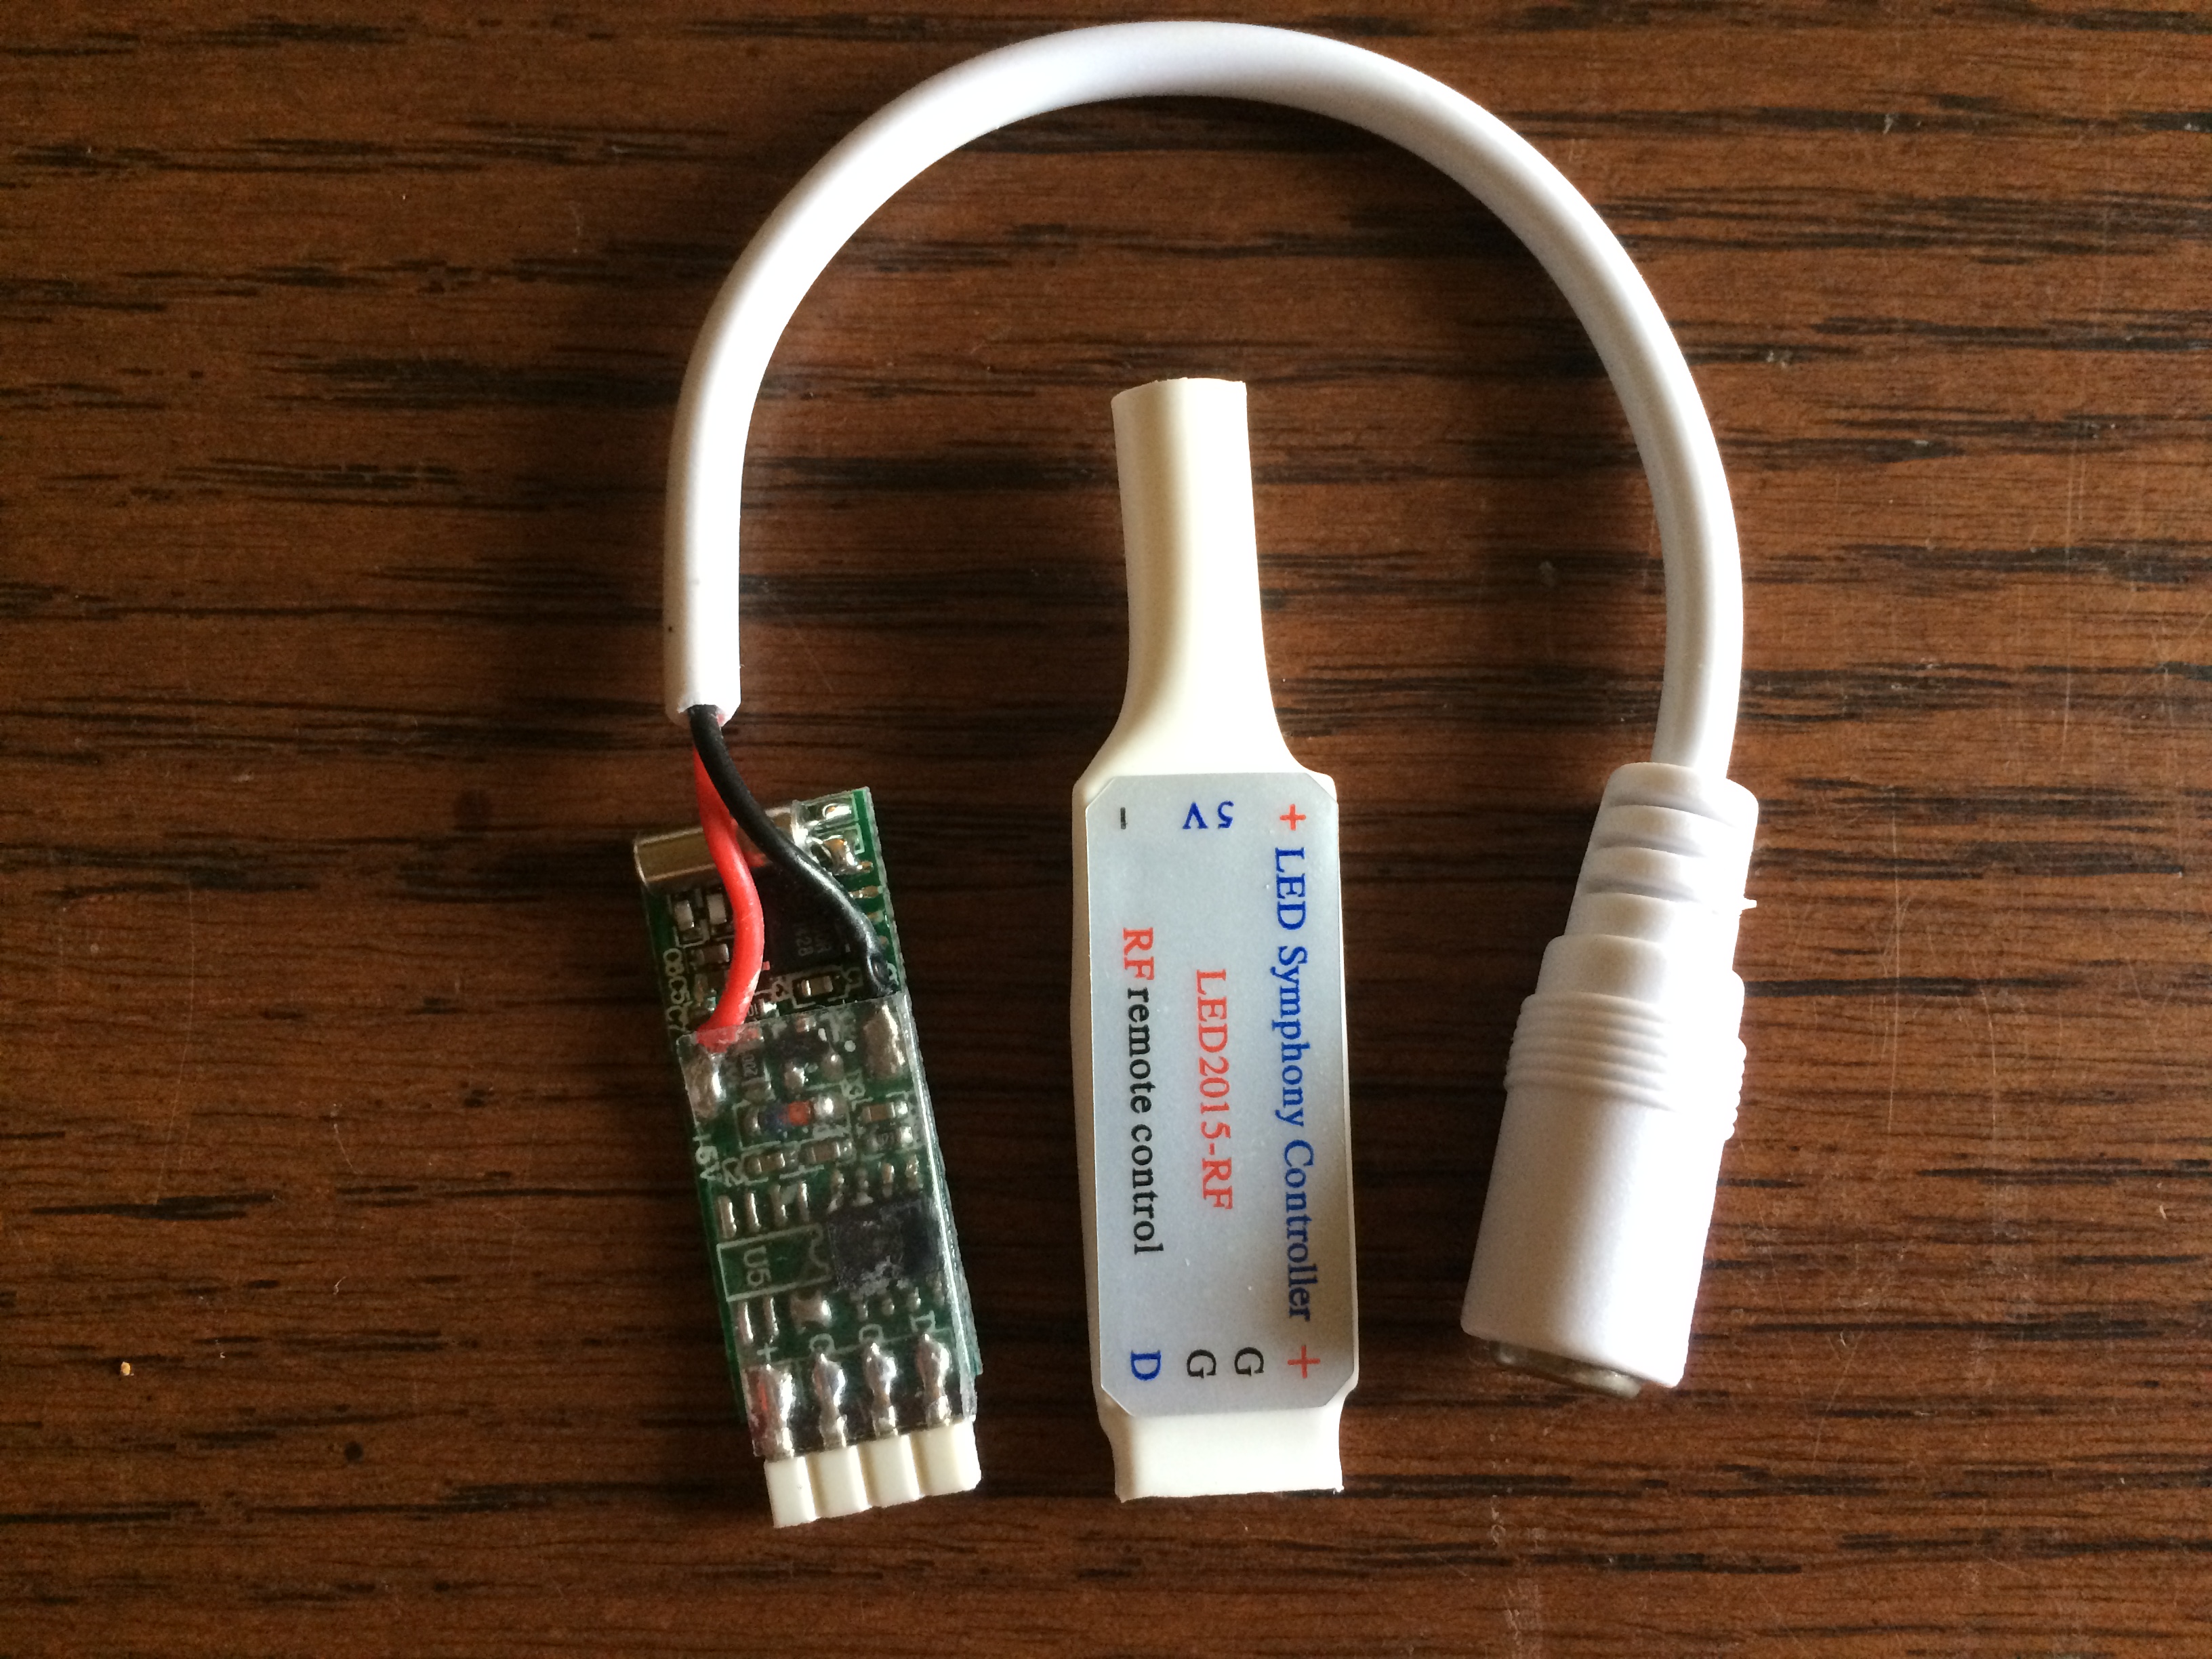
The remote features 63 modes and offers brightness control, the caveat is however that the brightness only works for the solid steady colors. This would be an obvious area for improvement if I were building this part myself. First the heat shrink was removed from the controller and the original header removed. The controller was designed to mate with another type of strip but since the type of LED pixels are the same the connector was unimportant anyway. There are versions of this controller that already come pre-wired with the right connector for the strip I ended up using and for those looking to do this without soldering might try to find one of these instead.
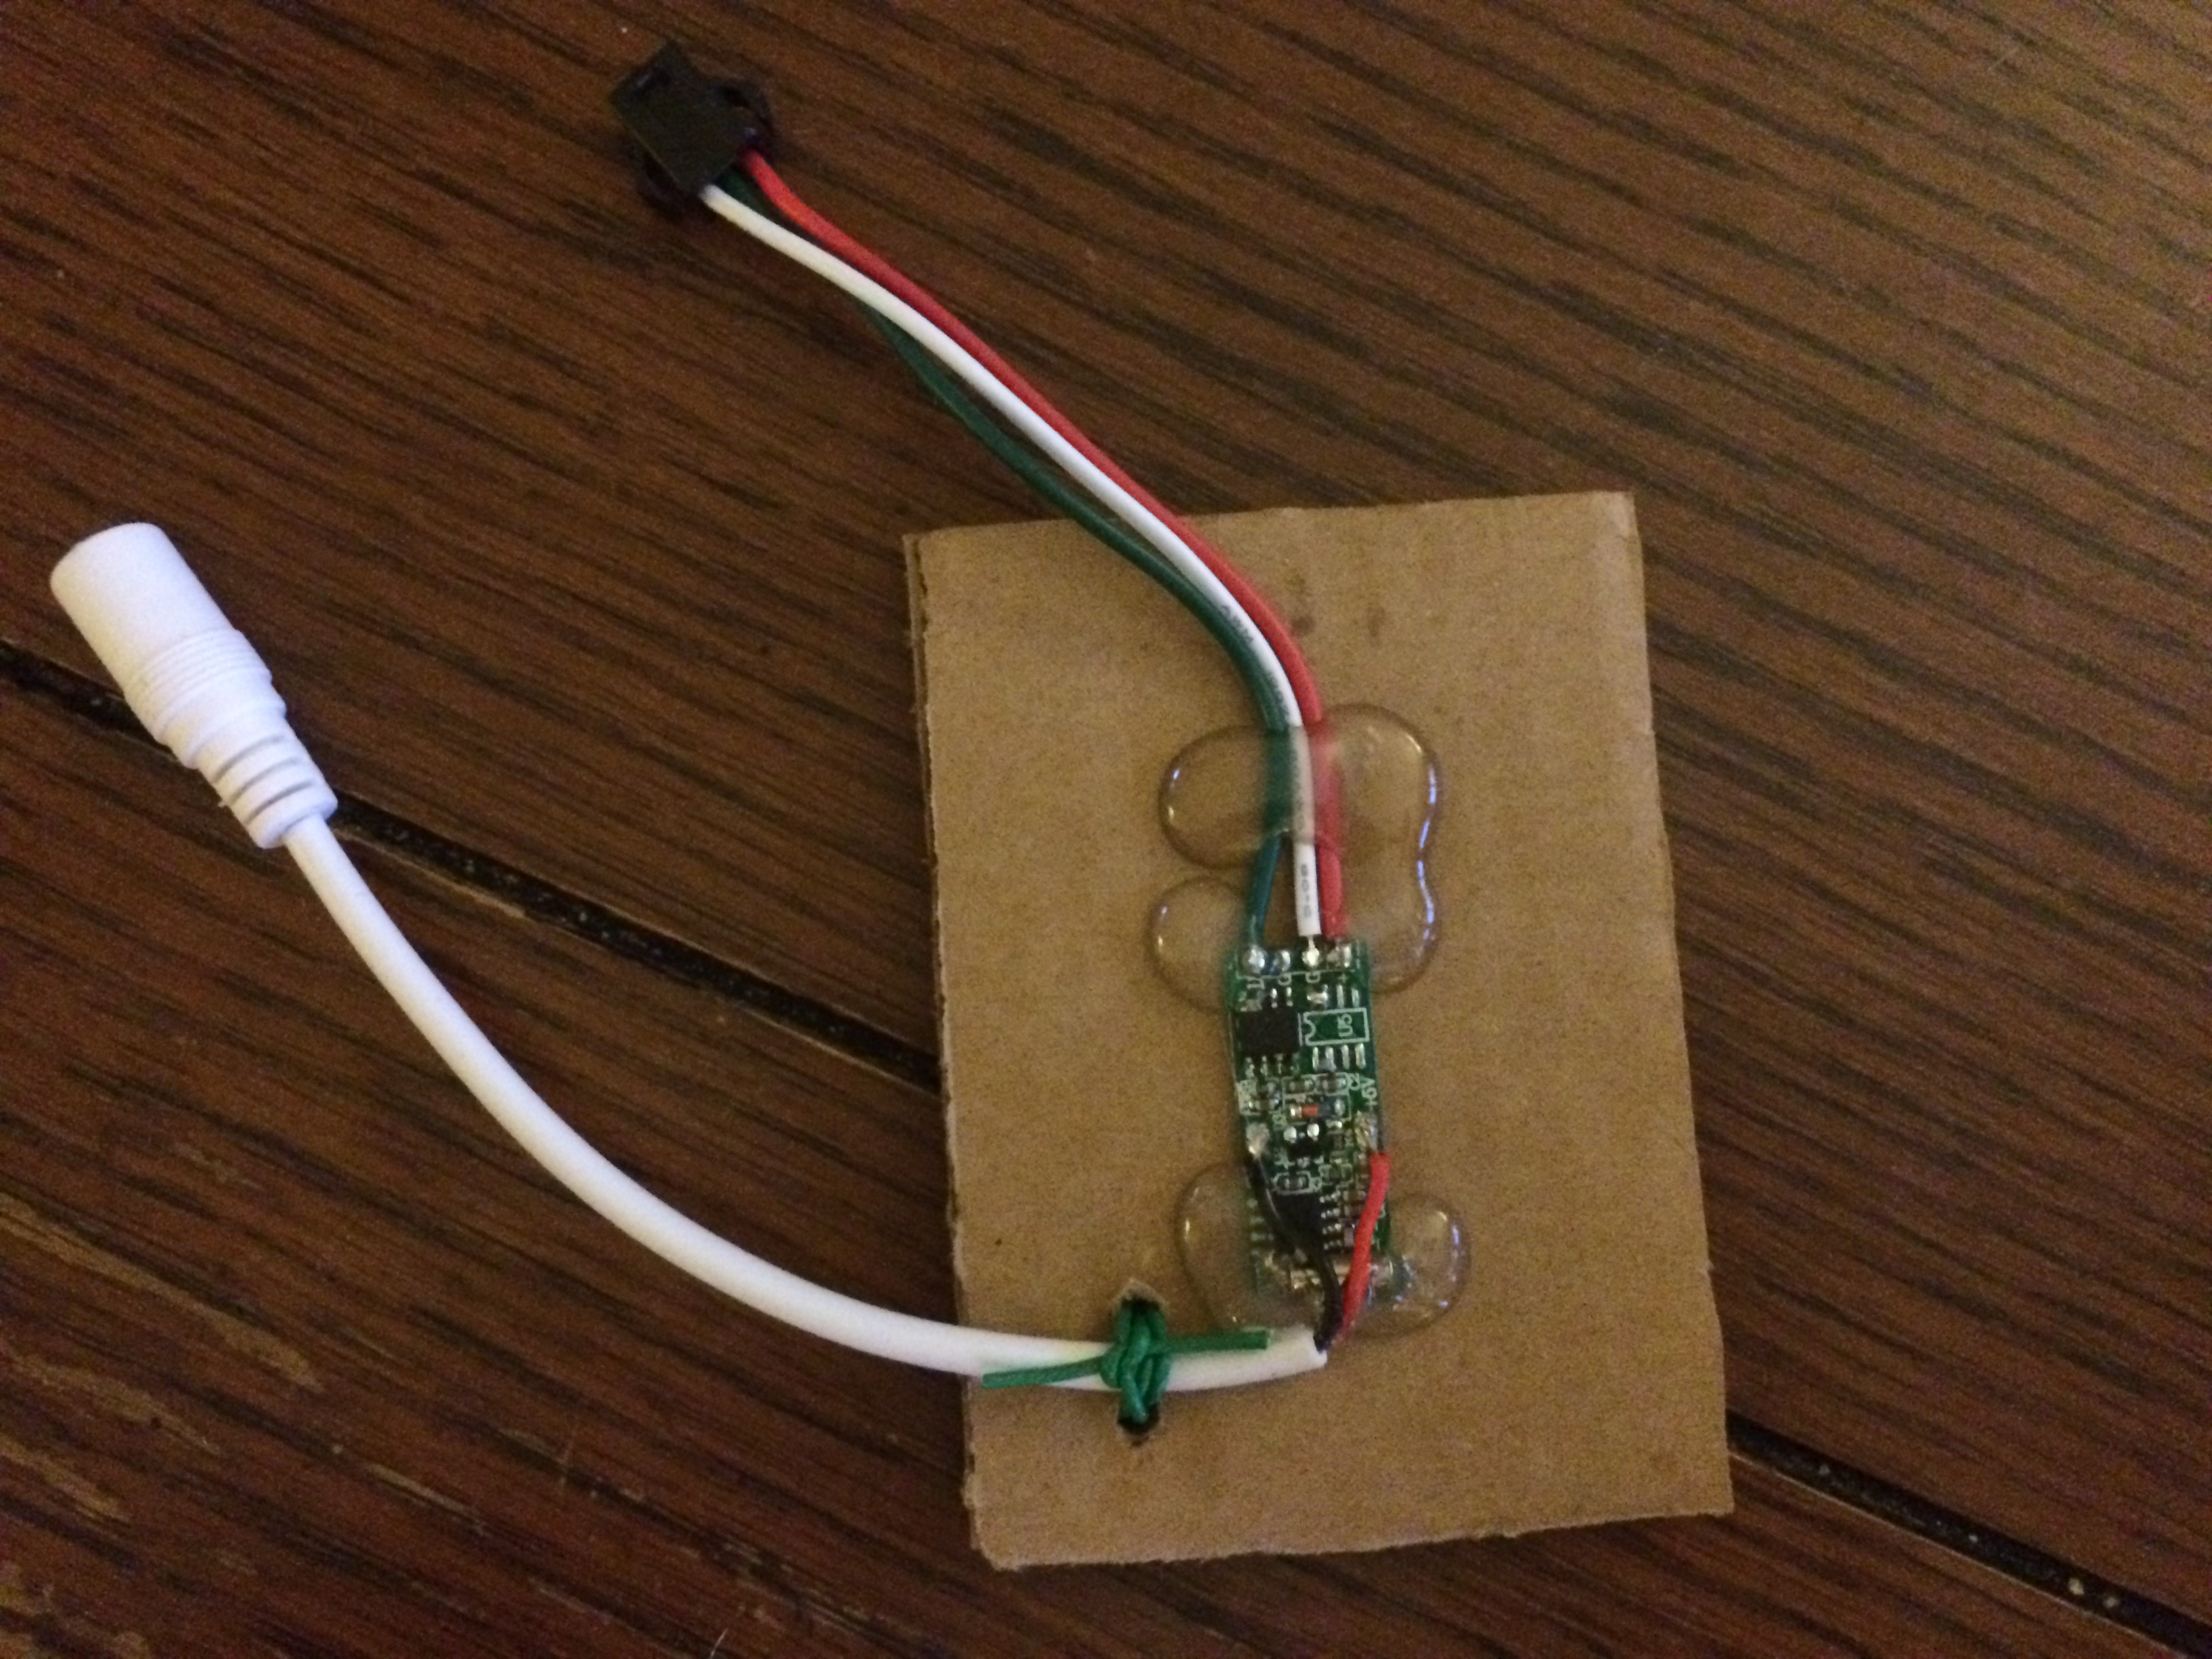
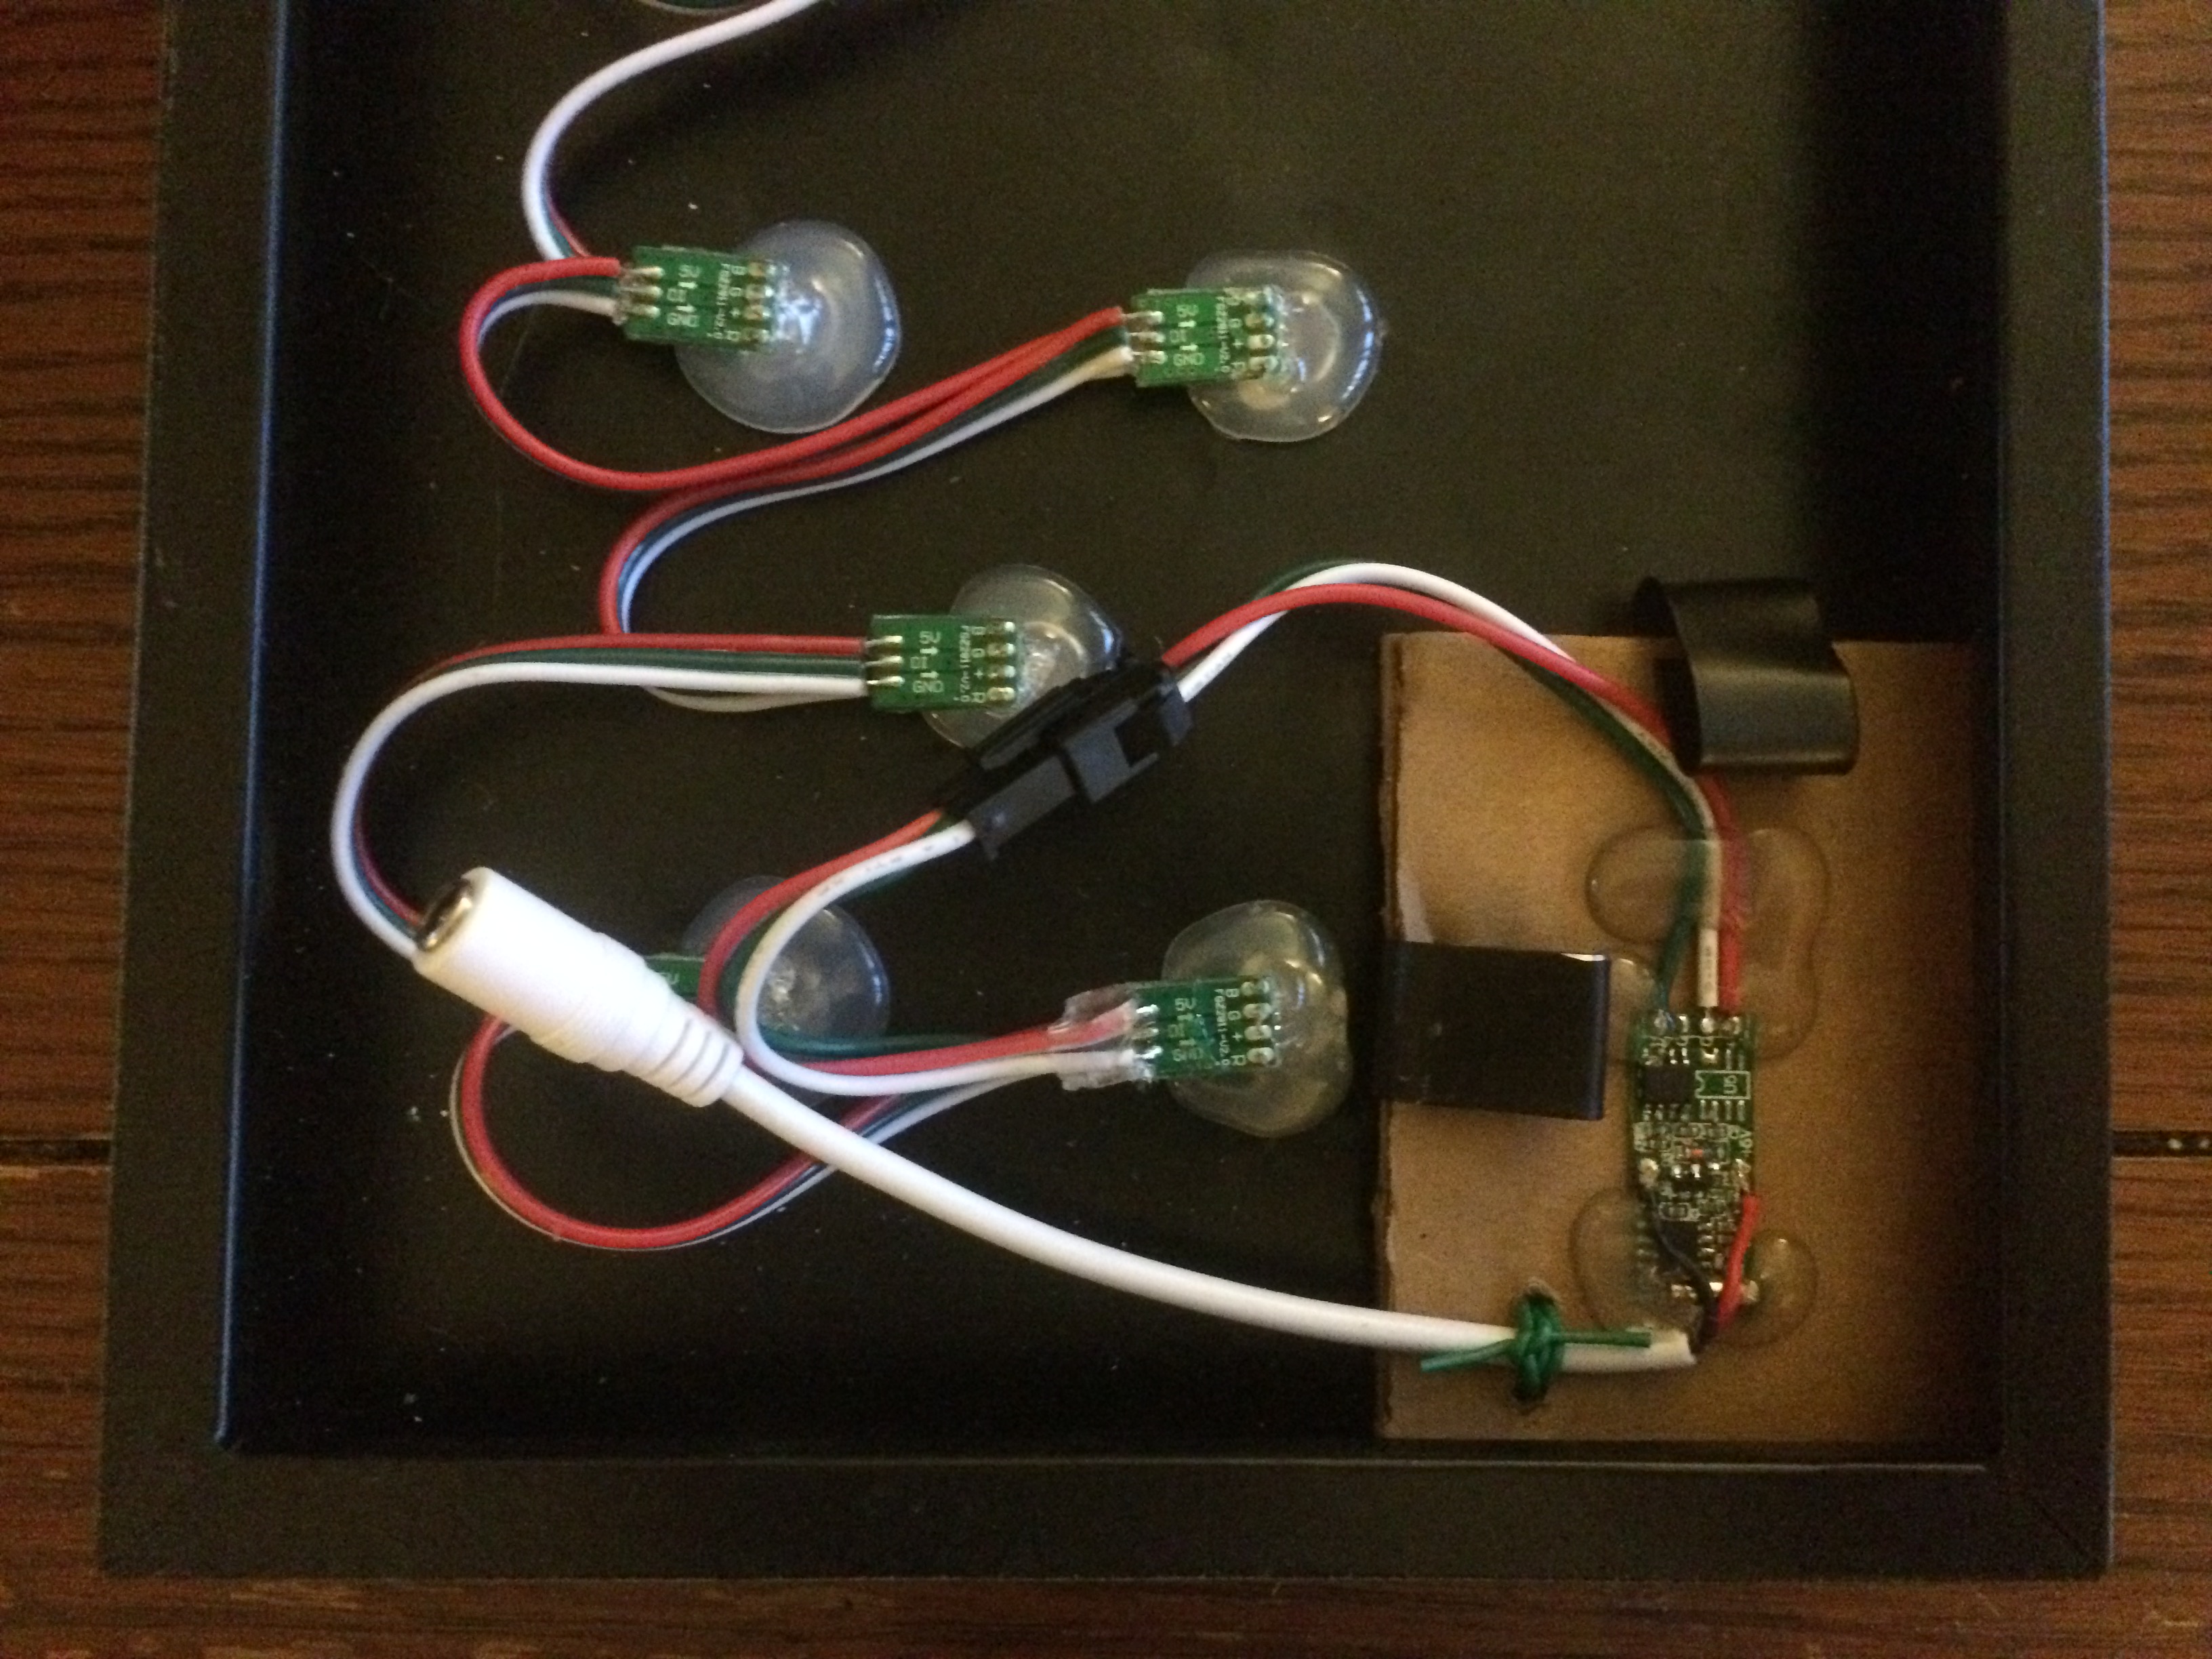
With the new connector soldered the controller was then mounted to some cardboard by cutting several pieces the same size and then glueing them together. This was then secured in place where the original battery compartment was located and then strapped down by bending the same metal flaps down to hold the cardboard in place.
If the controller does not have the connector for your strip already it is a simple matter to replace this, just connect the Power, Ground, and Data pins of the strip to the corresponding outputs on the controller. Most strips and controllers are 5 volts making this a simple connection with no other required electronics.
Finished Project
Parts
- 25x WS2811 LED Pixels
- 21 Key RF WS2811 LED Pixel Controller
Failed Project
In the interest of learning from failures as much as successes this failed version of the remote control beach sign is documented below so that others may learn from my mistakes and that perhaps someone will know precisely why this failed and I too can learn something.
The video above illustrates the flickering issue experienced towards the end of the strand (top letters). This seemed to only happen when there was a high refresh rate and/or the use of PWM. At full brightness on white the LED’s would flicker every few seconds, on the lowest brightness they would flicker continuously.
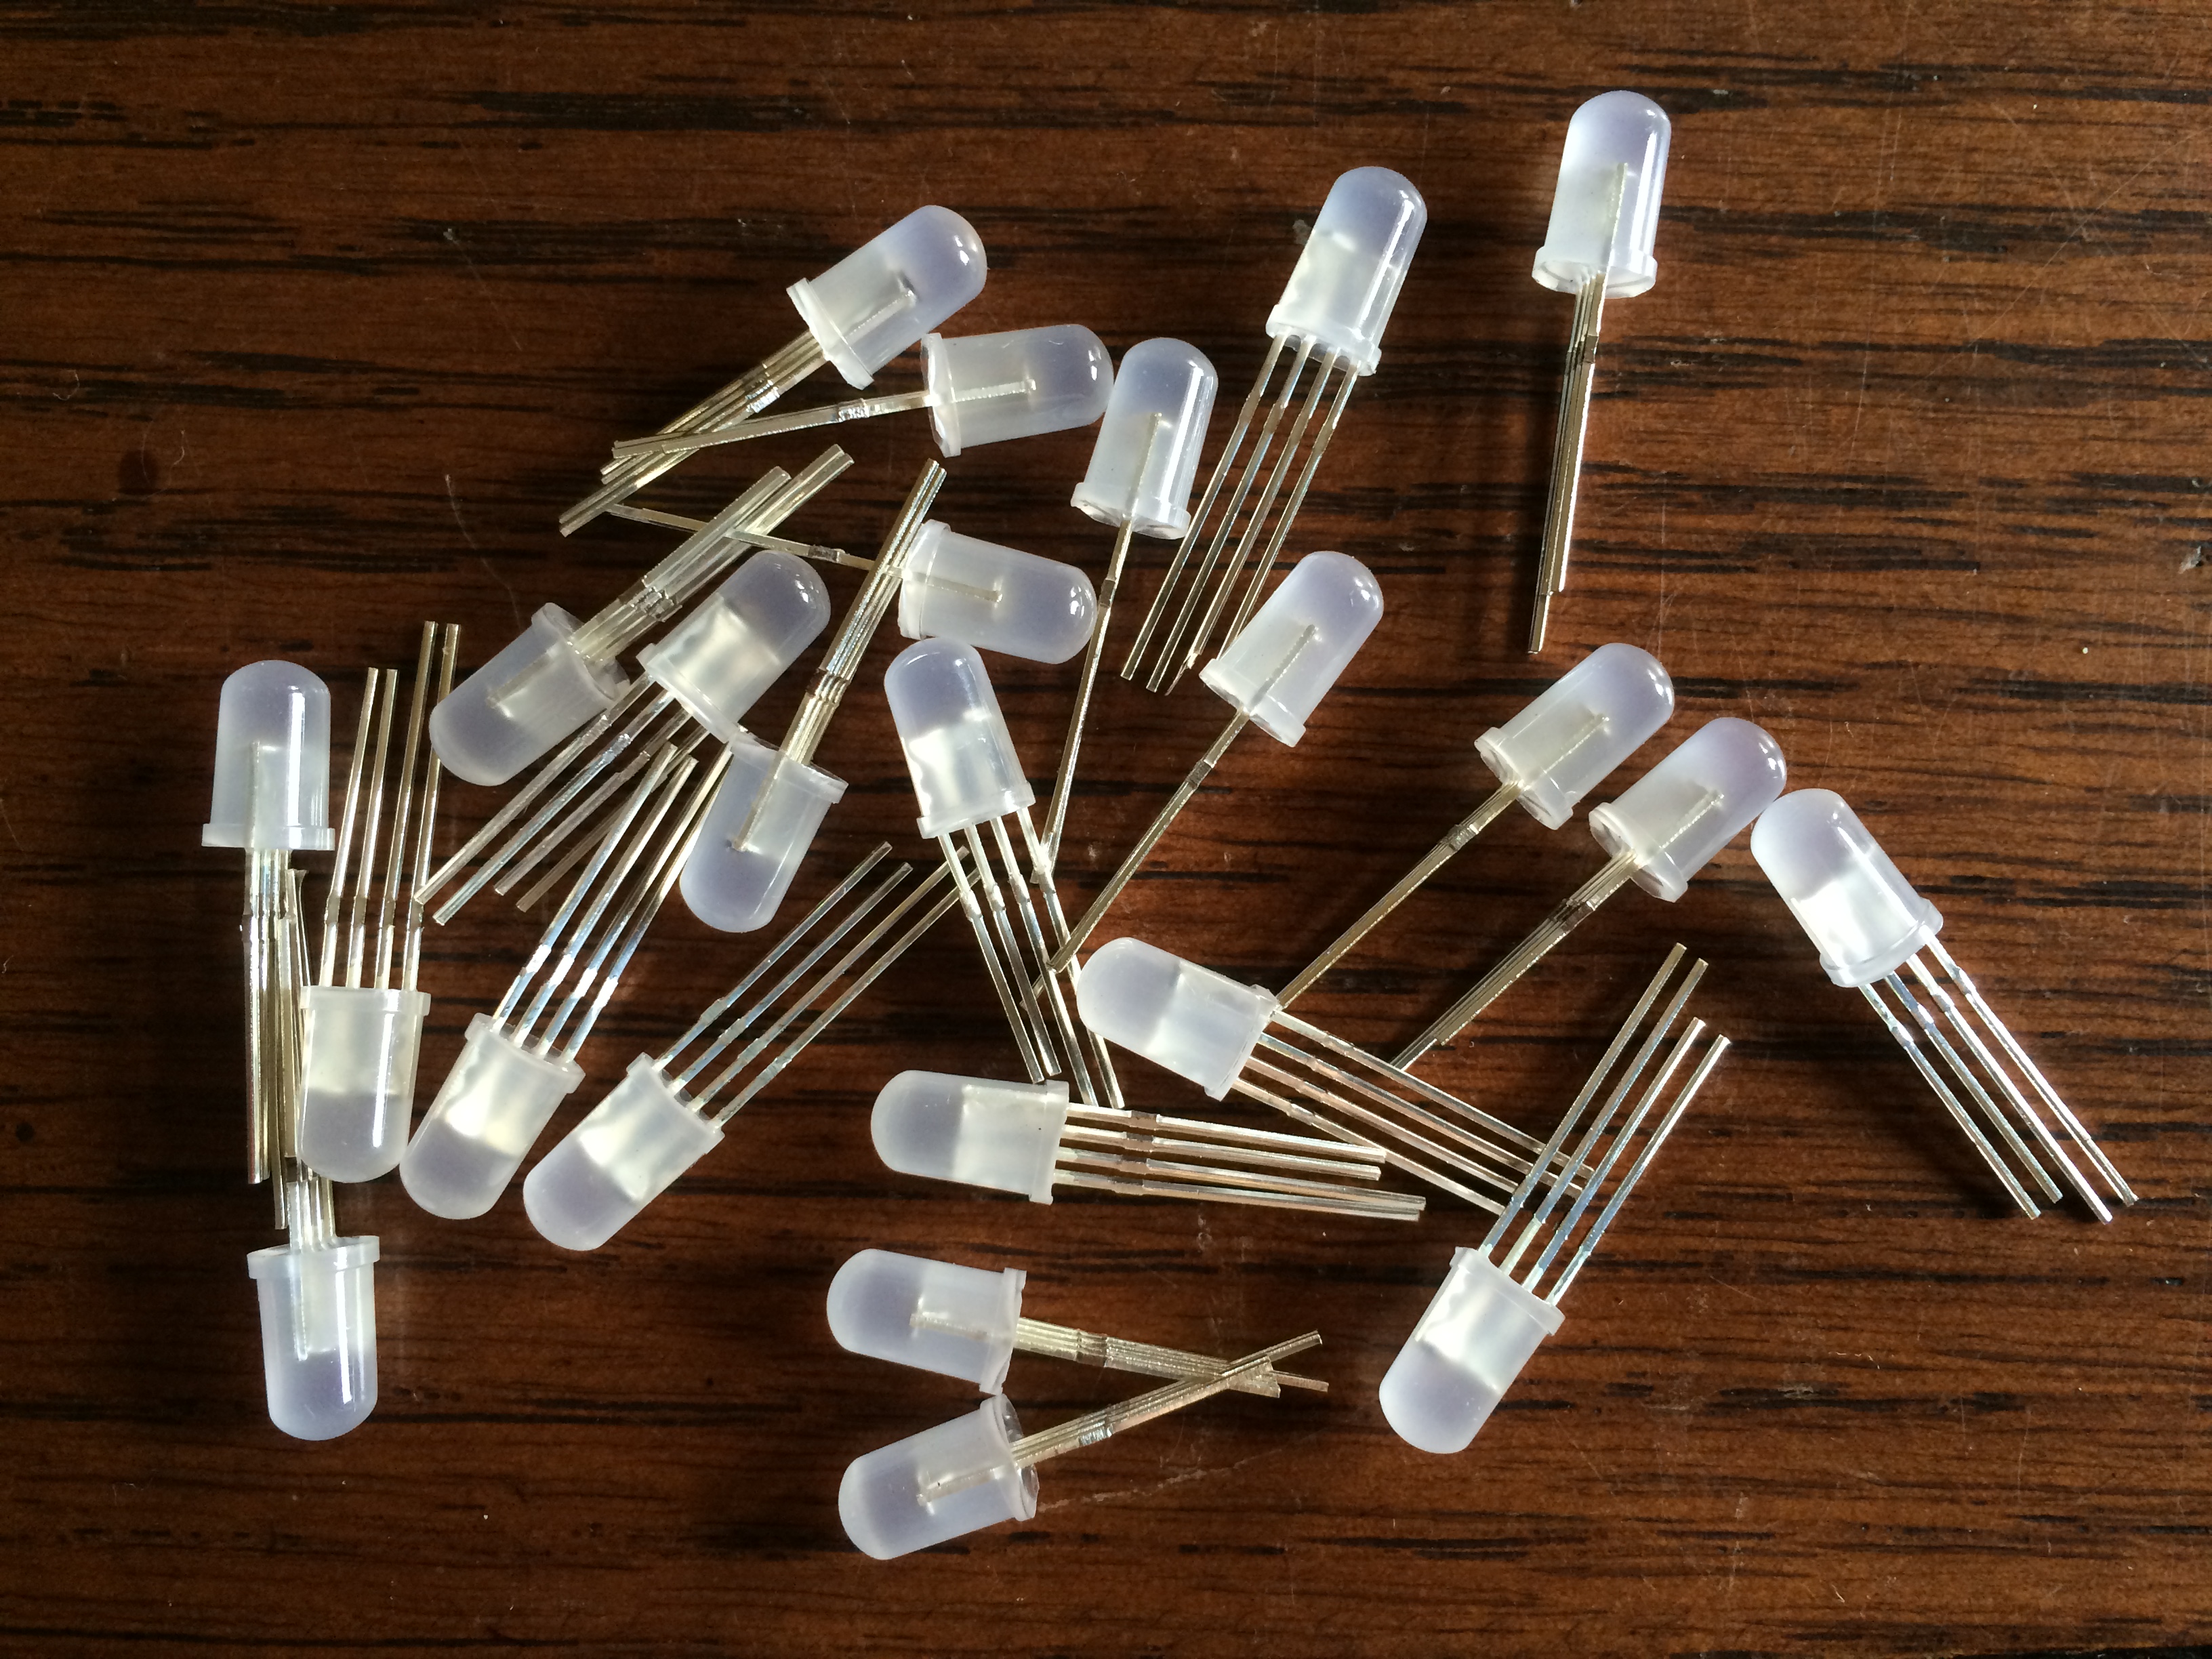
Neopixels
Adafruit Neopixels are individually addressable LED’s based on the WS2811 or WS2812 protocols.
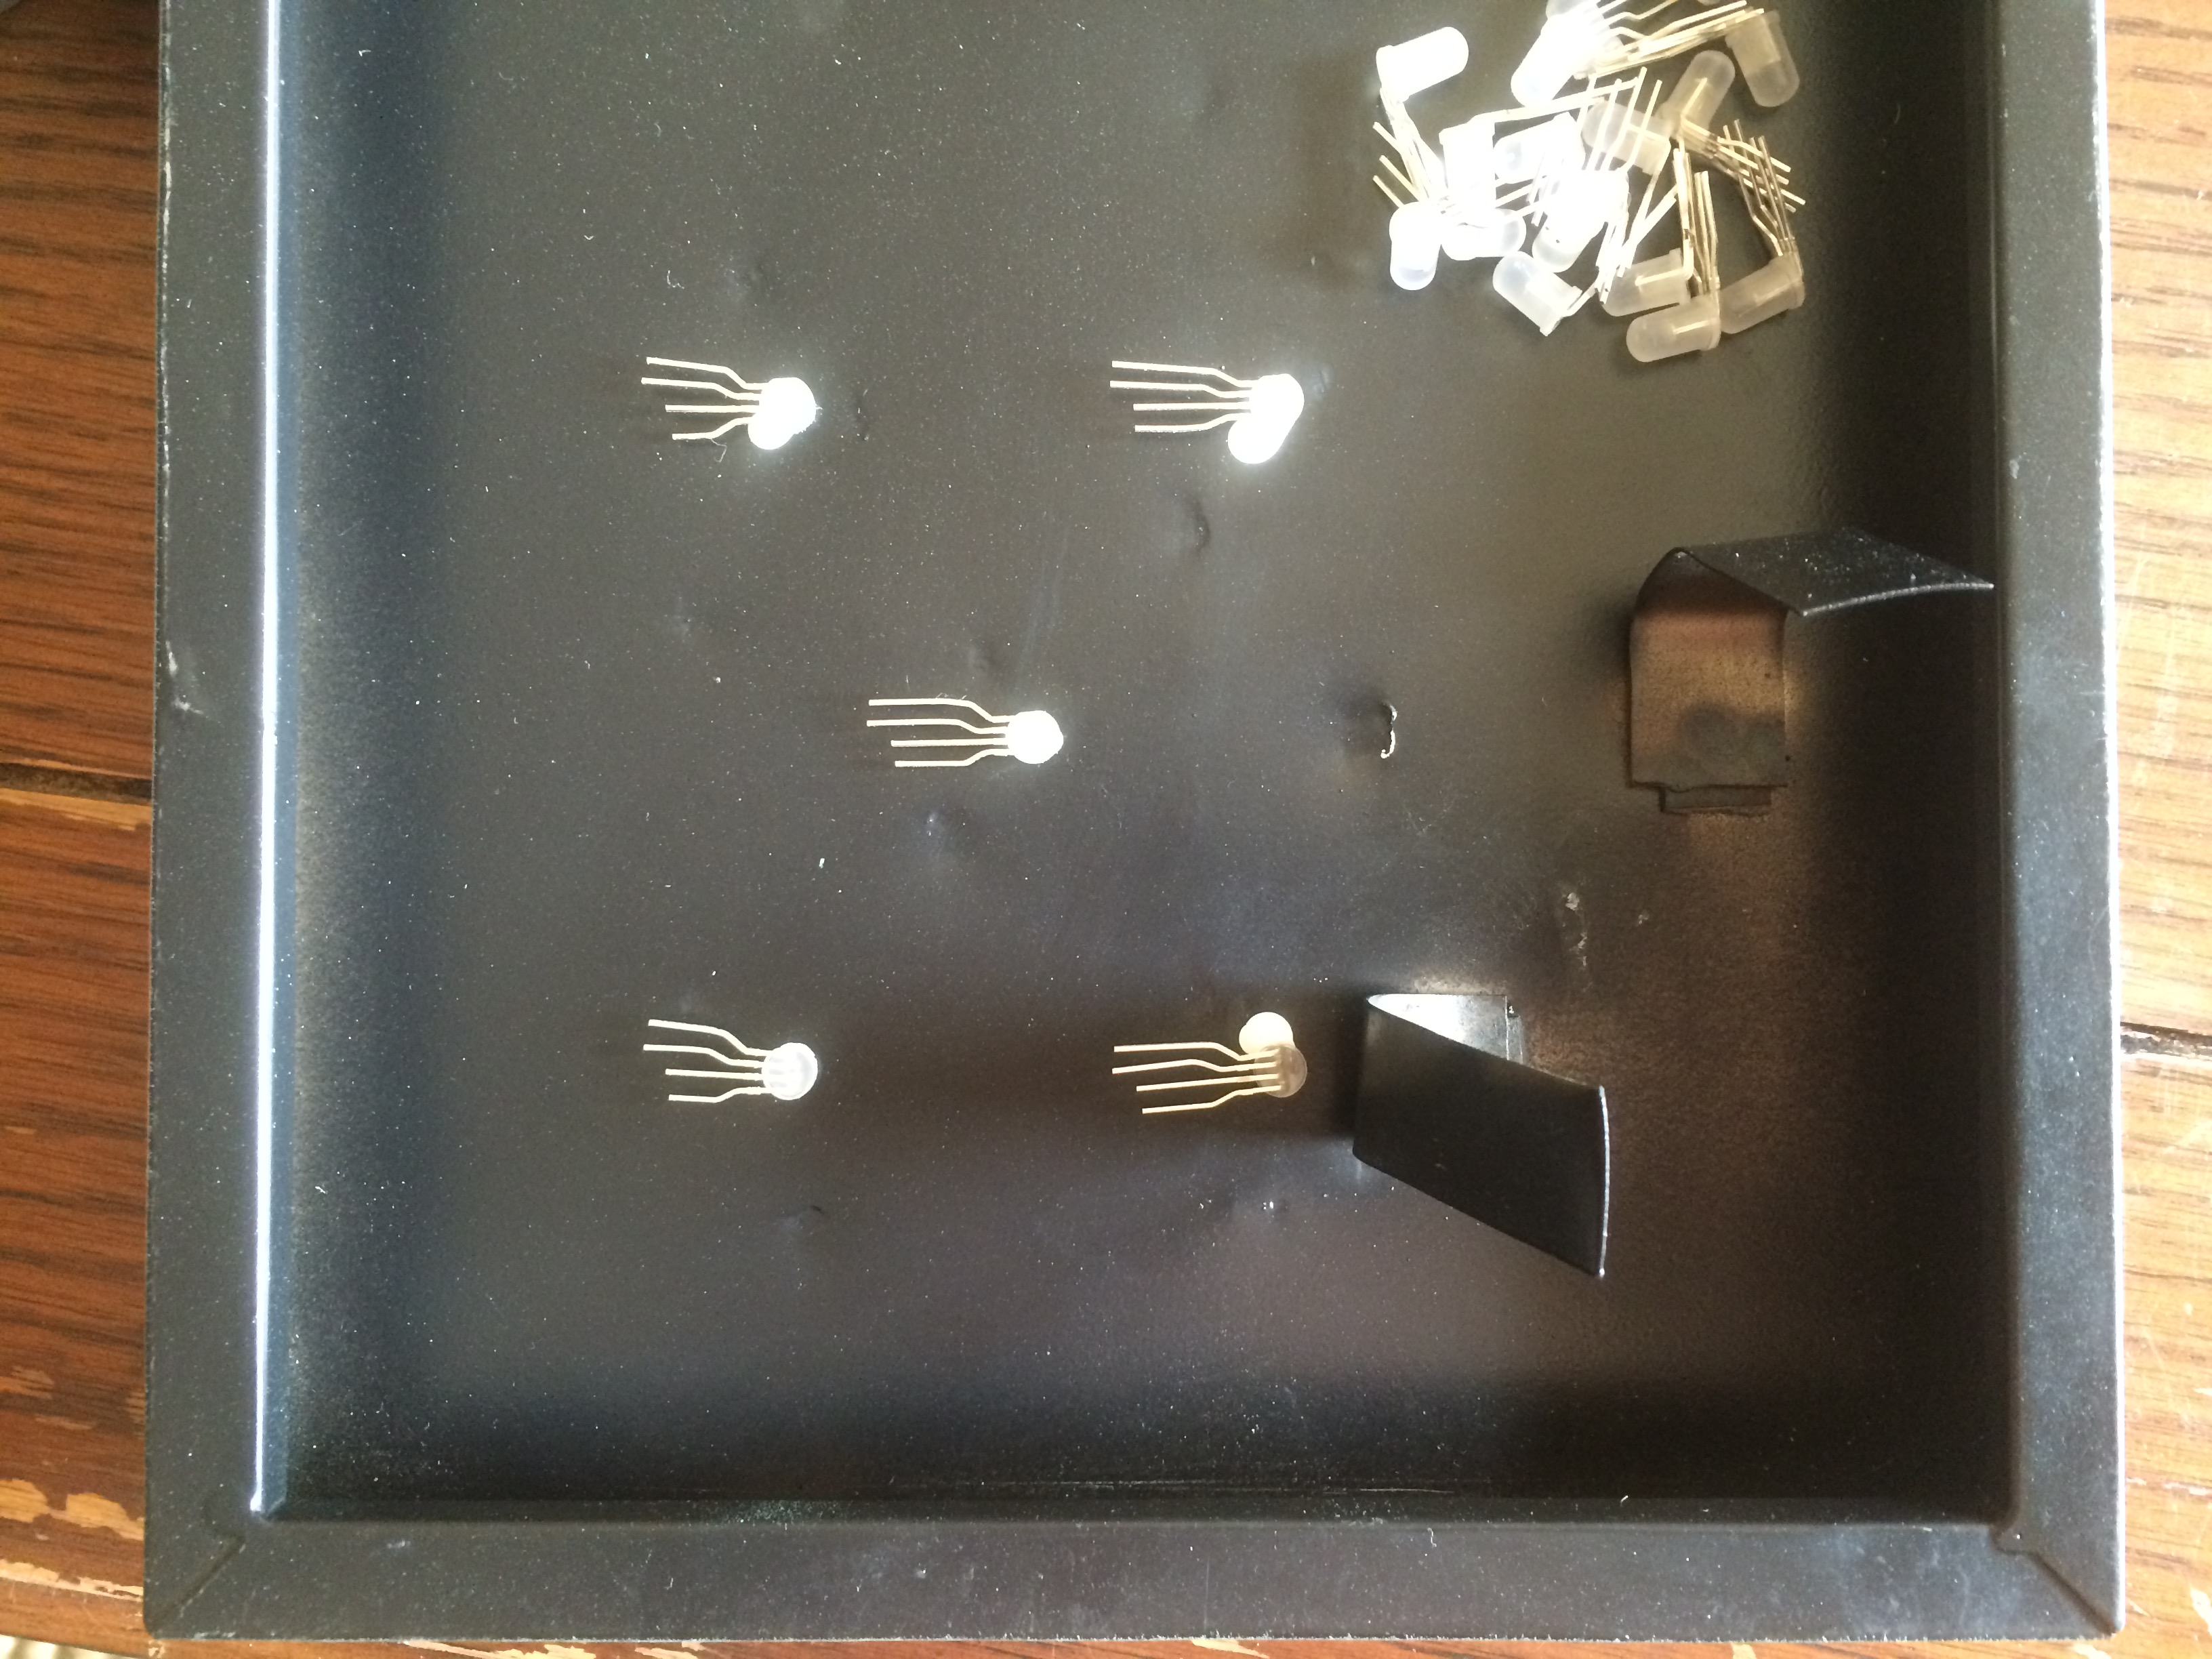
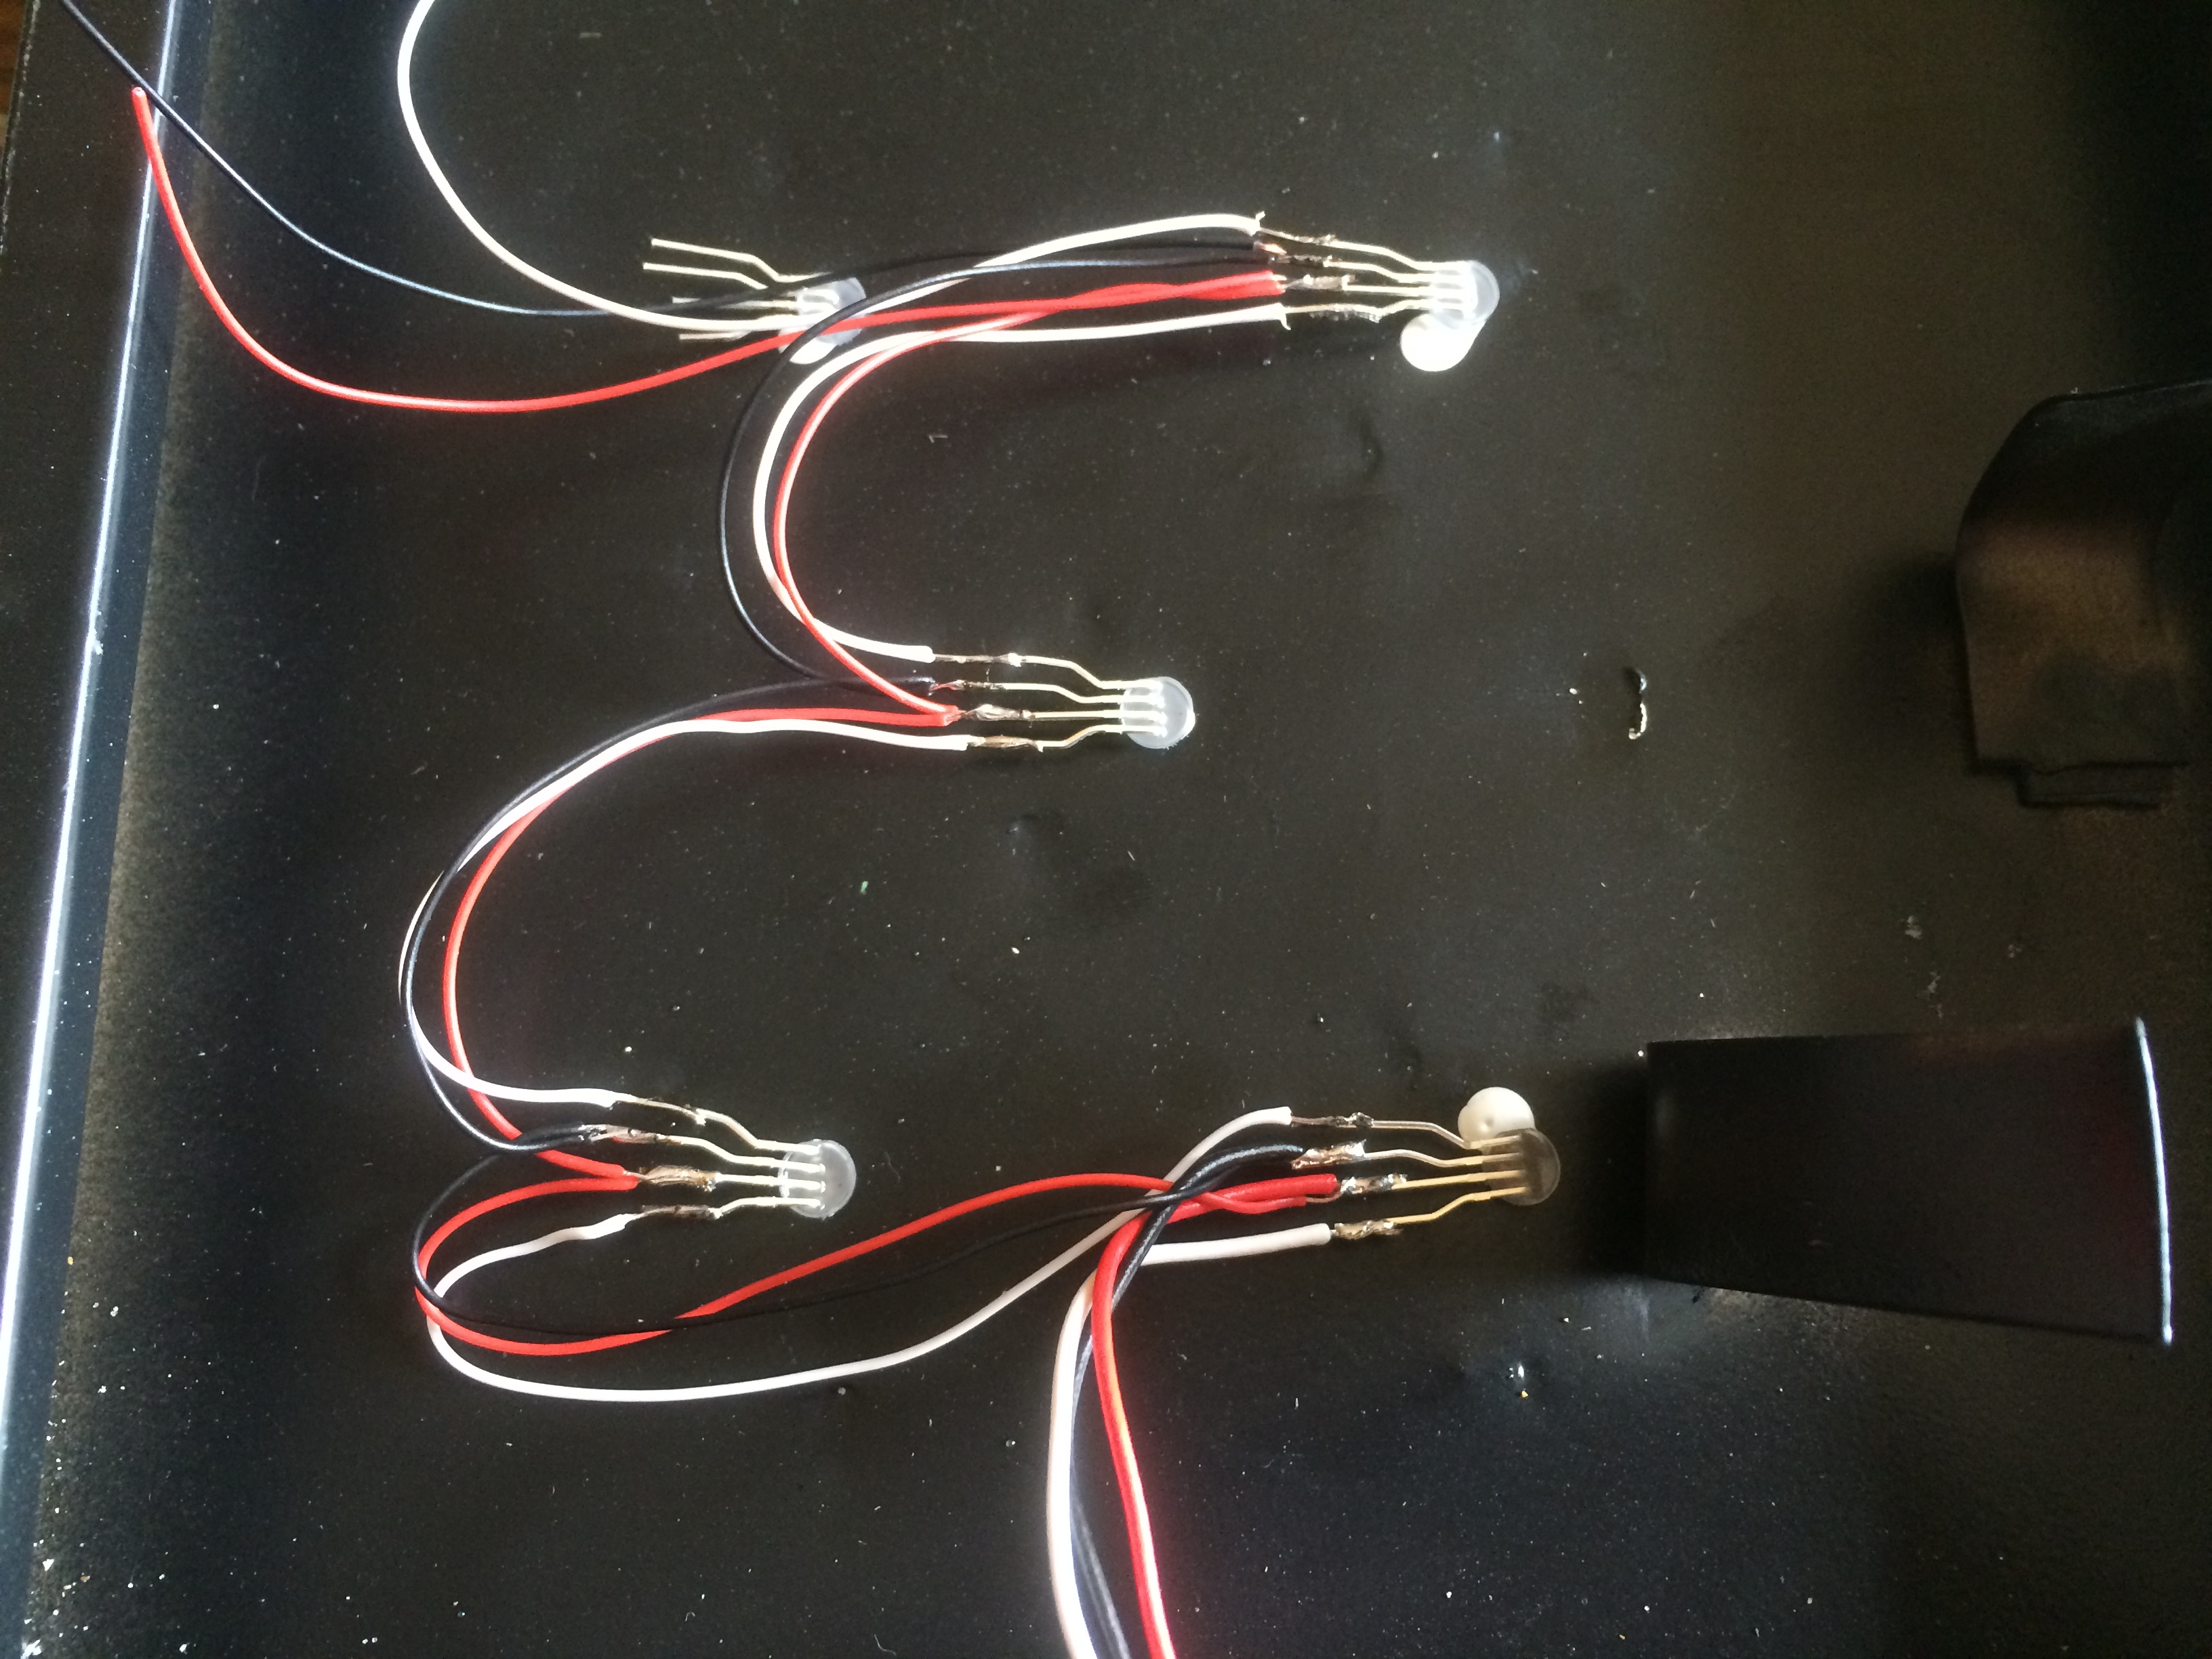
First the pins were bent at a 90 degree angle and then fanned out slightly to make the pins easier to solder.
Postmortem
I tried the following things to try and get this to work with no real degree of success.
- At first it seemed that maybe the second half of the strip was not getting enough power after being fed through the first half of the strip and so I ran an additional power wire directly from the input source to the second half. This actually seemed to make things worse.
- Some guides and documentation recommend the use of a resister before the first LED and even in between each pixel however, this has no effect.
- It seemed like perhaps one of the pixels was bad and giving out corrupted data to the rest of the strip however, having rewired the entire strip several times to rule this out I can say this is not the case.
- Another issue could have been that the metal frame housing the pixels was not grounded, after connecting this to the common ground there was again no change.
I have read that perhaps using thin wire is to blame although this seems unlikely given the pins of the LED are thin and the wire connecting the WS2811 chip to the LED itself internally are even thinner. Other guides say that a decoupling capacitor between the power input to each pixel could also solve this issue but I did not have 24 of the correct type to try this.
Although I don’t think this is an inherent issue with these Neopixels the Adafruit product page and accompanying guides don’t really mention steps that should be taken when connecting this amount of LED’s though it’s possible I missed this information. Their demo shows 5 of them connected on a breadboard and being someone with a fair degree of technical skill after a day of troubleshooting and not being able to solve this I simply cut my losses and moved on to another type of strip.
Parts
- 25x Neopixel Diffused 5MM Through-hole LED’s