Prototype 1
For the first prototype we needed to create a beacon that could be activated by a circuit becoming open. Using the metal contacts in the bra strap it is possible to create a circuit that knows when it has been unhooked.
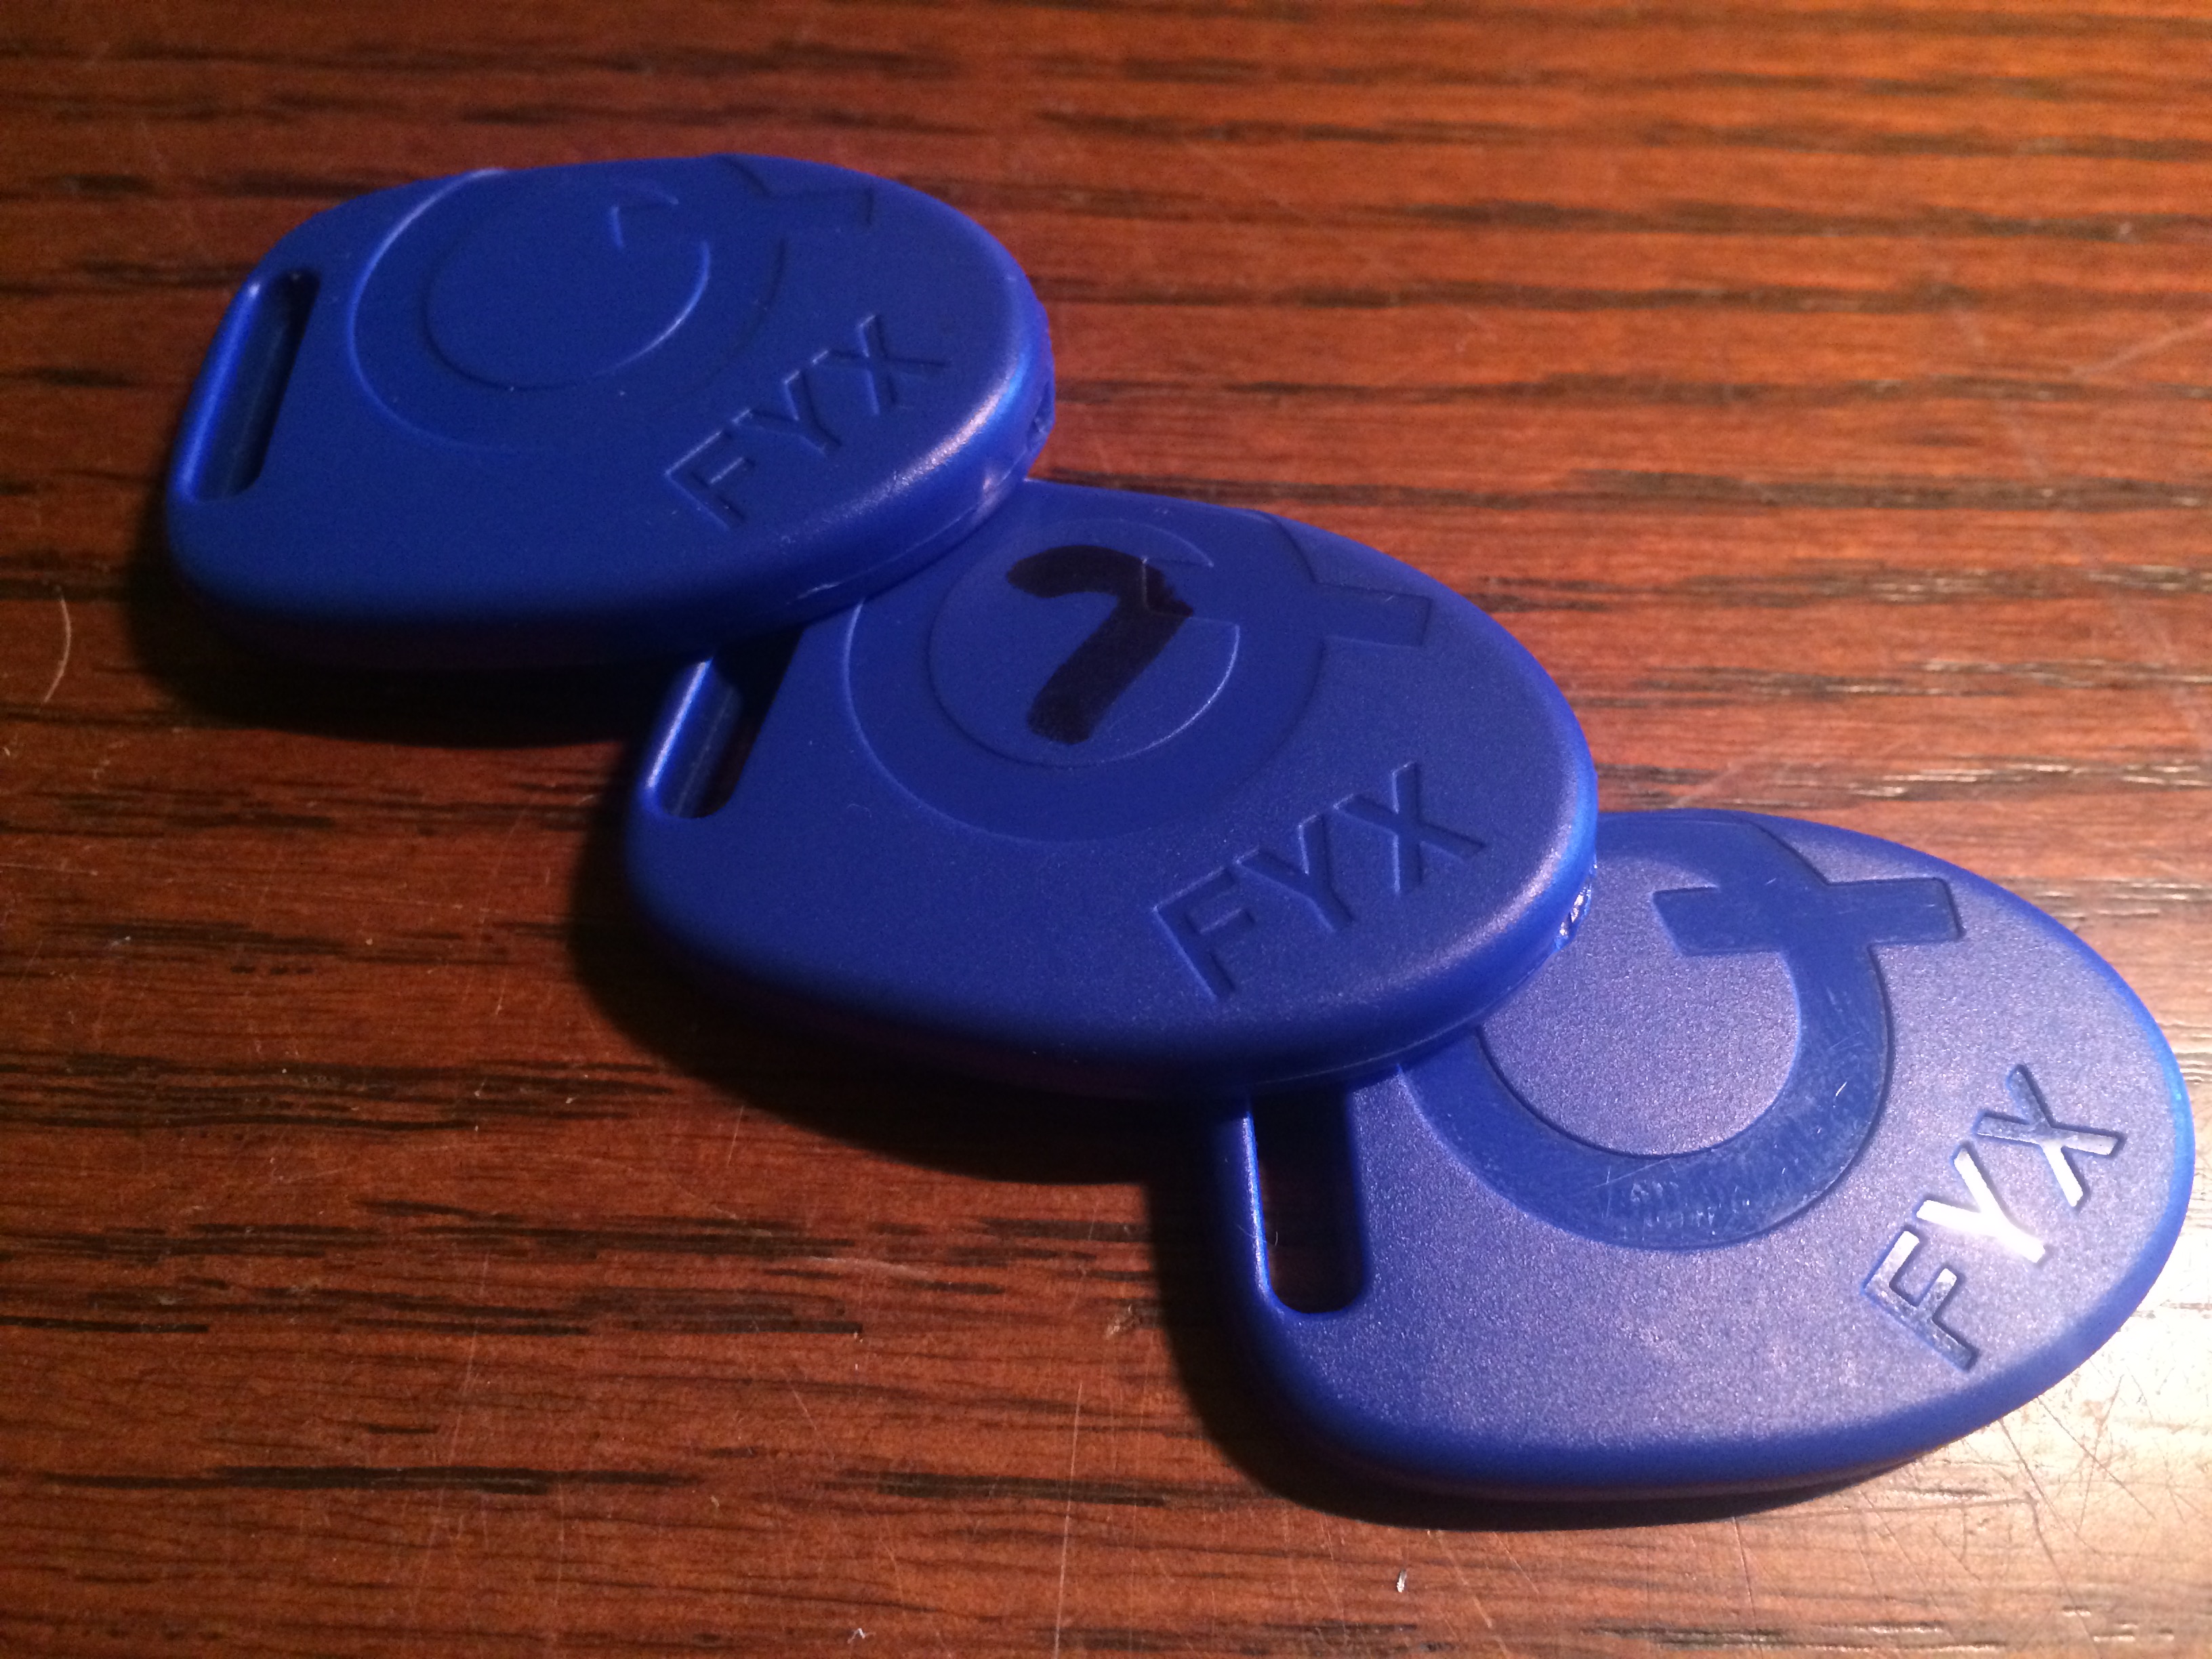
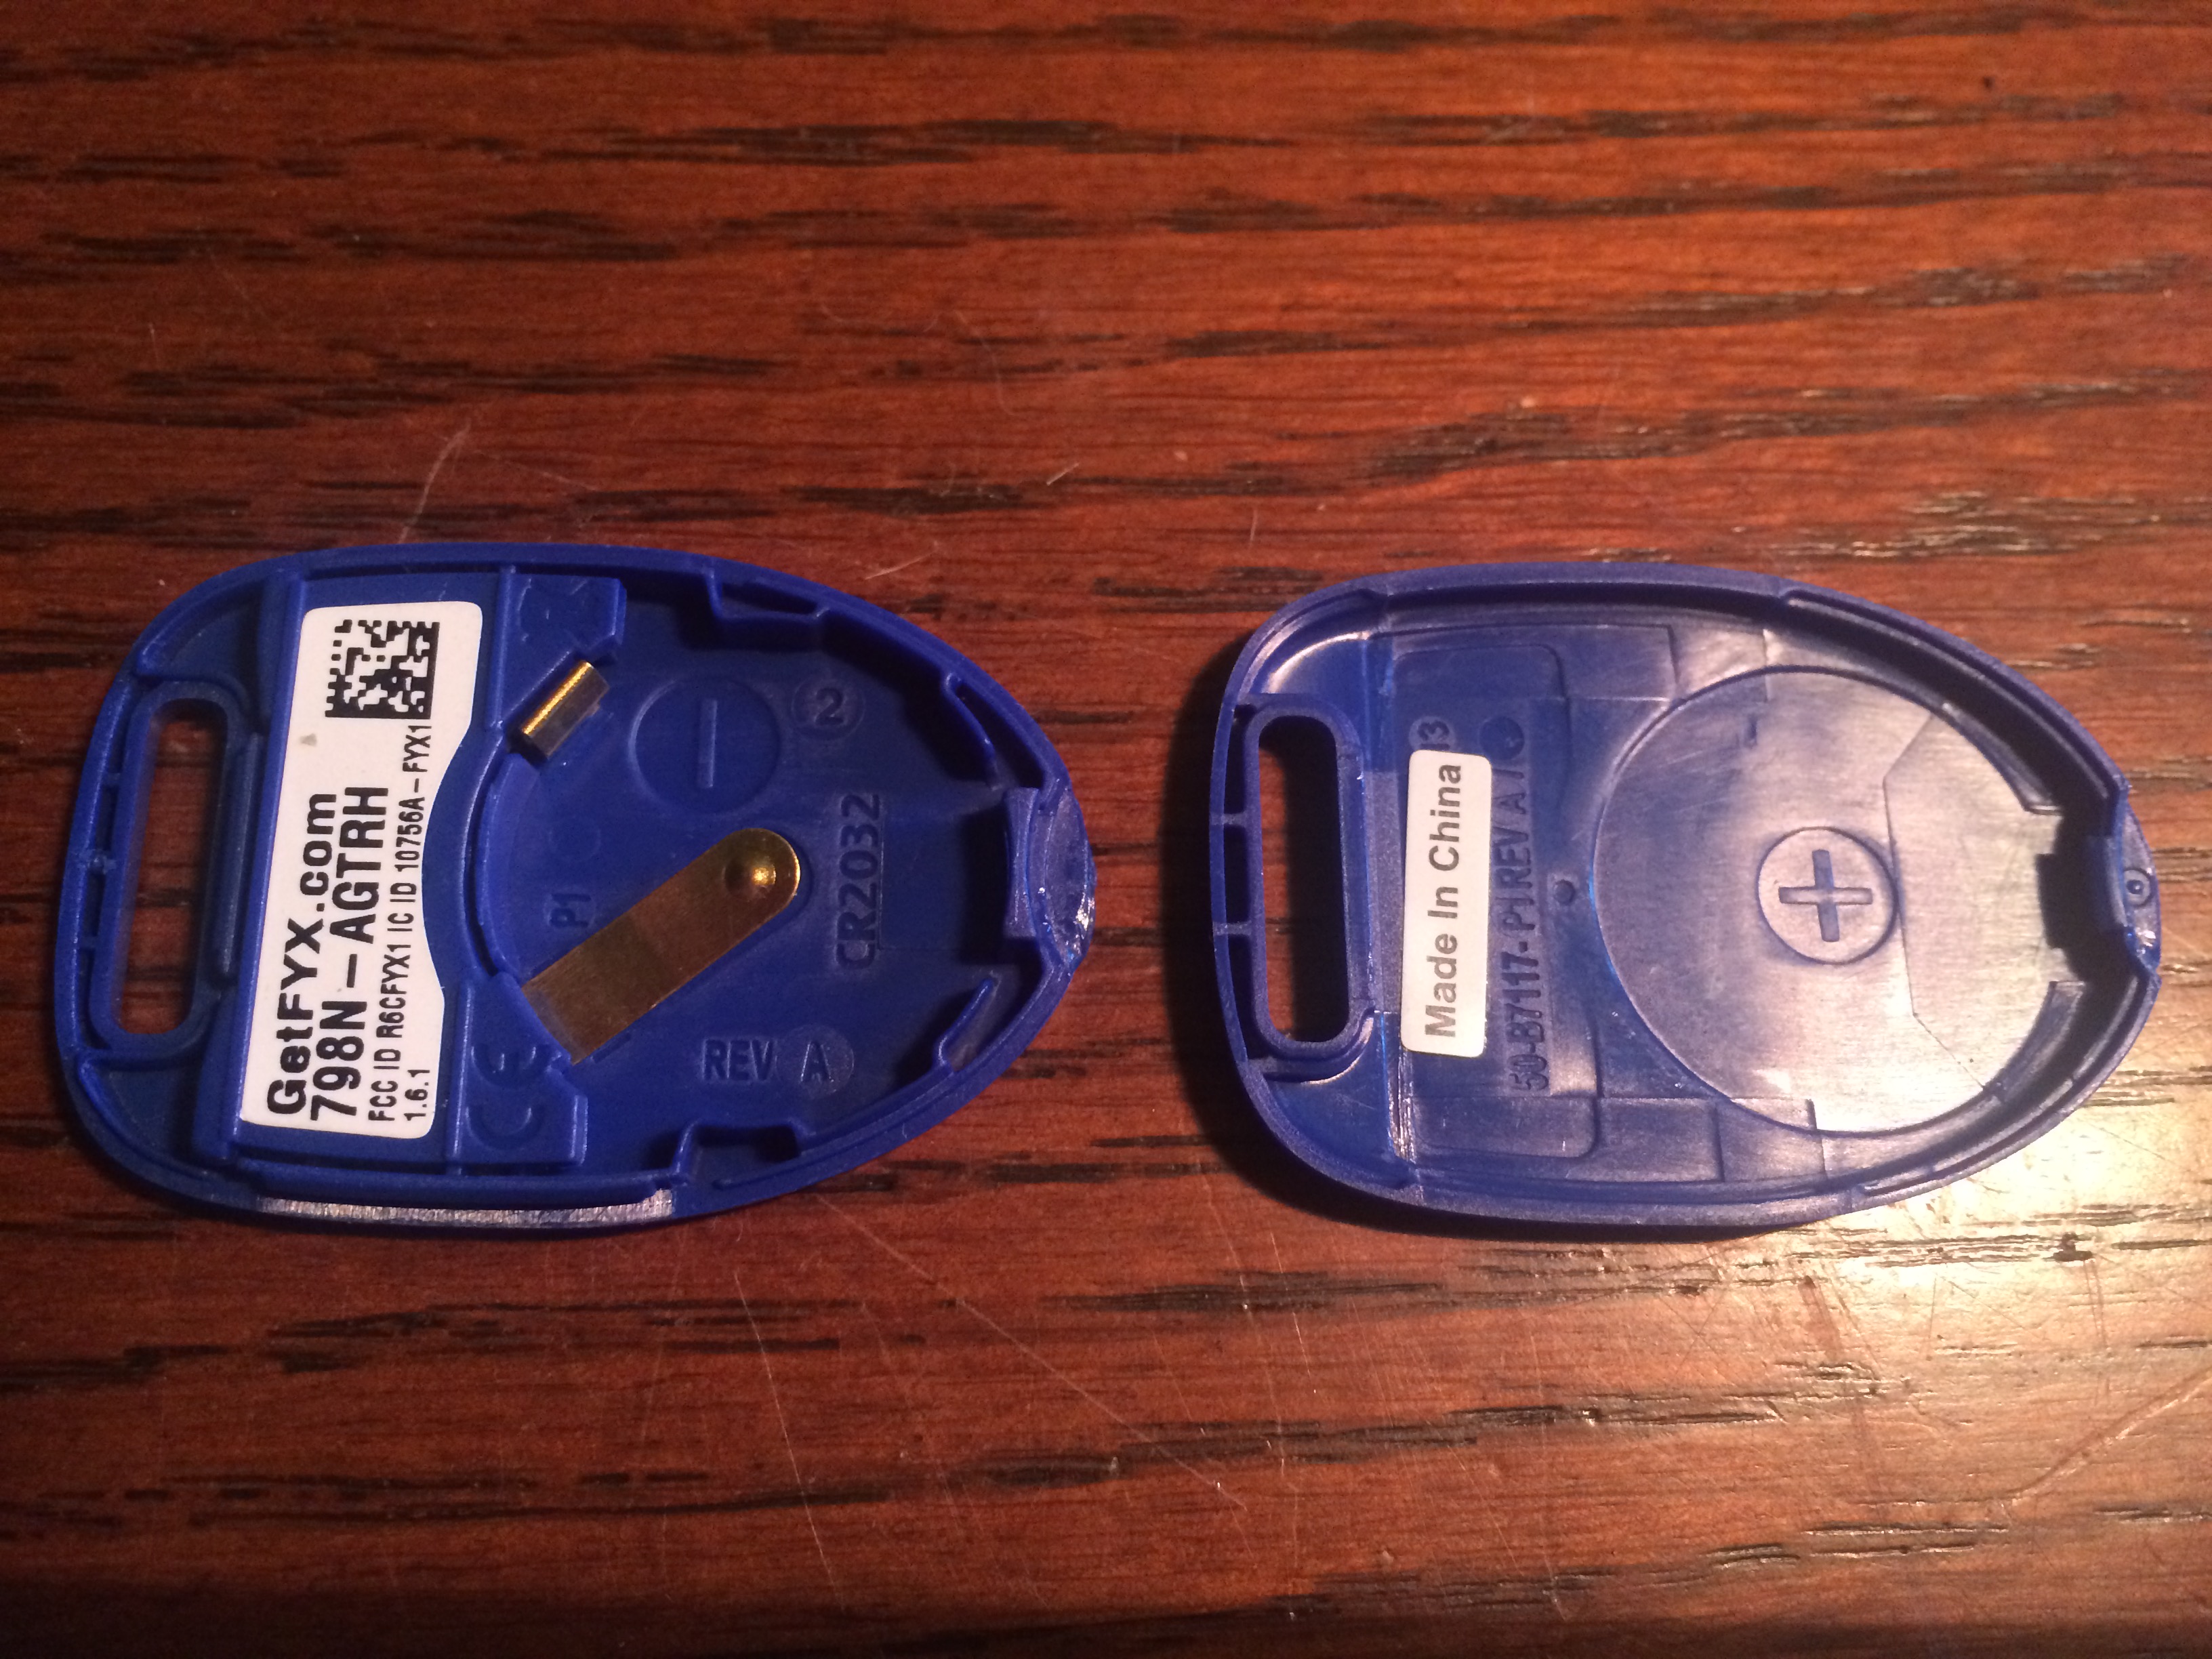
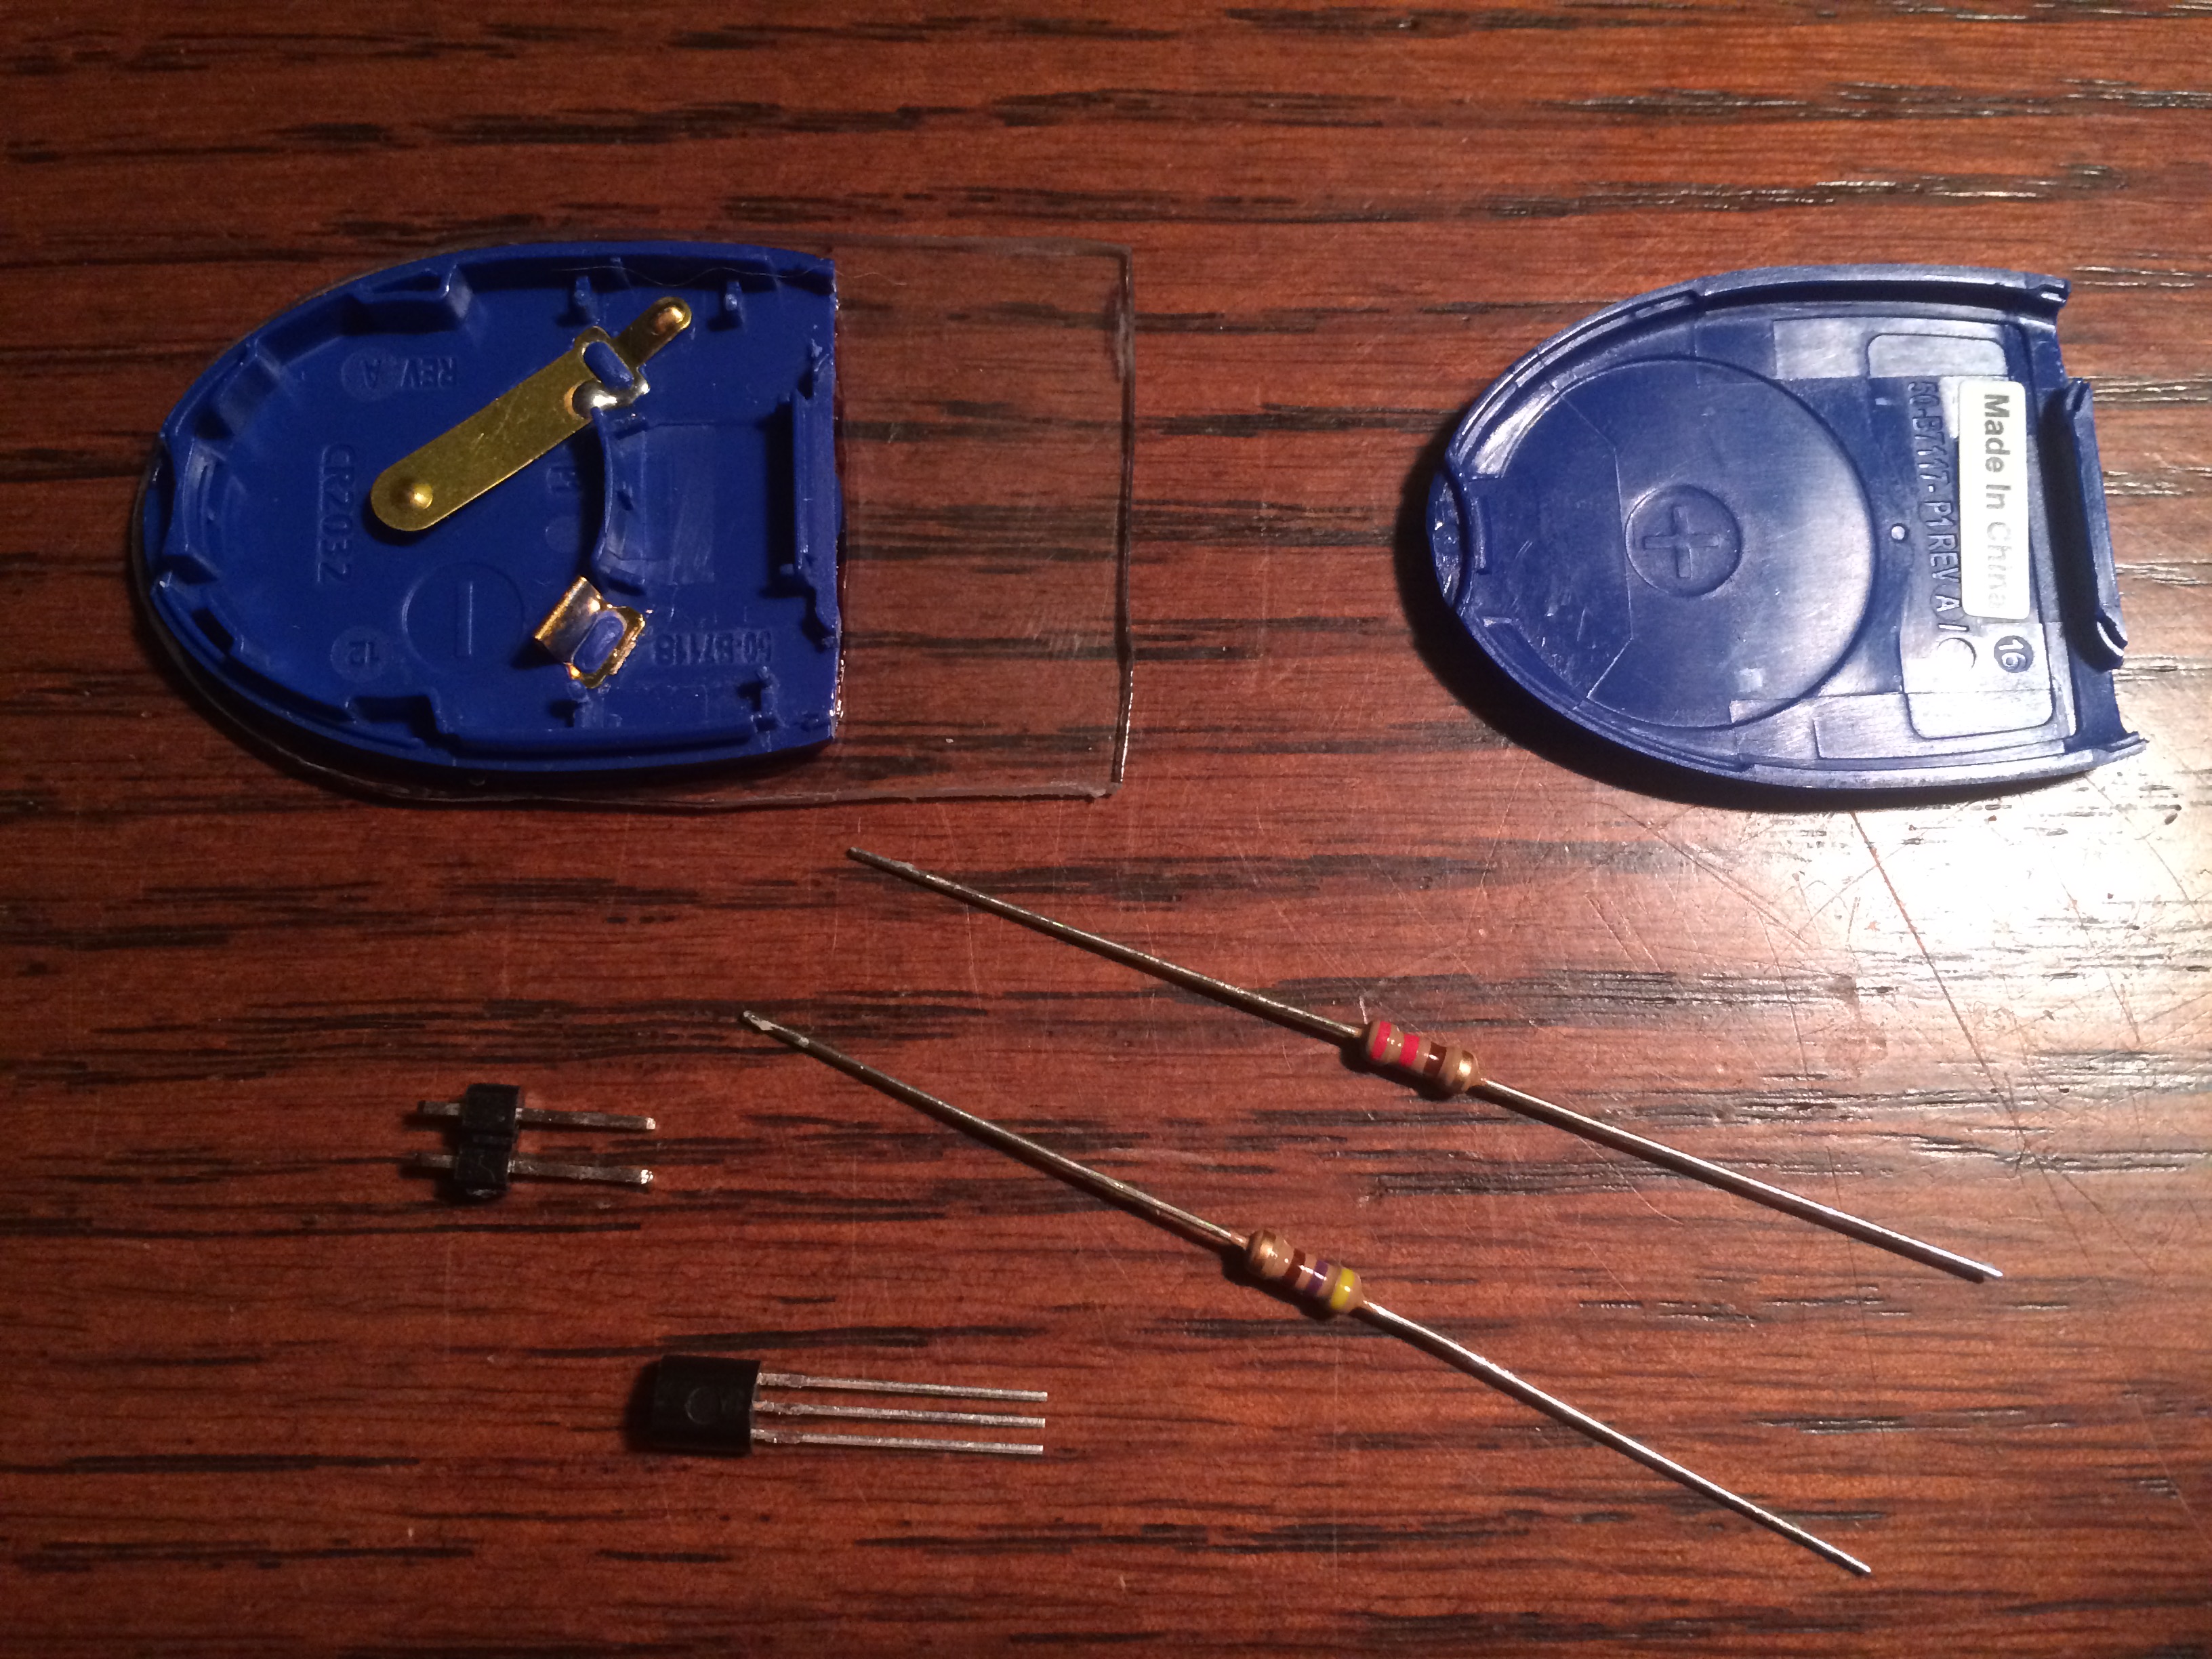
First we took an off-the-shelf beacon that was already low profile.
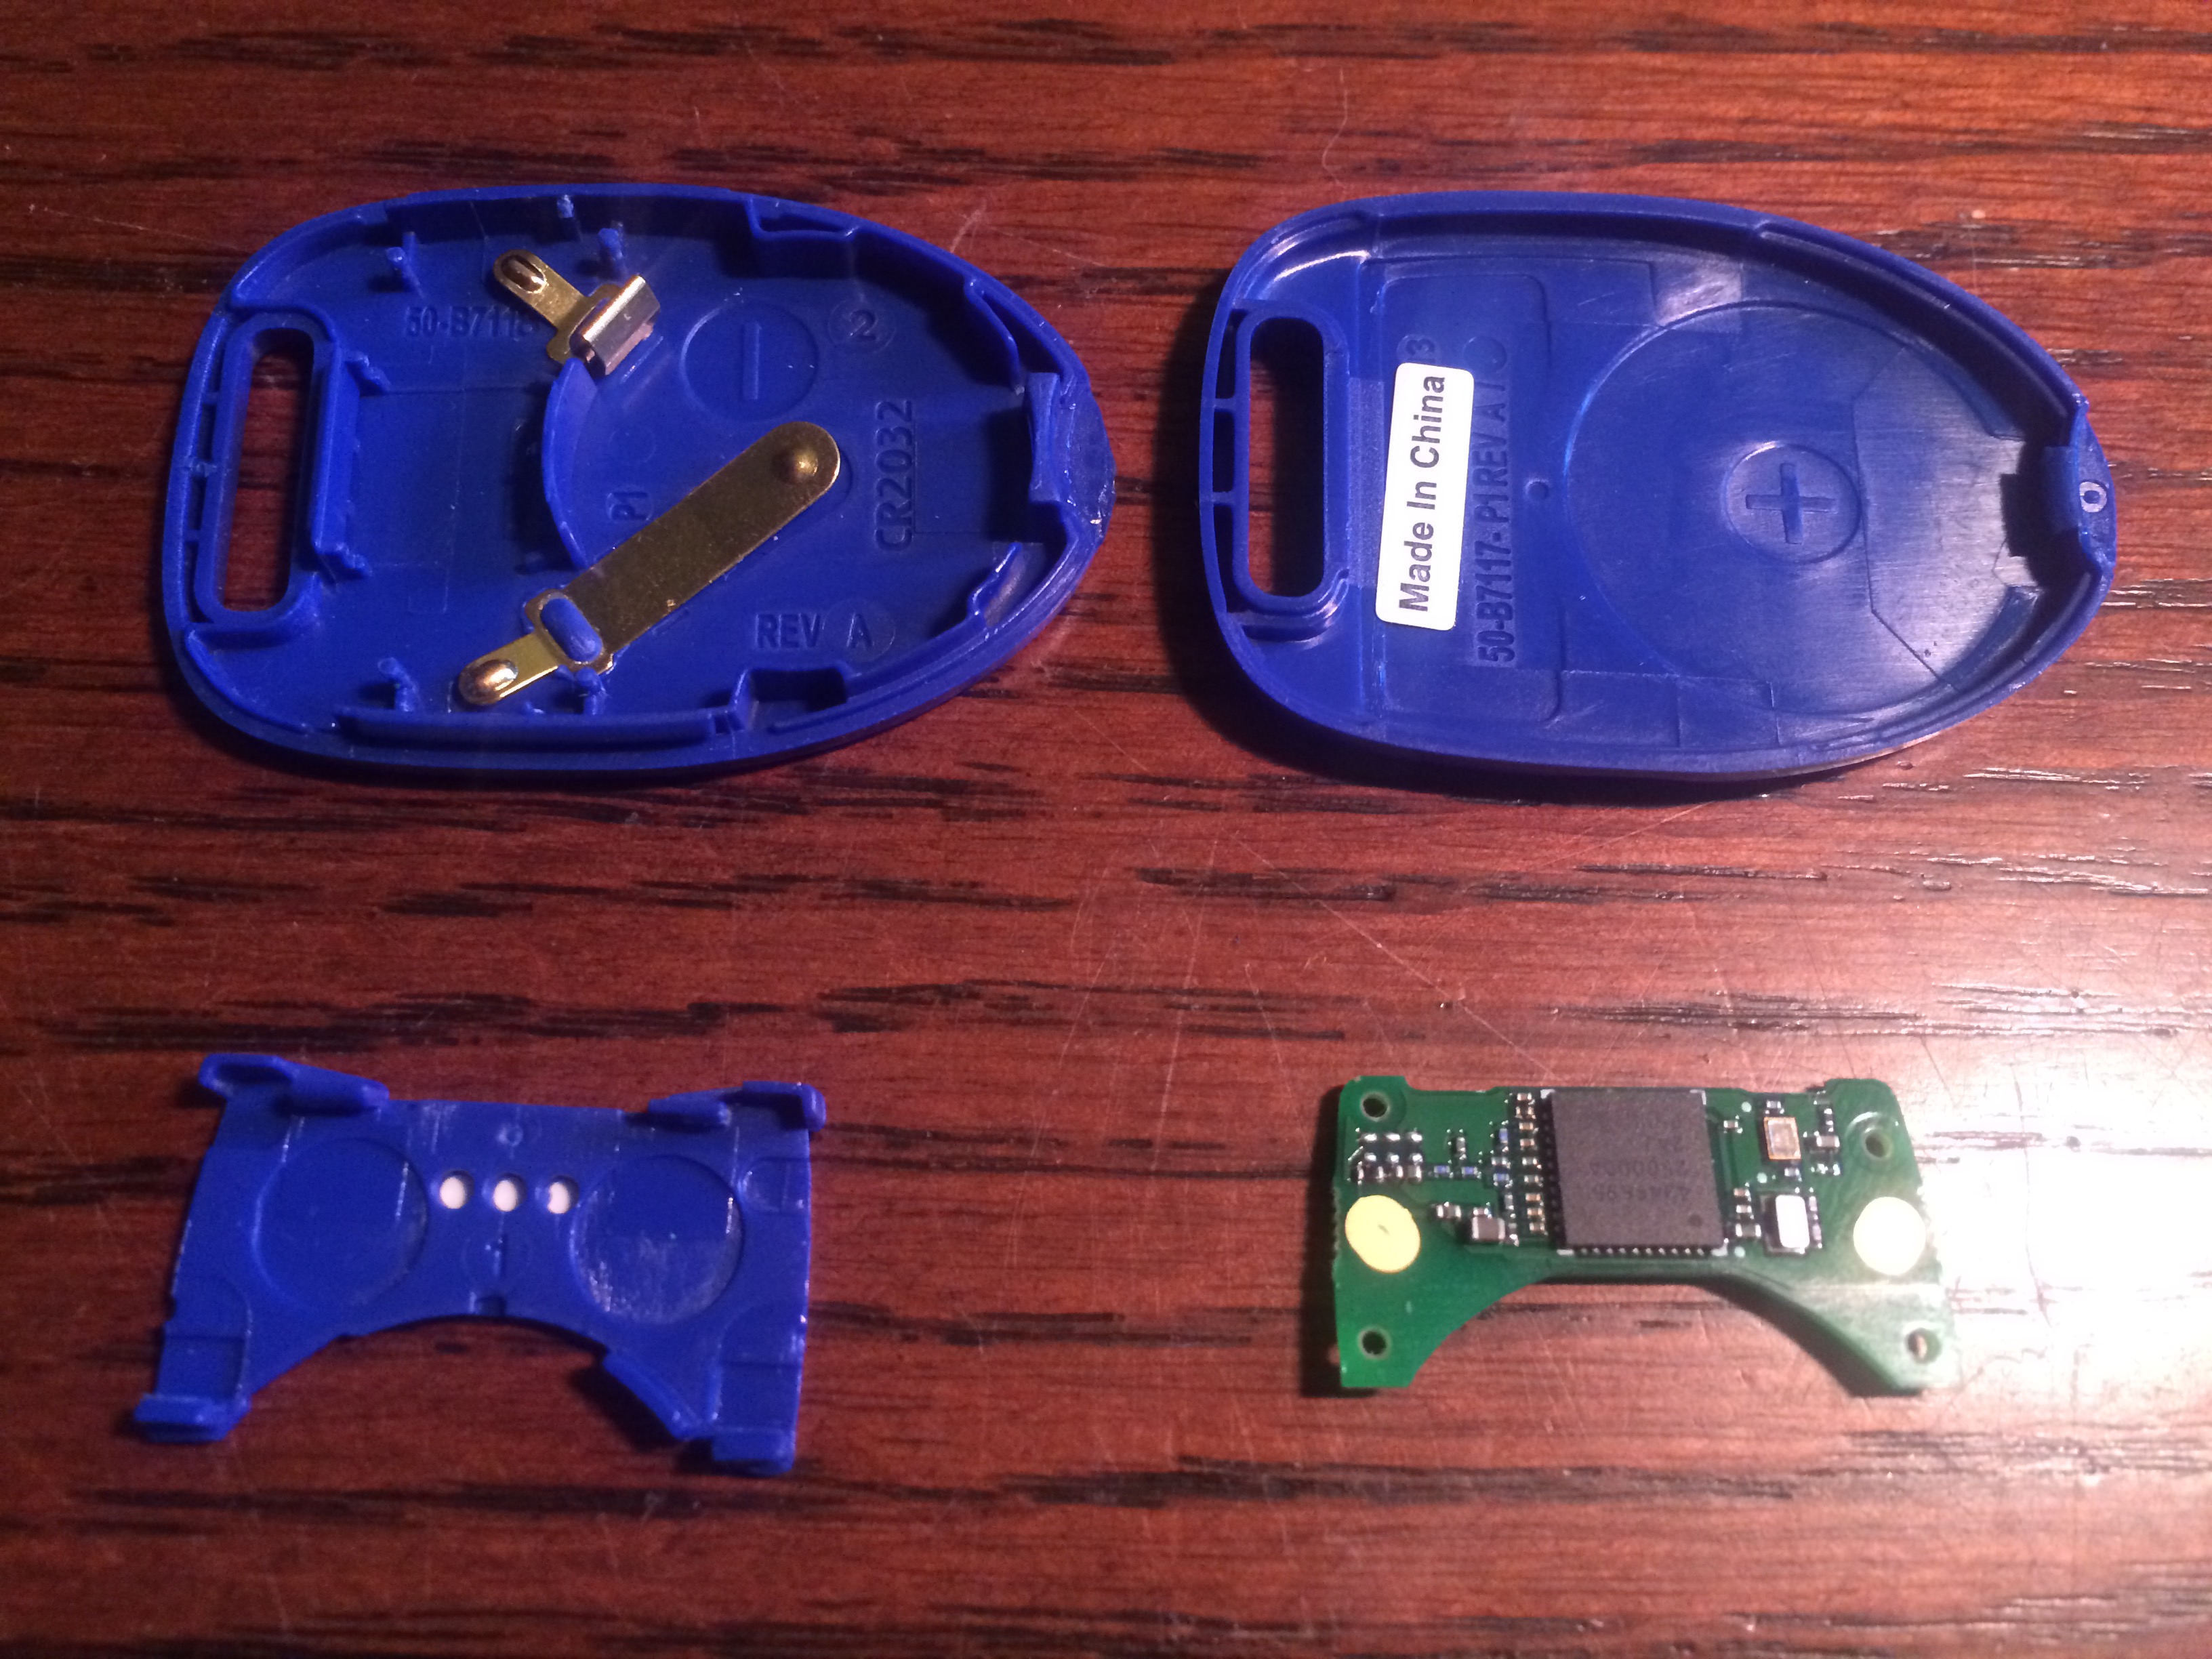
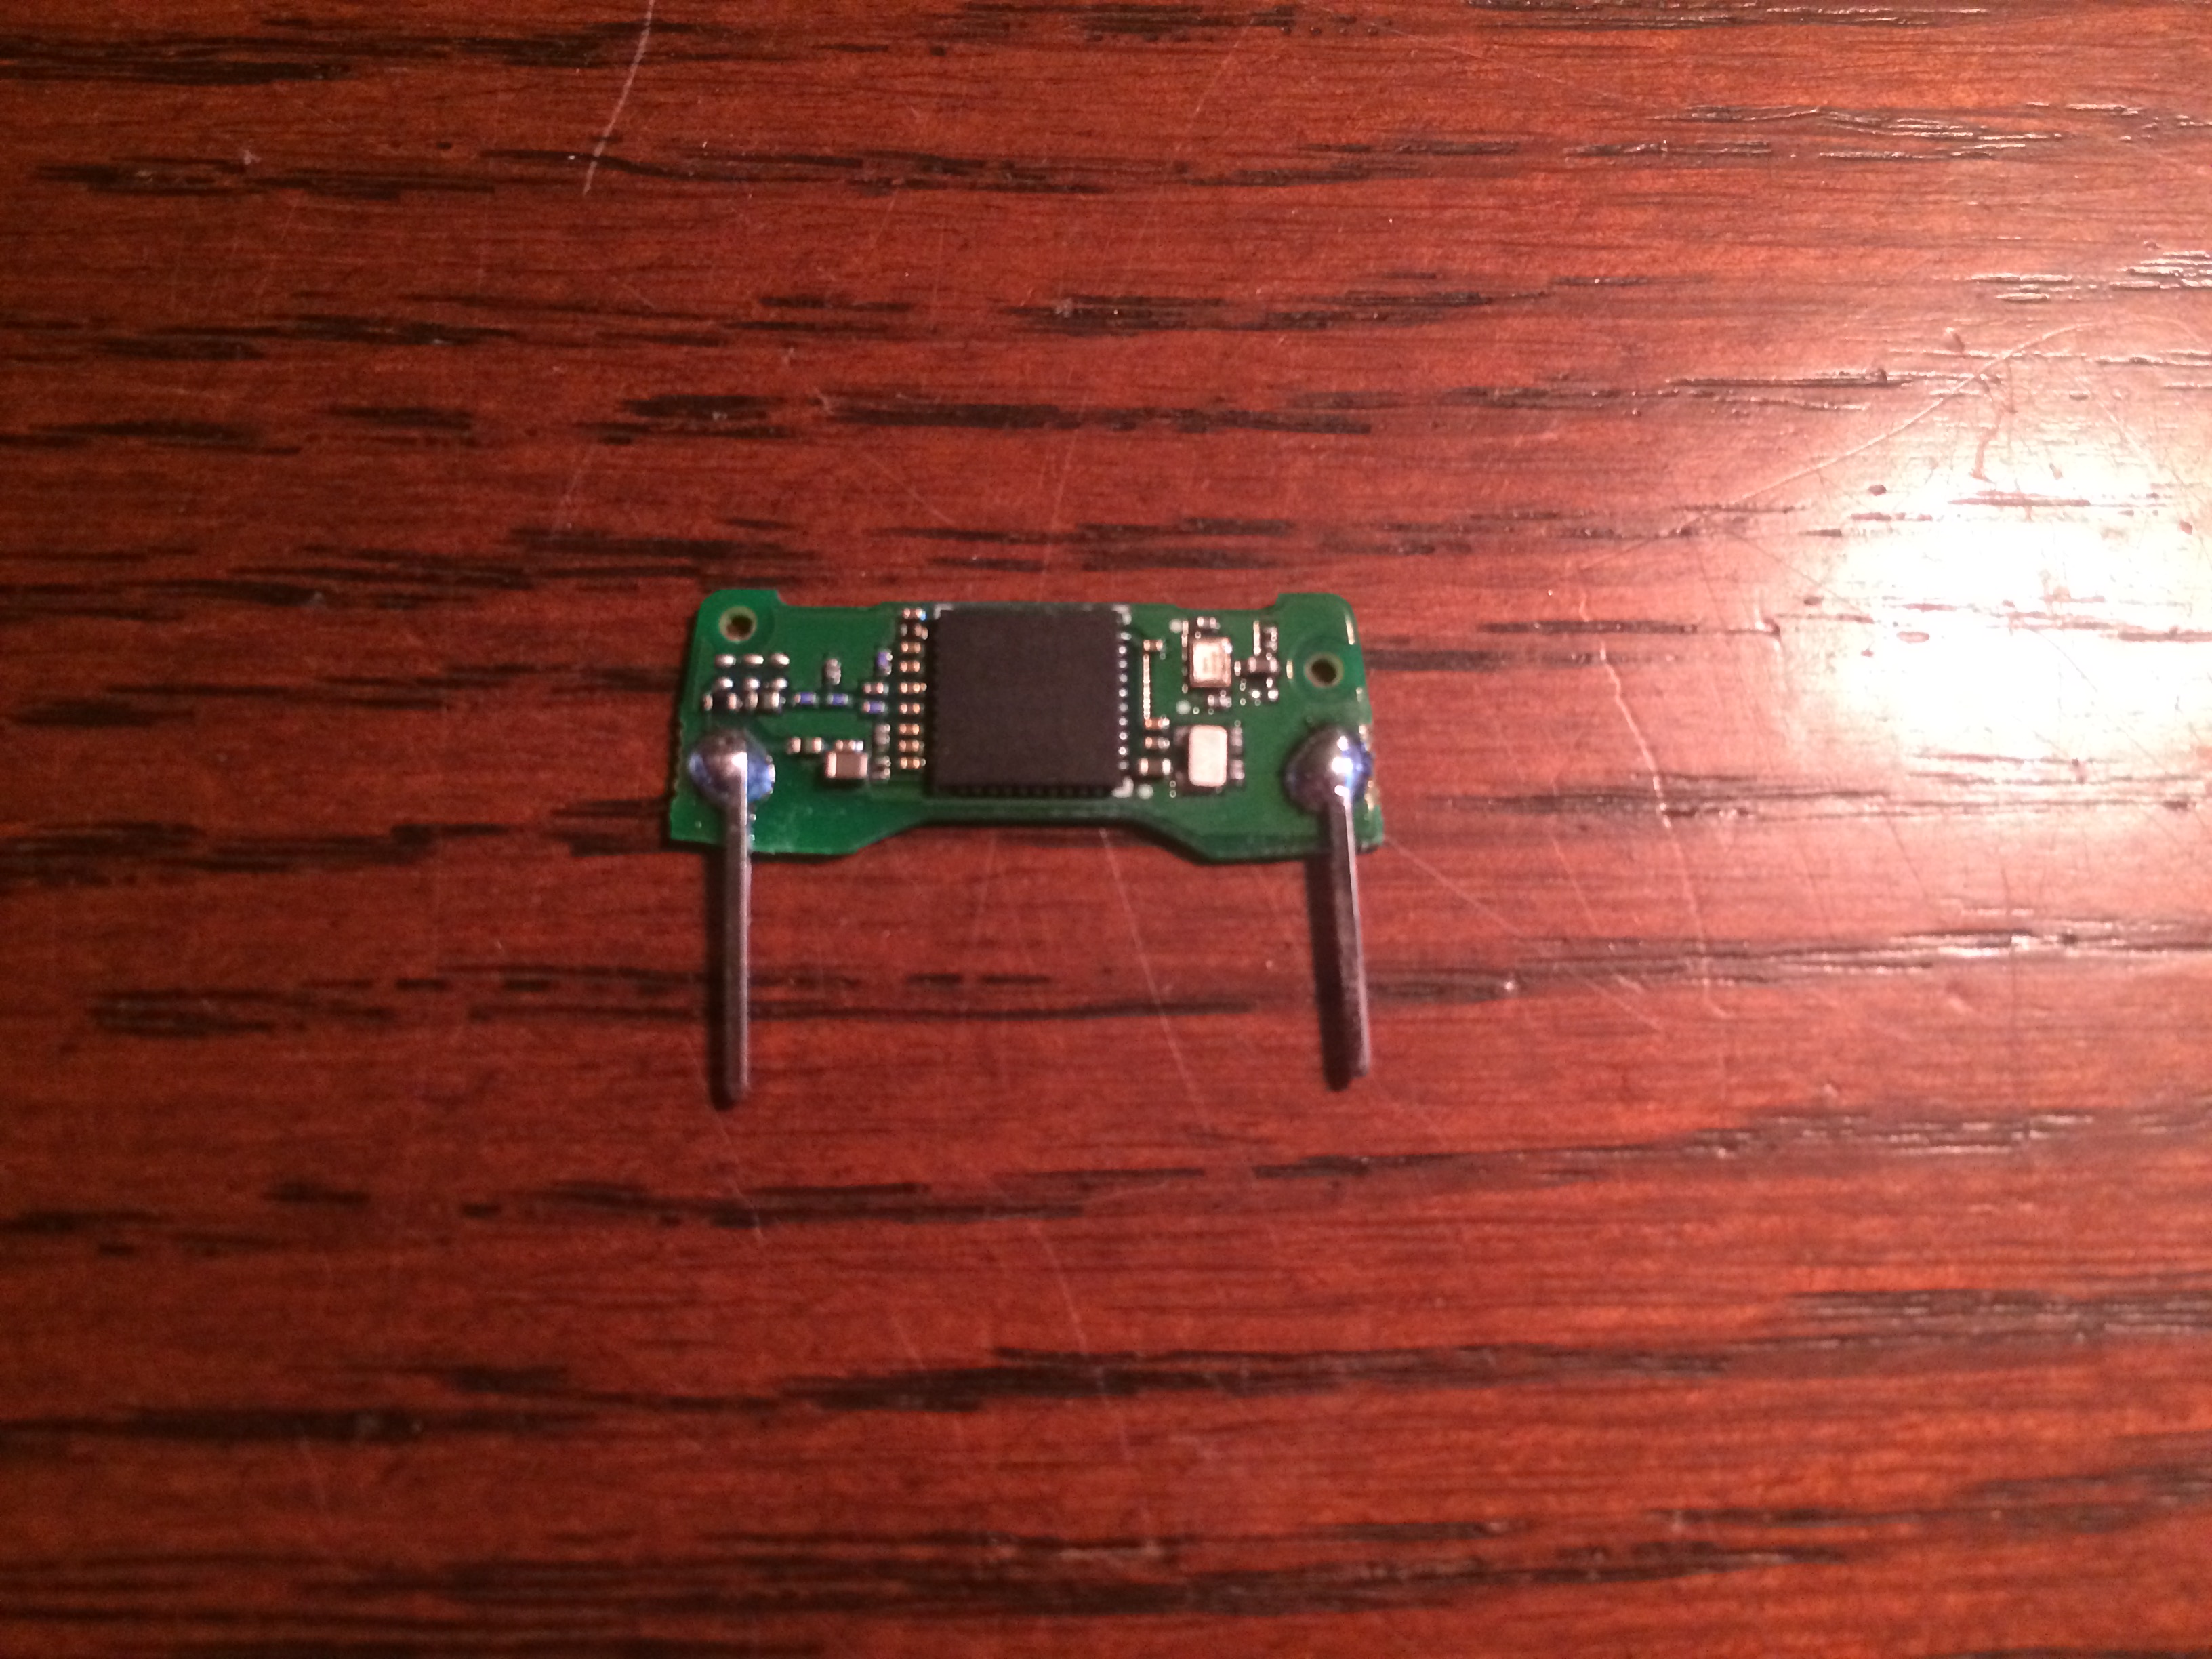
With the beacon opened we then removed it’s tiny control board and soldered two pin headers on the pads where the battery terminals connected.
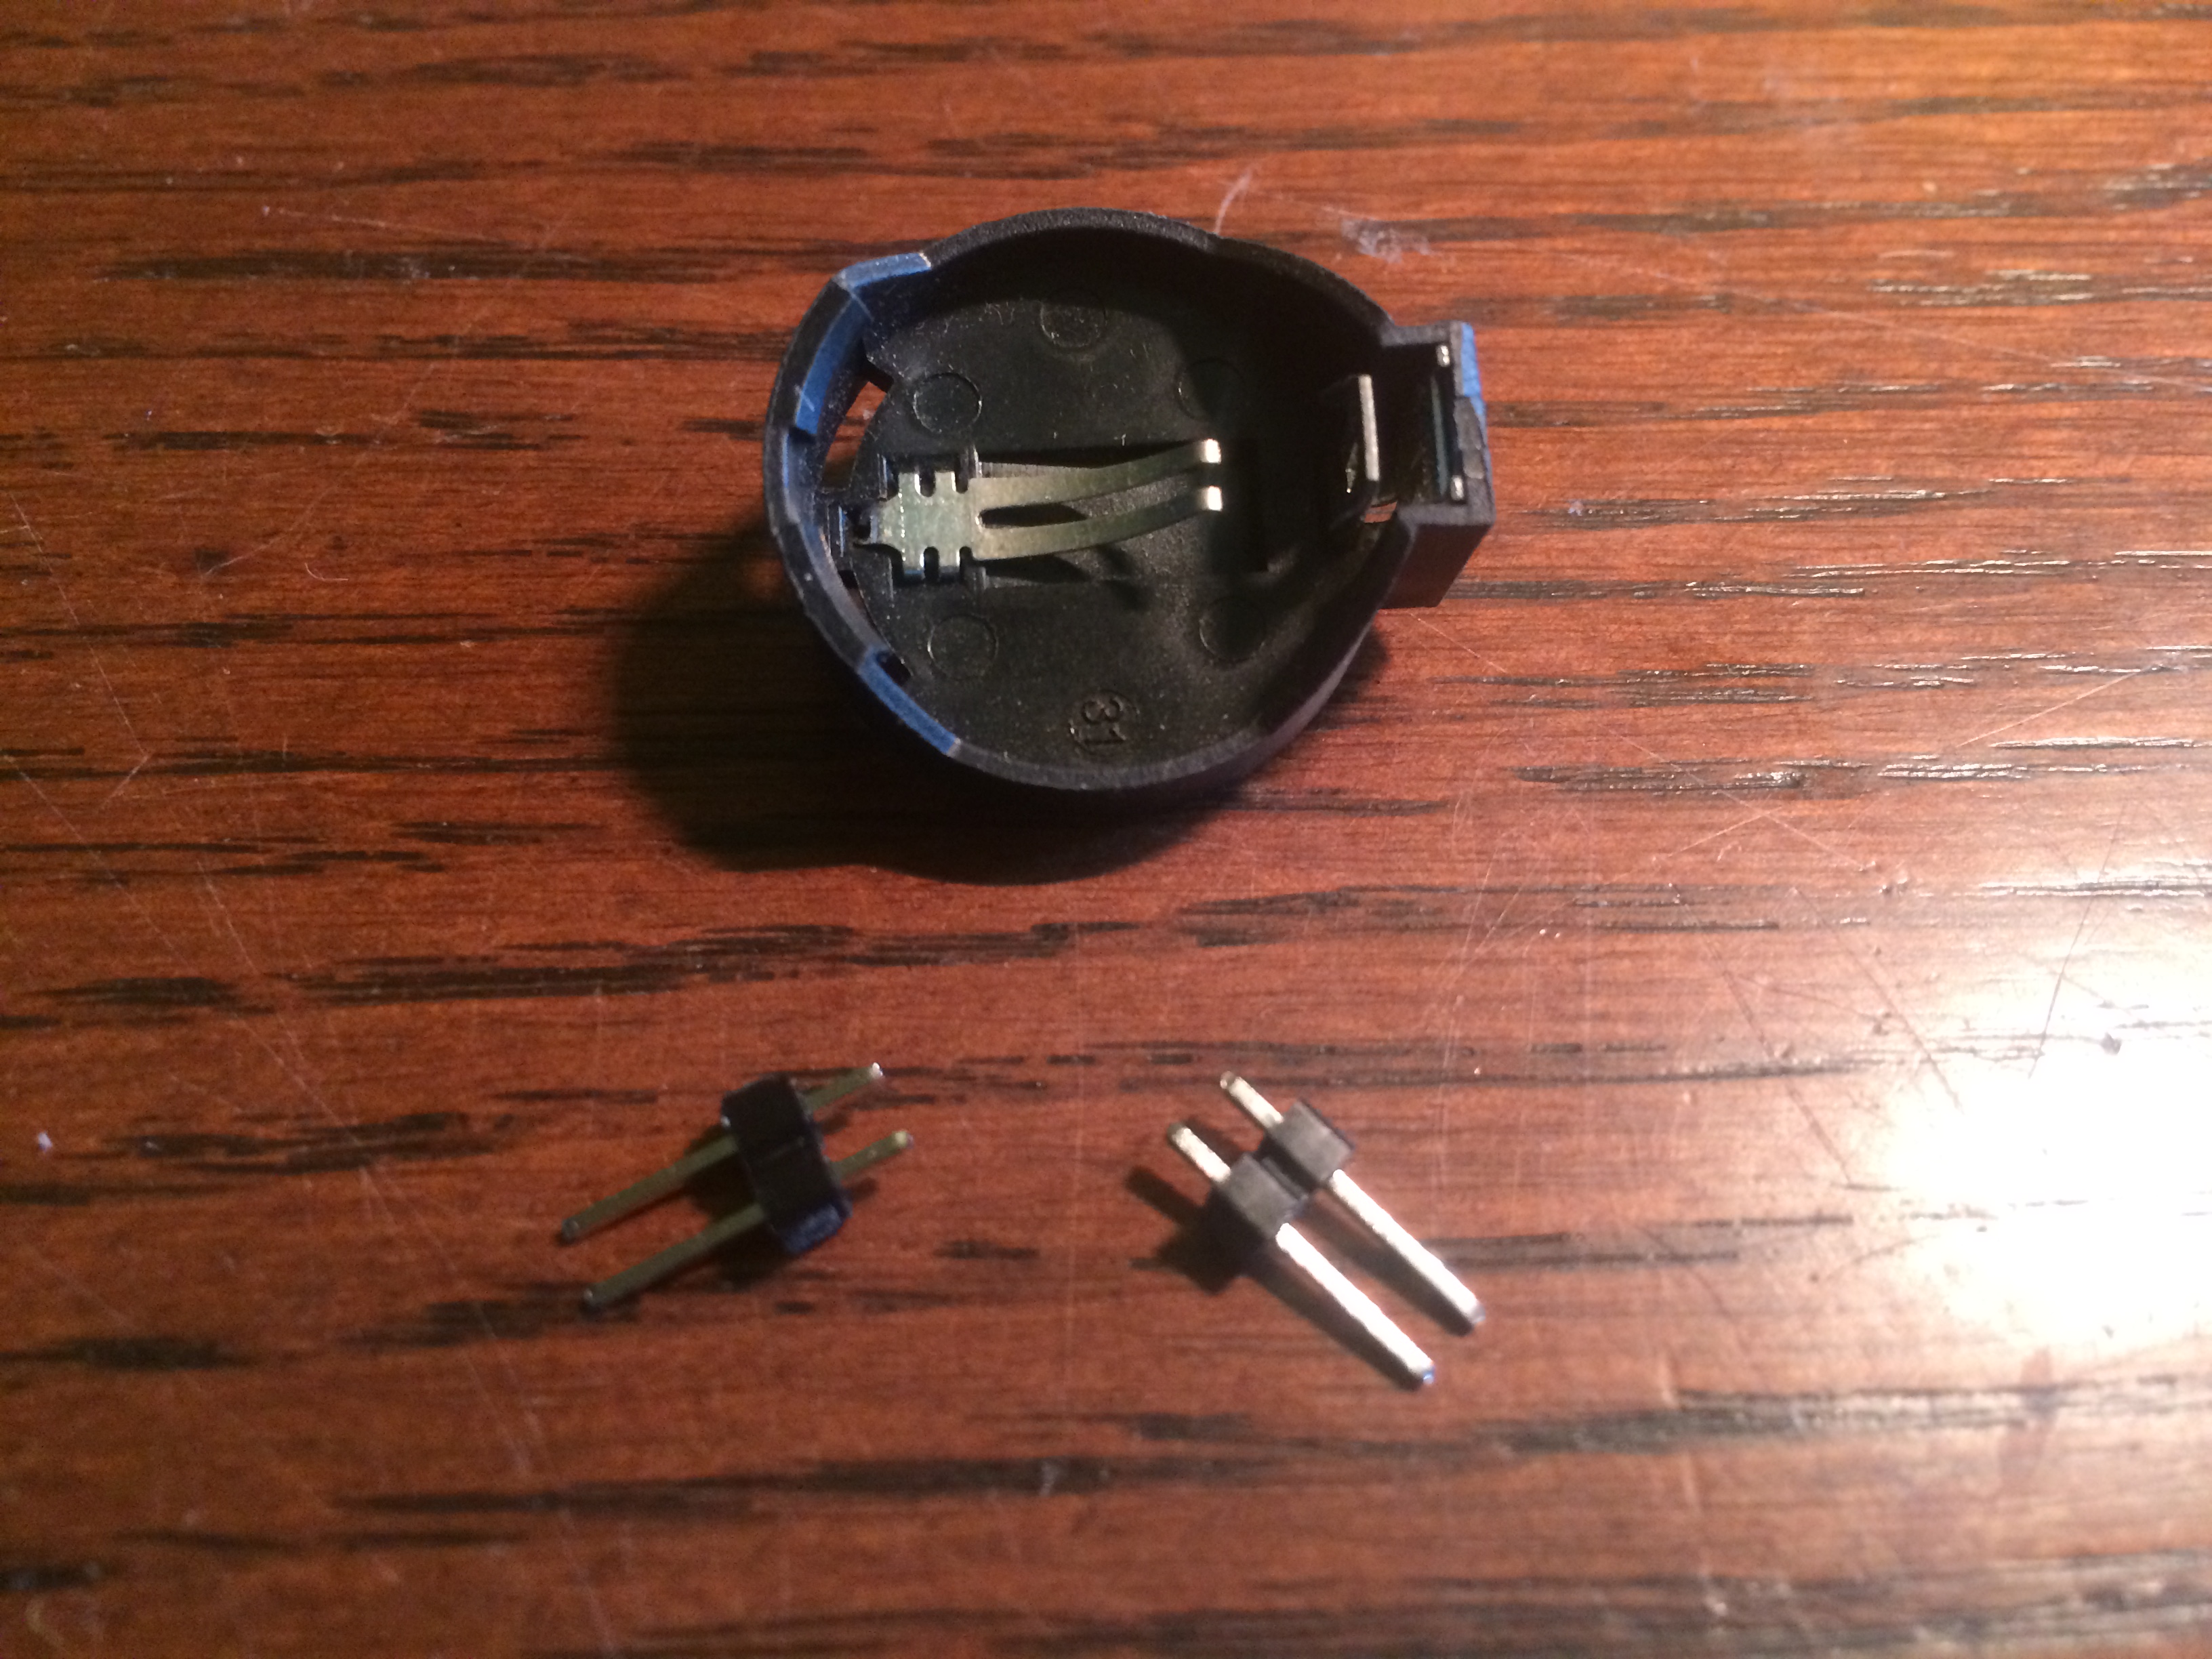

Next we needed a way to power the beacon on a breadboard. Using an old CMOS battery holder and a couple of pin headers we now have a breadboardable battery holder.
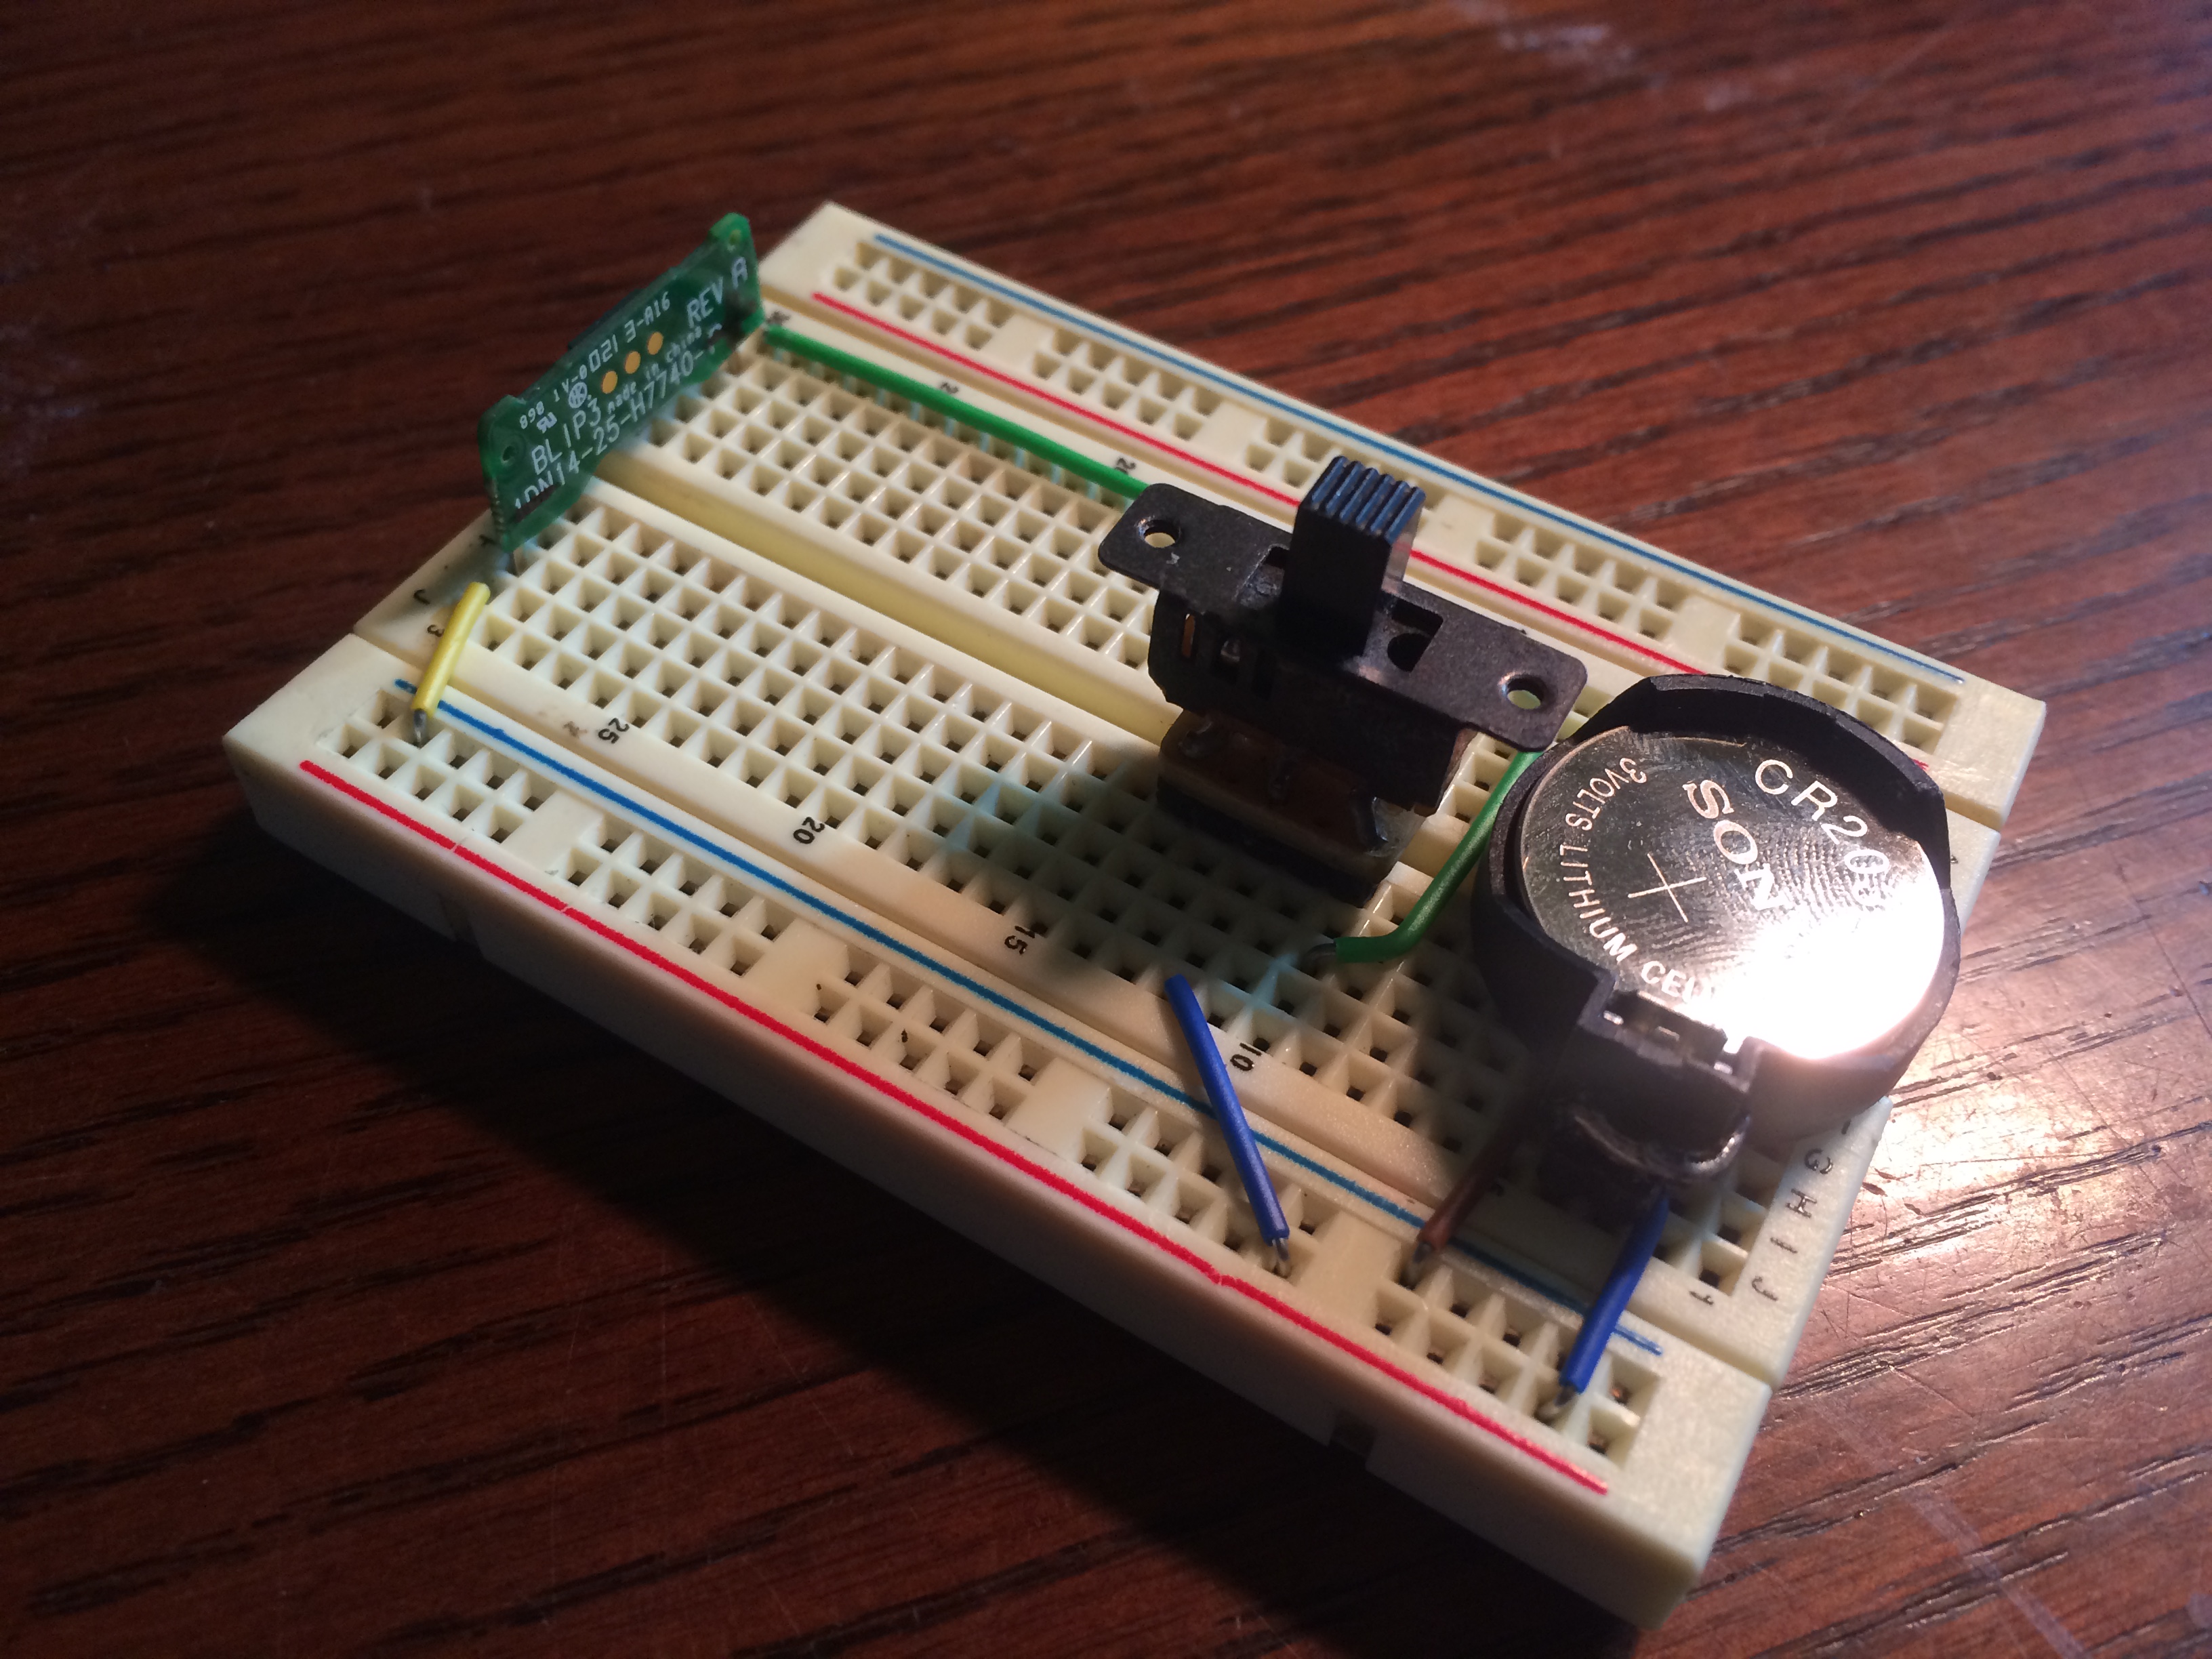
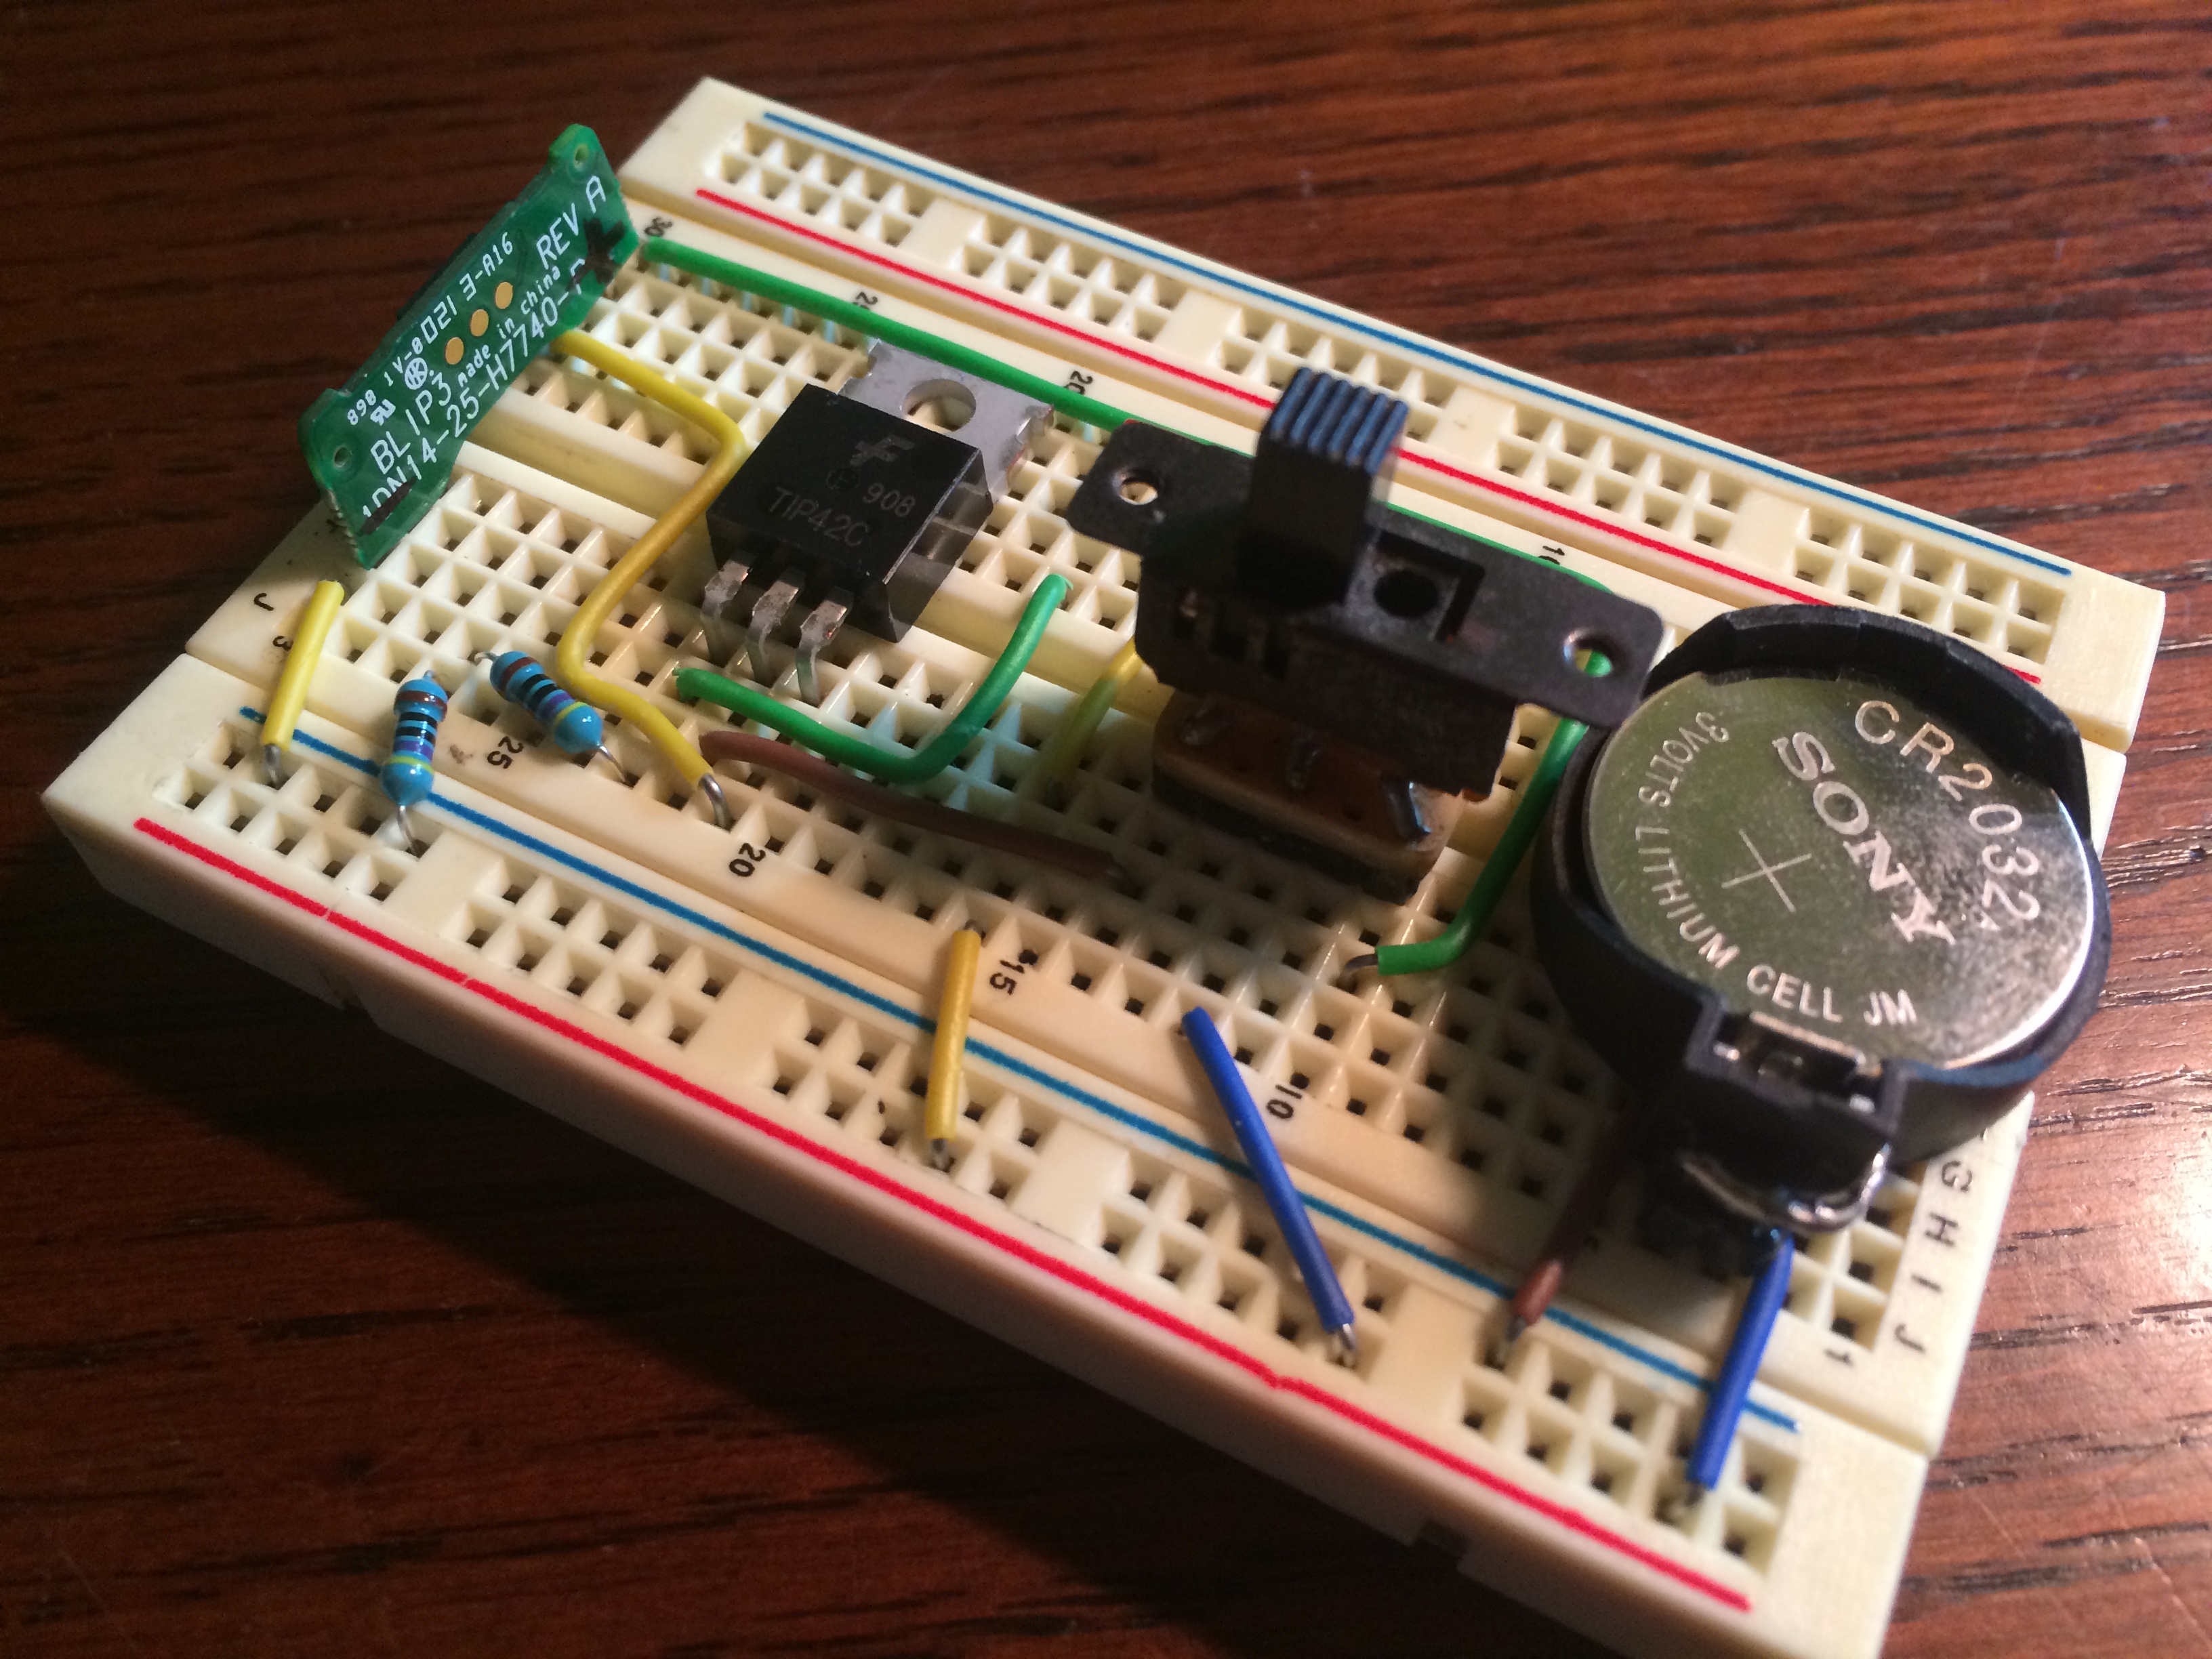
Putting it all together on a breadboard first to test and then adding a simple transistor circuit that will deliver power to the beacon only when a particular circuit is broken.
Prototype 2
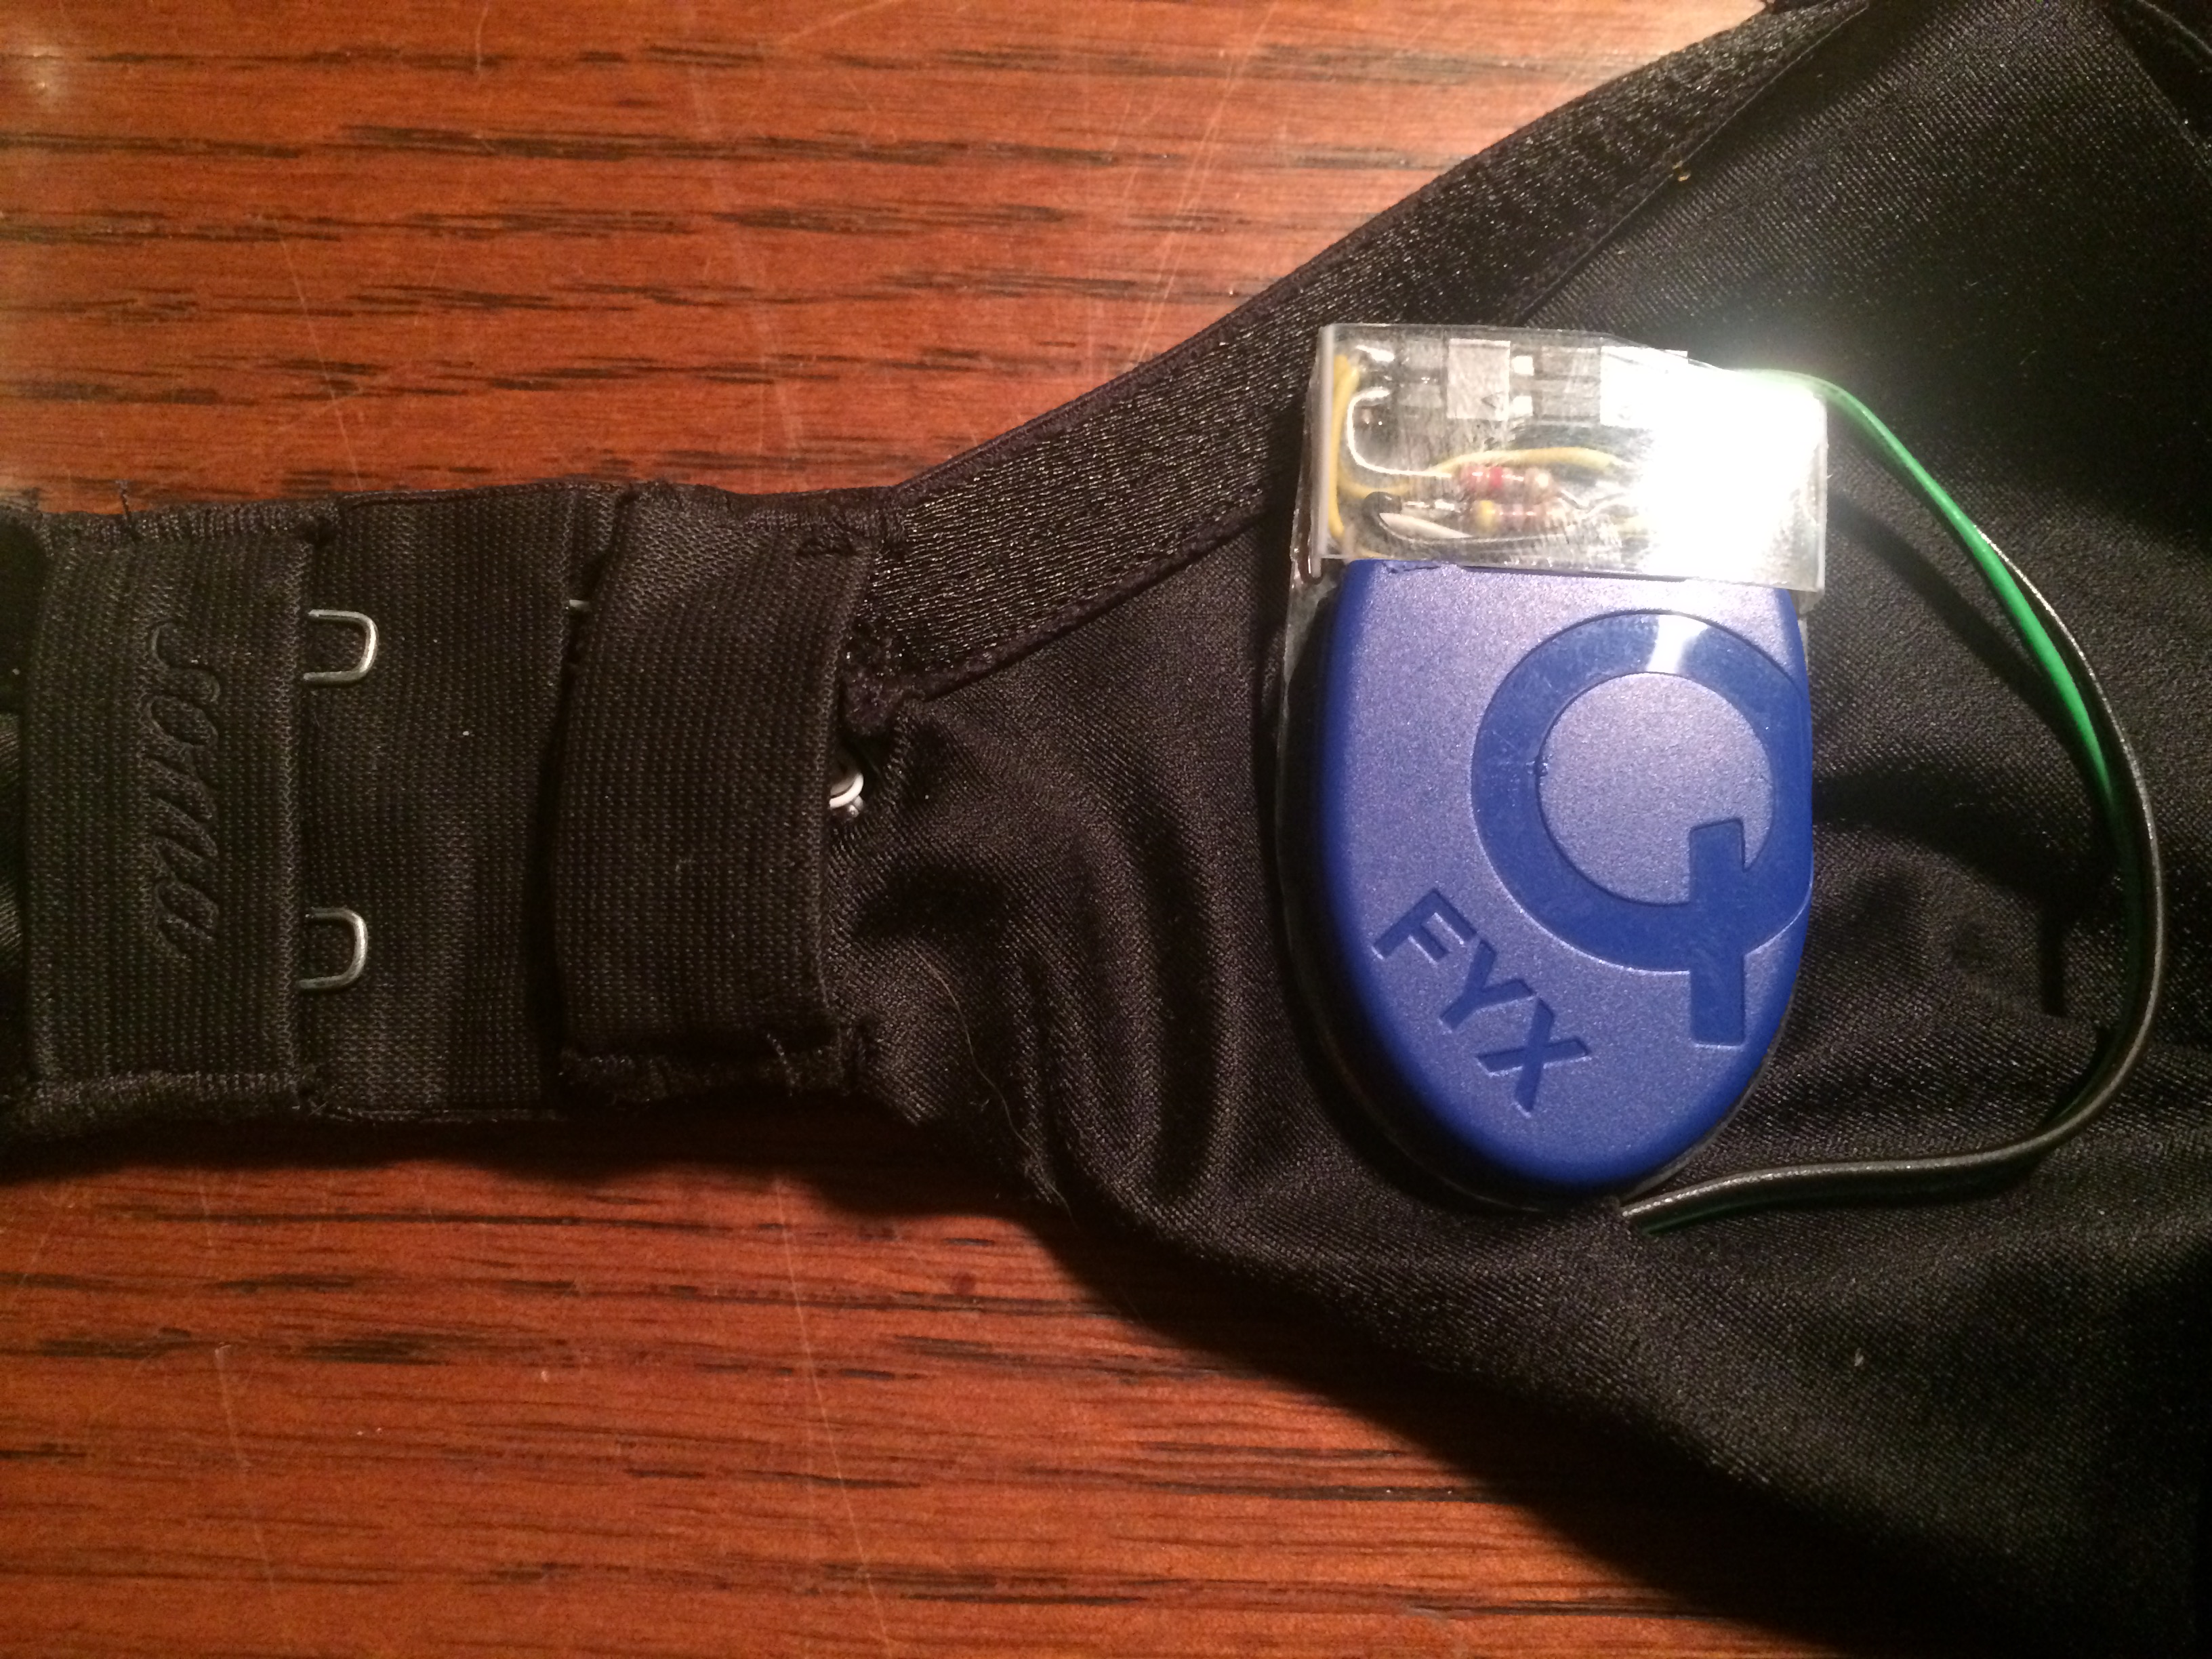
With the first prototype constructed it was now time to put things together into an actual bra.


First we take another off-the-shelf beacon and open it up to expose the board and battery contacts. A bit of the plastic casing was then cut away to provide a way for wires to run out of the beacon.
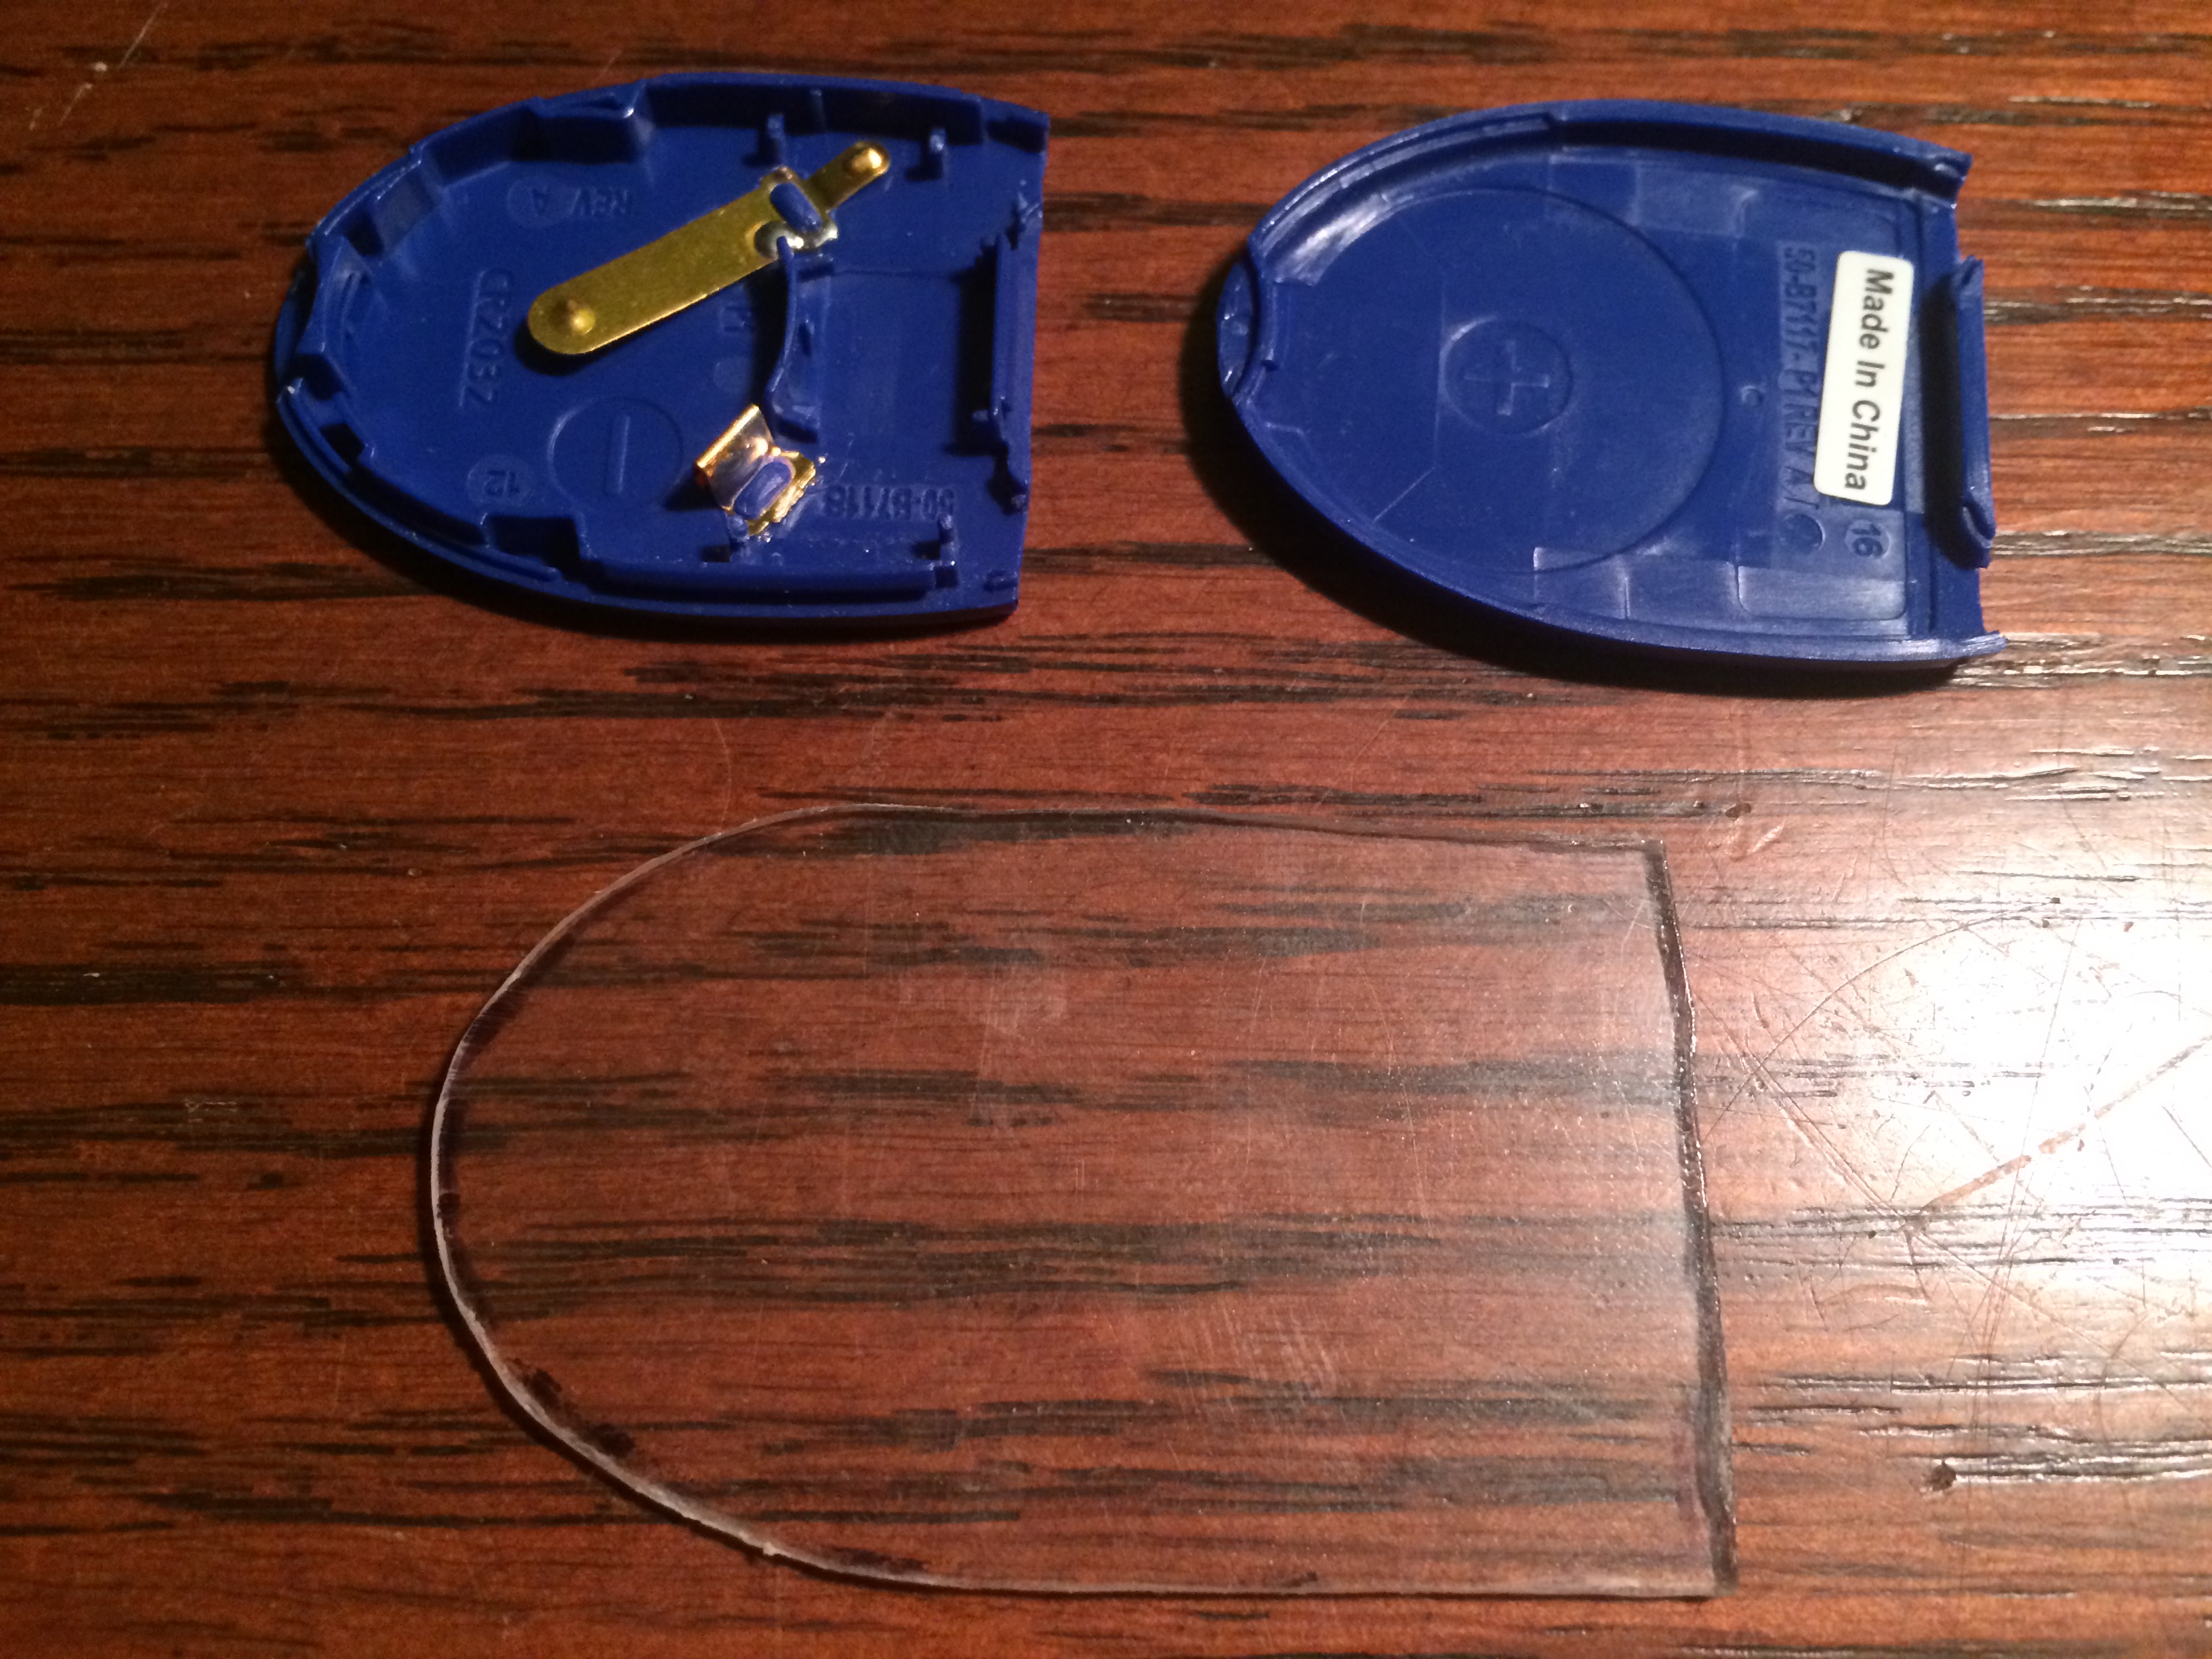
A substrate was cut from a piece of plexiglass and the beacon attached using some glue.
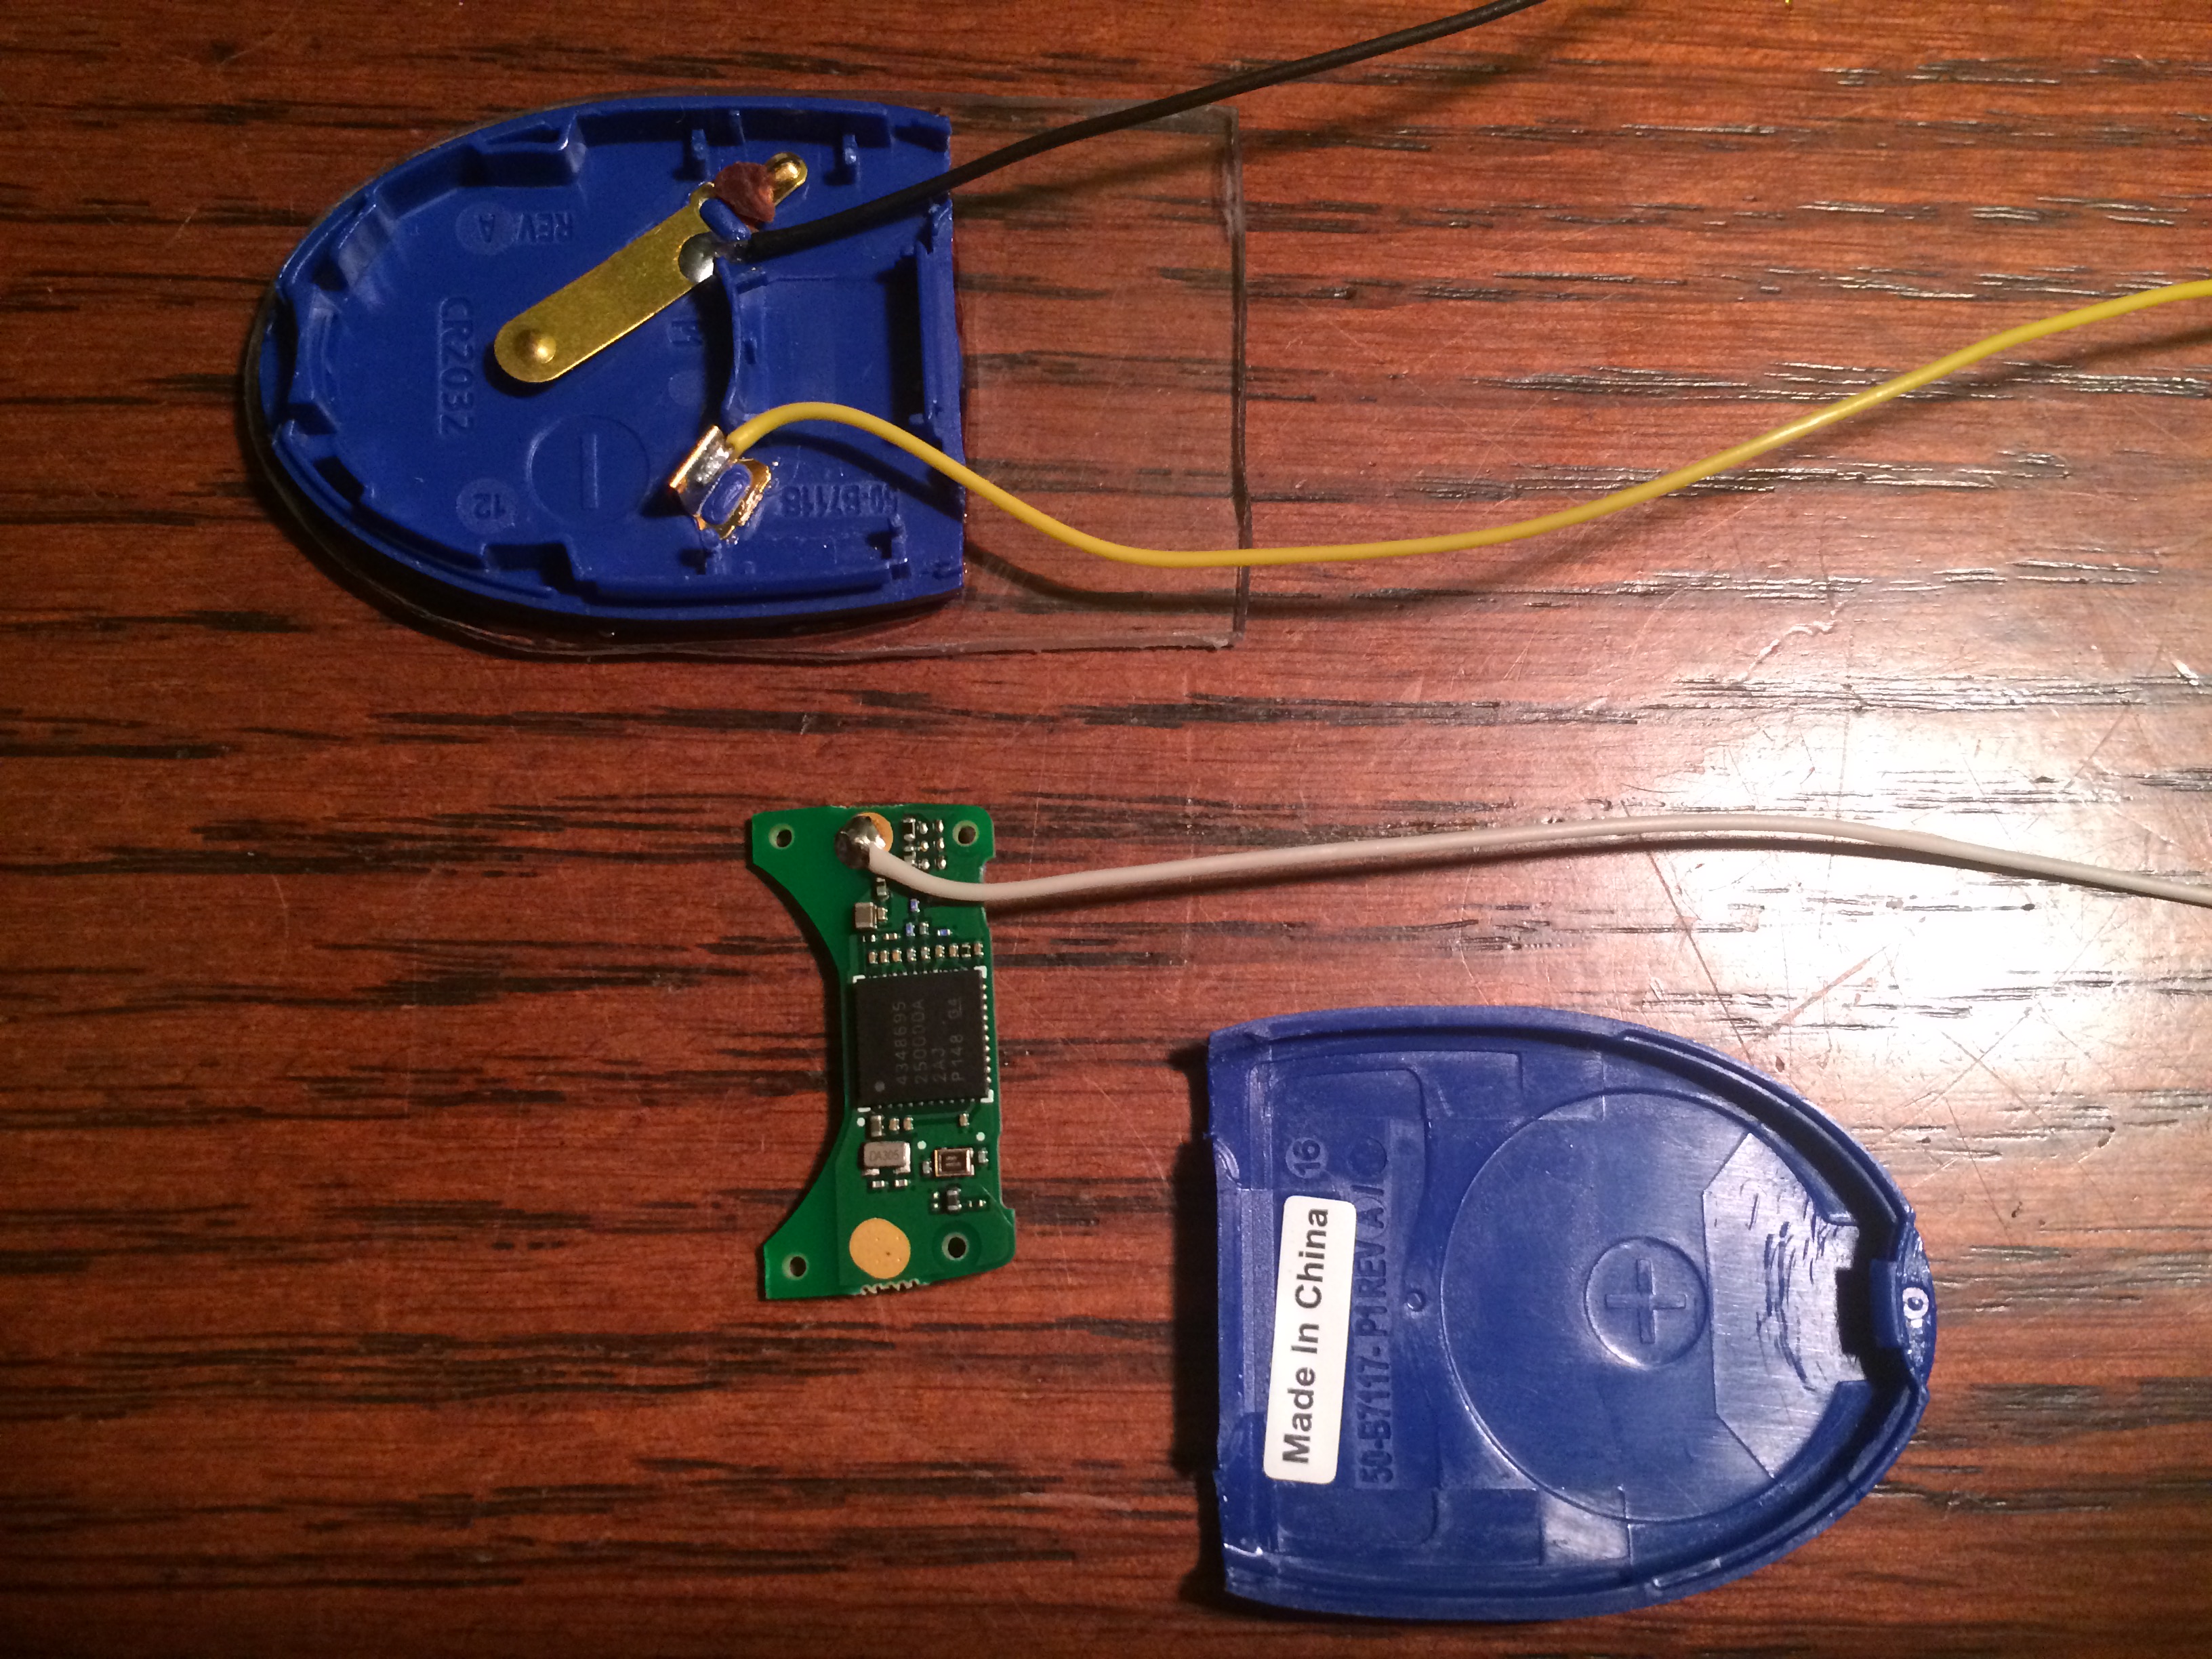
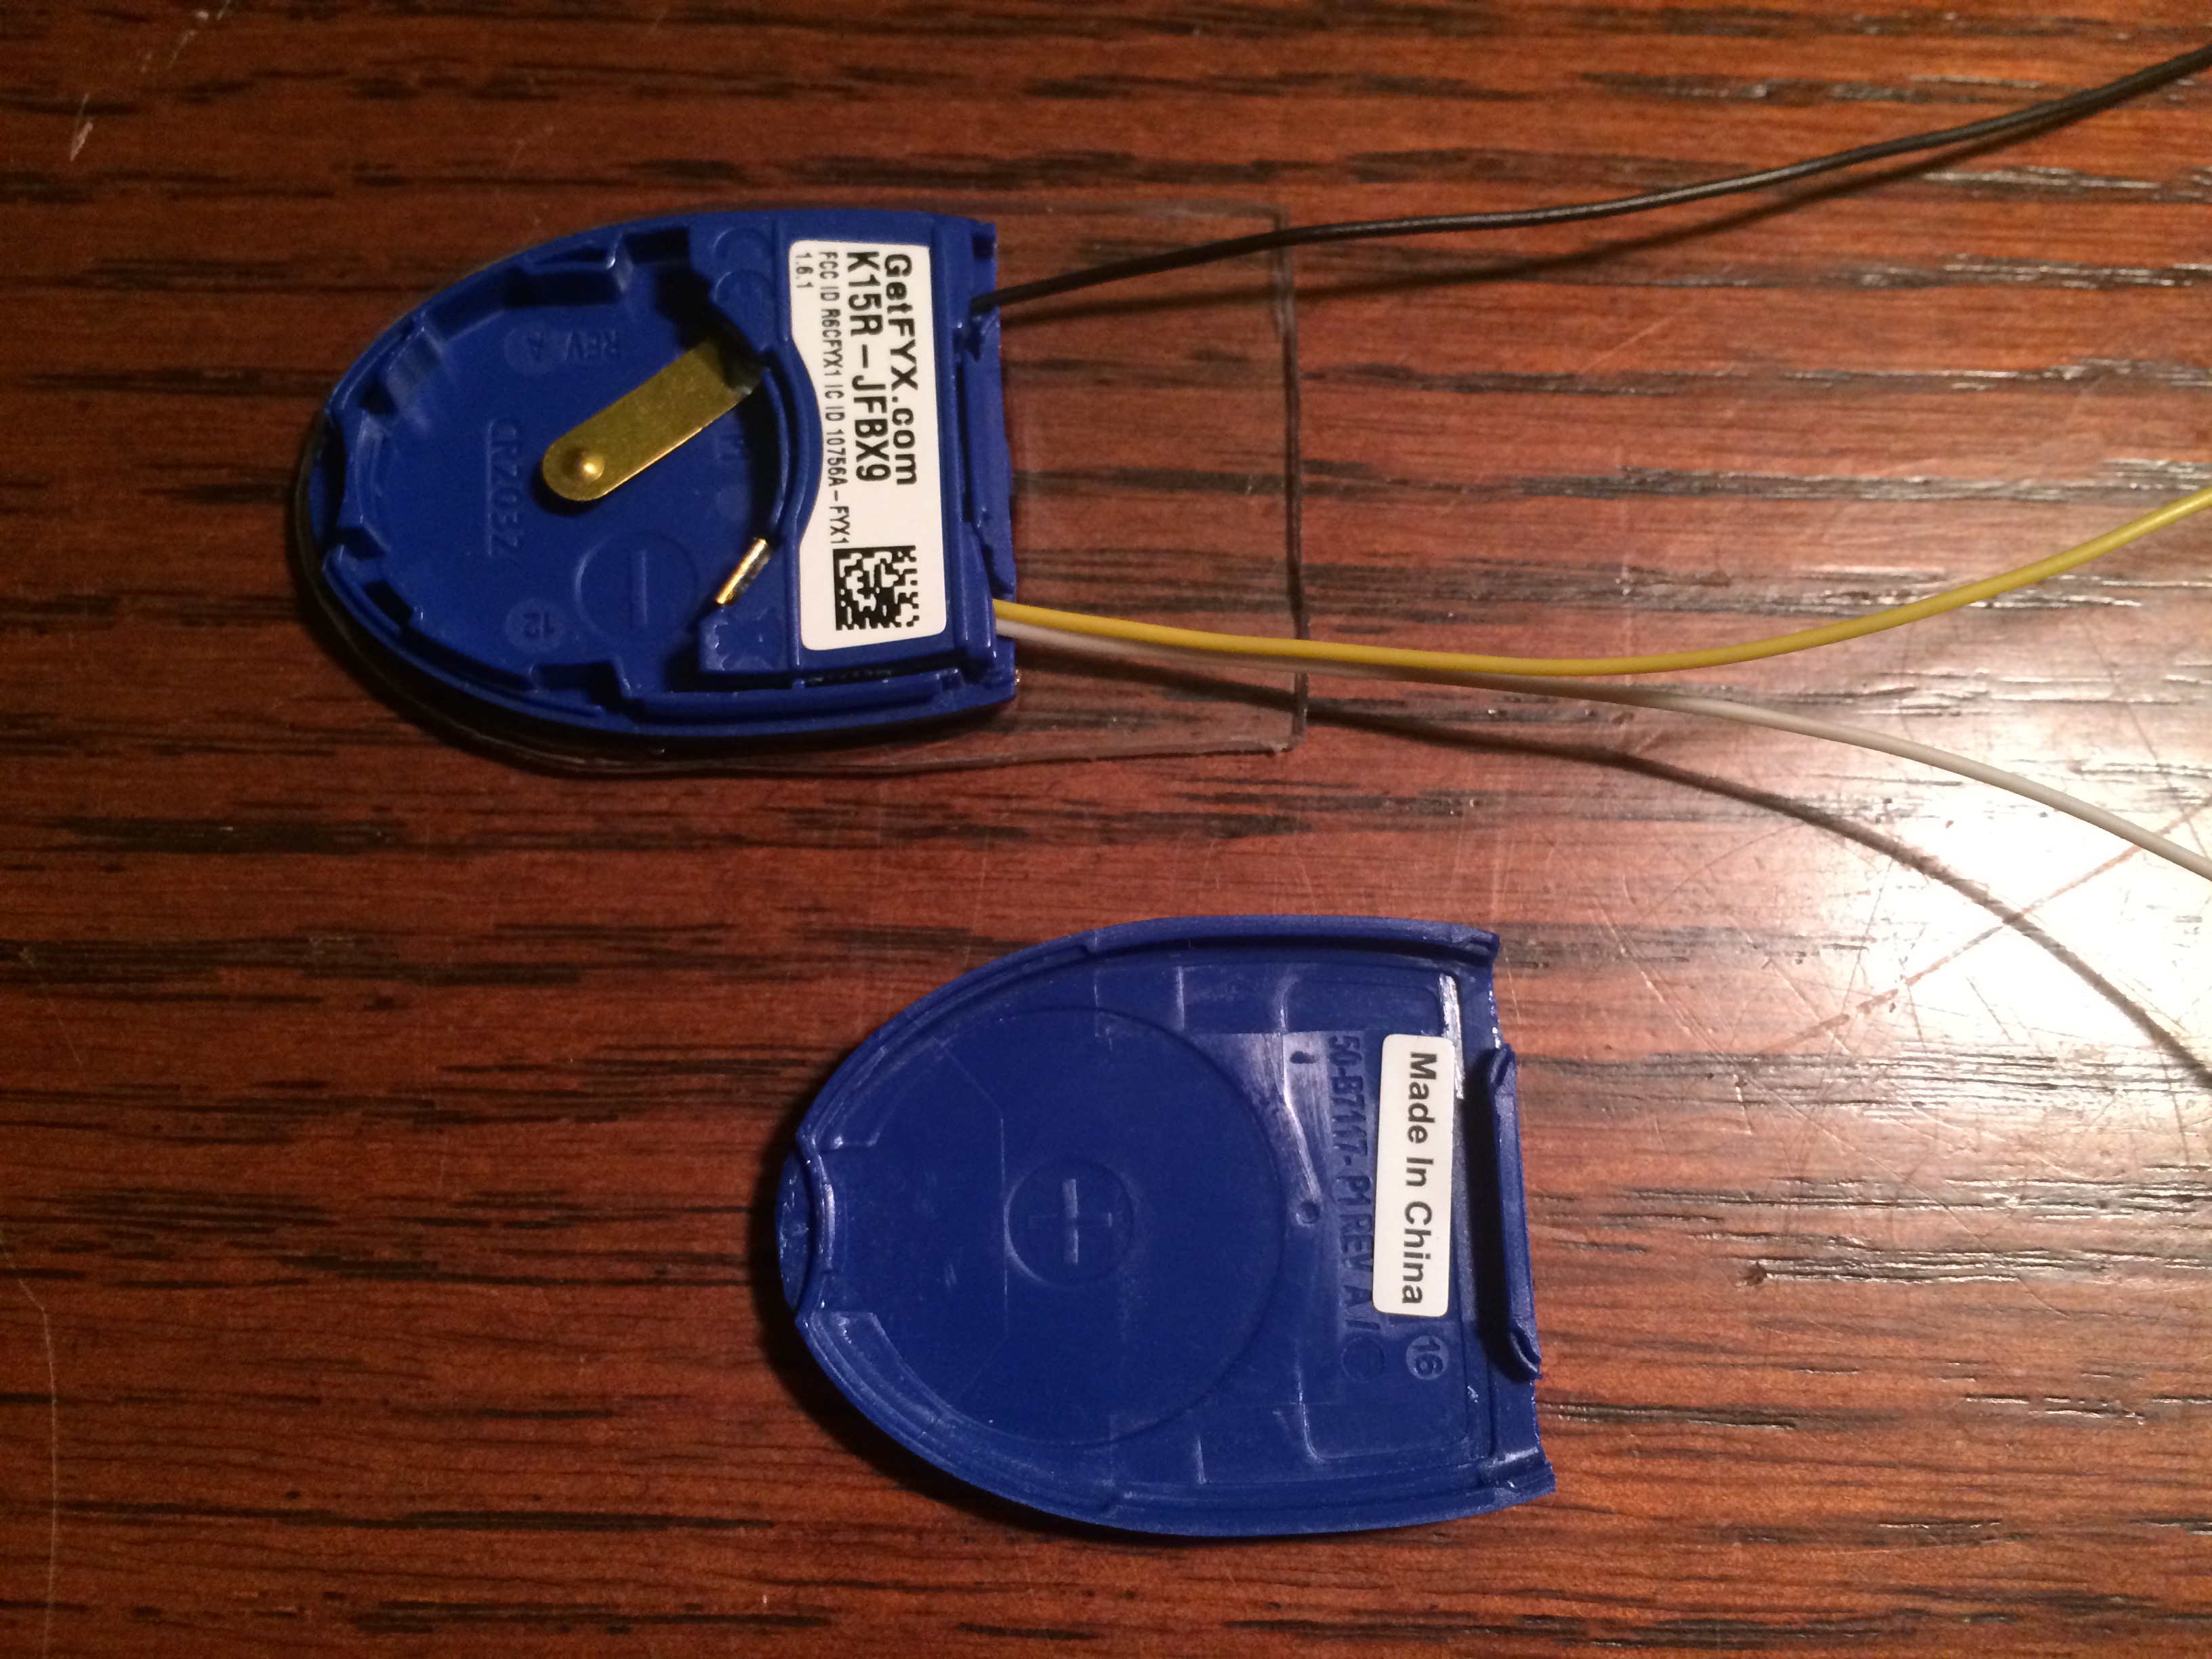
Next some wires were soldered to both battery contacts and the positive pin of the beacon board. The pin connecting the battery to the beacon board’s positive pin was removed so that the beacon could be turned on by connecting the positive wire and the beacon wire together.
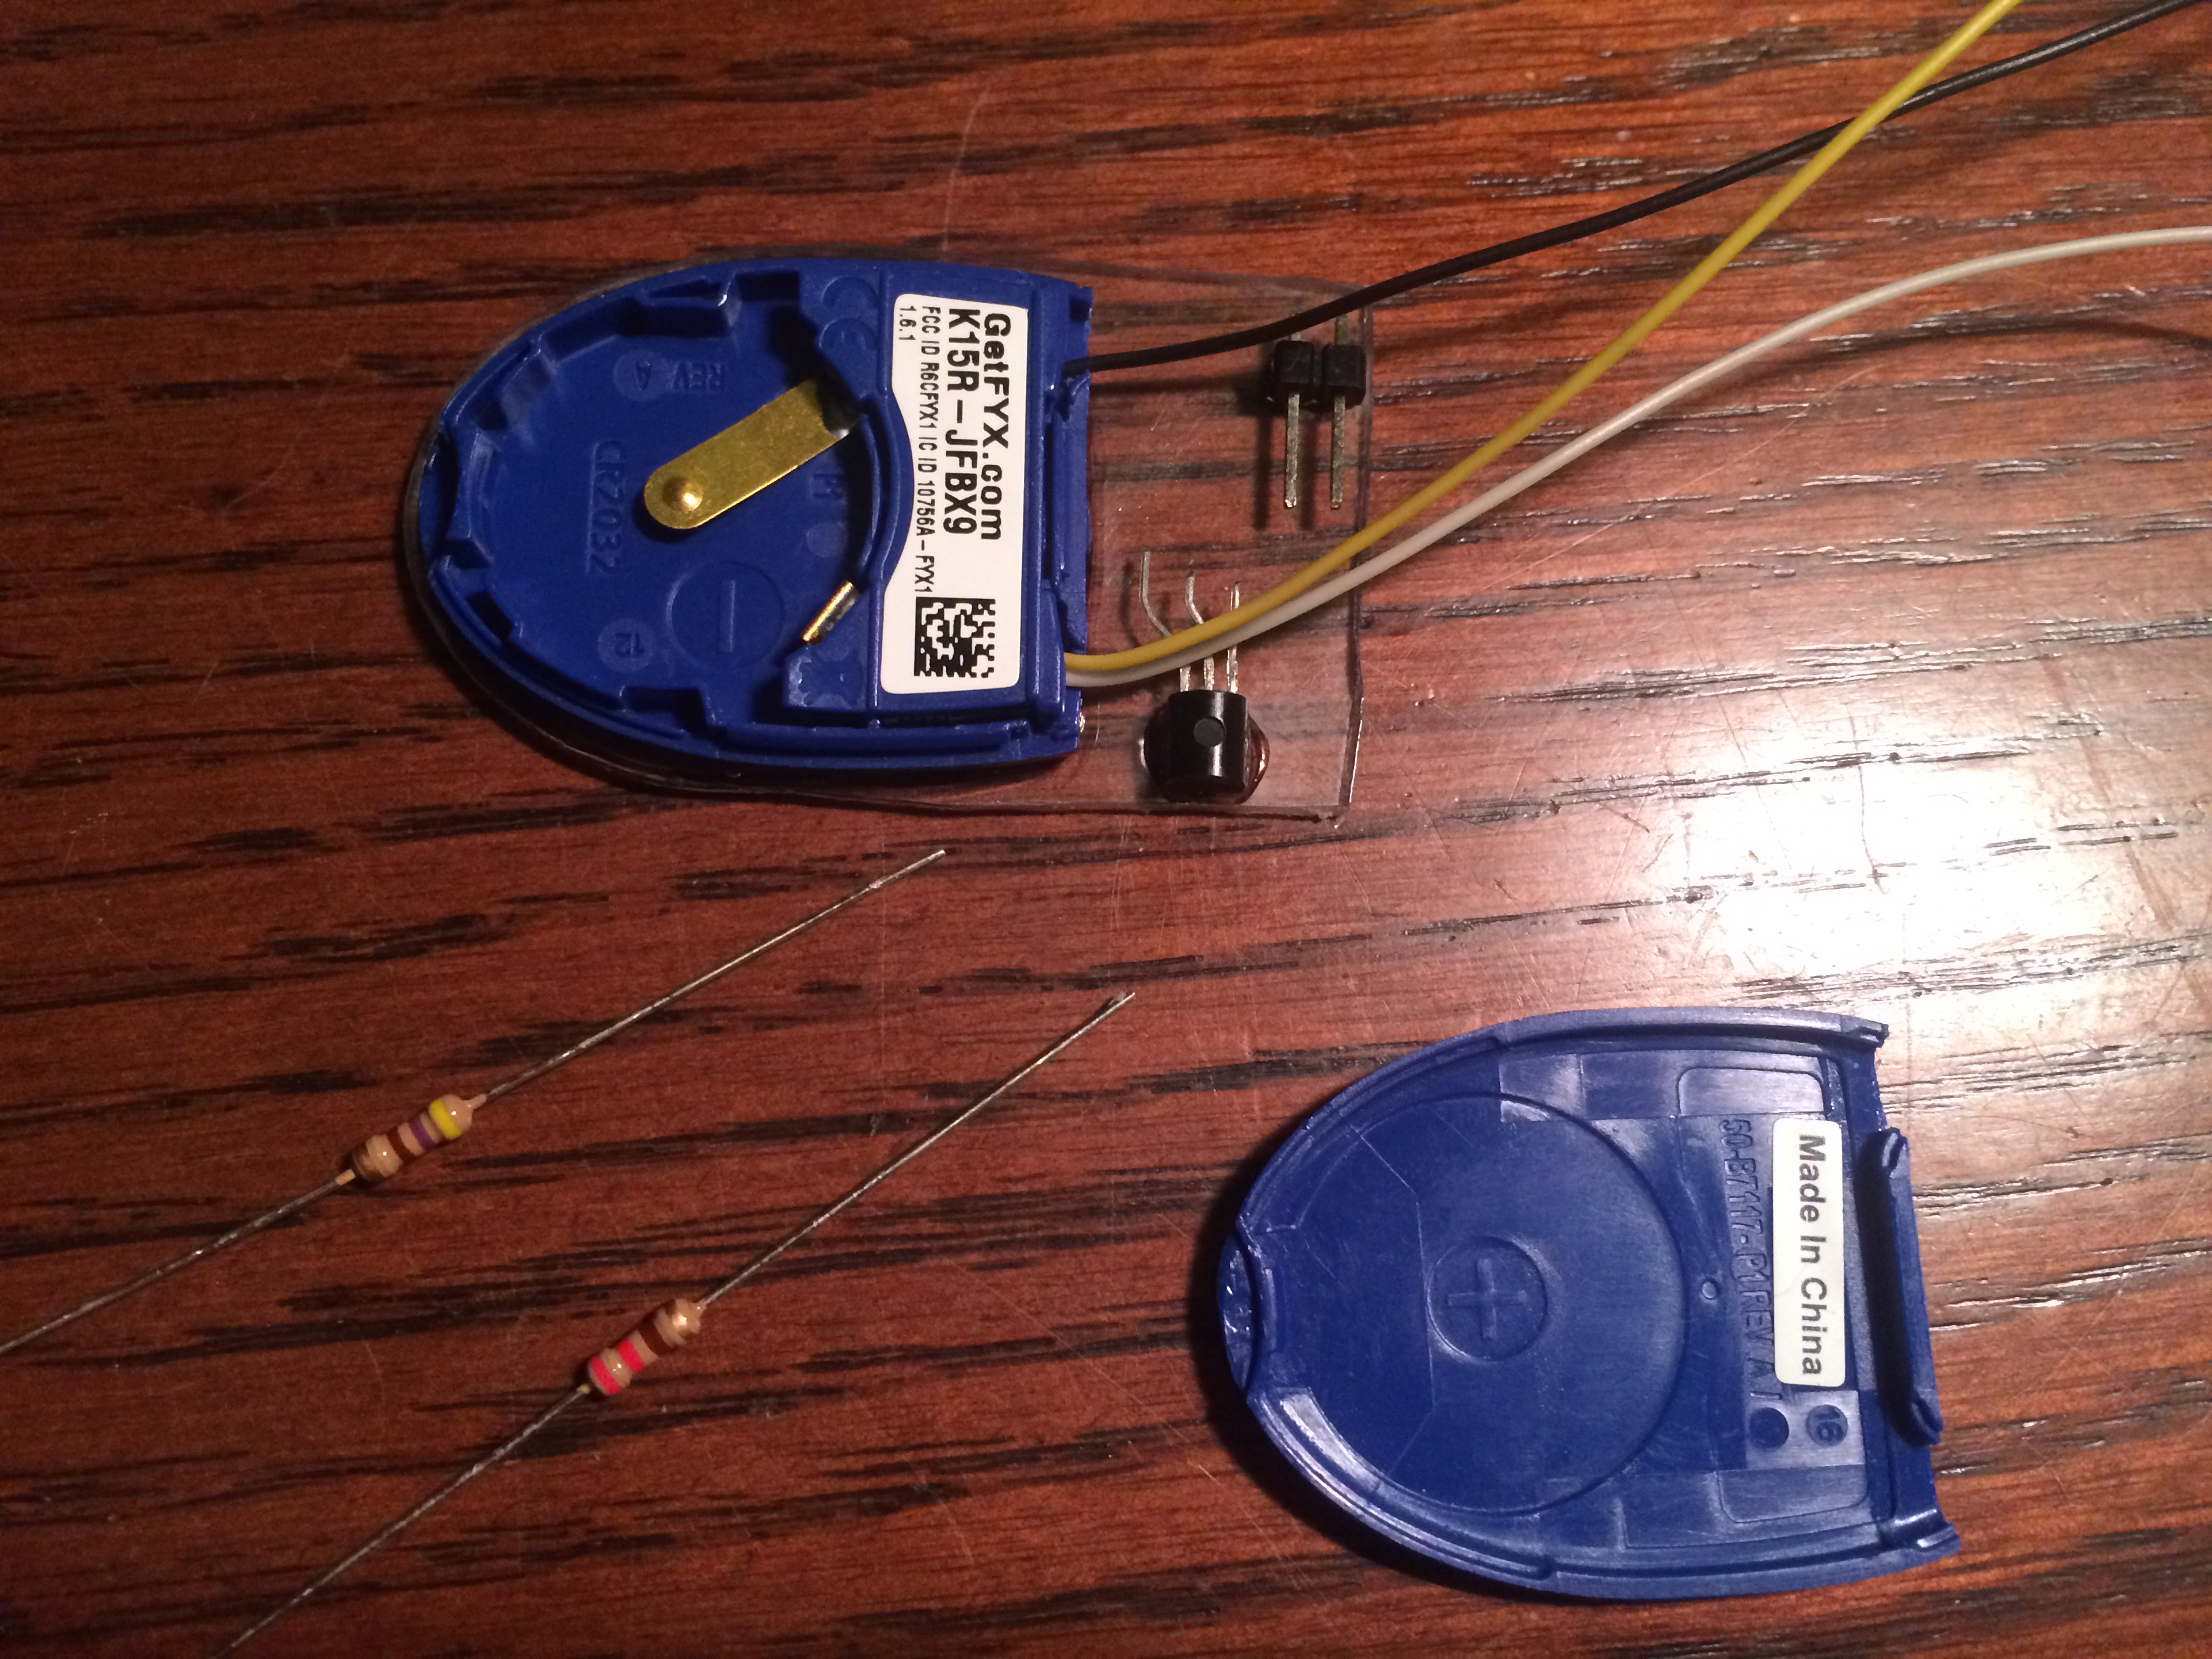

Next the components that make up the digital on/off switch are added to the substrate. This includes the transistors and two resistors, one to pull the transistor base pin low and another of a lesser resistance to pull the pin high while the circuit is closed.

Lastly a bit of plastic is bent to cover the components on the substrate. This also acts to help hold the connector in place and make sure the soldered components stay in place.
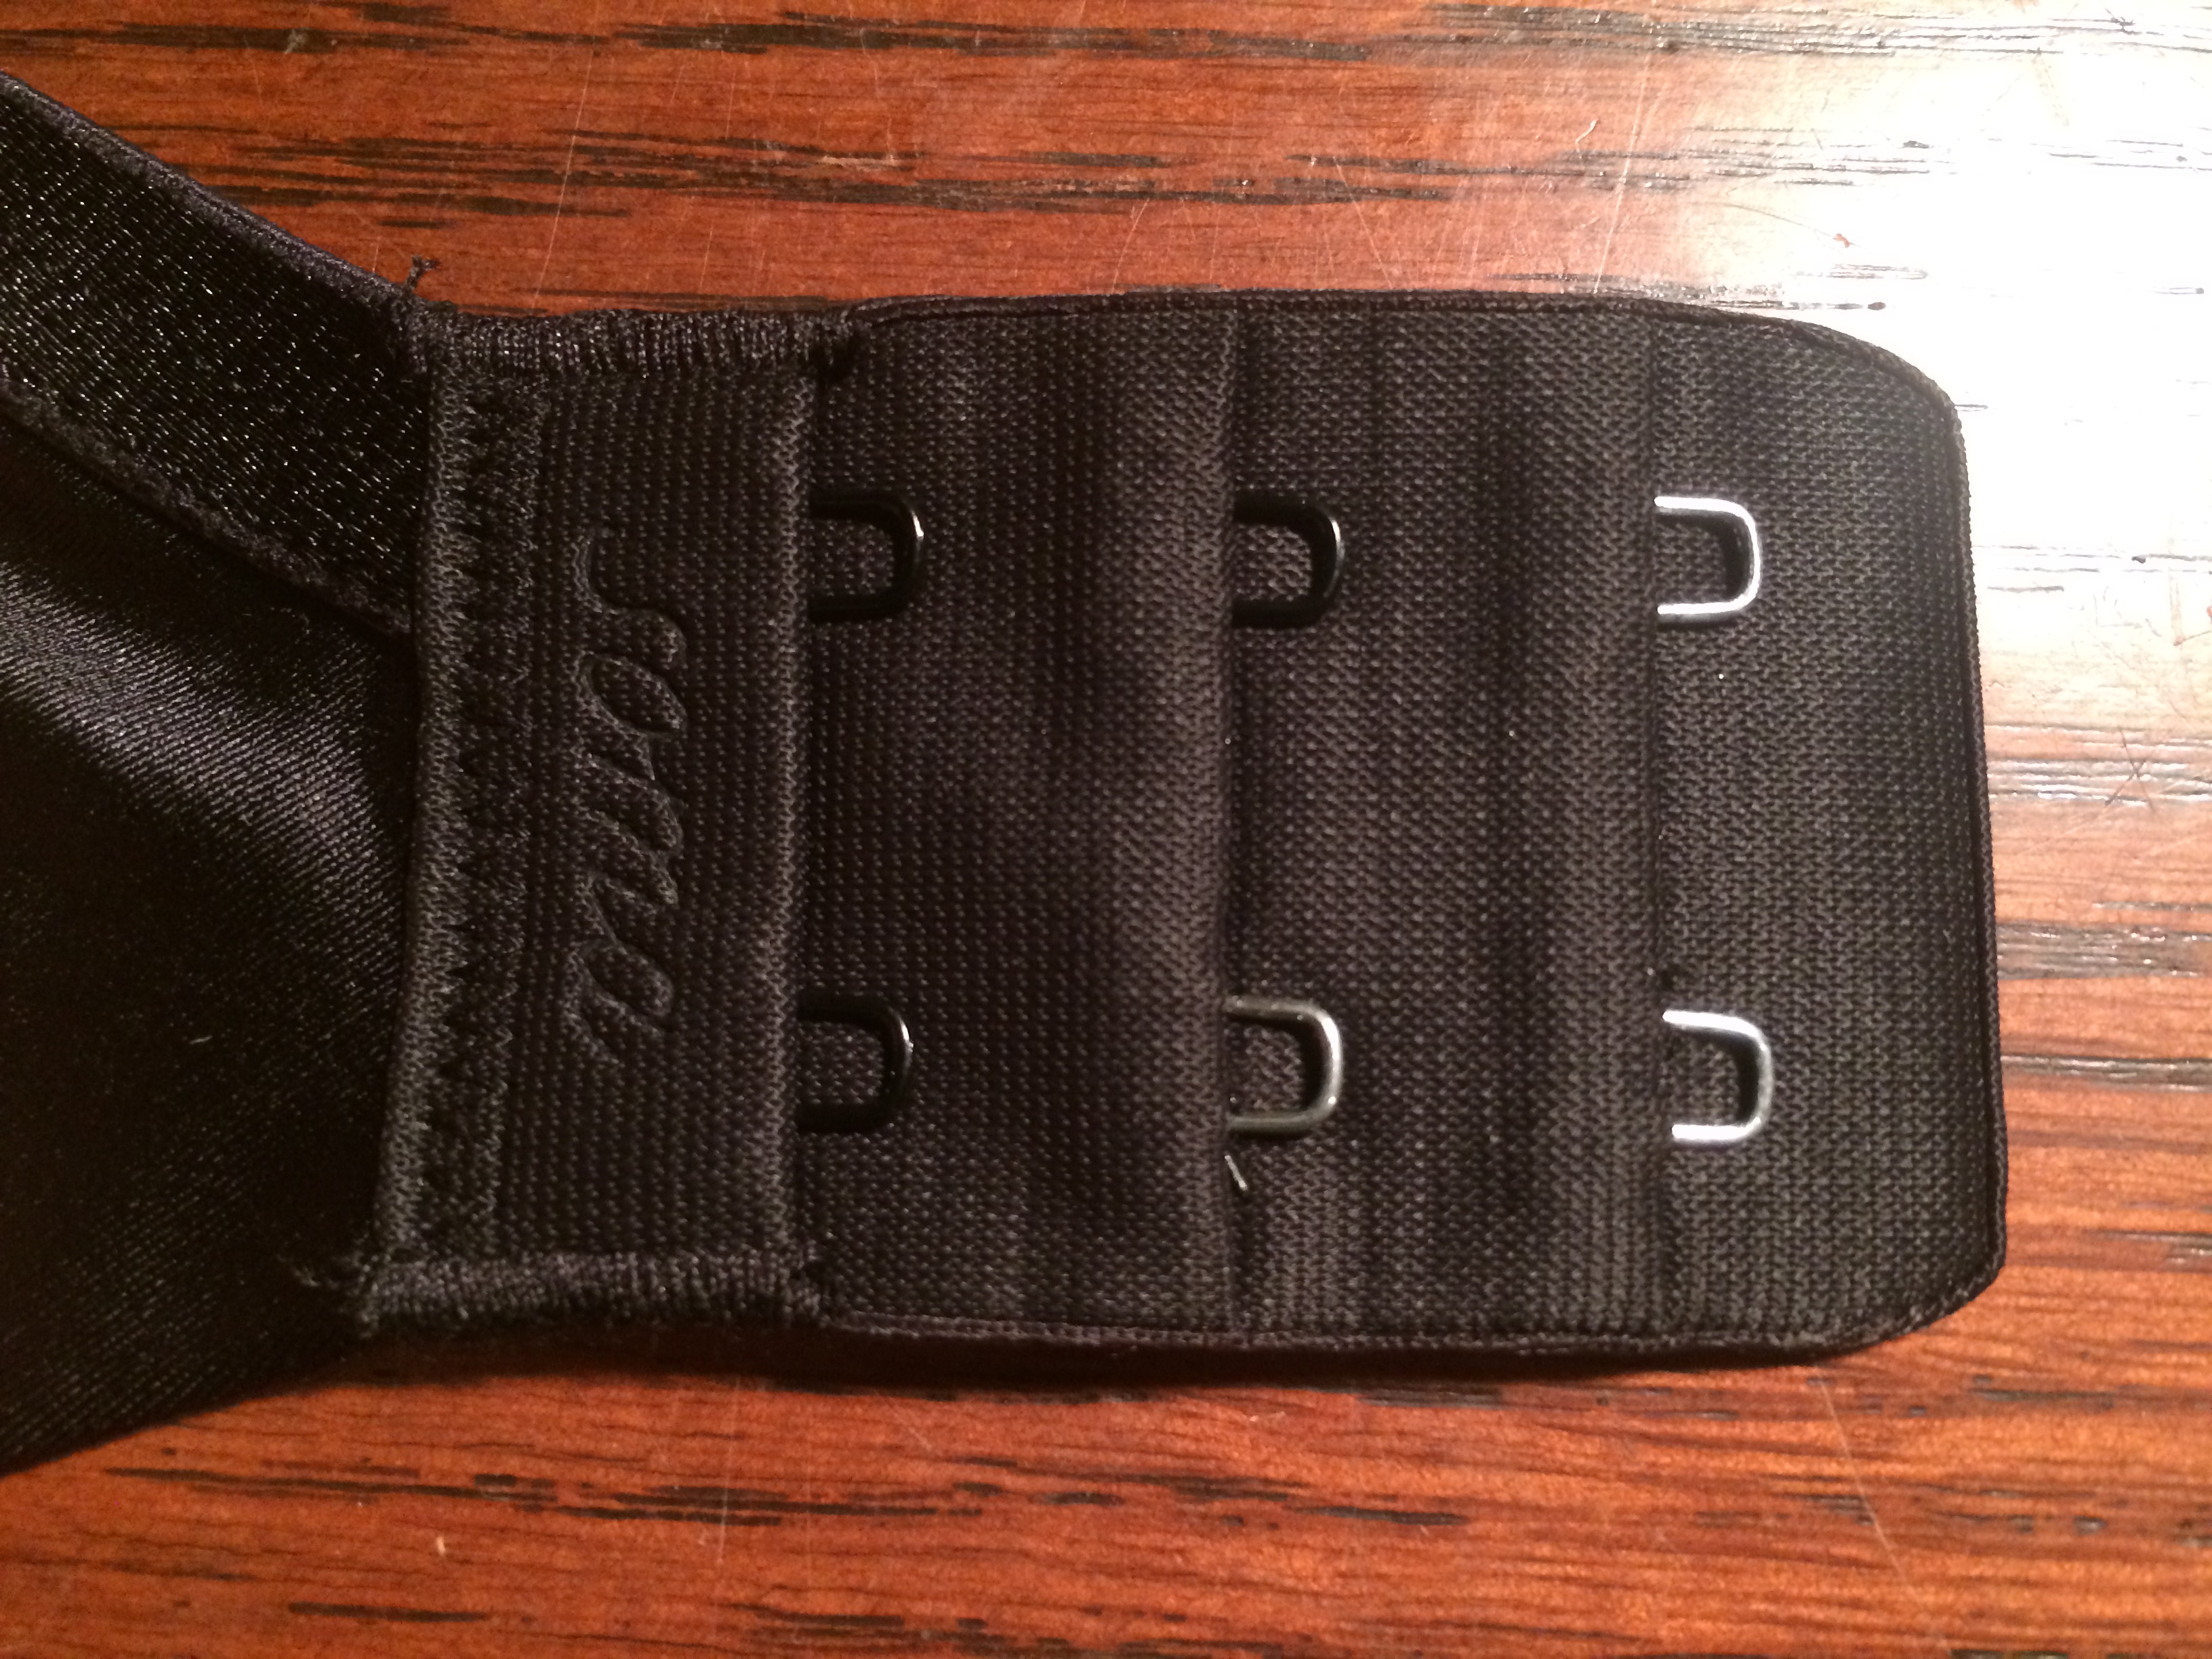

With the beacon module completed it was time to make a circuit out of a bra. For this prototype the painted coating on the hook and latches was removed with a sharp utility blade and cleaned so that an electrical connection would be possible.
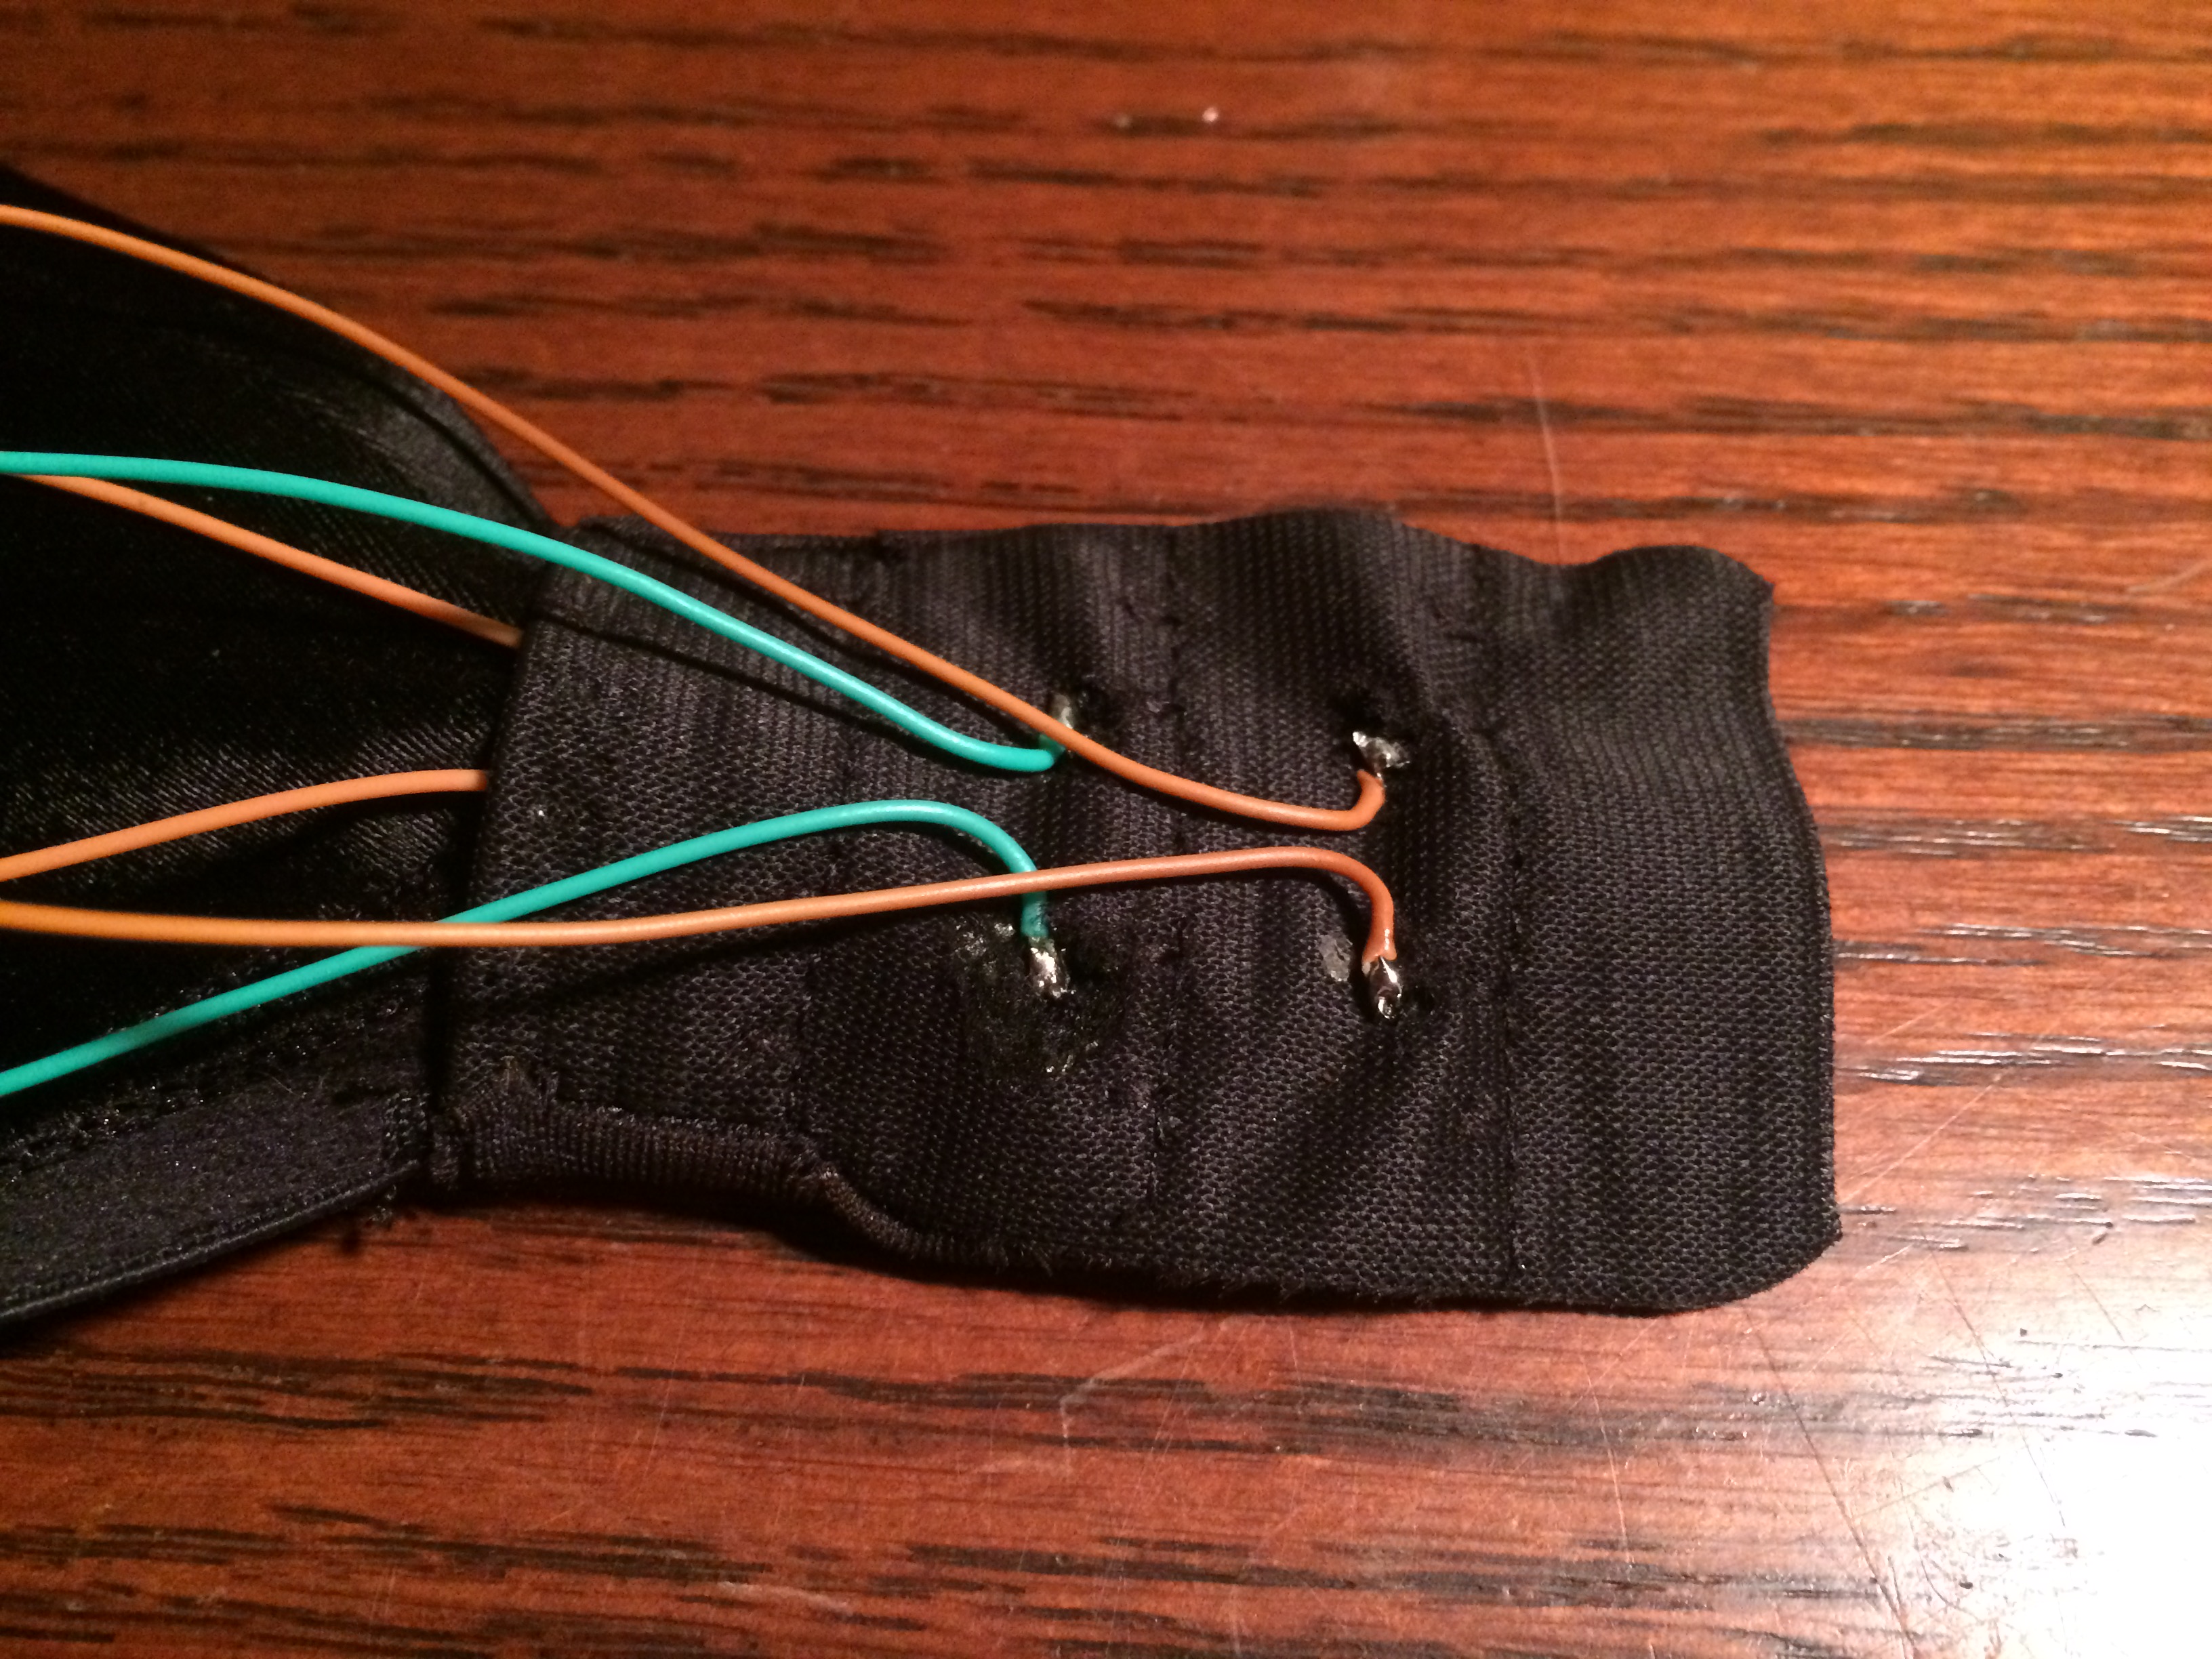

Six wires were soldered for each of the six latches by using the same utility blade to scrape away enough coating for the wires to stick. This had to be flipped inside out and then carefully flipped back around without damaging the connections.
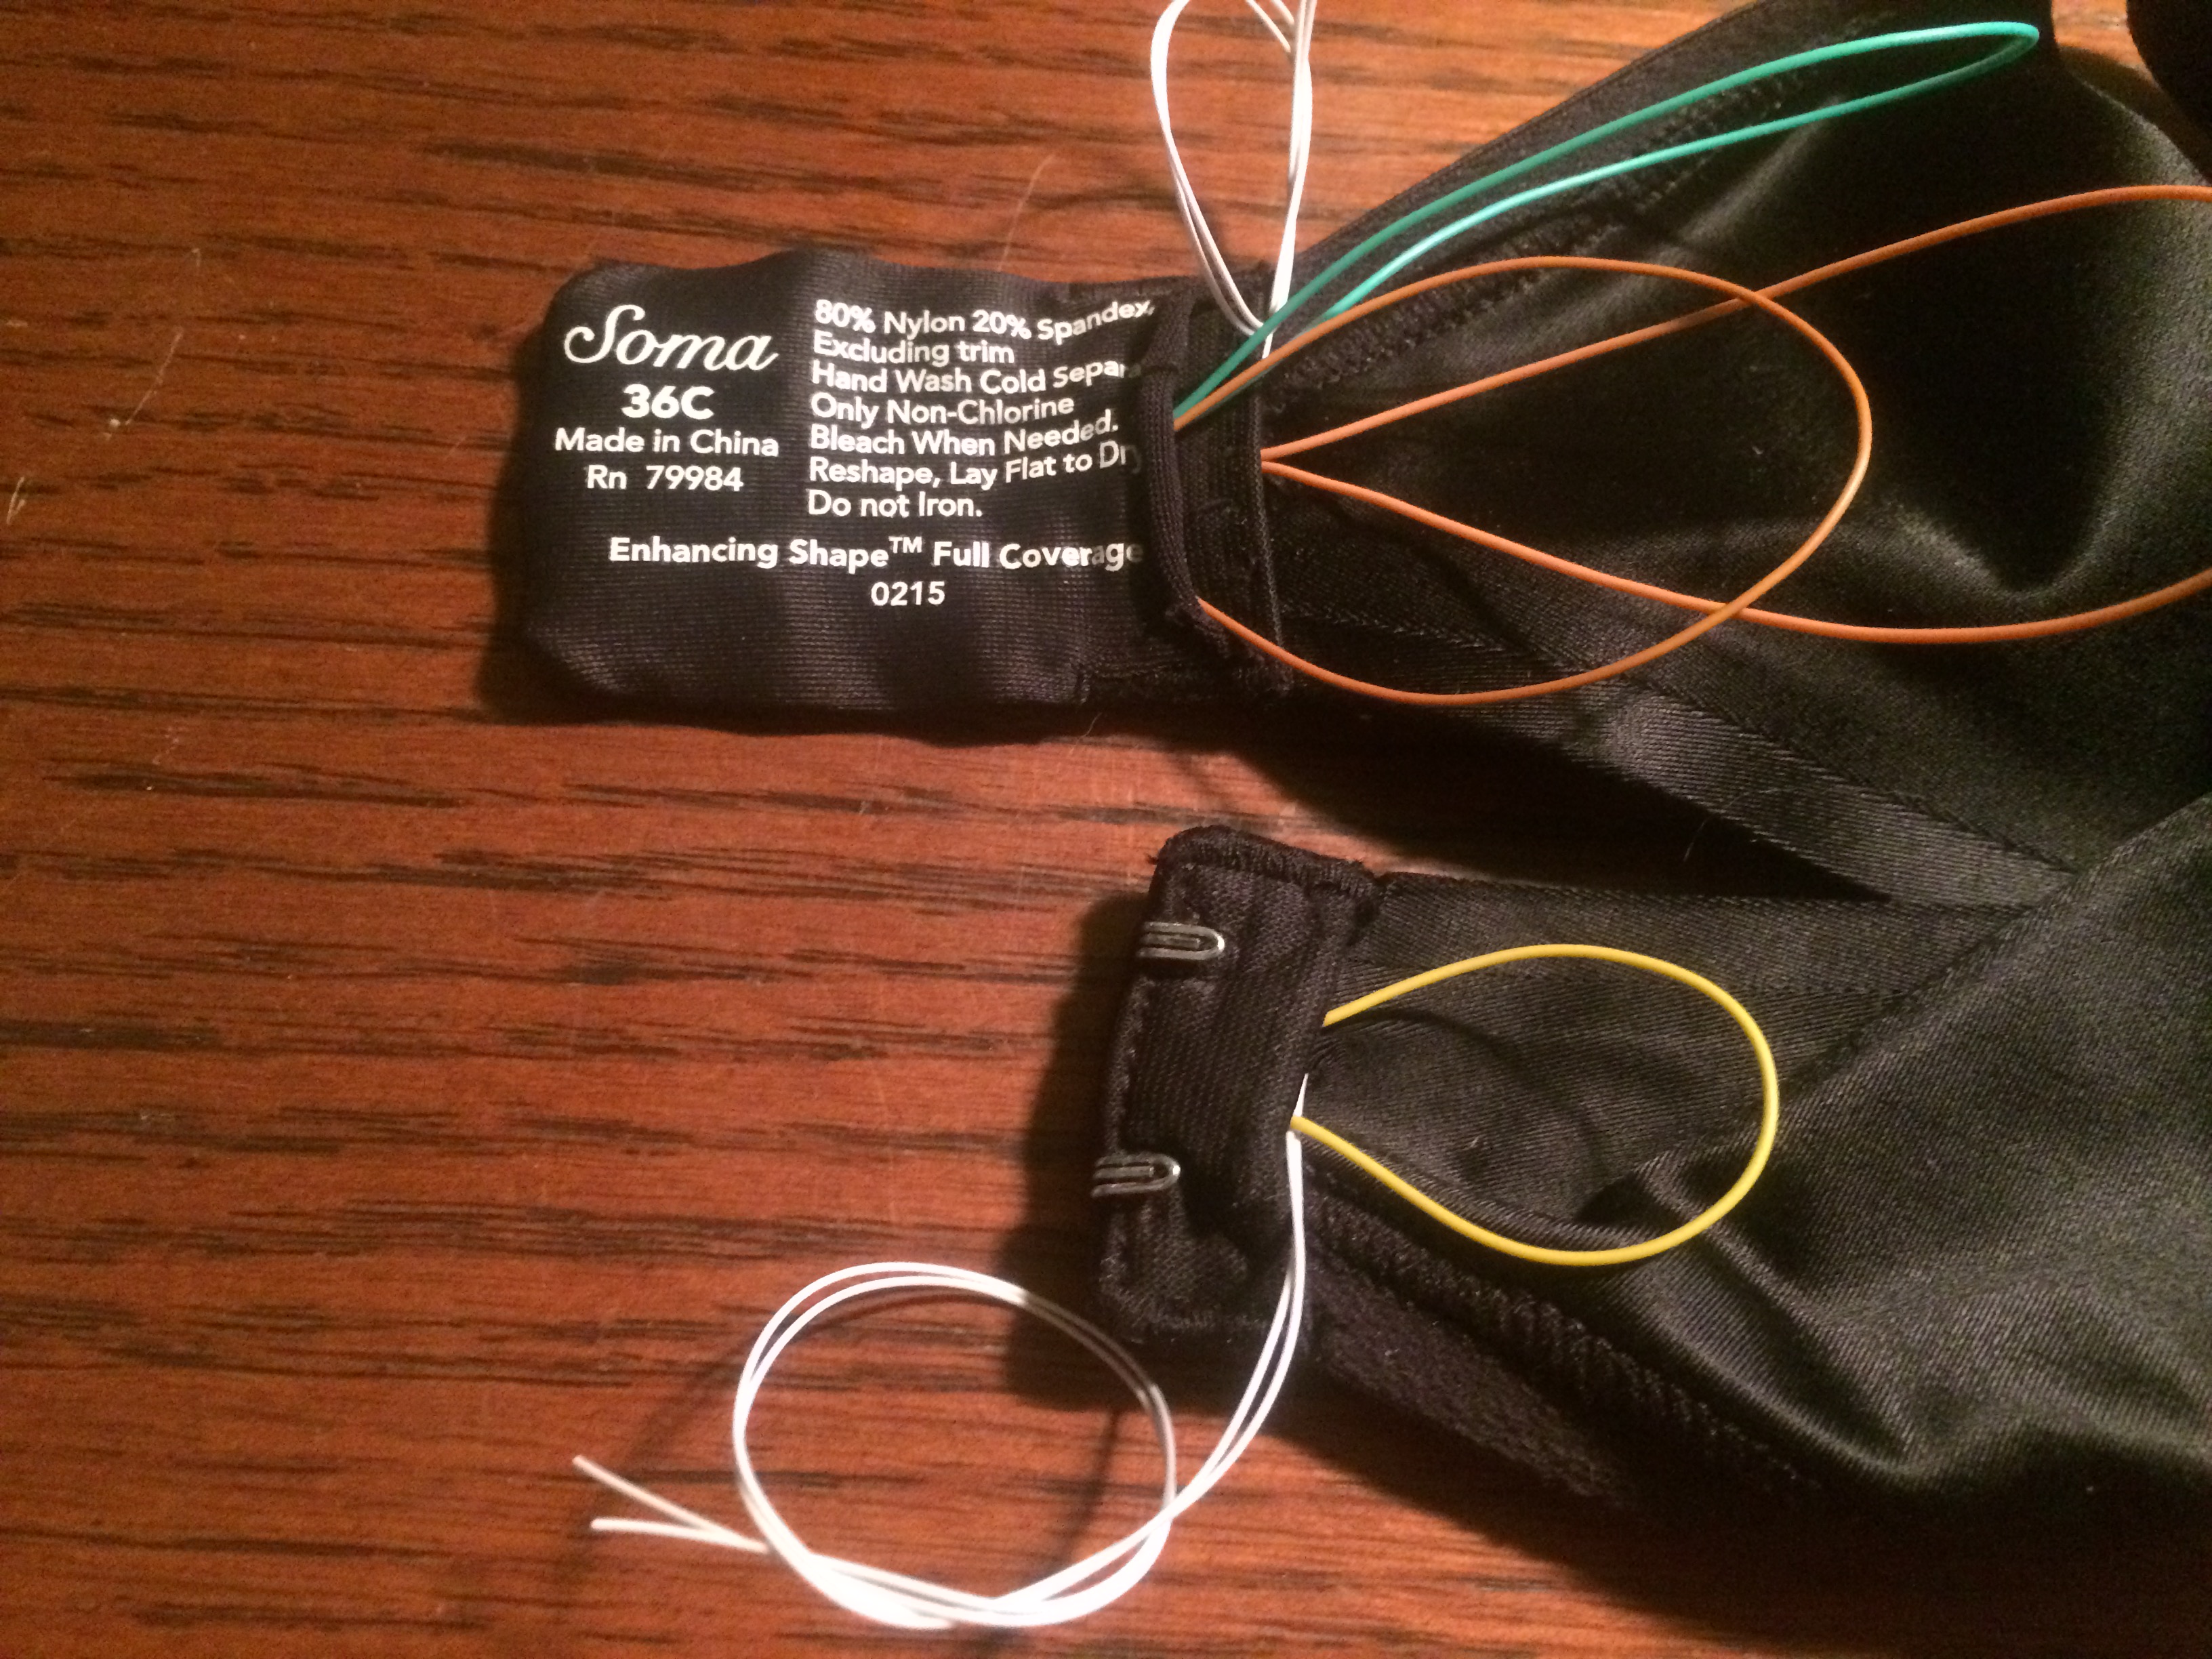

Wires were also soldered to the hooks in the same way and a pair of ultra thin wires were run through the entire bra from one side to the other. This uses wire wrapping wire commonly used for PCB repair and it turns out works remarkably well for fabrics as well. Two wires were used just in case one became damaged during the run or while being developed.

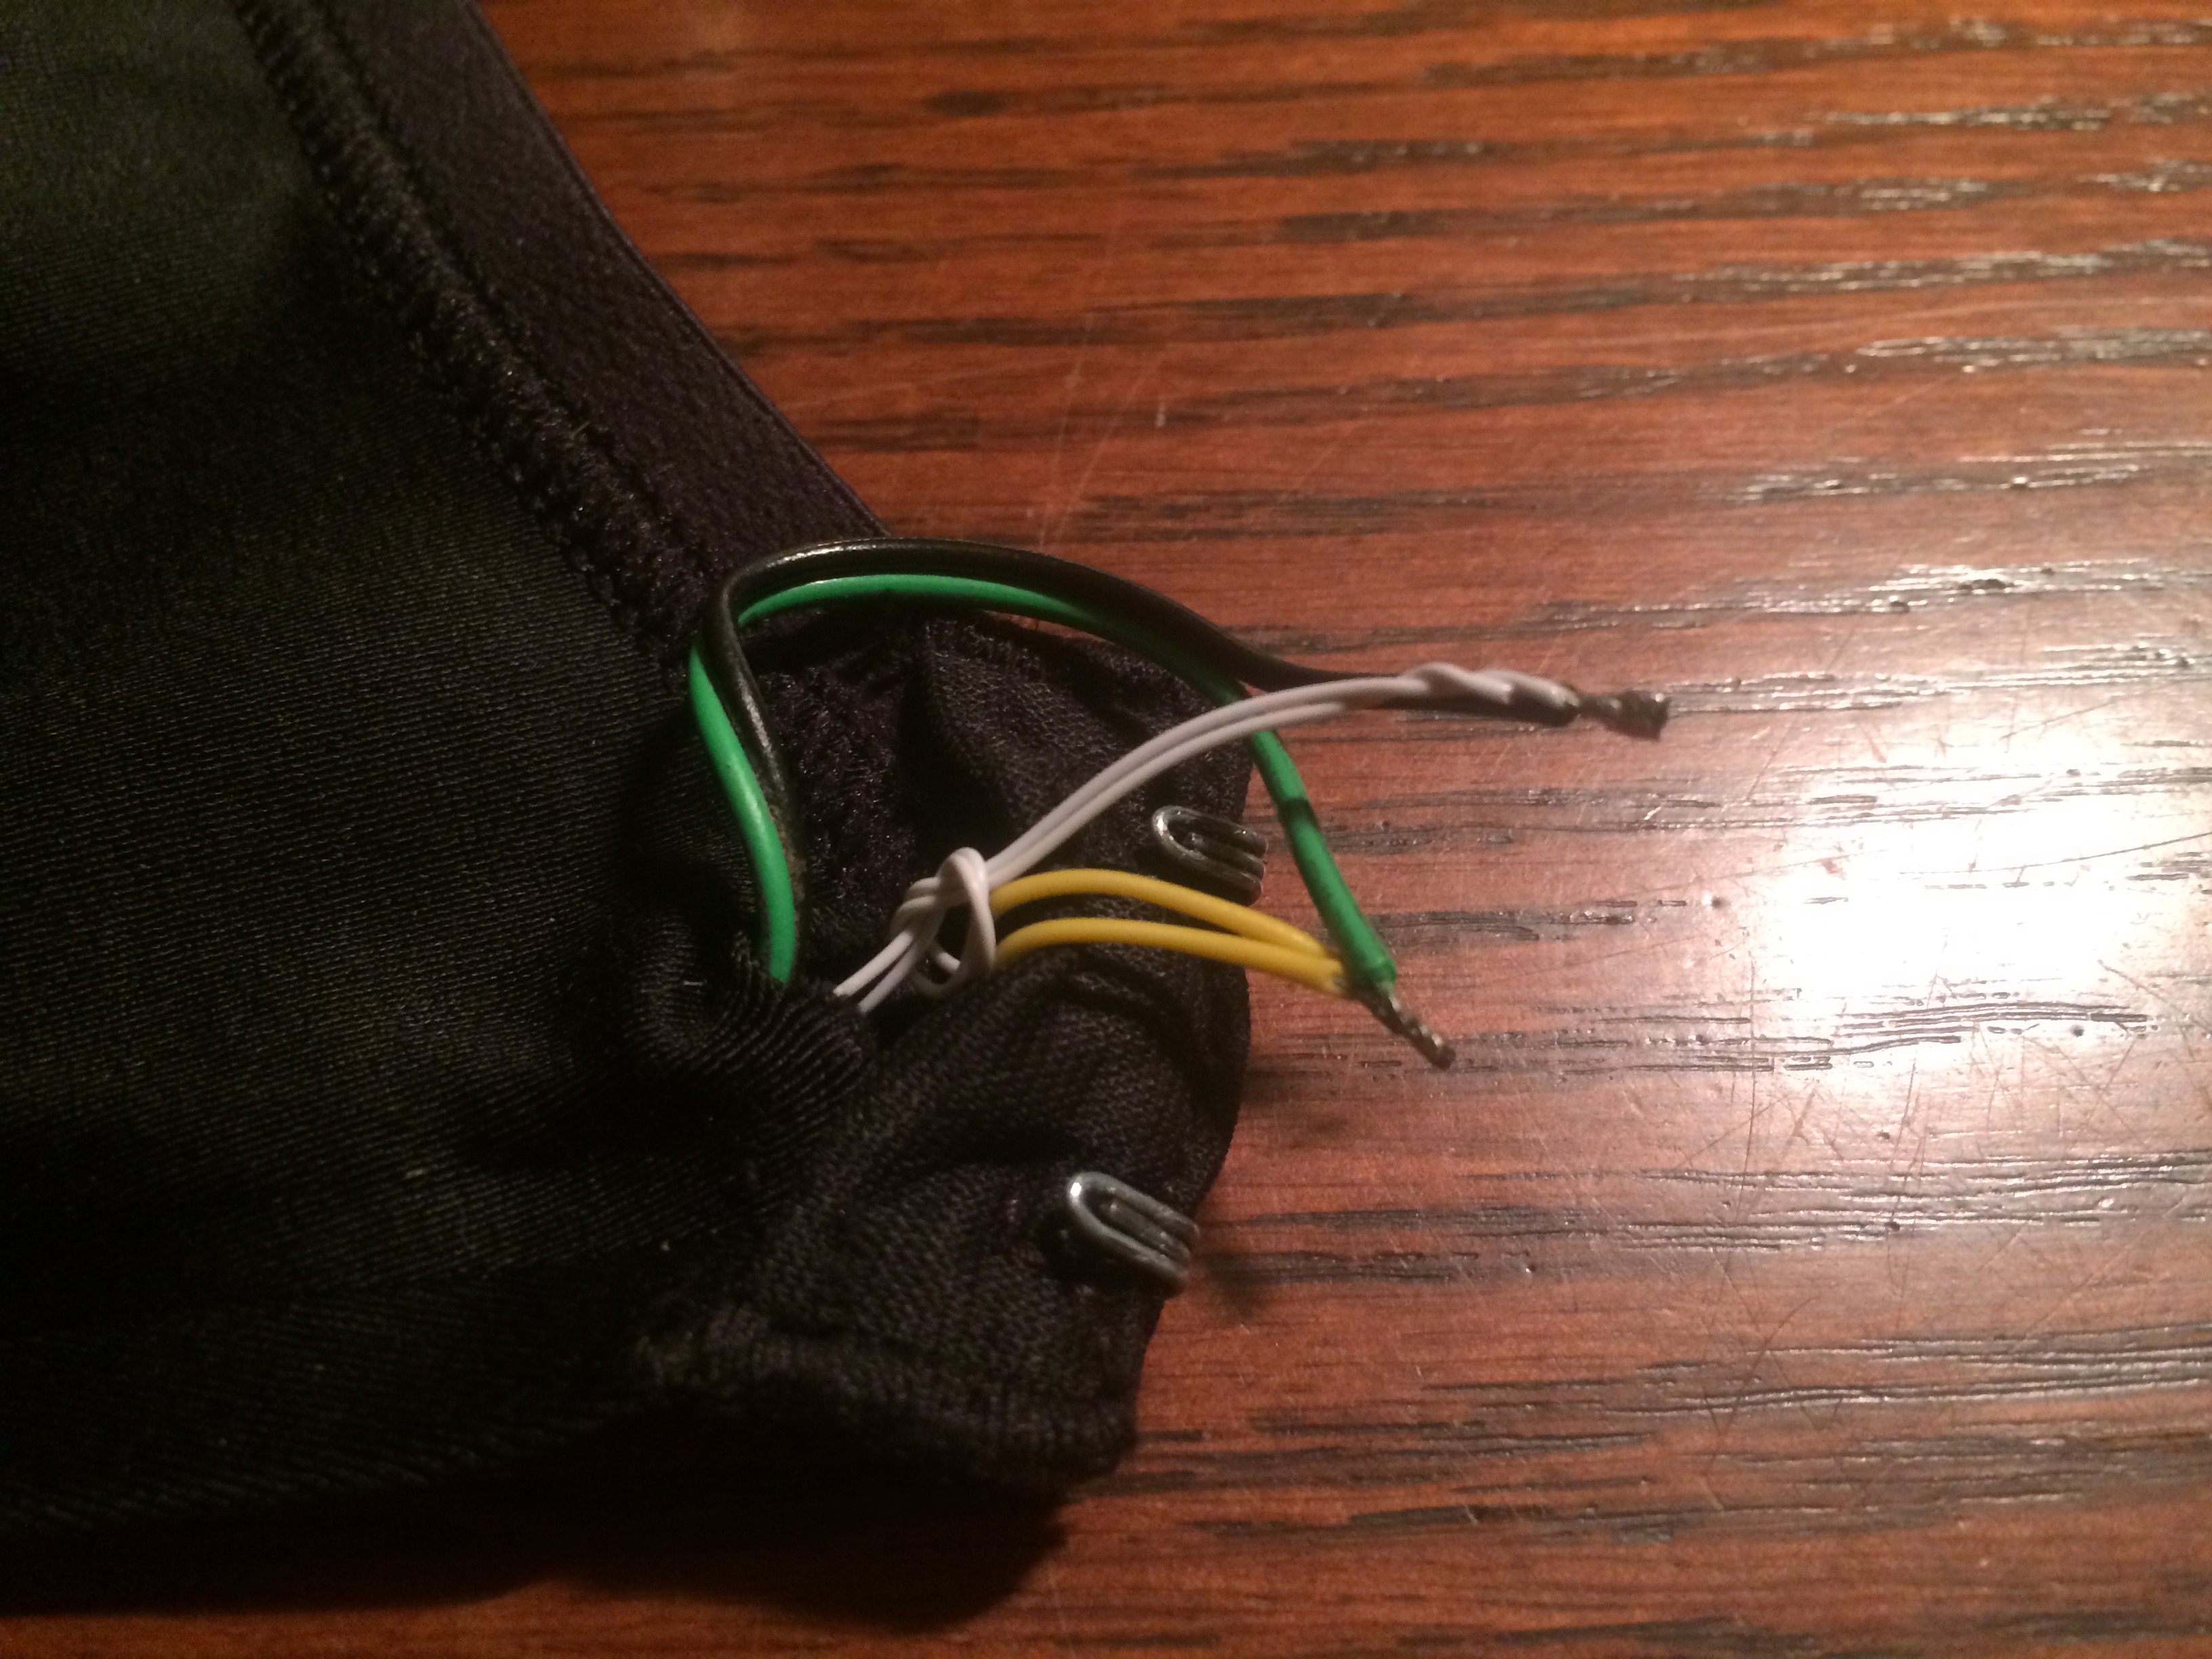
Now it was time to start bringing everything together, with the beacon location picked a small bit of pin header wire was poked through and soldered between the hooks and the wire running to the other side with the latches.

Lastly a shot showing the wire connecting to the beacon module and a test of the full circuit by clipping the bra together turning off the beacon.
Legal
All trademarks and artwork of the Soma Smart Bra are property and copyright of Soma and Zimmerman Advertising and may not be reproduced in any way for any reason with all rights reserved.