Description
Introduction
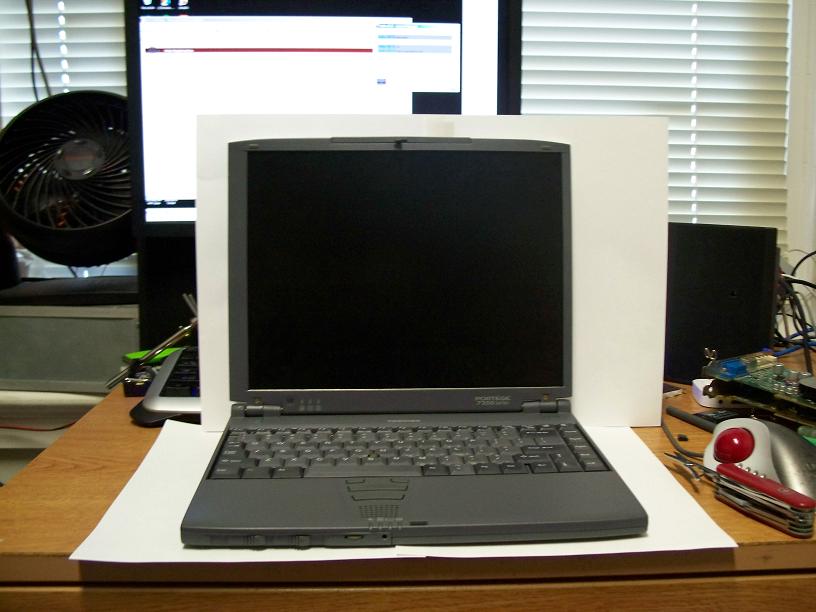
So I thought to myself, wouldn’t it be awesome if my Toshiba Portege had an internal wireless card, maybe that one collecting dust with no home in my spare parts drawer. Used in this project is a Linksys Wireless-B WUSB11v4 USB card. There is nothing fancy or frilly about the device and decided that since the laptop was USB 1.1 in nature that it wouldn’t make huge a difference to go with a G based card.
Project

The trick was that the laptop had only 1 physical USB port on the actual body. The dock of course has two. That got me thinking that the laptop itself might actually have two usb ports with only one physically wired. So after a few minutes of probing around with my super fancy $5.99 voltmeter I located what appeared to be the data lines on the dock connector of the toshiba. The ground and the +5v could be located anywhere else.
After running an initial test to make sure that using the 2nd port while the laptop was not docked would work I was good to go. Although in all of the pictures the Mod itself is actually completed (I got too excited to take pictures) However it will be more clear perhaps what exactly it is I have done.
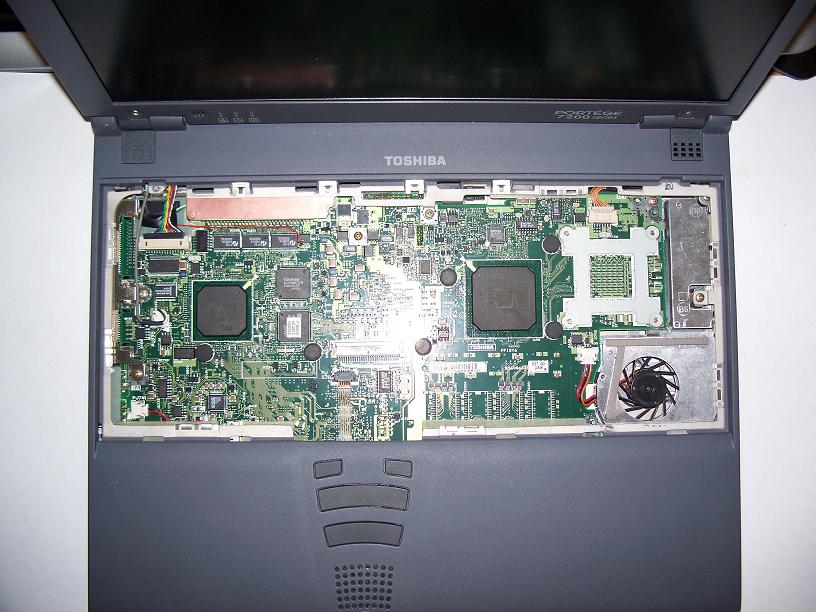
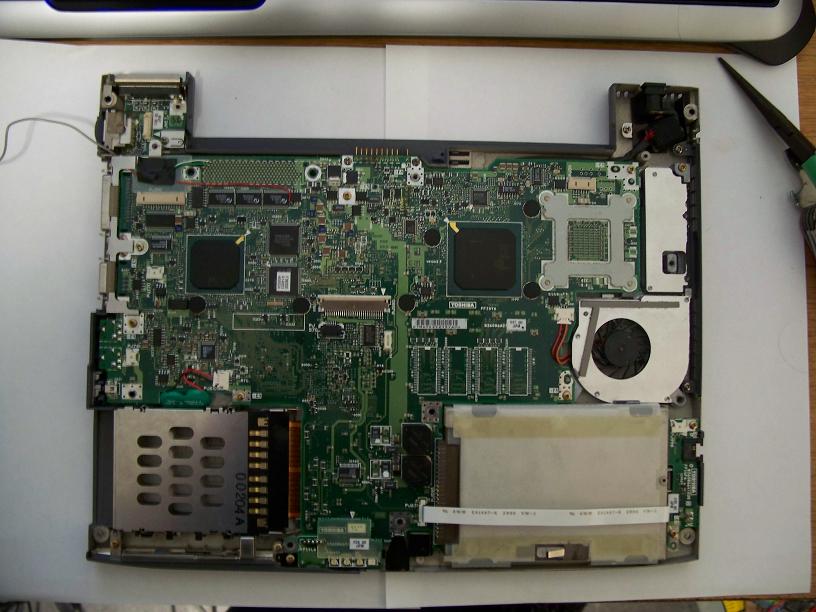
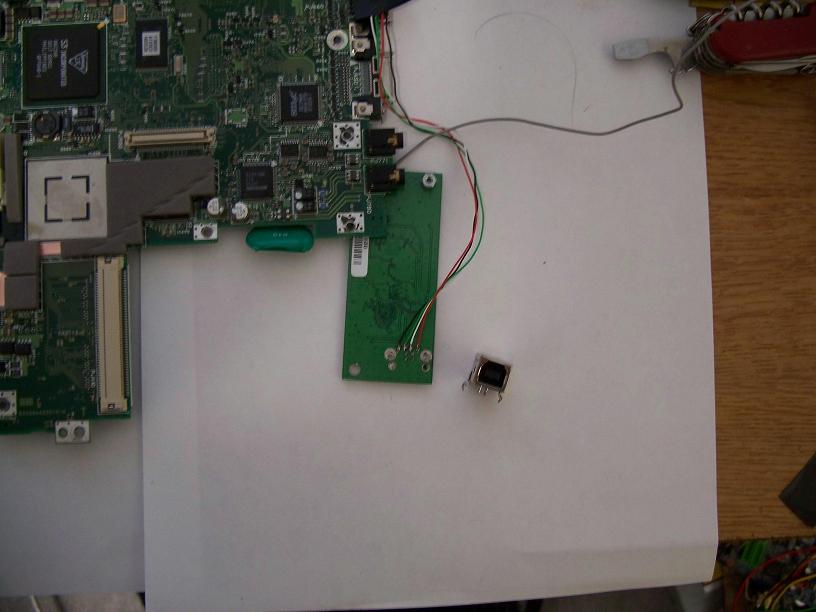
Keyboard removed, and then LCD assembly + palm rest removed to expose the motherboard.

The first struggle was soldering to the pins of the dock connector. Although a fairly easy task, care had to be taken to not get solder anywhere else. For the +5v I drew power directly from the power regulation circuitry meant to drive the entire docking station. I have not had any problems with this thus far, so it seems like a good choice. Also another issue of course would be where to mount the card itself.
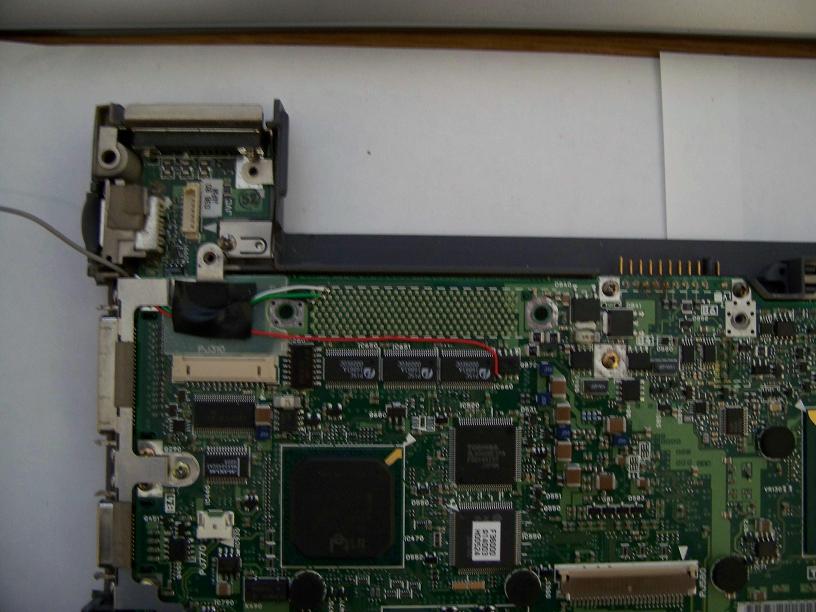
I found the best location where what I can tell was a device called a modem. But more importantly I would never end up using the modem so I removed it to give space for my new wifi card.
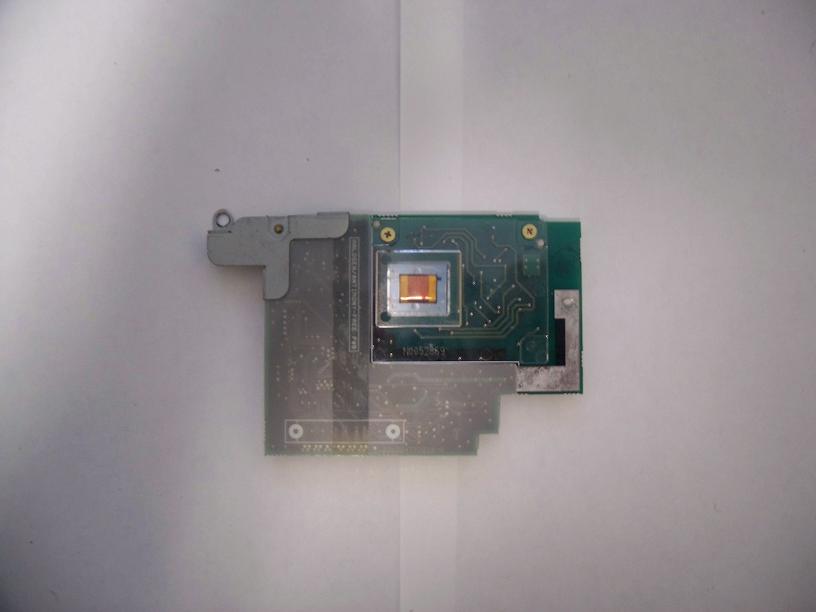
The modem itself removed from the motherboard. And then me soldering on my new usb wires (note I used the standard usb colors) and desoldering the silly USB-B jack on the card to make it as small and thin as possible.

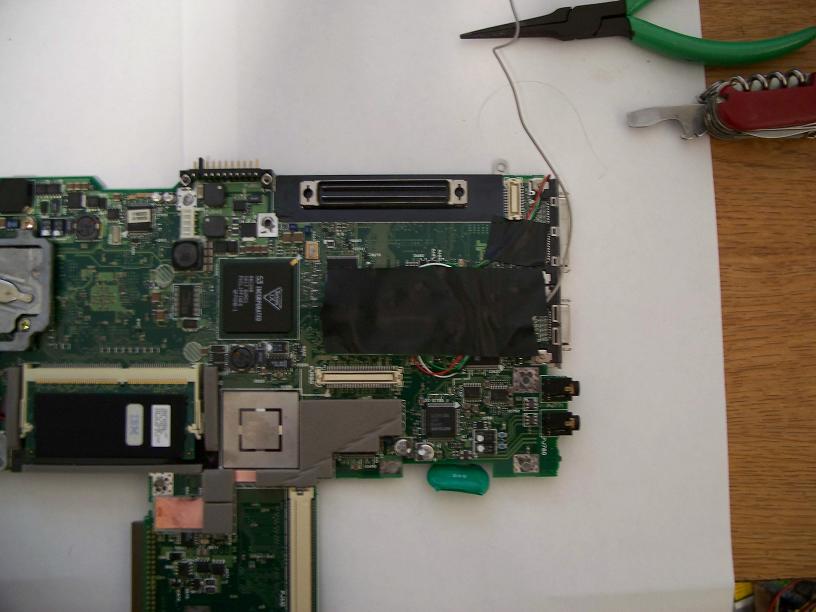
The card now mounted to the underside of the motherboard. And then covered with some tape to prevent shorting out.