Description
Introduction
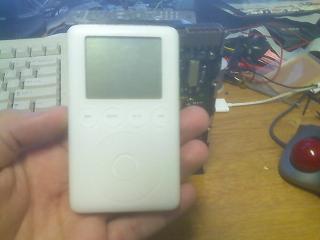
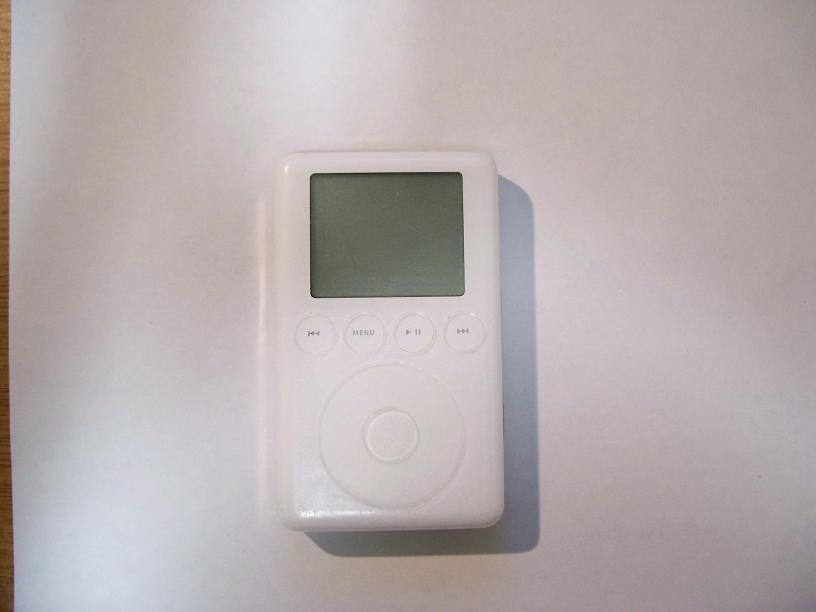
I was looking at my now mostly useless iPod 3rd Generation. The reason I took the HDD out was the headphone jack broke and I never cared to replace that. What I am wanting to do now is venture into connecting up a large IDE drive to the iPod following in the footsteps of the iPod super I will be connecting the iPods internal 1.8” connector to an IDE port. However I want the iPod to functionally still go back inside its case. My Idea is to cut out a hole in the top of the metal backing nto the iPod to allow for an ide header to be there. So that the external drive can connect up or be disconnected whenever.
As for the iPod audio I am planning on either removing the dock connector or soldering to it internally to break out the signals for usb / firewire / and the audio. All I want is the line-out audio to connect up to my larger sound. Here are some images of me sizing up the parts in this. I would solder the wire between the IDE plug and the 1.8” connector. I apologize for the poor quality images they were taken with my Razr, my only camera at the time.
Preliminary observations
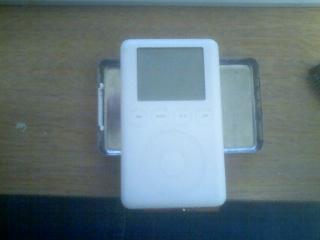
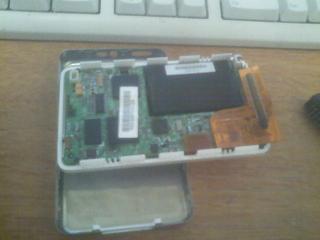
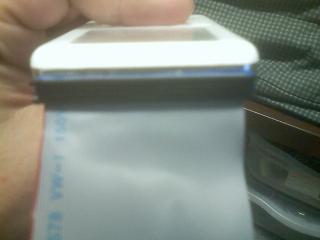
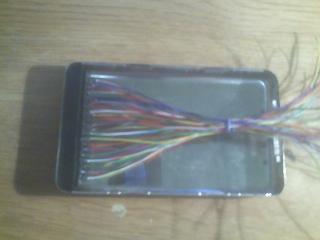
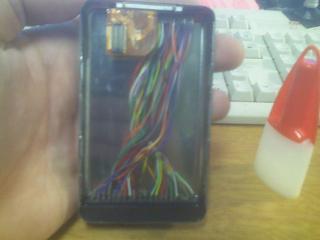
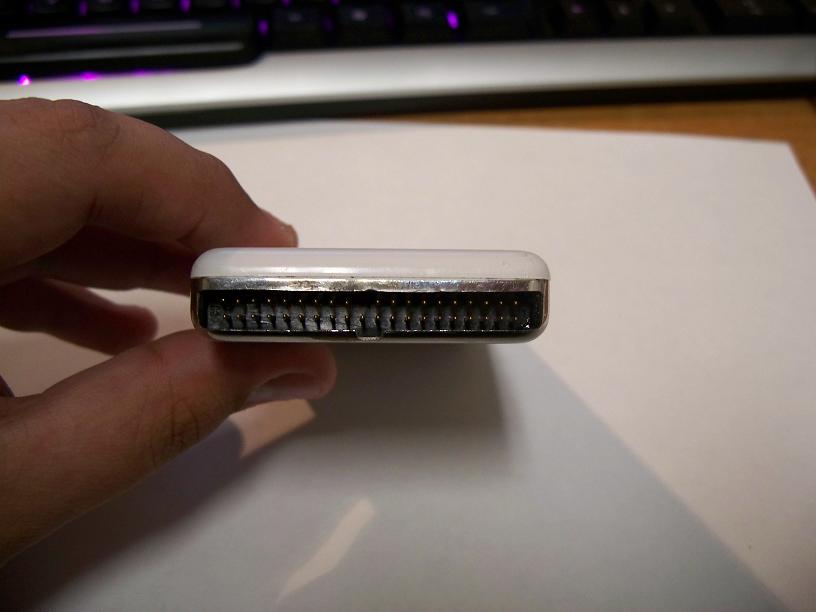
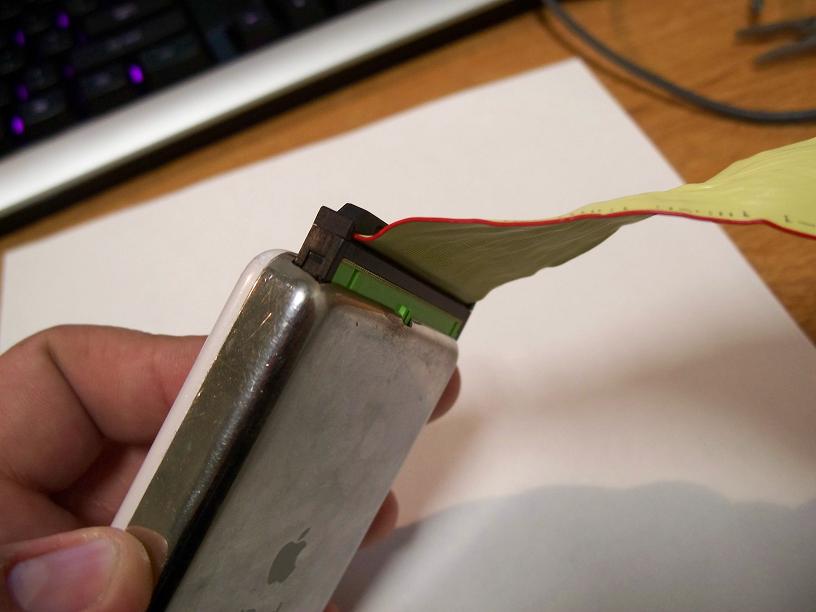
Pic’s showing the iPod inside. IDE connector and it sized up inside the metal backing.
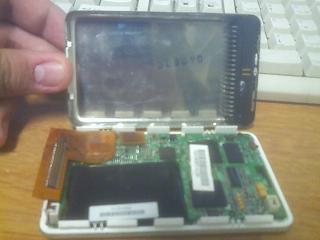
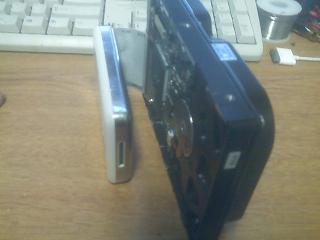
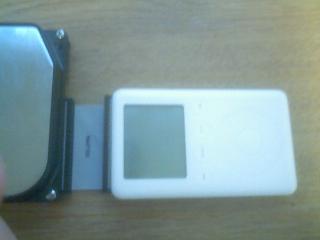
Location of the IDE plug in relation to the iPod.
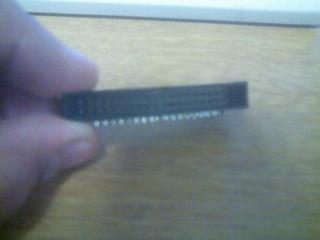
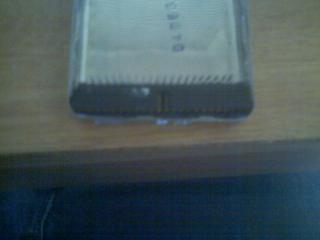
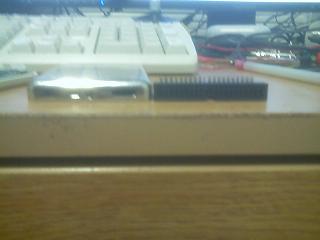
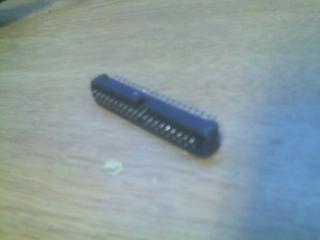
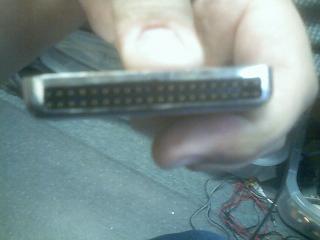
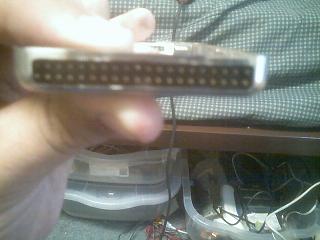
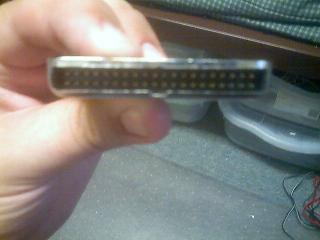
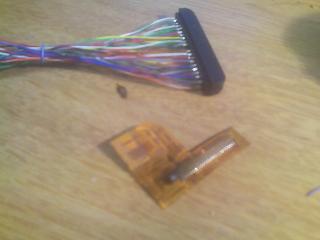
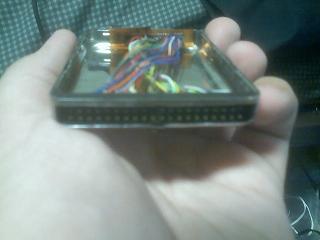
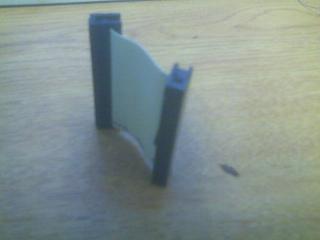
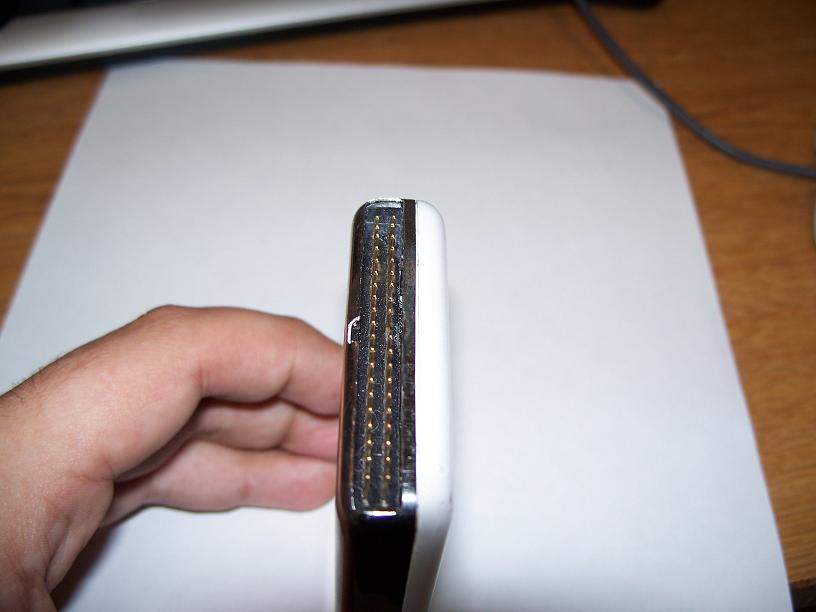
Sizing up the IDE Socket
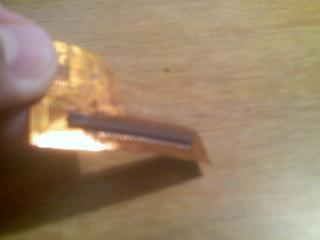
I went ahead and trimmed the pins on the IDE connector so they are all ready to be soldered to. Also started to round out parts of the IDE connector with my dremel to allow it to mount flush on the back of the ipod’s metal plate. and flush against the top as well. Silly rounded ipod.

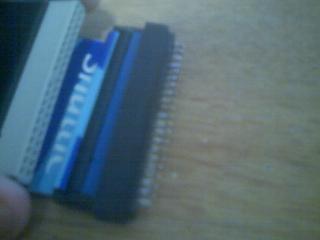


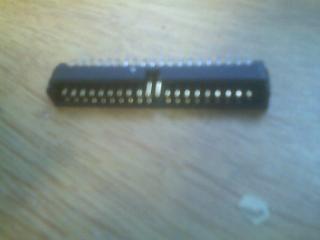
Connector originally and the connector with a sort of ‘haircut’. The connector will be mounted flush in the iPod, this means that when nothing is connected it feels like a normal iPod. Nothing else protrudes in any fashion. Decreases possible damage to the ide connector, and will also add to the over aesthetics of the project. The last image is a before and after mock-up of the top of the iPod before and after this project.
Cutting the IDE Socket
I have decided to continue work on this project by cutting out the IDE connector port on the top of the IDEpod, as well as molding the IDE connector to fit on the top of the iPod. I am not so great at dremeling so I took this nice and slow, produced results that look a good bit like the iPod was meant to have an IDE connector on the top.


I had to round out the IDE connector to fit flush with the rounded back plate of the iPod. Showing how the rounded connector now fits flush on the back.

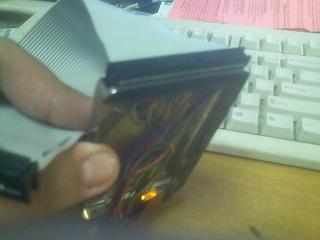
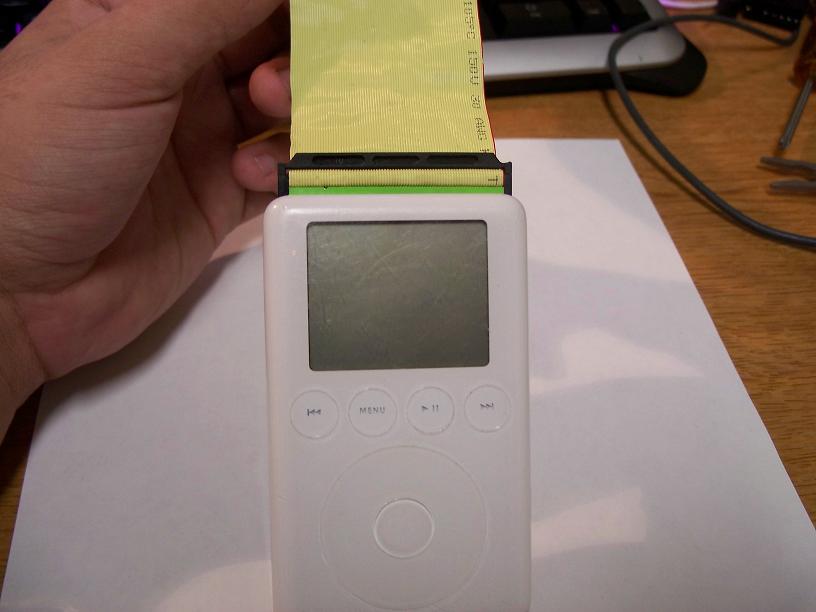
Next I started cutting out the top of the iPod to take an IDE cable. Still cutting, and then a final shot of the hole in the top of the iPod.

Some shots showing the IDE cable I had laying around fits in with no issue at all.
Soldering wires to the IDE Socket
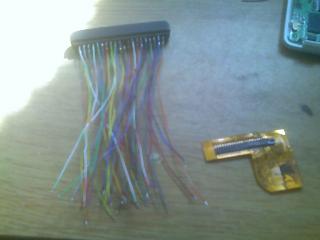
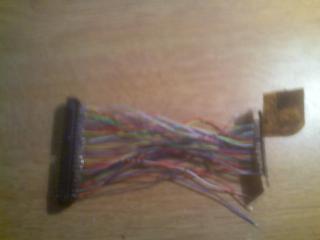
I got bored for a few minutes and decided to prep the wire I will use to connect the 1.8” HDD plug to the IDE socket. I also at the same time went ahead and soldered the wire onto the IDE socket. My tip is completely decimated after some hardcore soldering and I will have to wait until I can get a new one to solder to the much smaller pins.
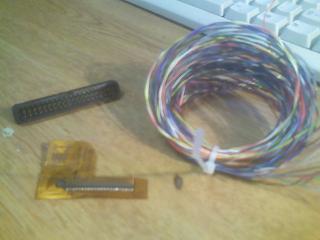
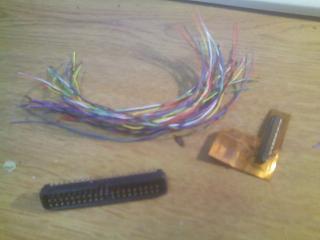
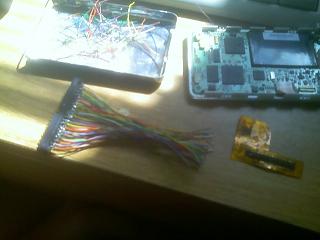
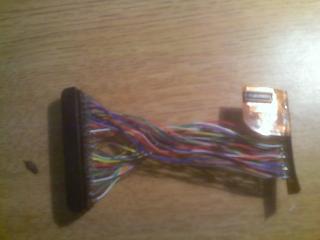
My wire of choice in these type of projects is what I have ripped out of old parallel cables. Stuff is really thin and the colors are easier when matching up pins. Also a pic of the tiny 1.8” plug that goes to the IDEpod main-board. Wire’s all cut to length, tinned. And then soldered onto the IDE connector.

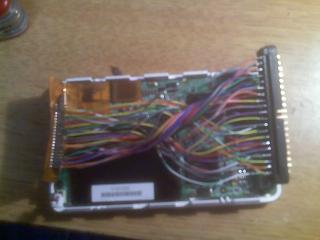
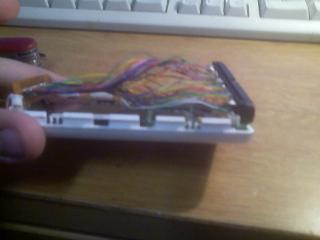
Just a final shot of the connector lined up in the ipod case. Wire’s will probably be trimmed down a bit. But it is better to start with more, than to start with less and need more.
Connecting IDE to Ribbon Connector
I have connected the IDE port now to the Header for the 1.8” HDD in the iPod, as well I went ahead and superglued the IDE port in place, it seems fairly strong. Though not sure how it could not be. I used nearly half the bottle of glue.
Prepping the ends of the wire on the IDE port, and prepping the pins on the 1.8” HDD header. Midway soldering pic, and then the interface installed on the inside.
Another pic of it connected, and then showing the twist I had to make in the cable to get the port the right way around. The connector now glued into the backplate of the IDEpod.

And some glory shots of the IDE cable plugged in and finally supported by the iPod back plate.
Reassembling the iPod
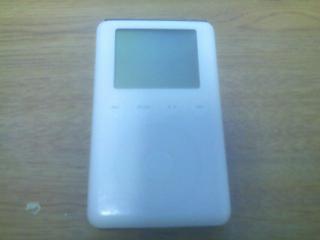


The iPod itself looks stock from the front and mostly all angles except that from the top with its new found IDE port. iPod with the short IDE cable plugged into the back.

How the iPod looks when plugged into one of my spare HDD’s. Side shot of the IDE cable and the IDE port itself.
Better Pictures

Shoutout
I would like to give thanks to the guy from Command-Tab, his website and personal help have aided a good deal in bringing this project to where it is now.