Description
The goal of this guide is was to permanently fix issues with the internal battery in an ASUS Zenbook laptop. The issue is a somewhat flimsy battery connector that constantly needs cleaning or reseating causing improper reporting of battery life and random shutdowns.
Introduction
It comes a time in the age of a particular device where certain considerations such as preserving the ability for the battery to be modular no longer apply. The likelihood of finding a new battery in several years for this machine is unlikely, at best one would be dealing with new-old stock that is already 4 years old. By the time the battery needs replacing again the only option would be sourcing new li-po cells and rebuilding the entire battery pack.
Several weeks later and immensely happy that I finally performed this modification. The laptop is once again usable and one can finally depend on battery percent and time remaining without fear of random shutdowns or a randomly dead battery.
The Connector
The pins of both the connector and receptacle are tiny and after years of re-plugging with other mods having been done to the machine the battery connection was no longer reliable.
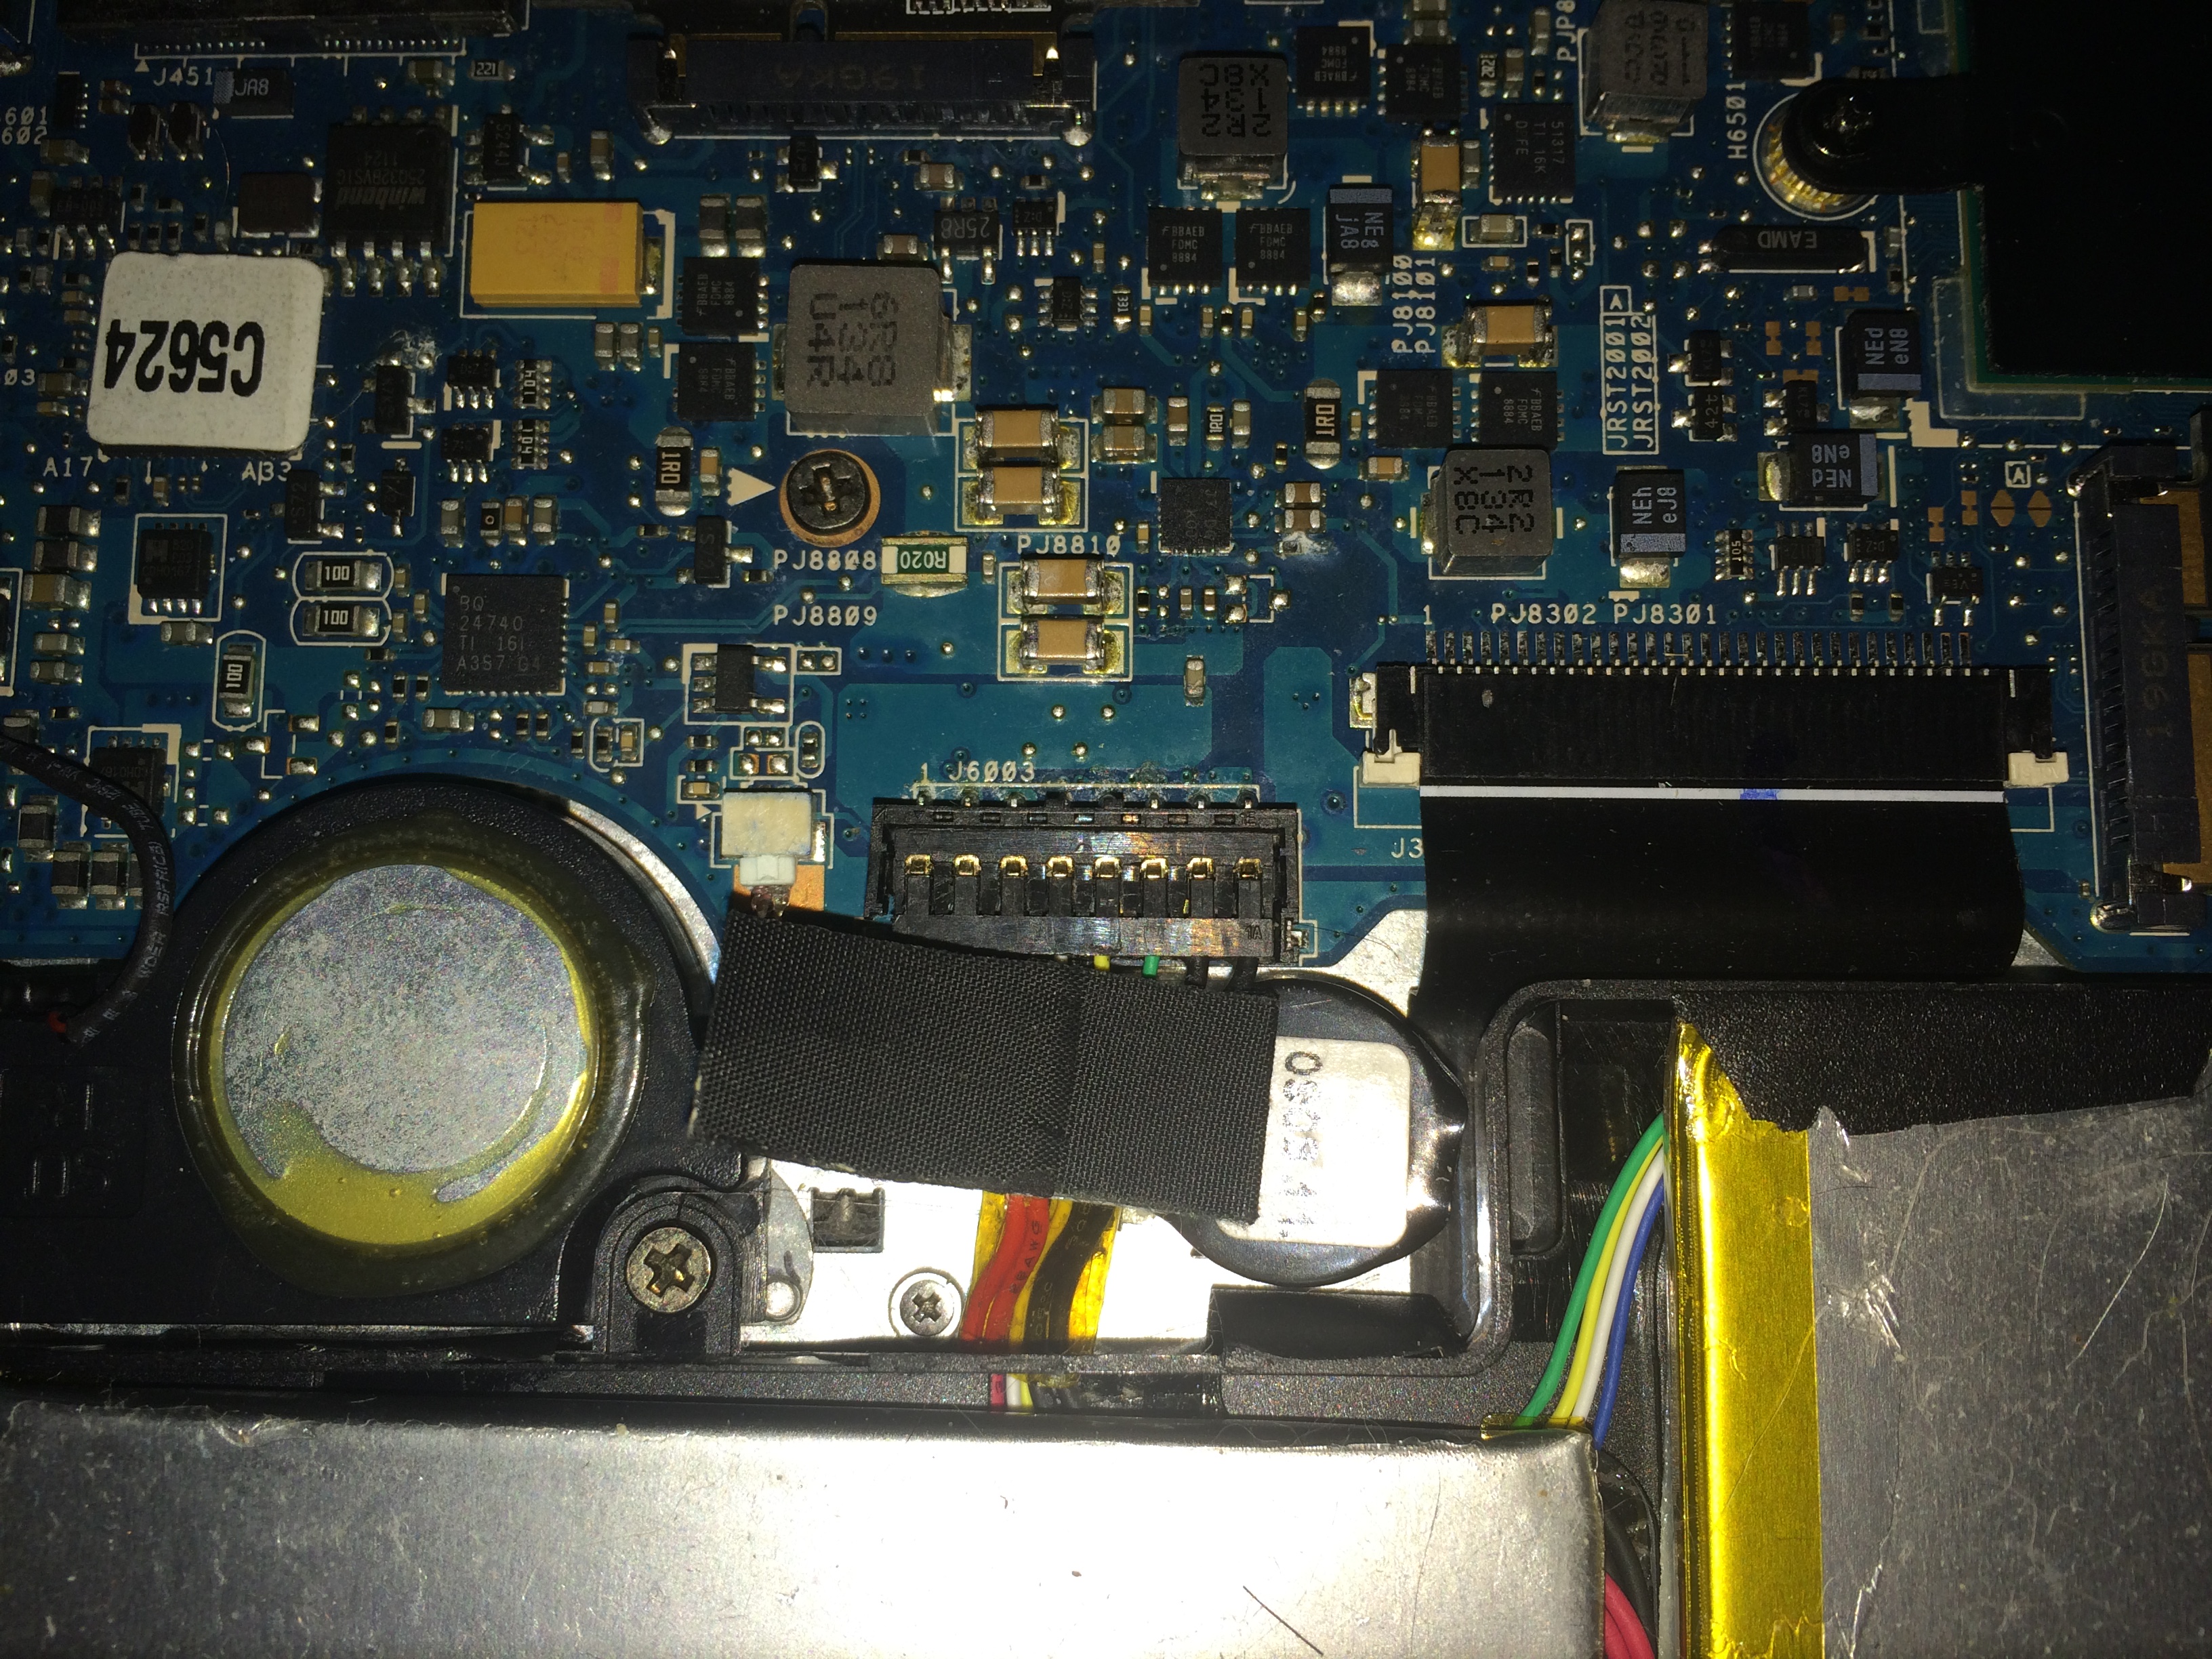

The connector itself showing the tiny pins.


In order to solder the wires directly to the motherboard it was necessary to find a bit more wire to work with from the battery cable. Luckily it was just a matter of routing the wire more directly and nearly a centimeter of extra wire was gained.
Direct Connection
In the interest of preserving the motherboard as much as possible the connector was removed from the battery cable but not from the motherboard itself. This is so that should a new battery be found in the future one would simply need to unsolder or snip the wires of the current battery and connect the new one.


Great care needed to be taken in removing the wires from the old connector and ensuring they not cross and short out the battery so each was taped or stripped individually as there was no way to remove power from the circuit. Hence the point of having a connector in the first place. The ground wires were first soldered to the motherboard and next the data wires, lastly the power wires were connected.
There was a small spark as the first power wire was connected, it is probably safer to attempt to discharge the battery fully before performing the above. The unfortunate thing is that even replacement batteries come at least partially charged and it is this type of spark that can degrade the connector and receptacle. Since were soldering it on directly there is no issue here other than a minor surprise as one tries to make the connection.


Here we see a sample of the charge log before the mod and then a second showing the laptop is finally able to read the battery.