Description
Introduction
“The micro-sized, Arduino enabled, usb development board – cheap enough to leave in any project!” The digispark is the perfect breadboarding companion for the breadboard area starved prototypers and those looking to spend less time making Arduinos smaller and more time developing your project.
Meet the Digispark
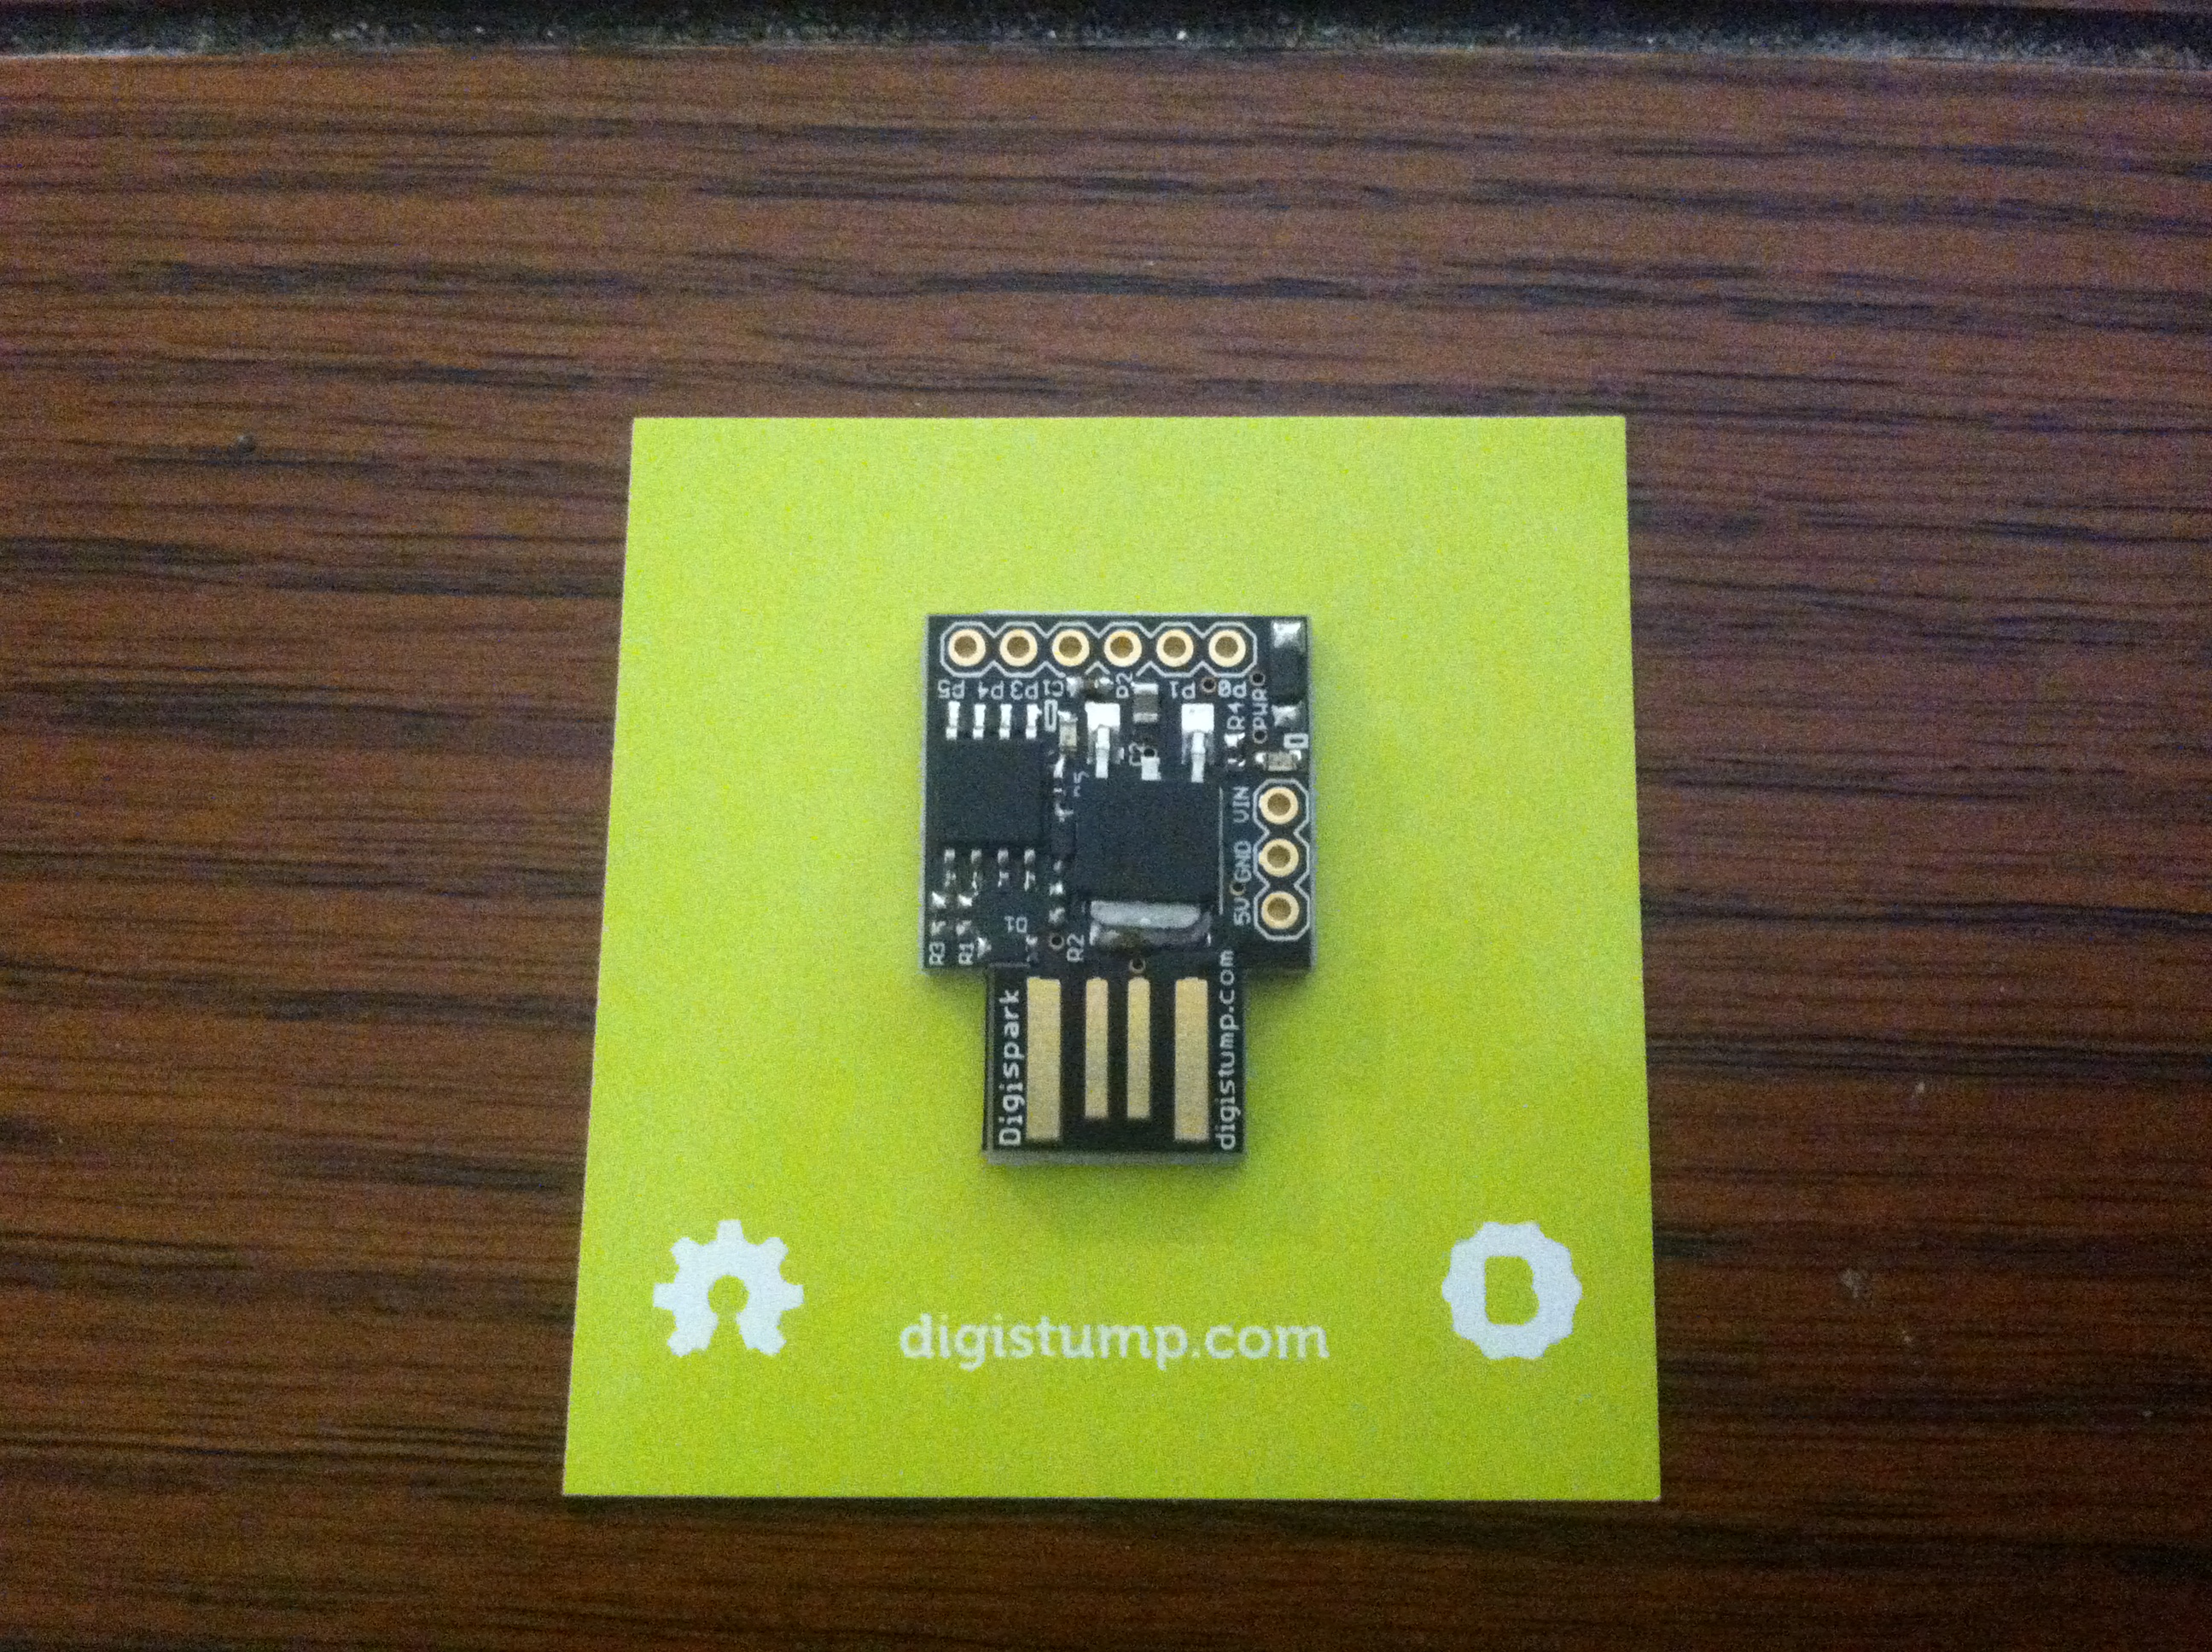
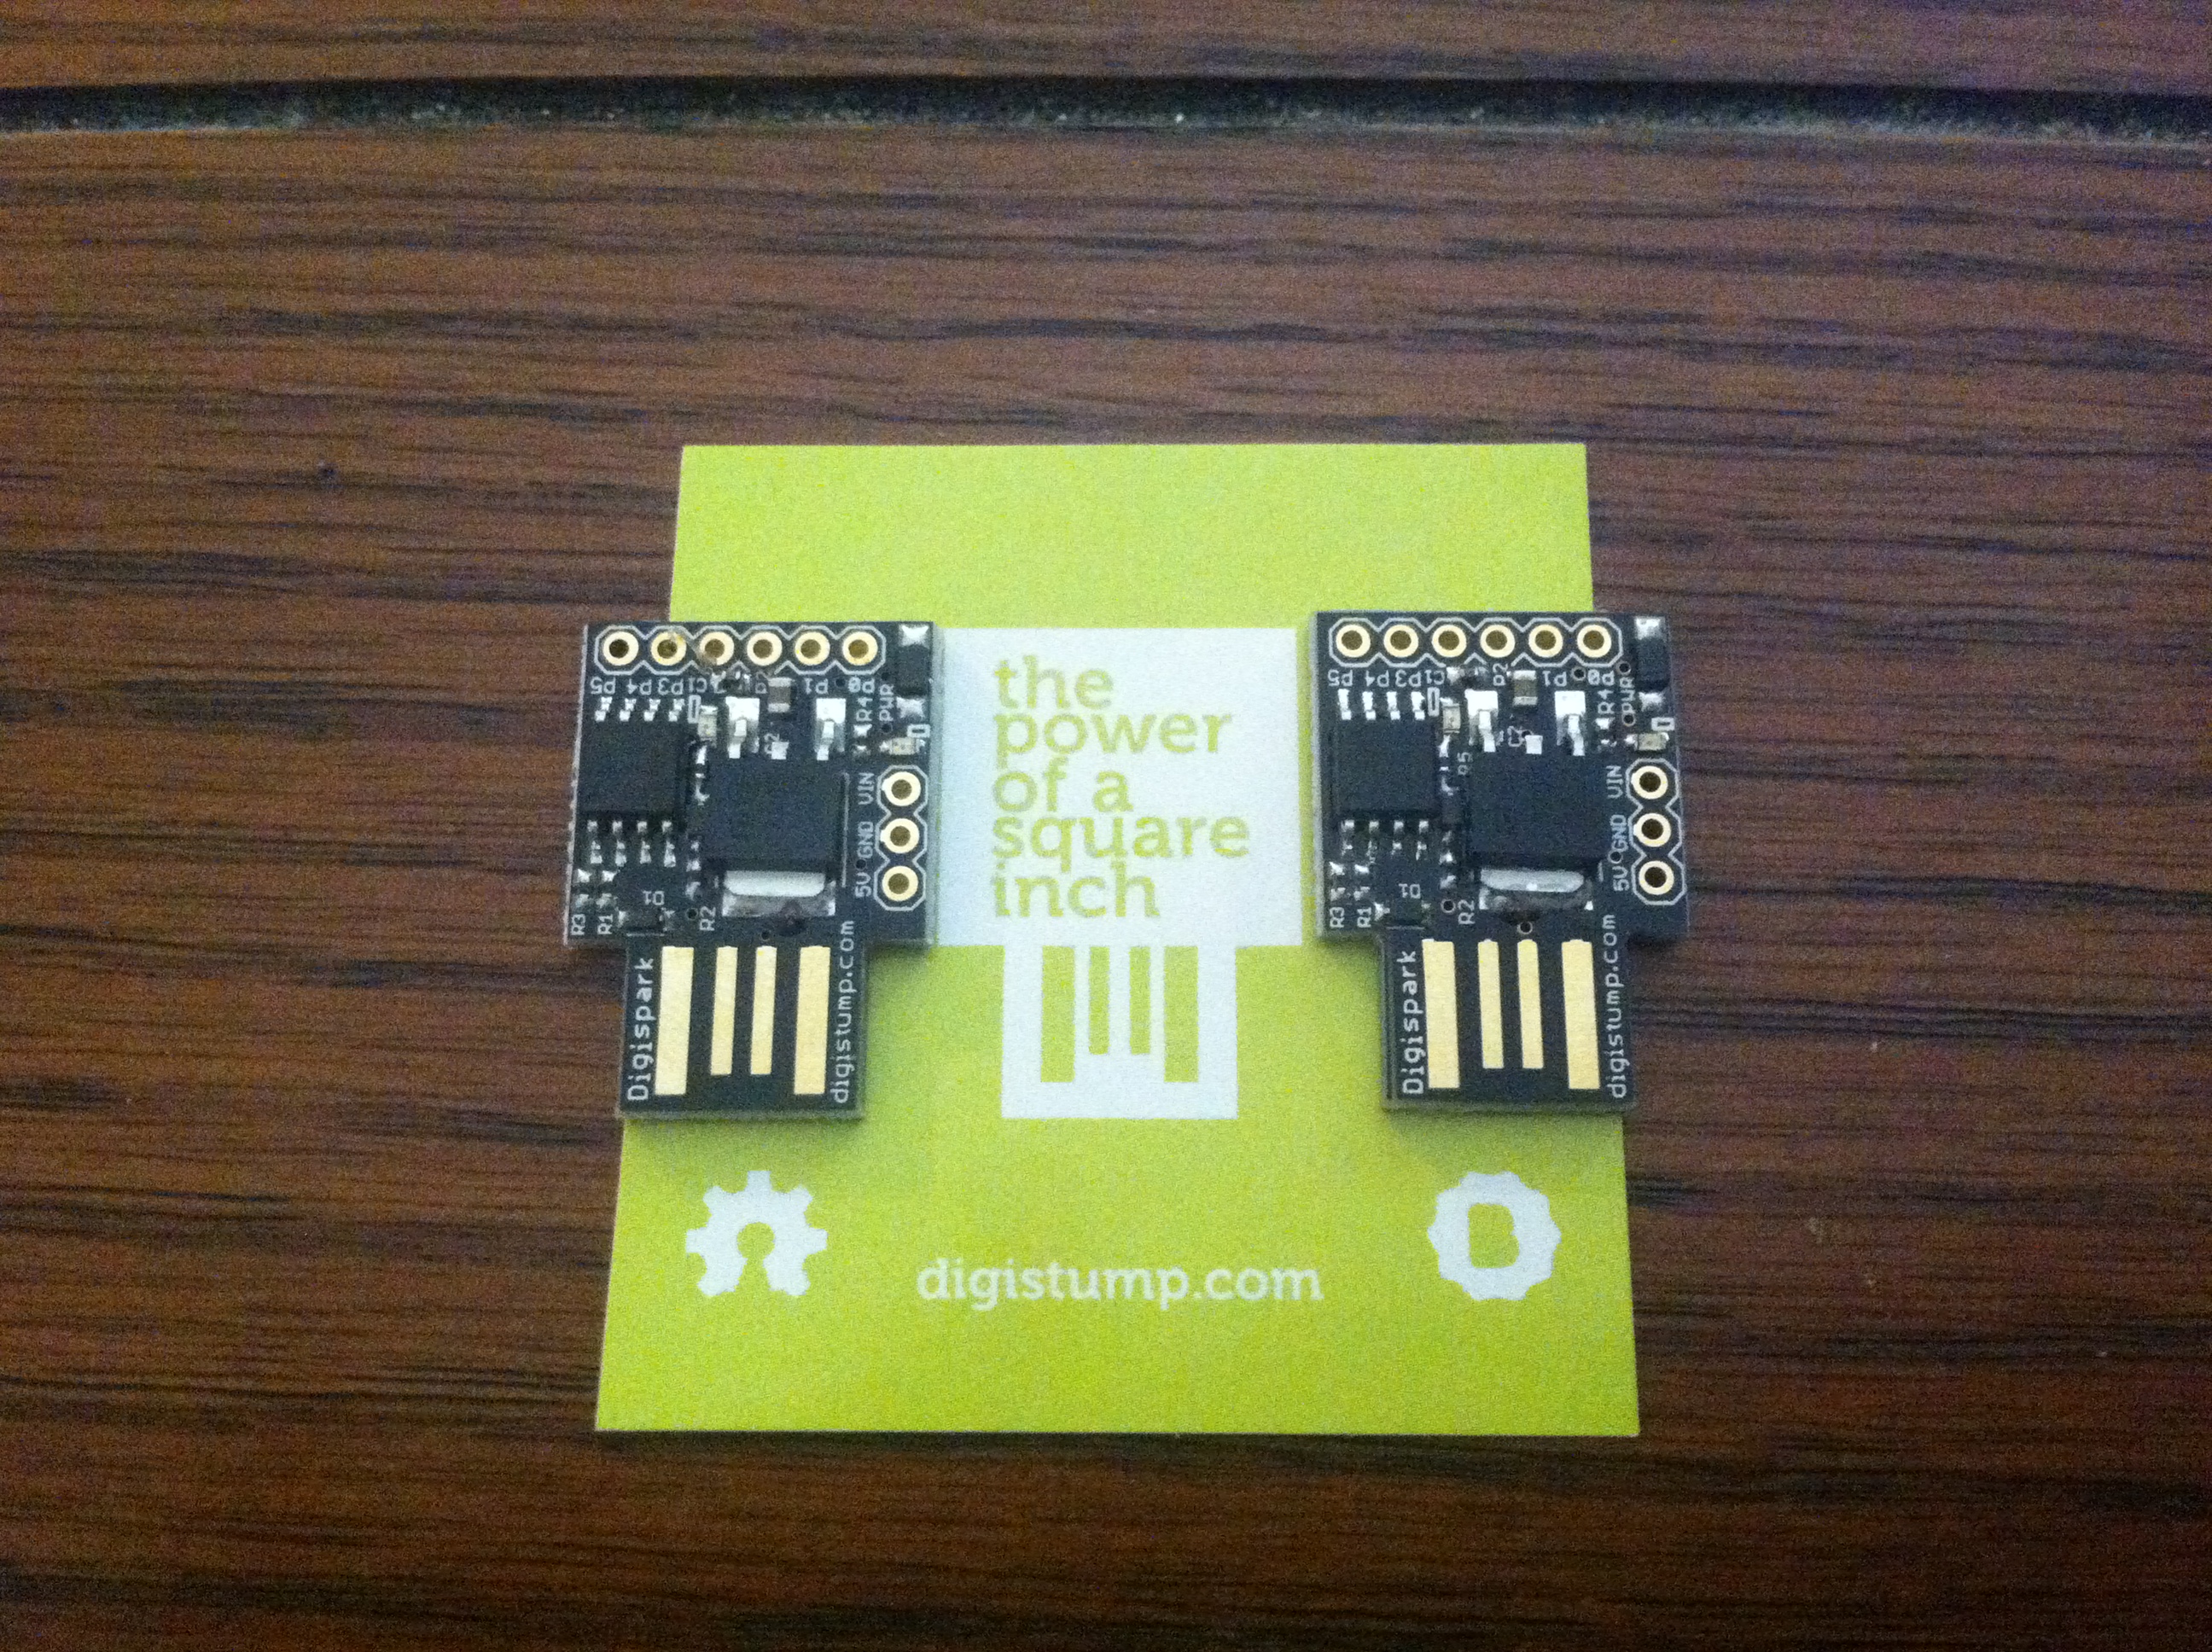
The digispark board is the 1×1 inch plus the extra bit for the USB connector. Its possible to use the digispark without a USB cable unlike other development boards and with the included environment can be configured as a Keyboard, Mouse, or many other types of HID’s (Human Input Device).
Adding Pin Headers

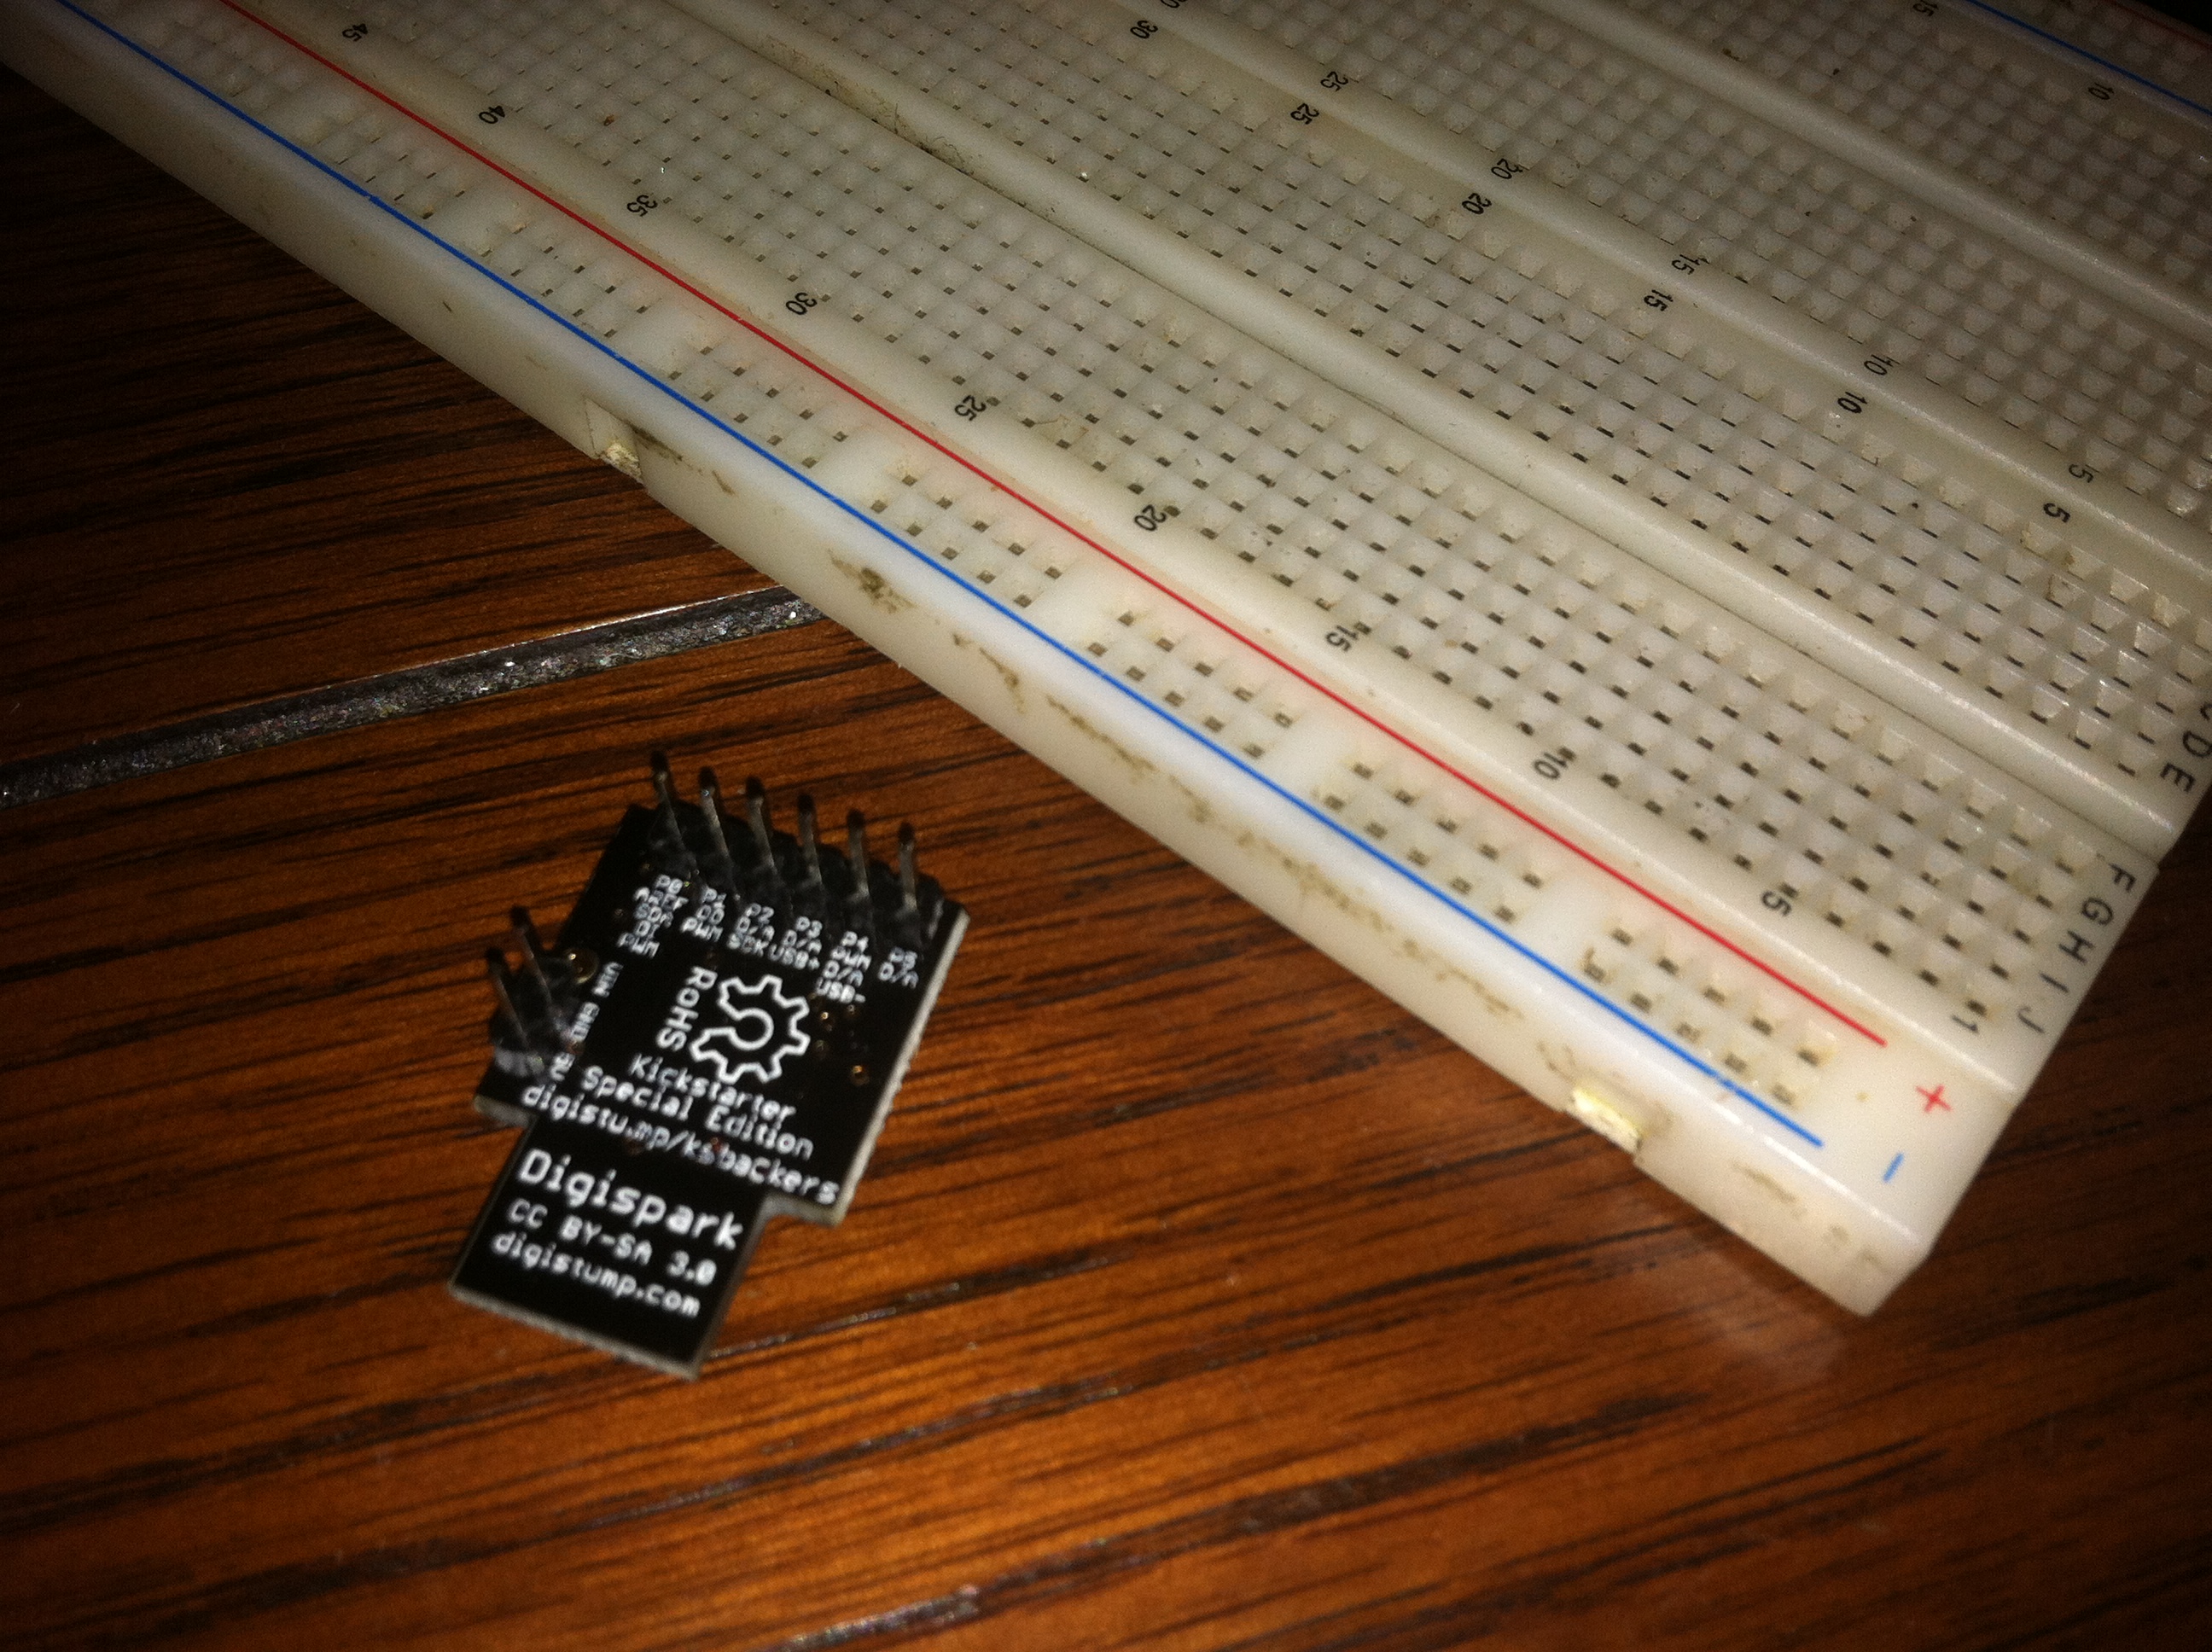
Adding pin headers to the digispark is the perfect way of making it breadboard compatible, in-fact the designers had this very use in mind when setting up the spacing the pins. Care must be taken here to properly orient the digispark for the power rails of your breadboard. Some breadboards will require the pin headers soldered to the bottom of the digispark while mine requires they be attached at the top. This should be triple-checked before you start soldering as the headers are far easier to attach than they are to remove.
Breadboarding RGB LED
Using an RGB LED is one of the best ways to test a microcontroller’s PWM capabilities. The digispark has 3 hardware PWM pins with another available through the Digisparks software library.
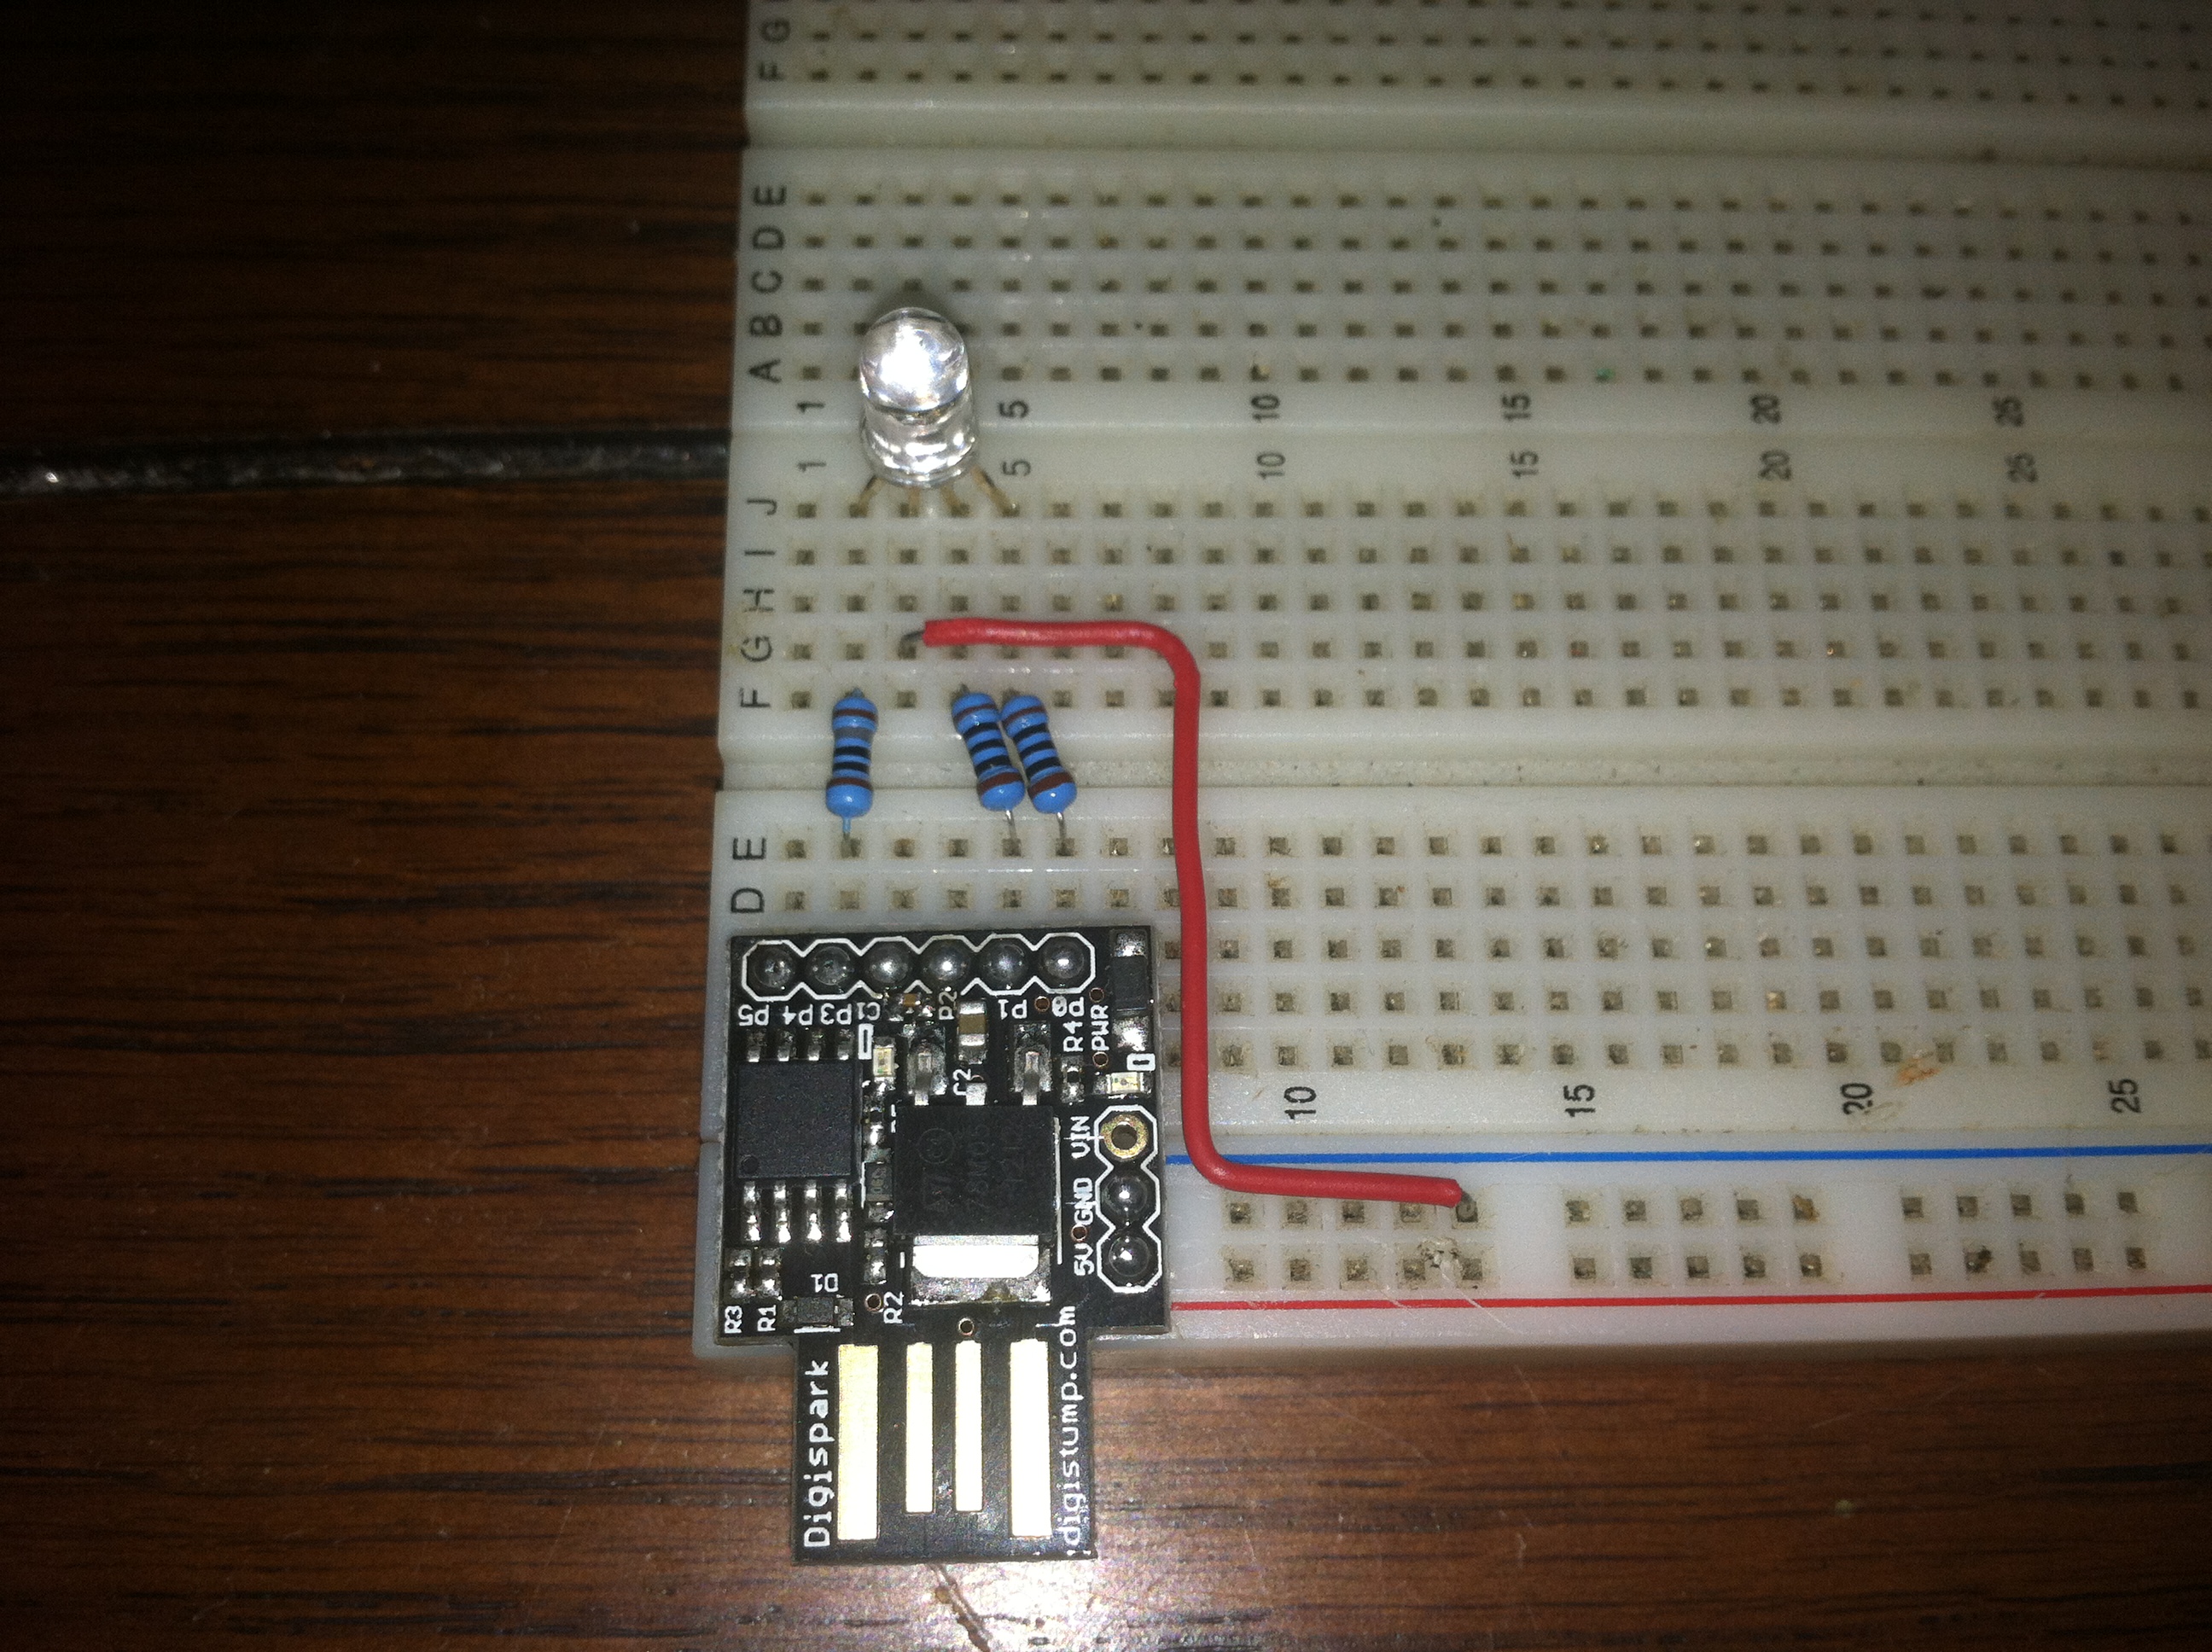
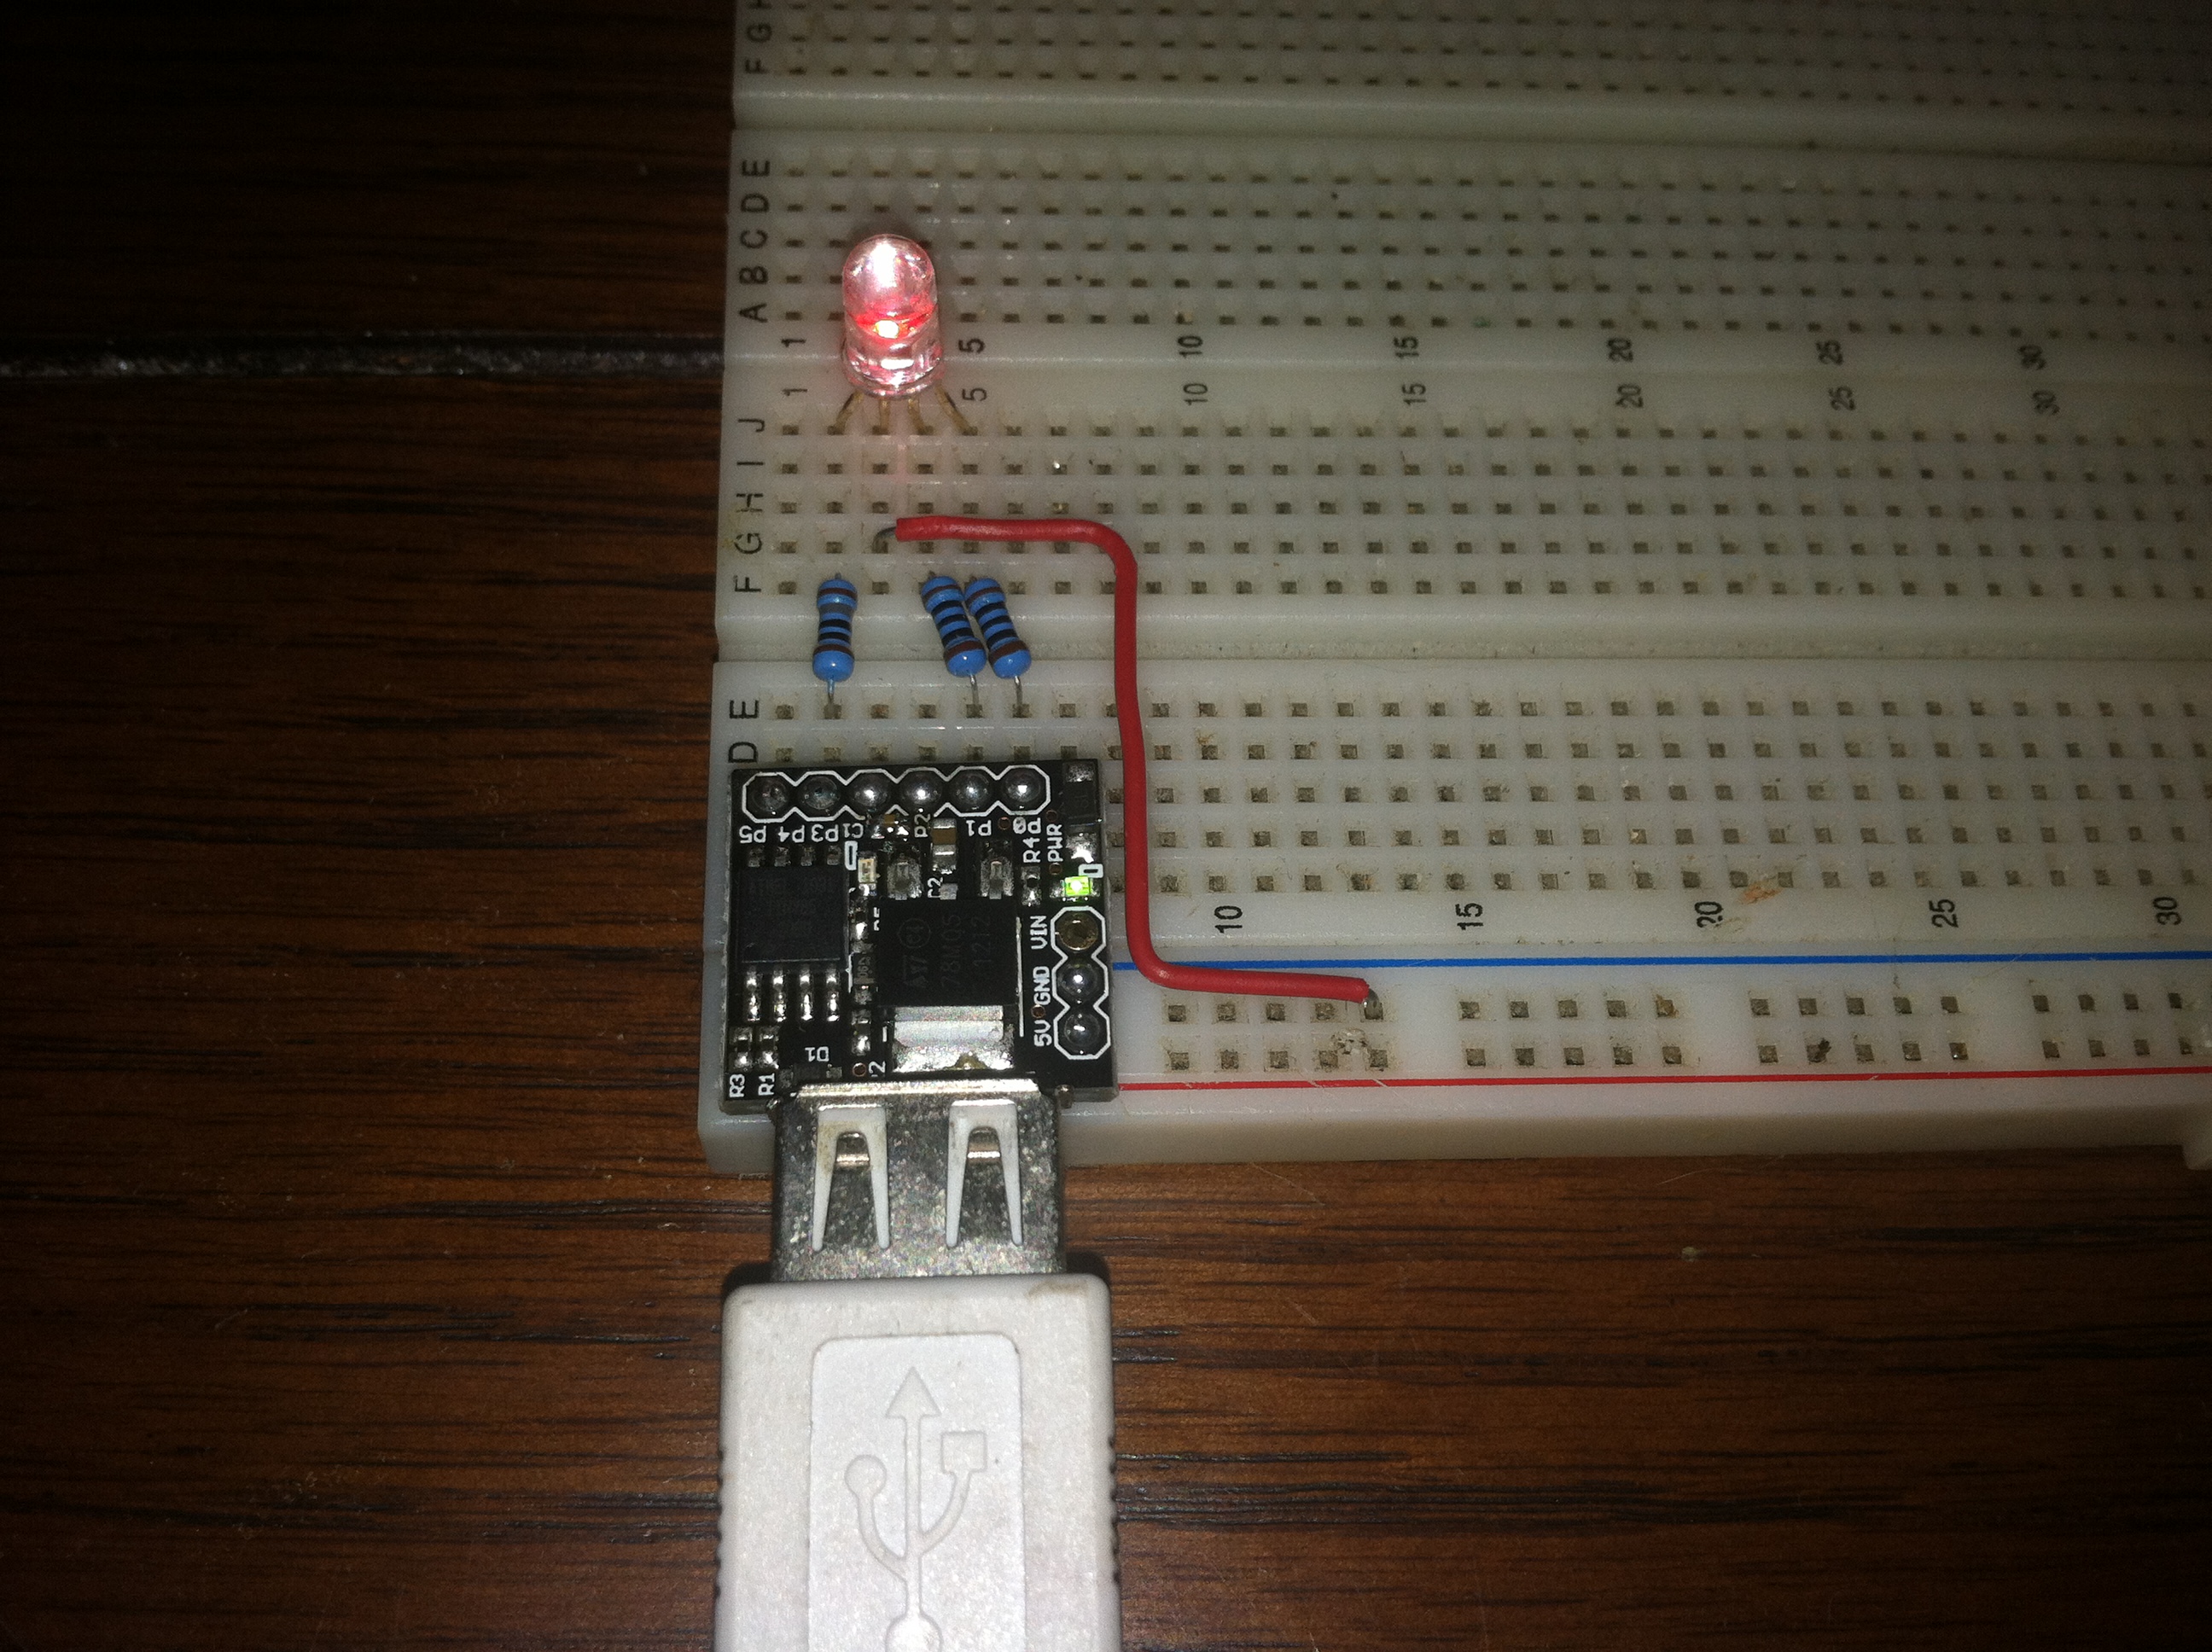
First the circuit is layed out on the breadboard connecting the common cathode (-) to the ground rail and the red, green, and blue cathodes (+) to the Digispark’s PWM output pins 2, 1, and 0 respectively using the appropriate current limiting resistors for the RGB LED. When programming over USB pins 1 and 2 of the digispark are used for communication with the host pc and in this example will cause the LED to light momentarily.


Here we run the RGB fade sketch that comes with the Digispark. Using this as a base it is possible to now construct more complicated projects, the beauty of the Digispark being that once the project design is finalized the Digispark can be included in the project without the added cost of using an entire Arduino board or soldering your own.